- Messages
- 2,683
Guide to fitting Tegiwa new-style solid shifter bushes.
These are the pack contents (minus the split pins that I forgot to include):
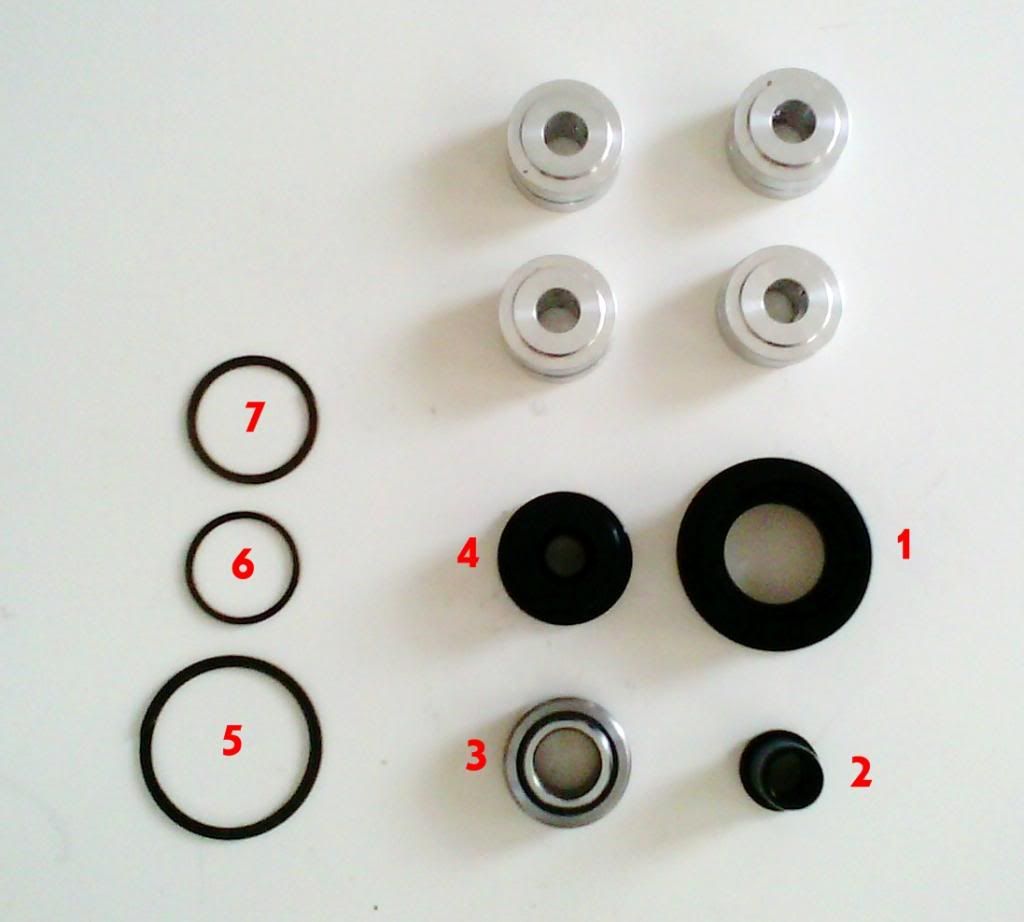
The eight silver bushes are for the shifter linkage behind the centre console. Numbers 1-7 are for the linkage underneath the airbox.
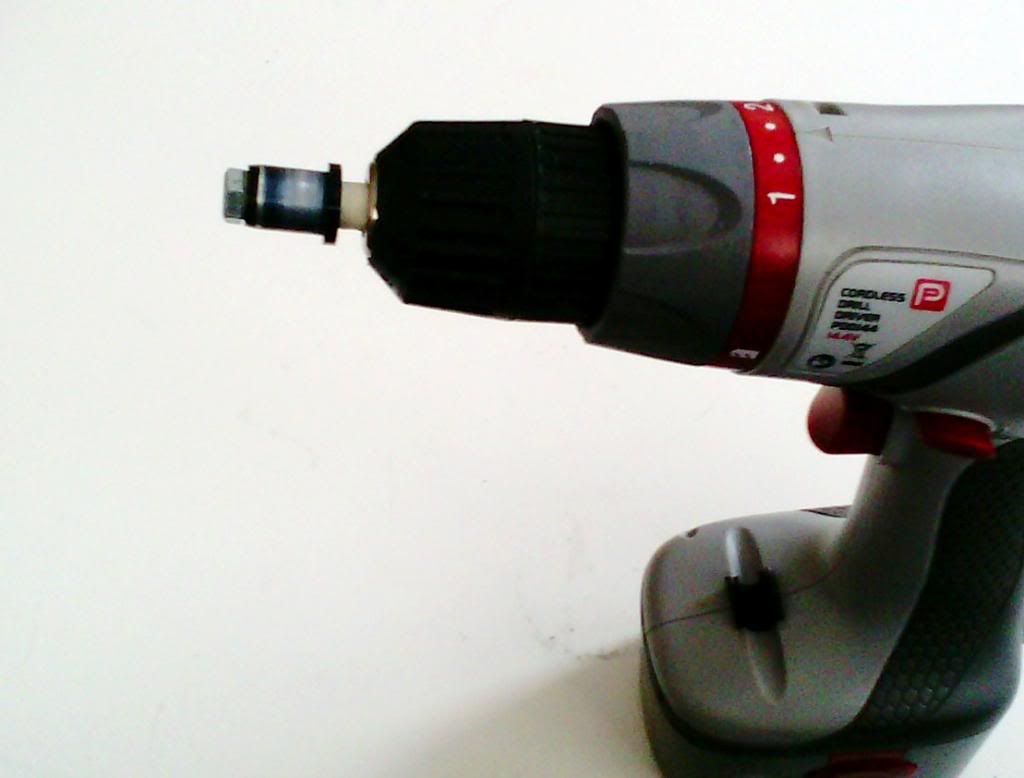
#3 fits inside #1, and #6 holds it in place. #2 fits inside #3, though mine needed sanded. I used masking tap around a bolt to hold #2, then put it in a drill and sanded it. These can be assembled before going to the car.
#5 goes in the groove around the outside of #1, likewise #7 goes around #4. These are fitted when bushes are on the vehicle.
You will also need:
8,10,12 and 14mm sockets/spanners.
Needle nose pliers.
Screwdrivers.
Interior Bushes.
Remove the centre console. It is possible to fit bushes without removing the upper console, though I think it would make a fiddly job far more difficult.
Console removal guide: http://type-r-owners.co.uk/forums/showthread.php?92877-Centre-console-removal-EP3
Do not drop anything during this process, it will be a massive pain to retrieve!
These are the four bolts that hold the bushes, remove them completely with a 10mm socket. The green arrows show the cable link, these can be removed if required.
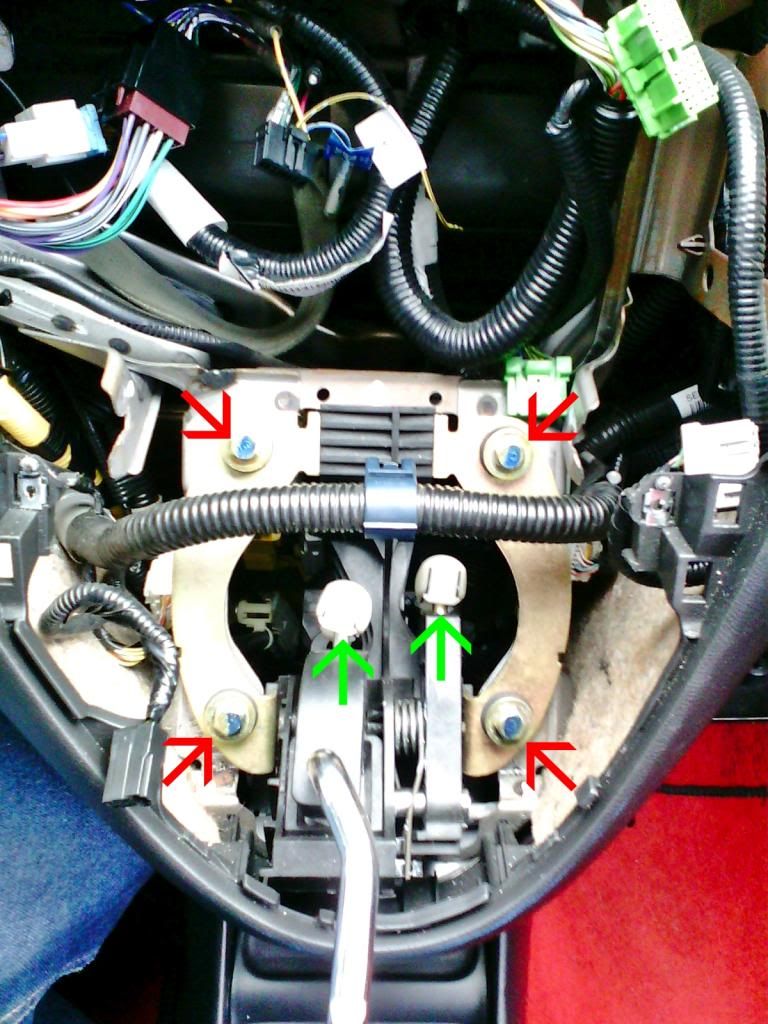
The bushes and metal tubes inside can now be removed, this is the fiddly bit. Pull the linkage towards you, then push the metal tubes out of the back of the bush, it is tight so be careful not to drop anything. Push the rubber bushes out of the hole.
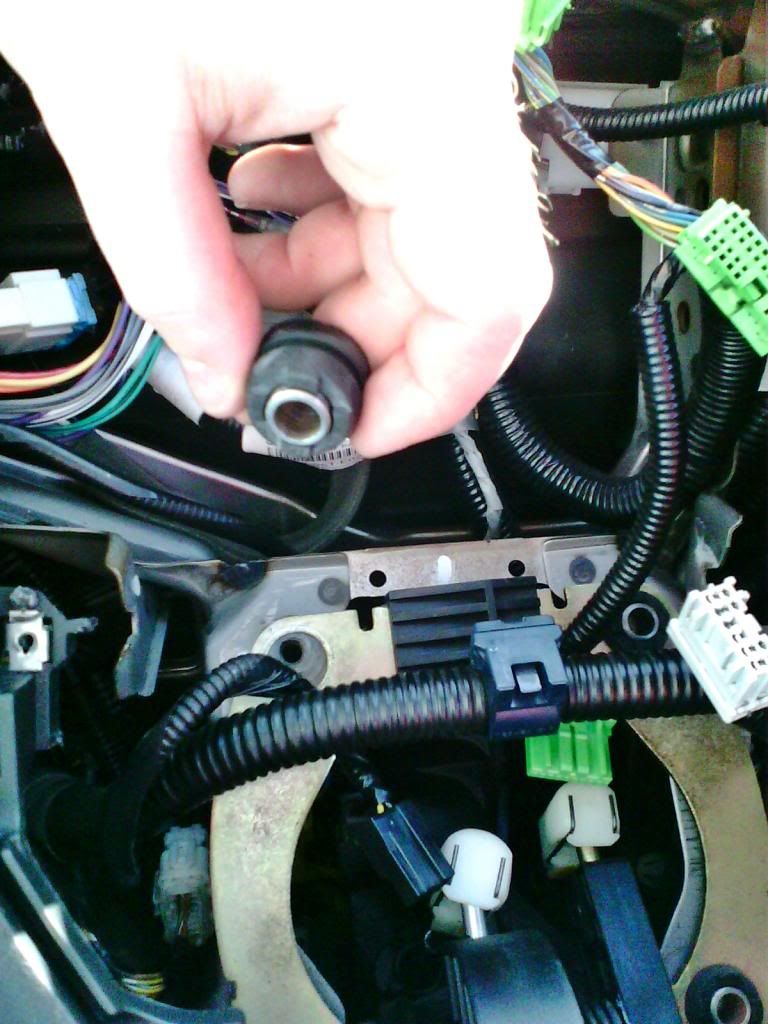
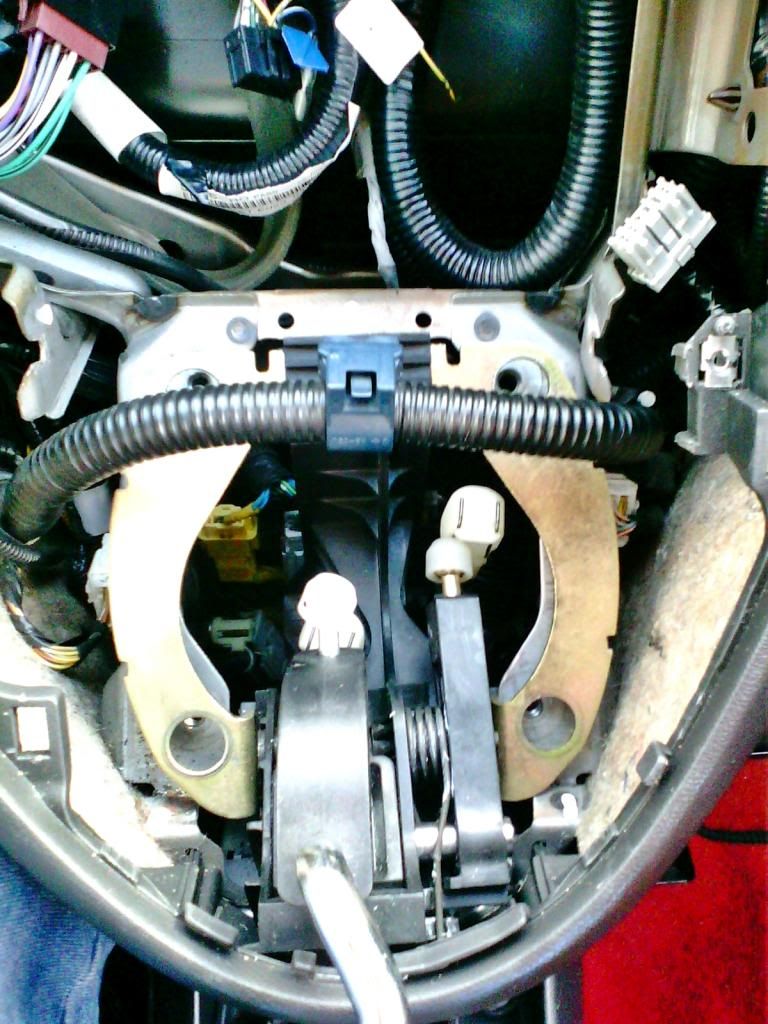
To fit the new bushes: Thread a bush onto the bolt and set it to one side. Carefully place the other bush behind the linkage and hold it firmly in place, put your pre-bushed bolt through the hole and give it a few turns so that nothing will fall off, but you can still move the linkage to accommodate the other bushes. Repeat for all four bolts. Tighten everything up and breathe a sigh of relief. Refit cable linkages if removed. Refit console.
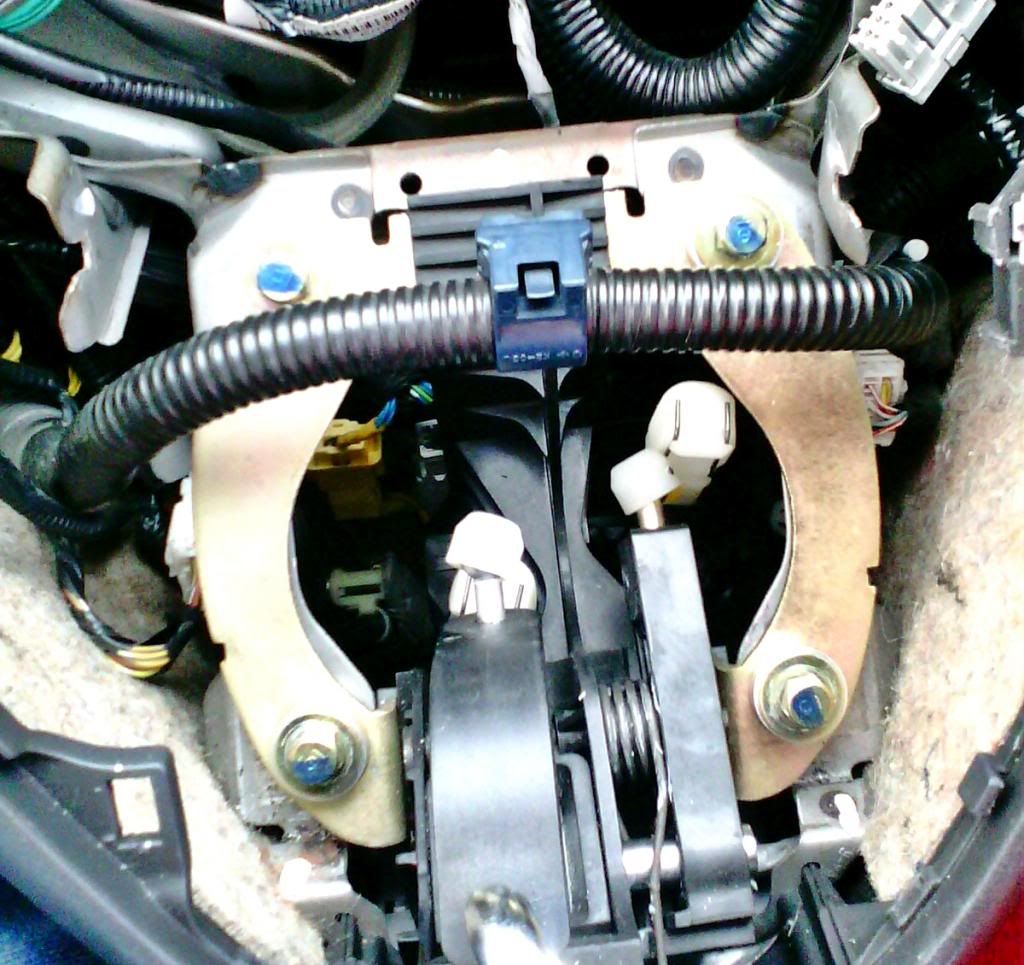
Engine bay bushes.
Remove the airbox to allow access.
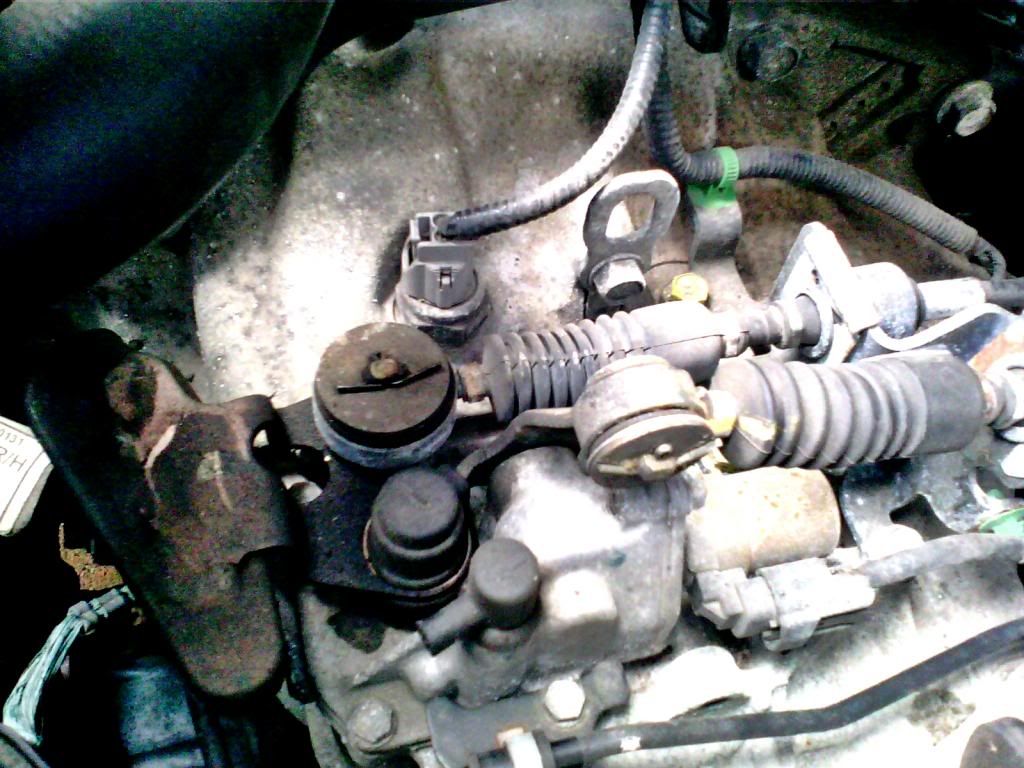
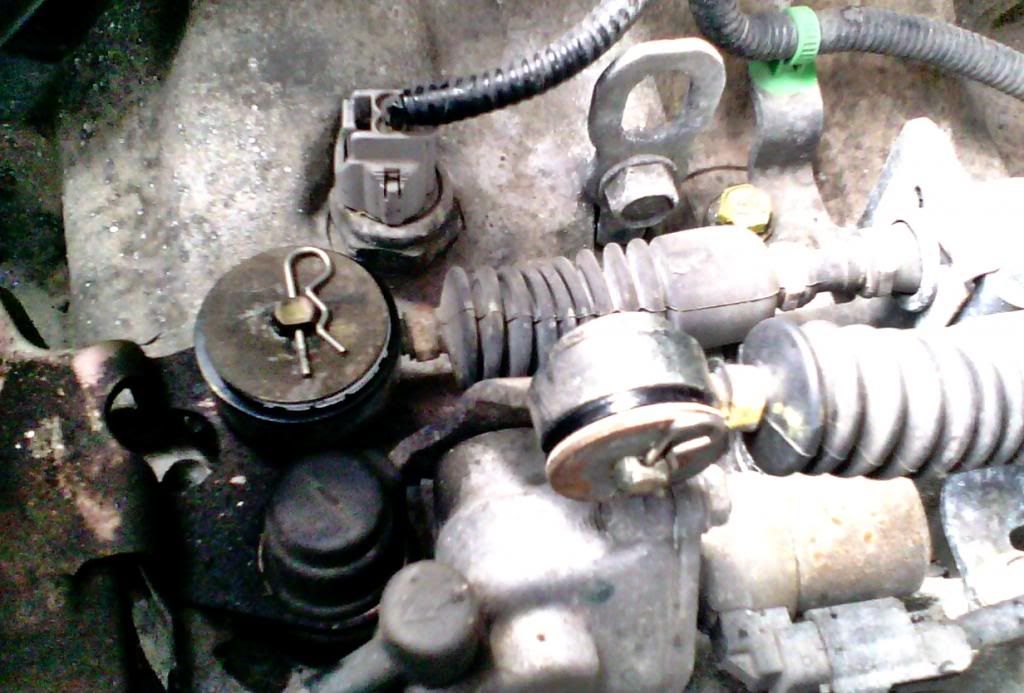
Remove split pin. Slide cable linkage away from mounting pin, save the metal and plastic washers. Be careful with the cable linkage, they are fragile and expensive to replace.
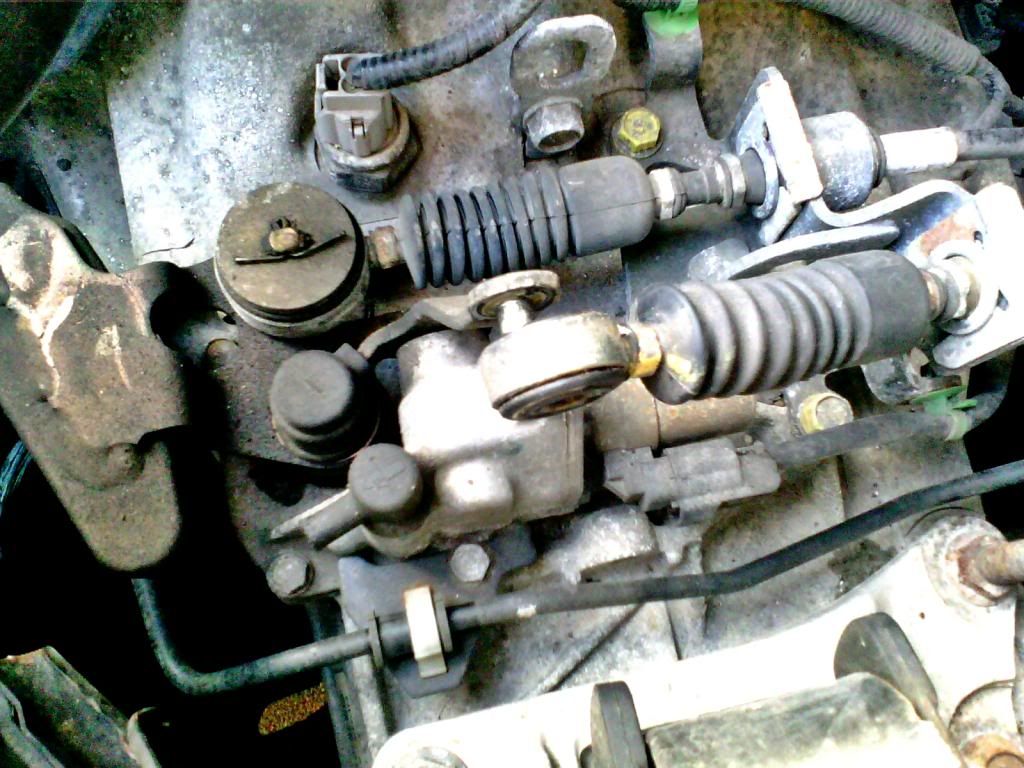
Use a flat screwdriver to work the rubber bush free. They can be very reluctant to come out, keep working around the outside of the bush until you can press it out.
Fit new bush, in this photo bush #4, then fit locking ring #7.
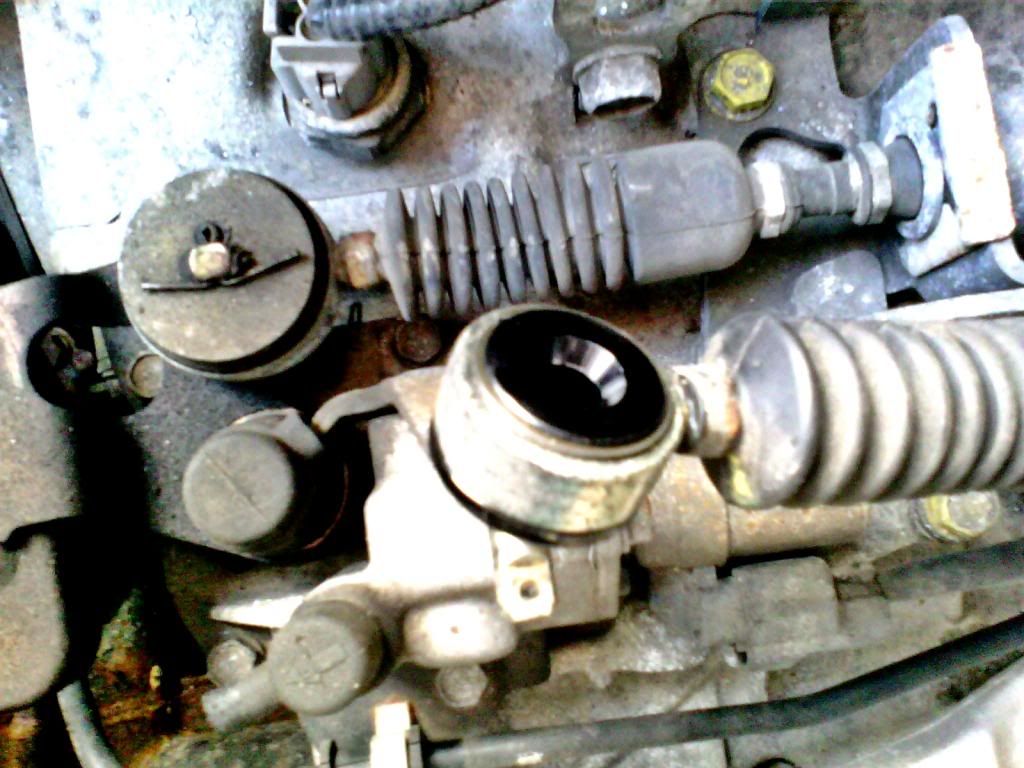
Slide cable linkage back onto mounting pin, replace metal and plastic washers and fit new split pin. Repeat process for other linkage. Replace airbox.
