
You are using an out of date browser. It may not display this or other websites correctly.
You should upgrade or use an alternative browser.
You should upgrade or use an alternative browser.
My 30th Anniversary CTR (Original Post Updated 07/02/2008)
- Thread starter Jermal
- Start date
- Messages
- 96
Also had my done there paid for by holden hondaBuckenham sand blast in Beccles. Hatton and myself can vouch for them.

Top job
Hatton
Will Be Missed
- Messages
- 3,859
Ubreal mate, I thought that was my car for a good few seconds. Exactly the same as my car nowAlso had my done there paid for by holden honda
Top job
- Messages
- 106
I think i should update Tonys thread
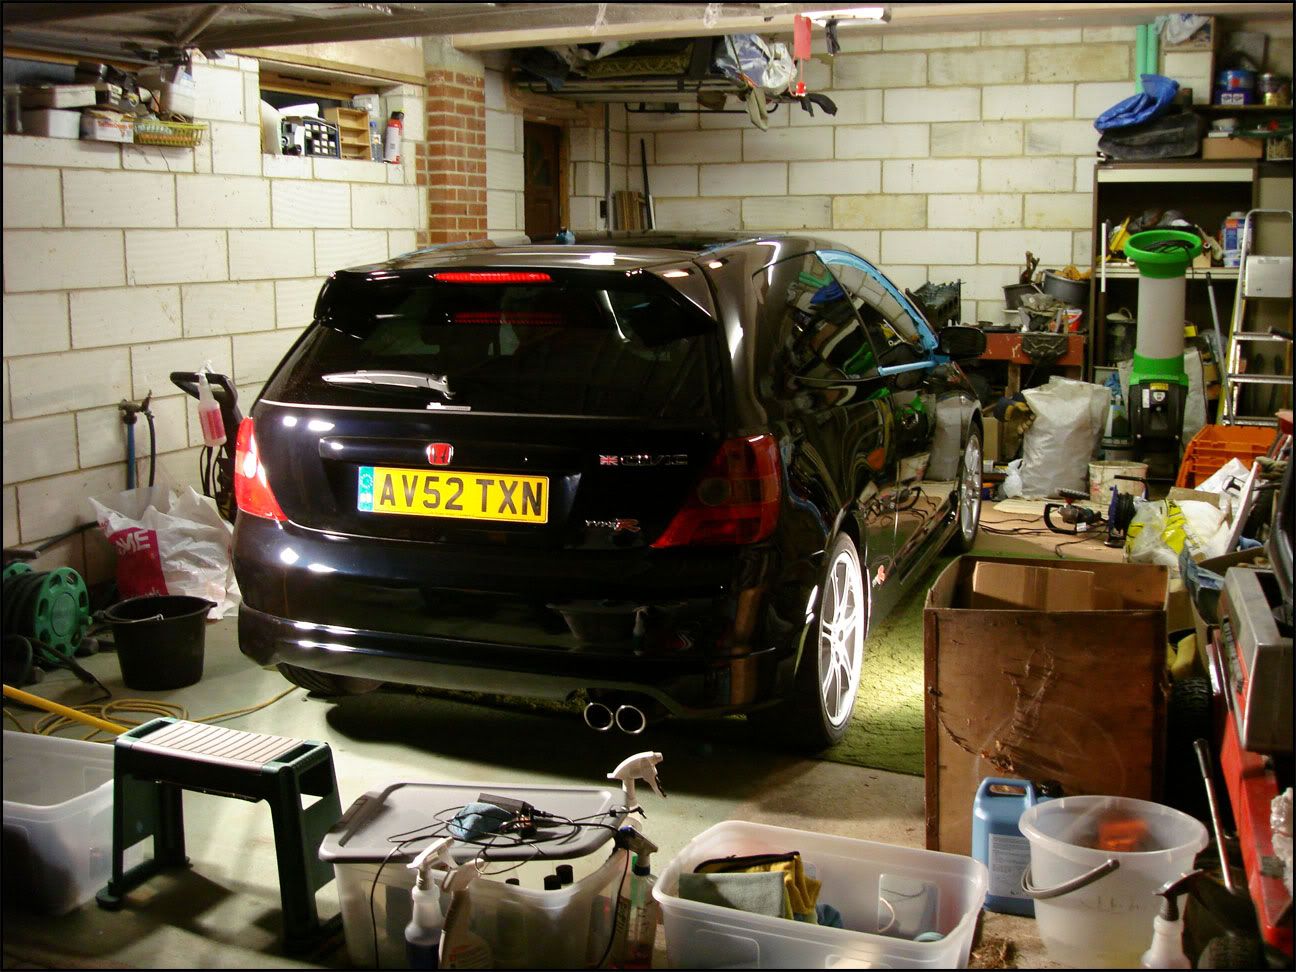
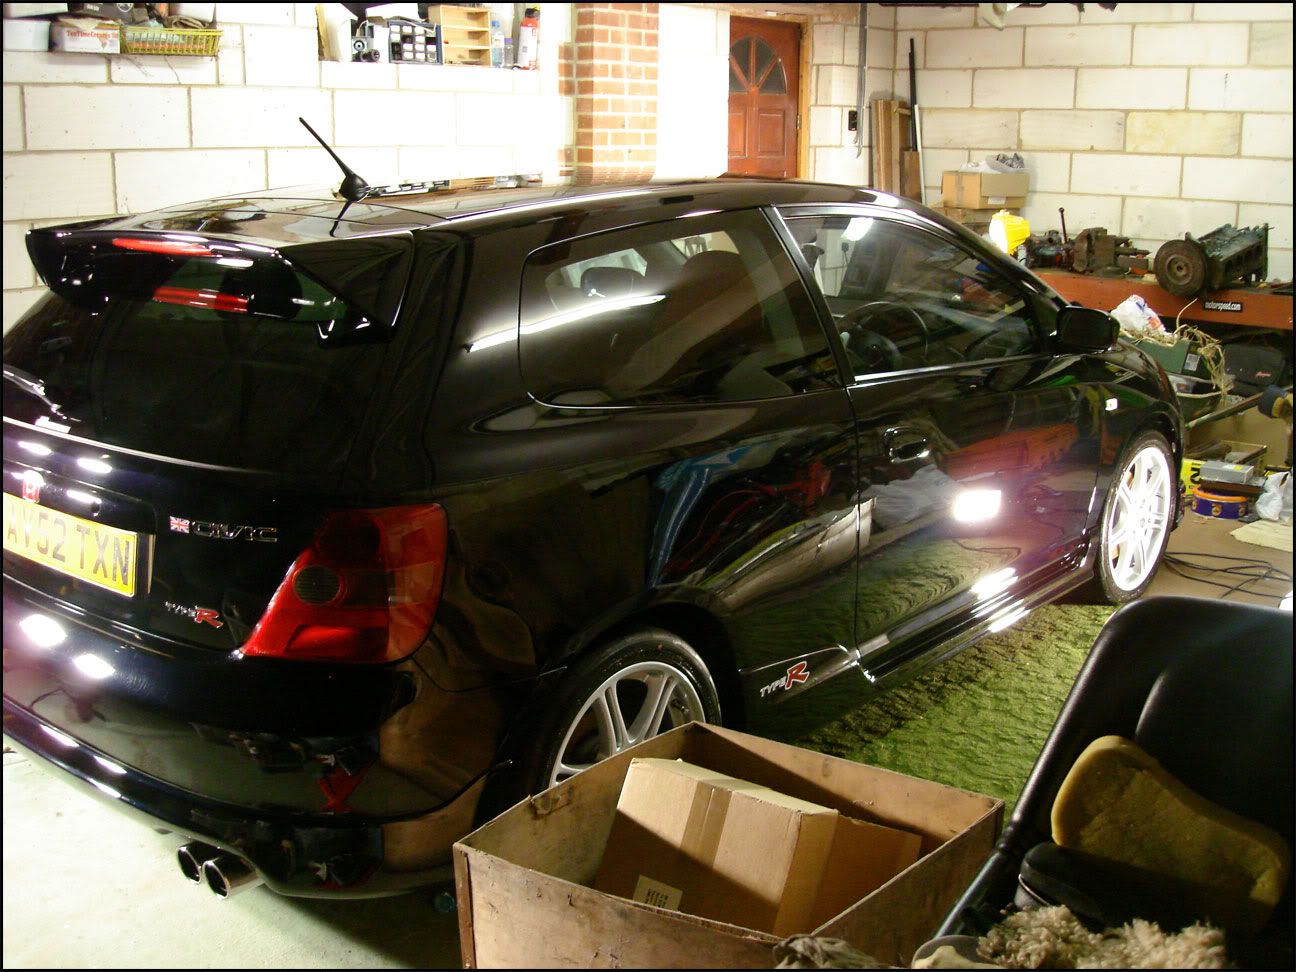
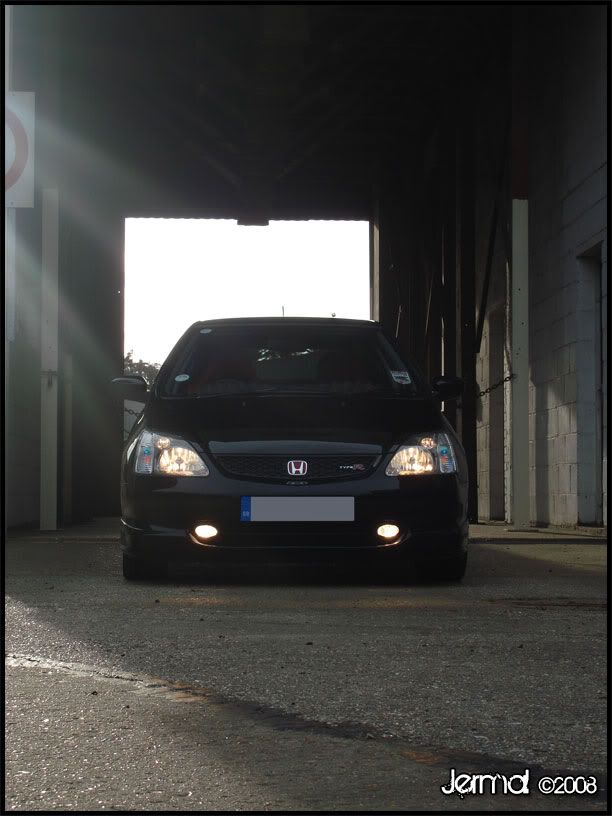
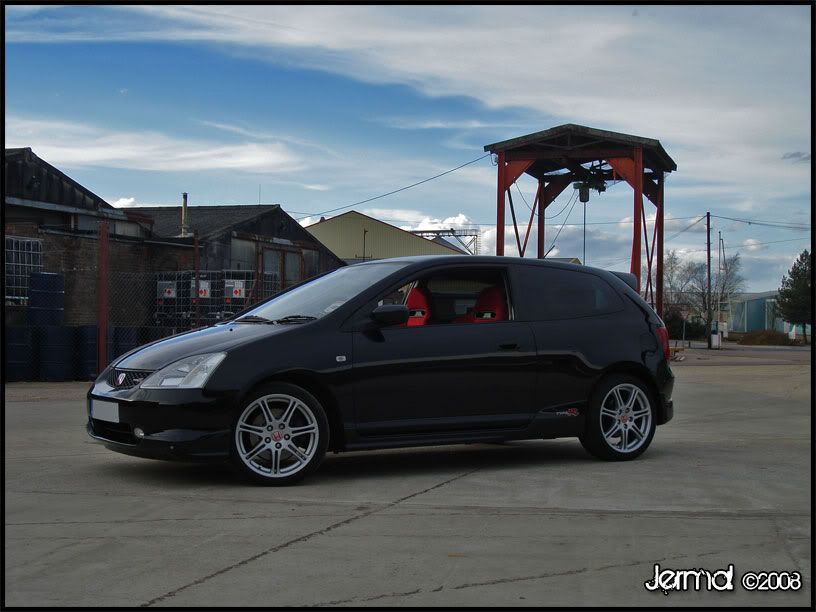
Here are the pictures from Saturdays work. I had the pleasure of detailing a very nice Night Hawk Black Civic Type R in 30th Anniversary guise.
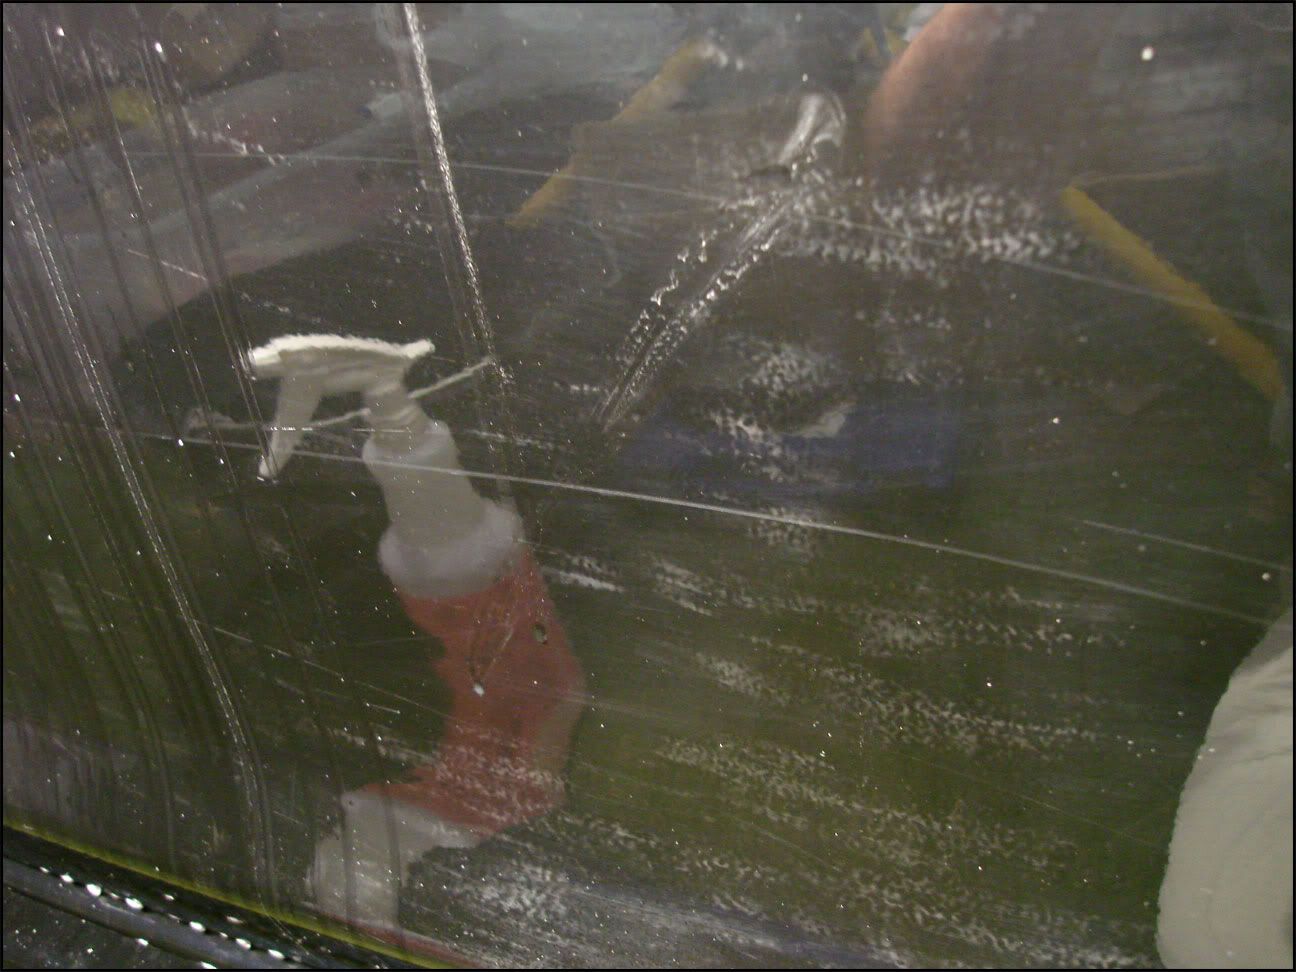
Tony had come down from Norwich so the car was fairly dirty on arrival. First inspections of the car revealed a nicely kept car with a few imperfections to be sorted. Part of the rear bumper had recently been resprayed by a bodyshop who had left some wetsanding marks on the panel above. After reviewing the paint thickness of that area it became apparent that they had been machining quite heavily so i knew i had to tread carefully on that area.
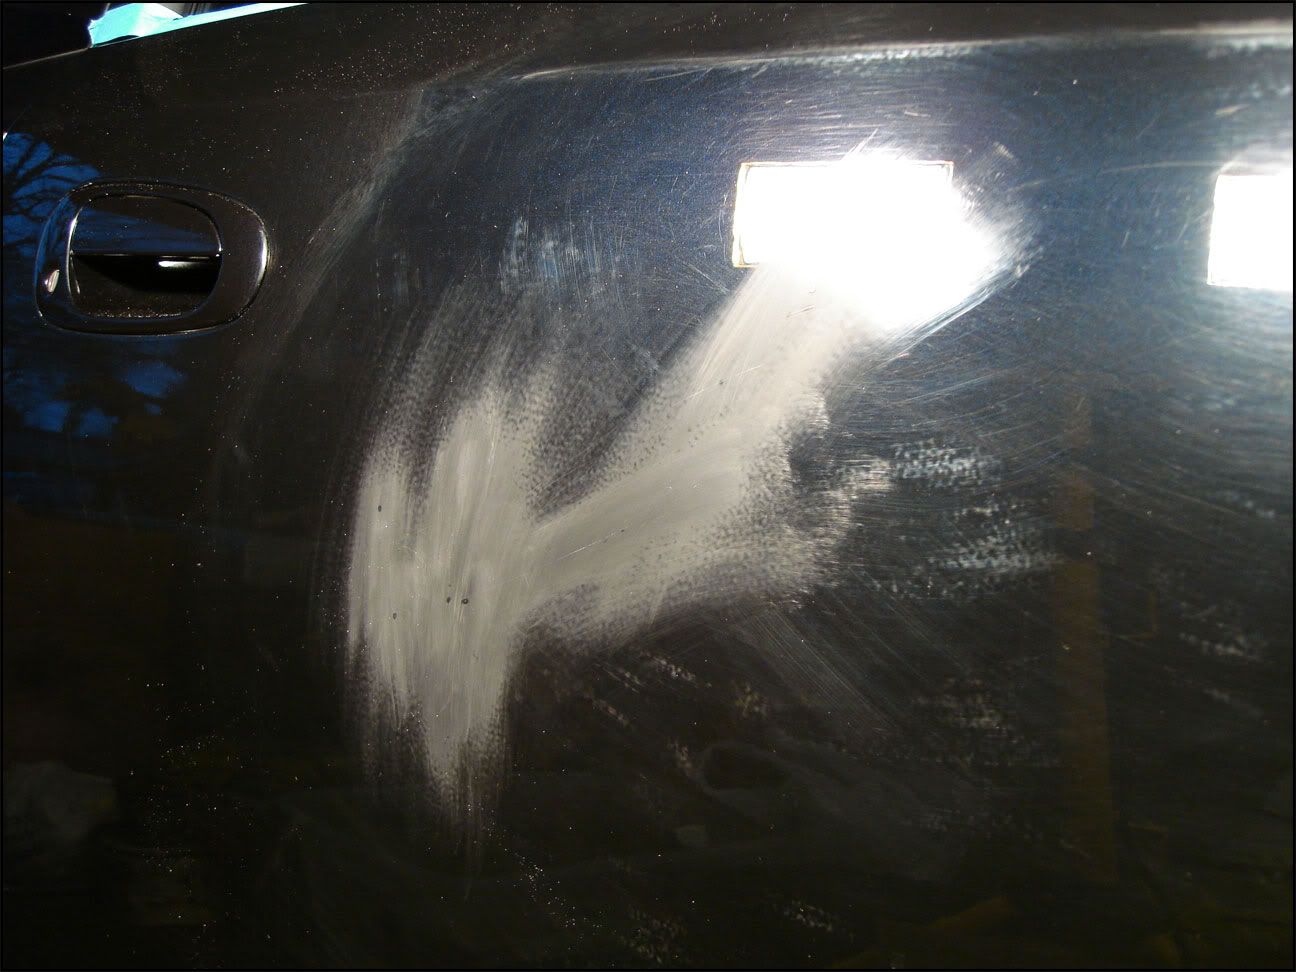
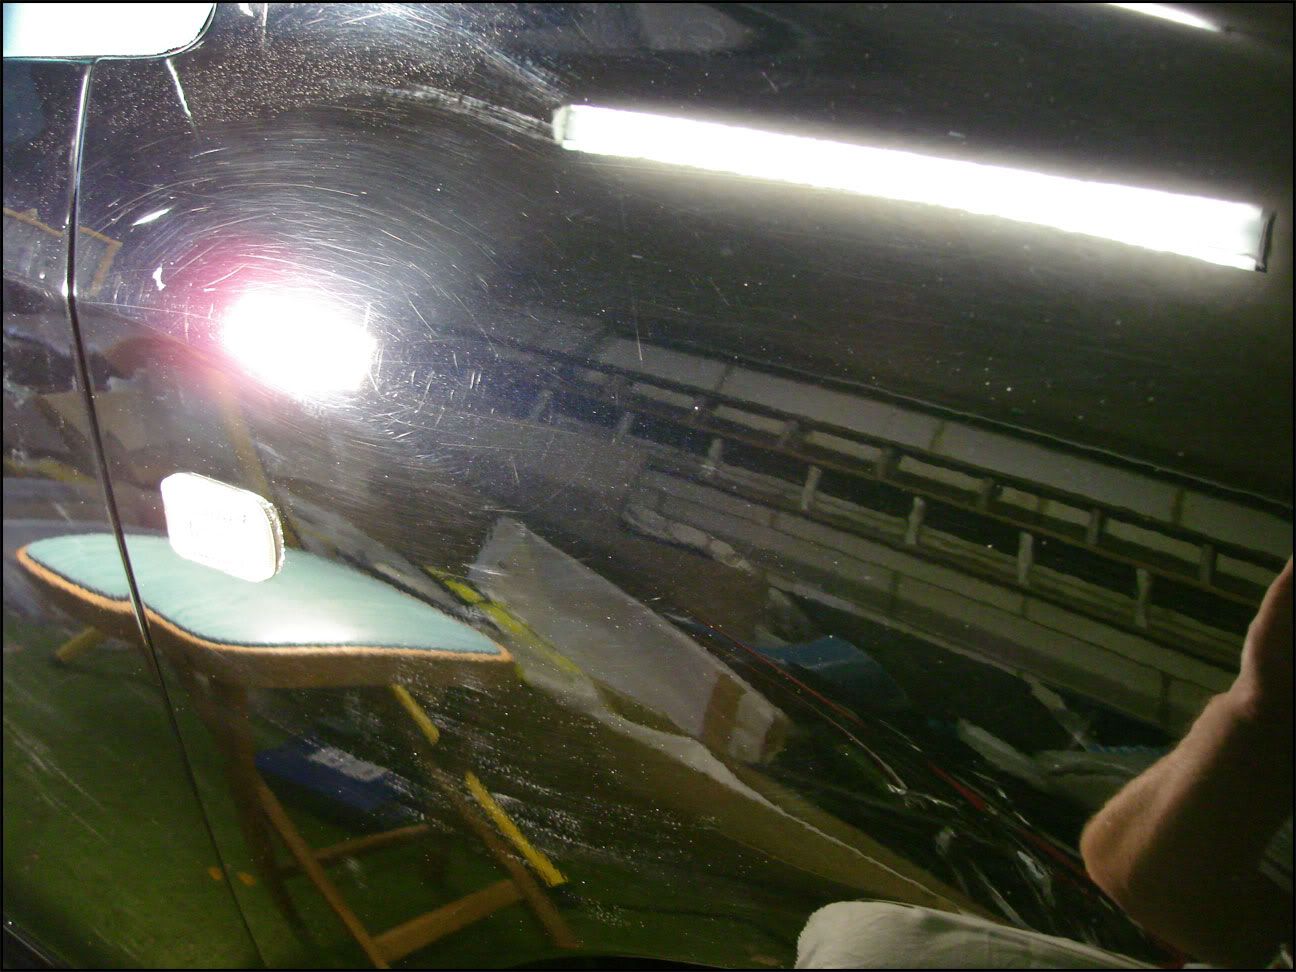
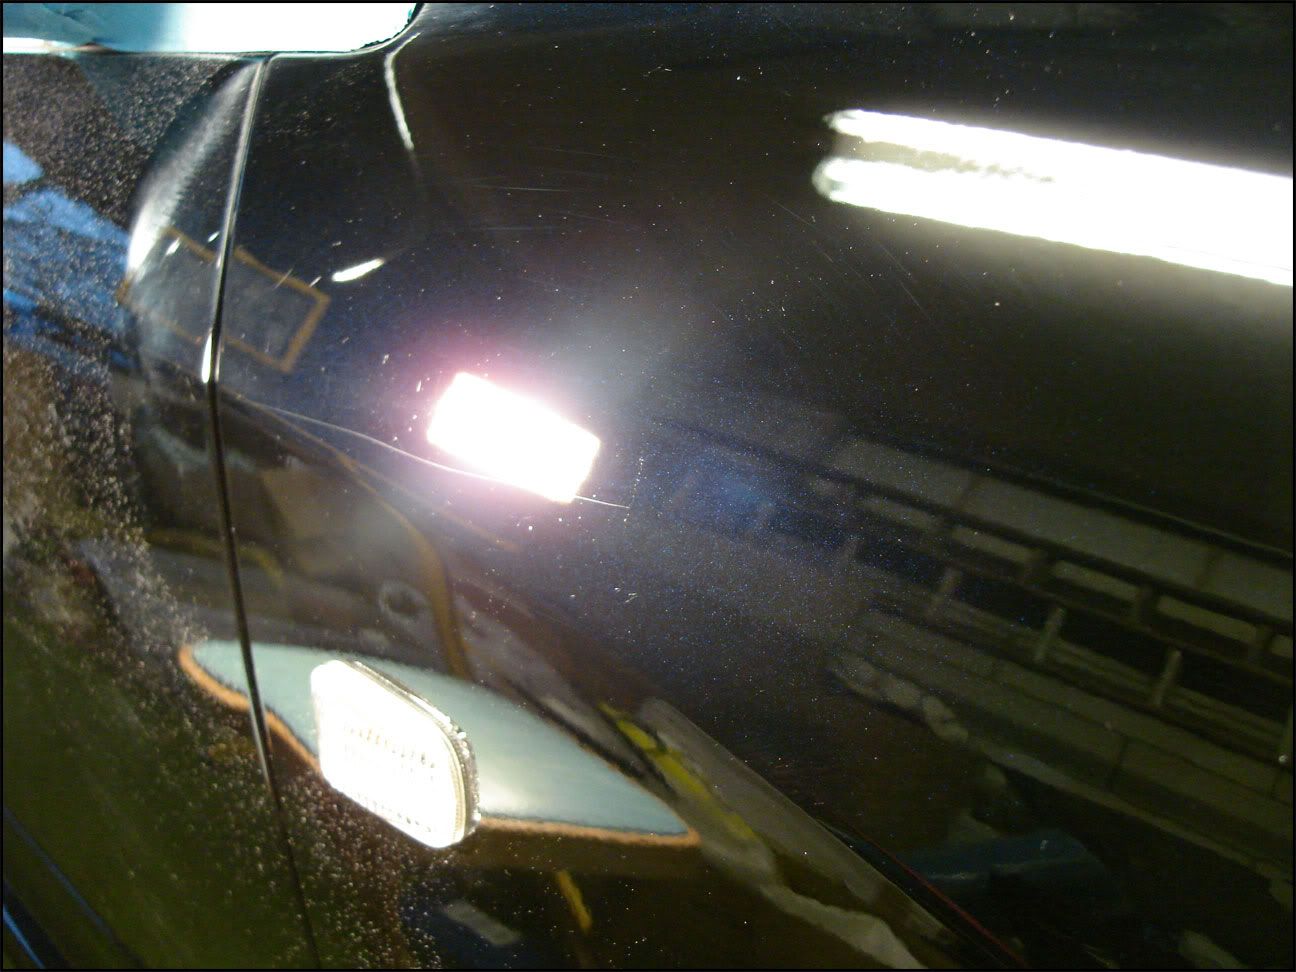
There was quite a nice scratch on the drivers door and a couple of deep stonechips that required attention.
Onto the pictures
As the car arrived:
Scratch on the drivers door:
After the car had cooled down i sorted the wheels first. A weak mix of Megs Wheel Brightener sprayed onto the rim, aggitated via a Swissvax wheel brush and washed with a Microfibre Mitt.
Before:
During:
After:
The car was then foamed with a strong mix of CG Citrus Wash and Gloss in an attempt to strip any previous protection. After the foaming the car was 2BM'd with Megs Hyper Wash.
After the wash stage Tony was keen to know about claying. So using Megs Last Touch as lube we set about claying the car with CYC Poly Clay. Even though the clay was kept warm and copious amounts of QD were used the clay caused a little marring (no worries as the car was being machined)
The clay brought off a reasonable amount of contaminates but on the whole was in good condition.
The car was then foamed, rinsed and dryed.
As the rain started we rolled the car in the garage to get the paint depth readings.
This is where i started to worry a bit :laugh: The readings were between 80um and 100um with the exception of the drivers door which saw readings starting from 140um up to 300um indicating paint at some stage.
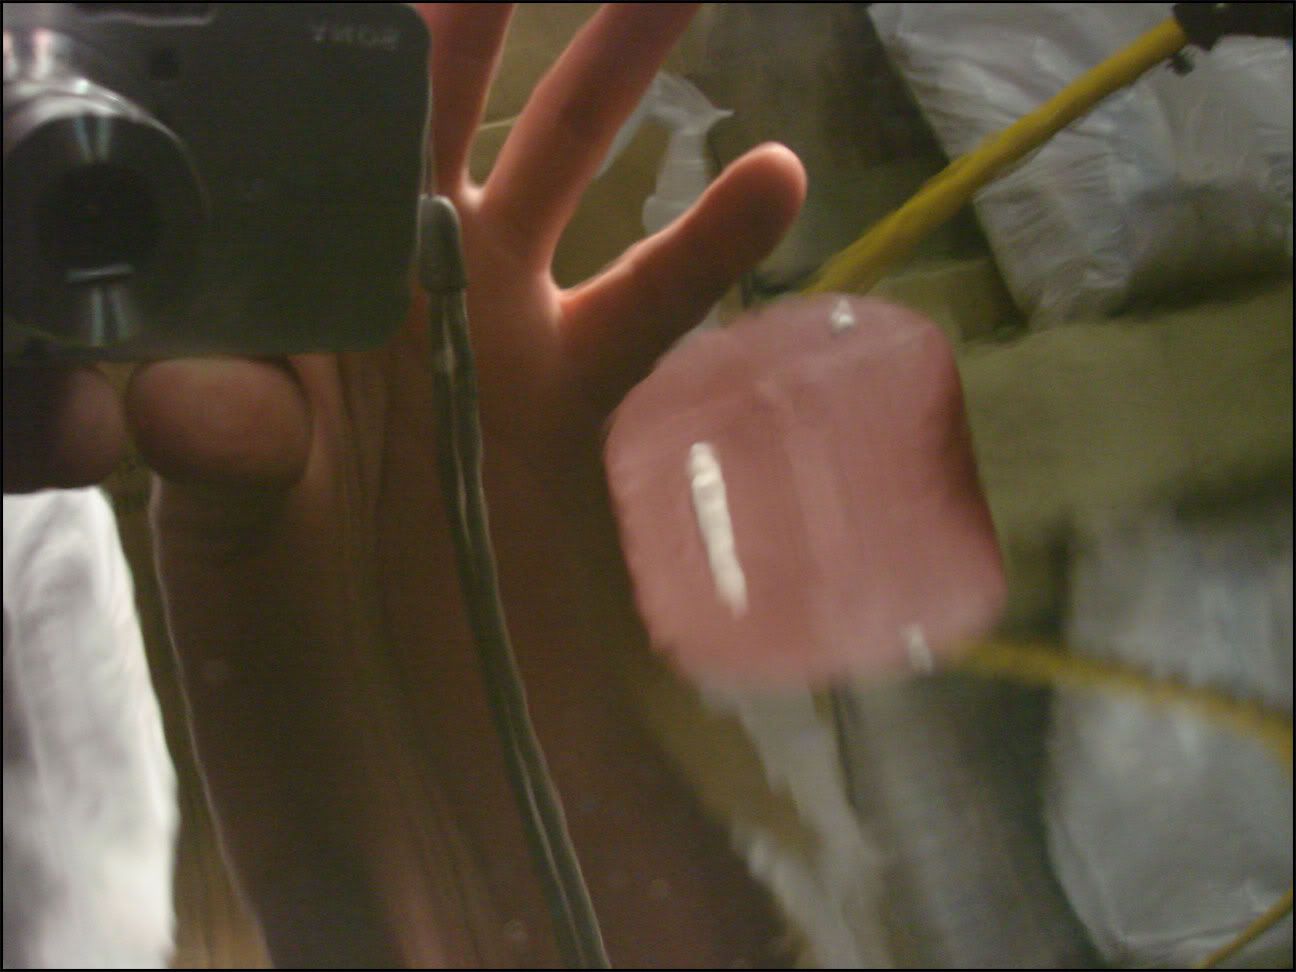
After the depth readings were taken i moved onto the paint stage. The chips and scratch were cleaned and the paint applied with an artists paintbrush.
To the scratch:
Painted
Wetsanded
Polished (these are the best pictures we could get)
Very pleased with the result there The paint was suprisingly hard on the door and required Menz 3.02 and the Megs burgandy pad. I removed a moderate amount of clearcoat with the wetsanding and polishing as i had a healthy reading to start with.
The chips on the bonnet required a little more care and were polished using 3.02 and a 3M polishing pad. Which nipped everything out nicely.
This is as far as i could get using Menz. It just wouldn't play ball on the other panels, it was clumping into balls and making the pad skip about. In steps Megs #83
All of the other panels were polished with #83 on polishing pads.
Front wing:
Before:
After:
The scratch was very deep and although it looks pretty bad in the after it was greatly reduced. The paint was just too thin for me to start wetsanding comfortably.
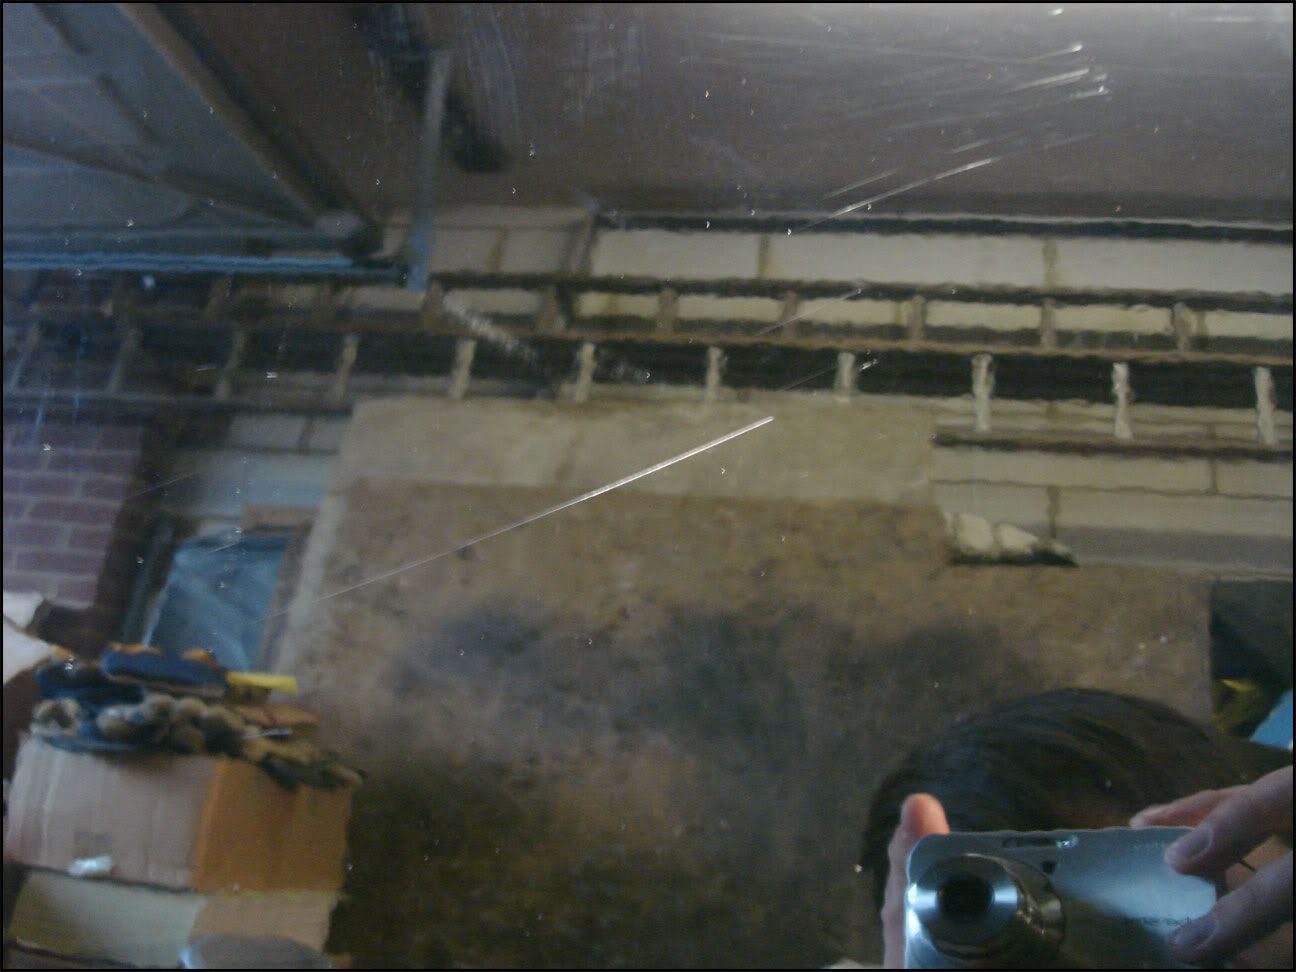
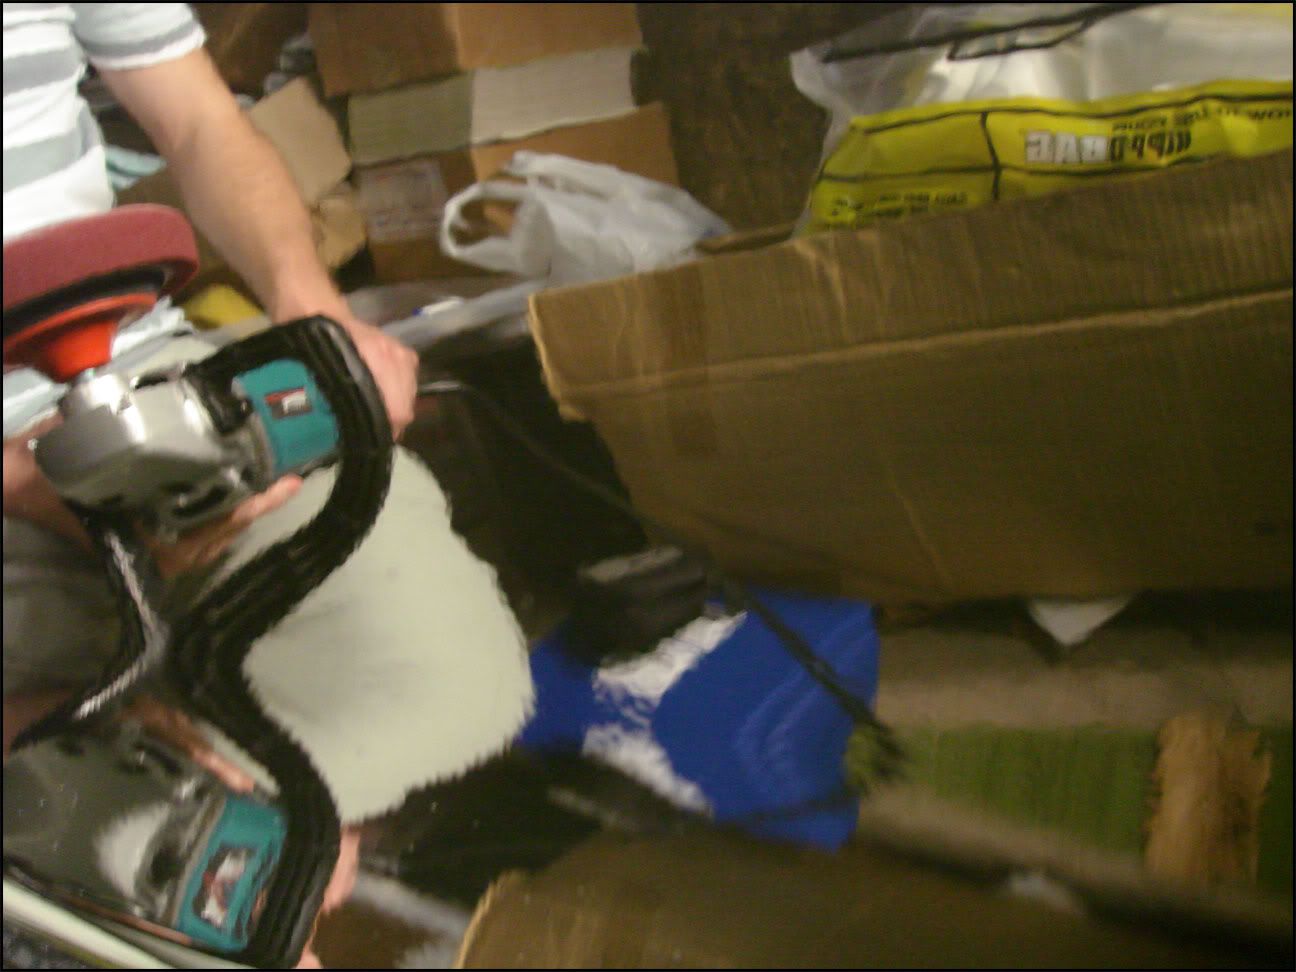
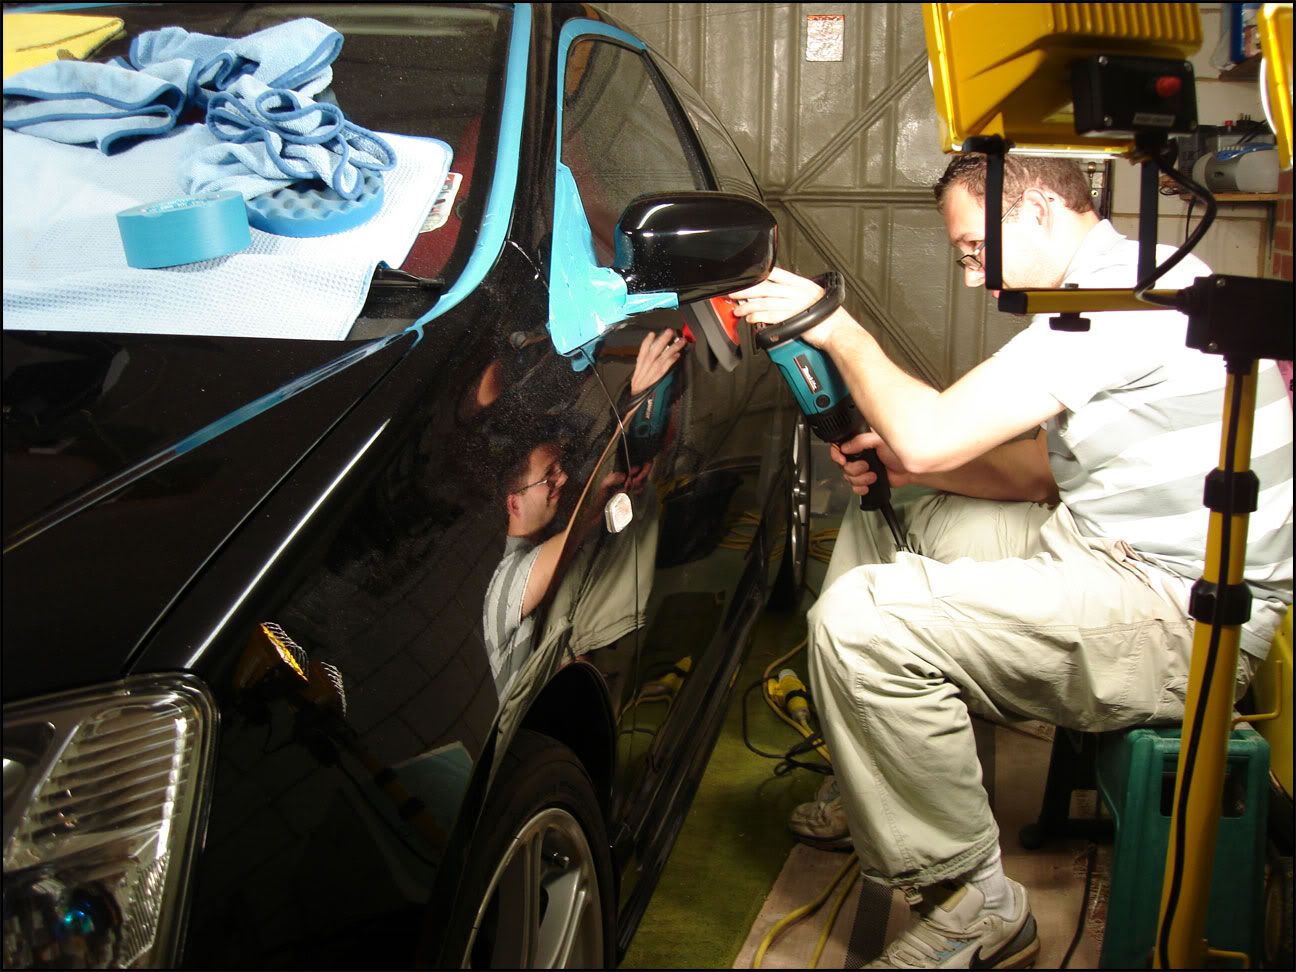
Pic of me machining (PIKEY!!!):
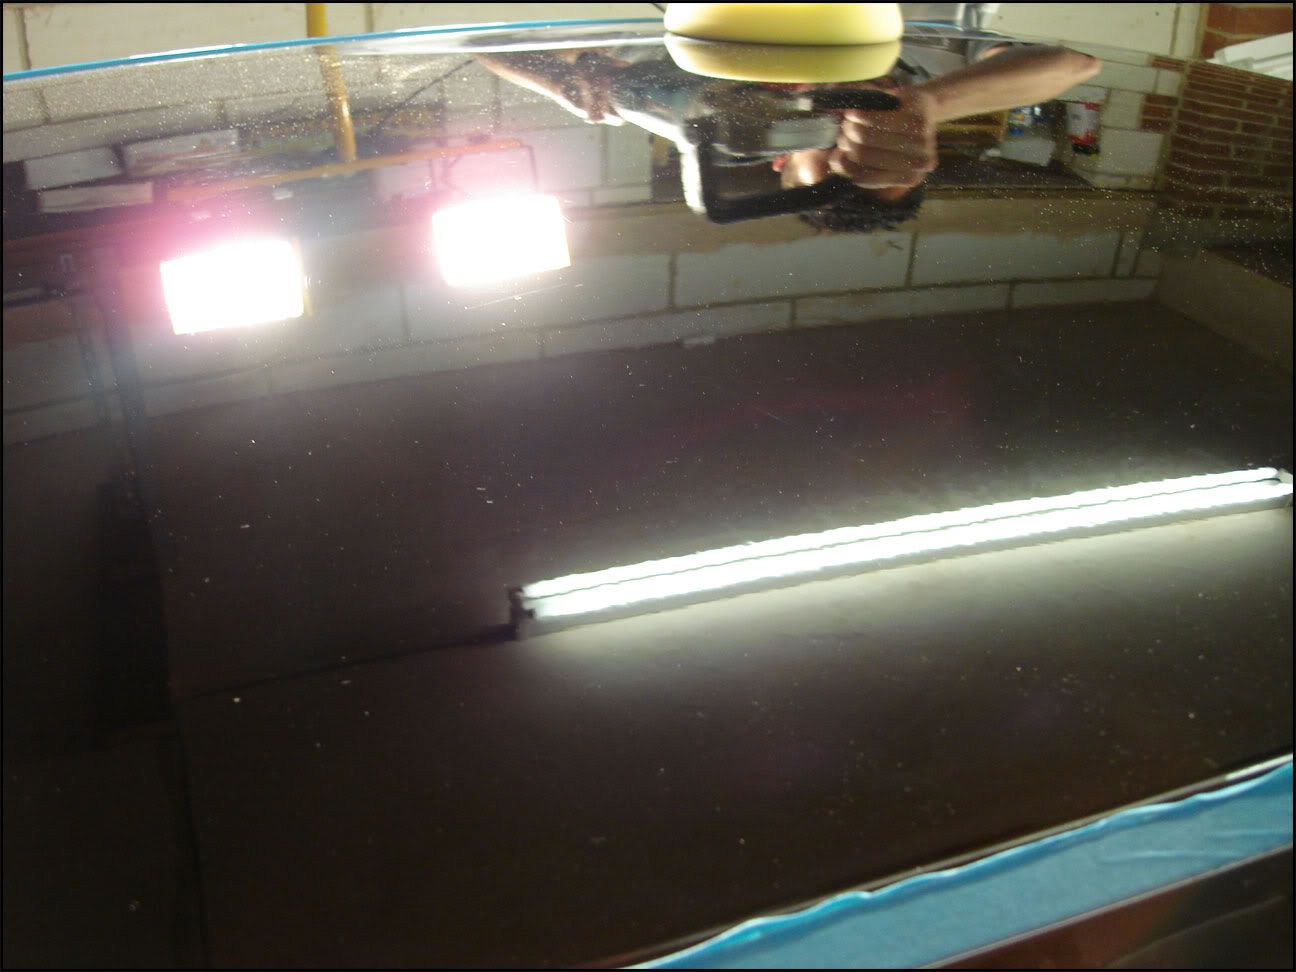
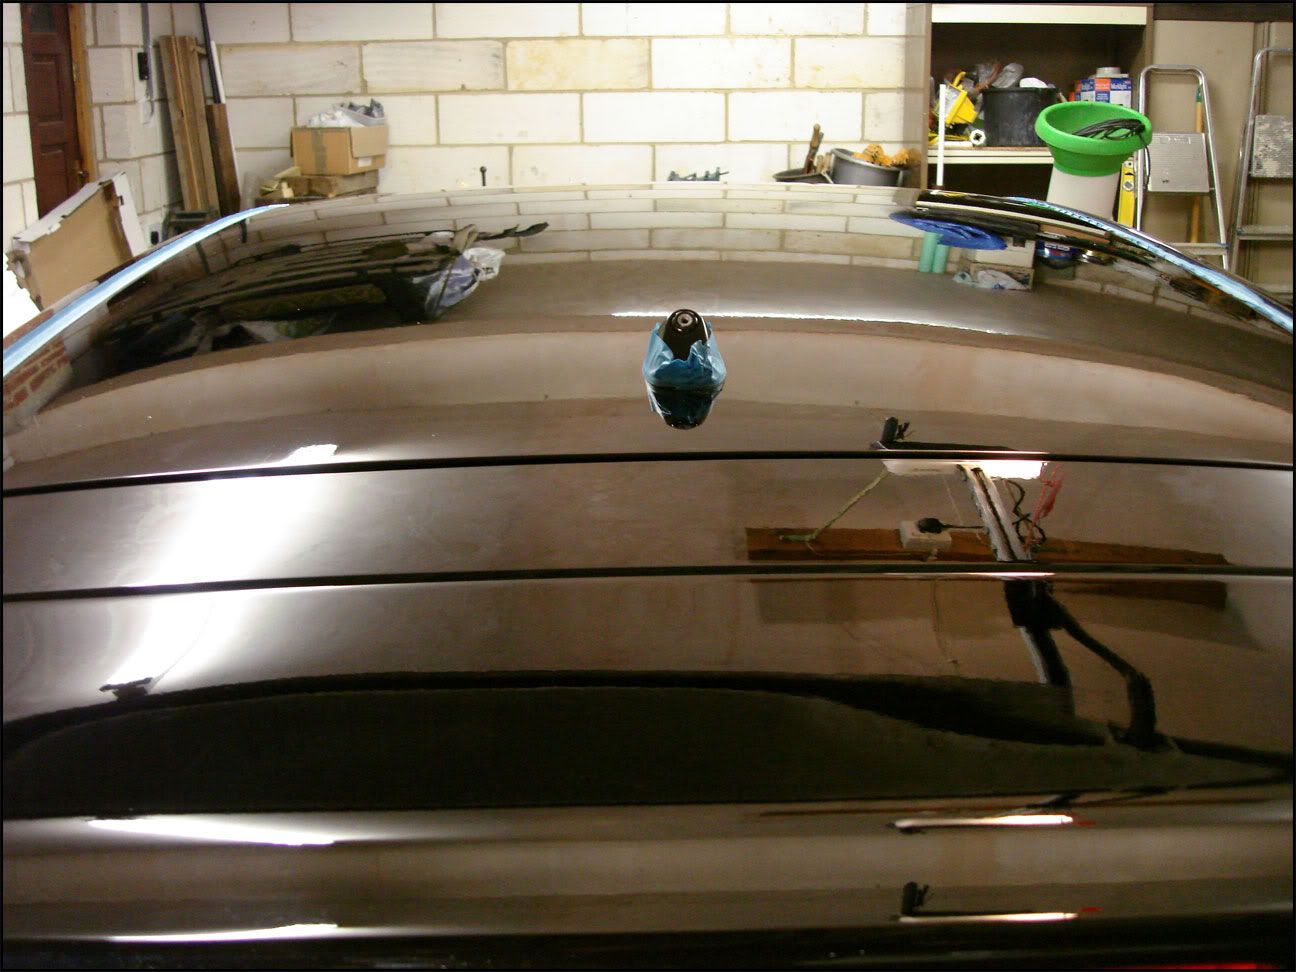
Roof after polishing:
After the #83 i wanted to refine the finish and make it ready for LSP. With the temp in the garage rising i tried Menzerna 85RD on a 3M finishing pad which worked nicely! The 85RD really brought the finish out and i'm so glad i spent the time to complete this stage. I feel it added so much to the finished product.
With time getting on the pictures took a back seat.
The LSP of choice was Dodo Purple Haze over Megs #7.
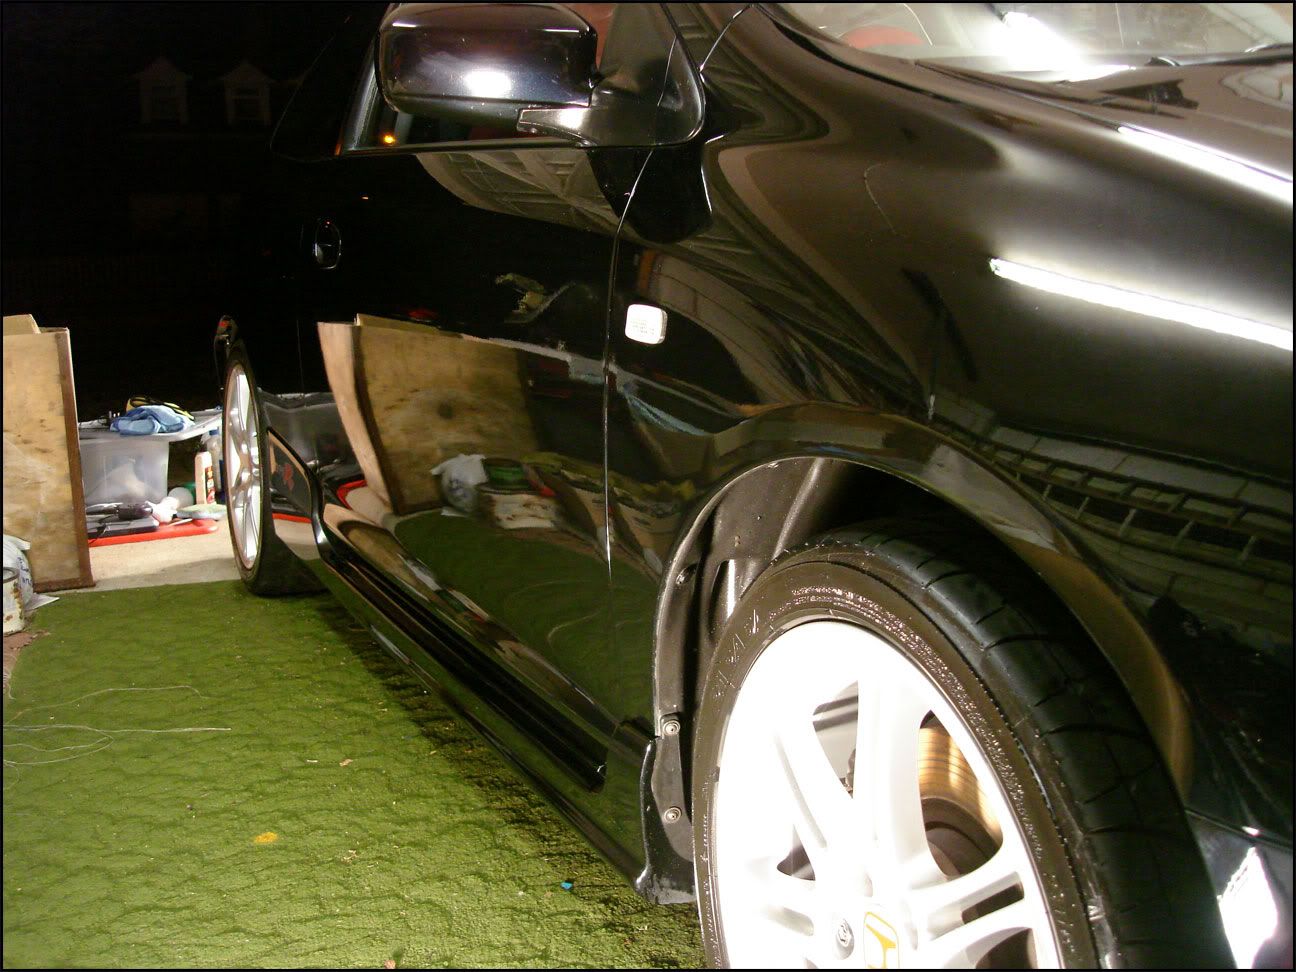
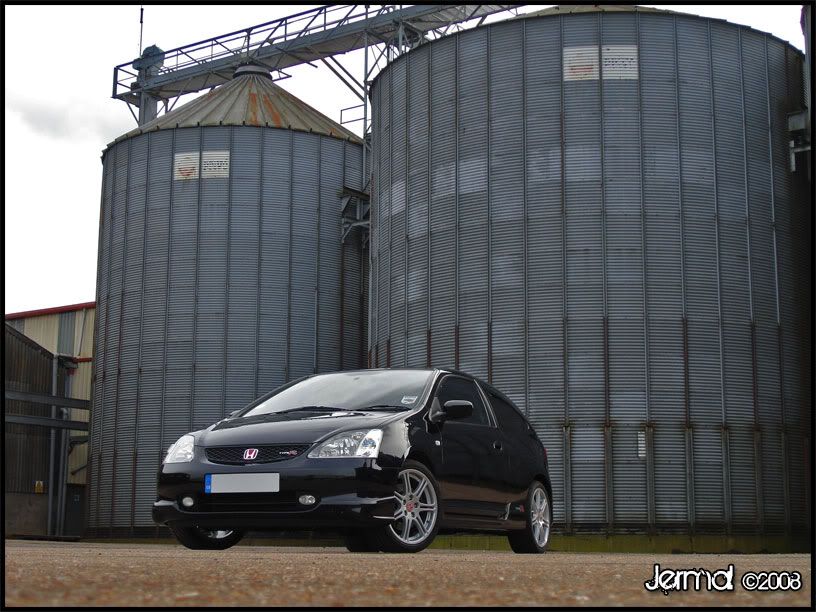
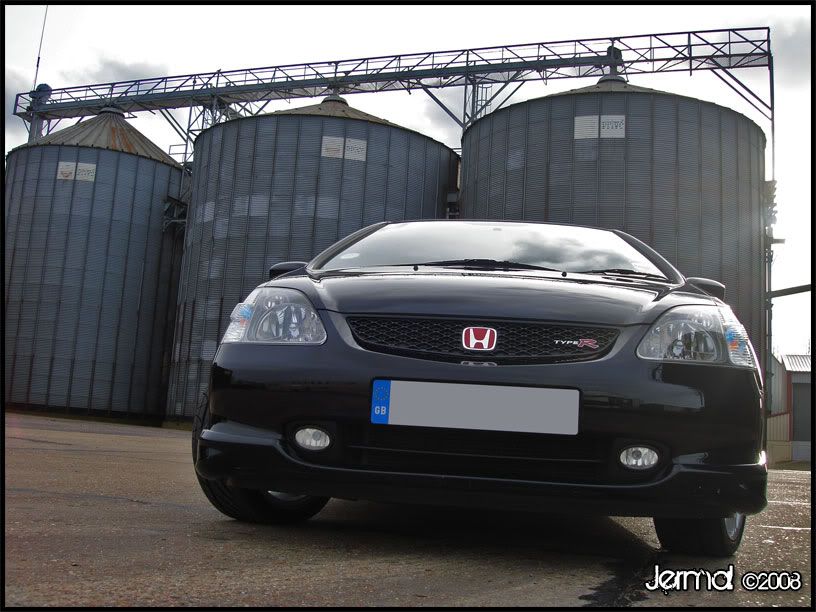
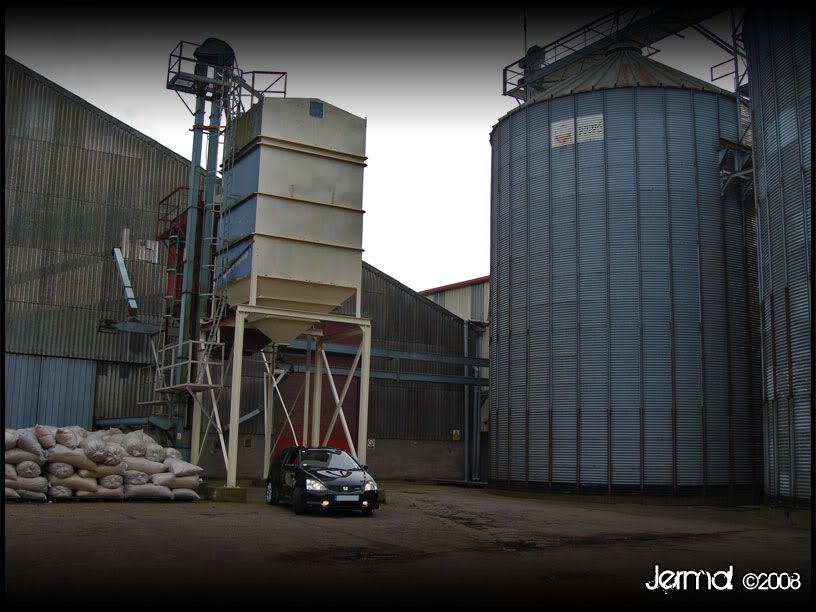
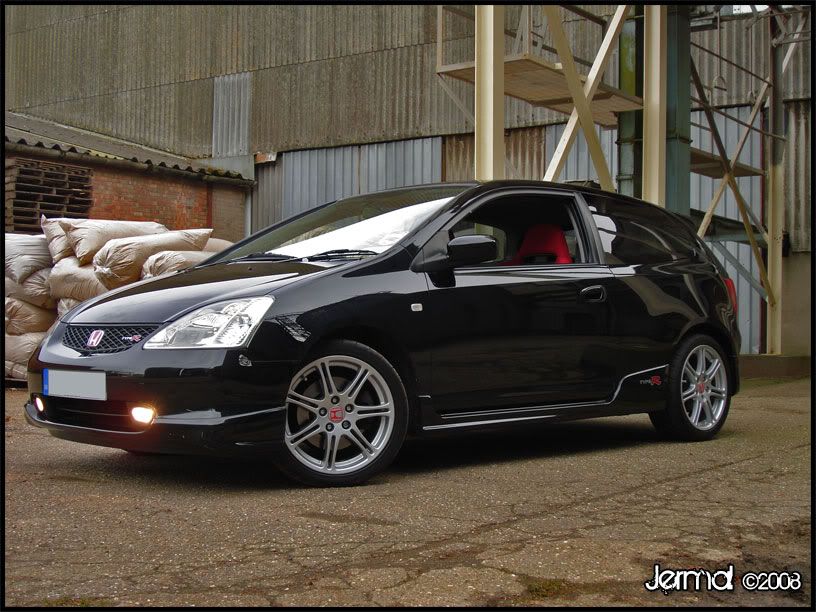
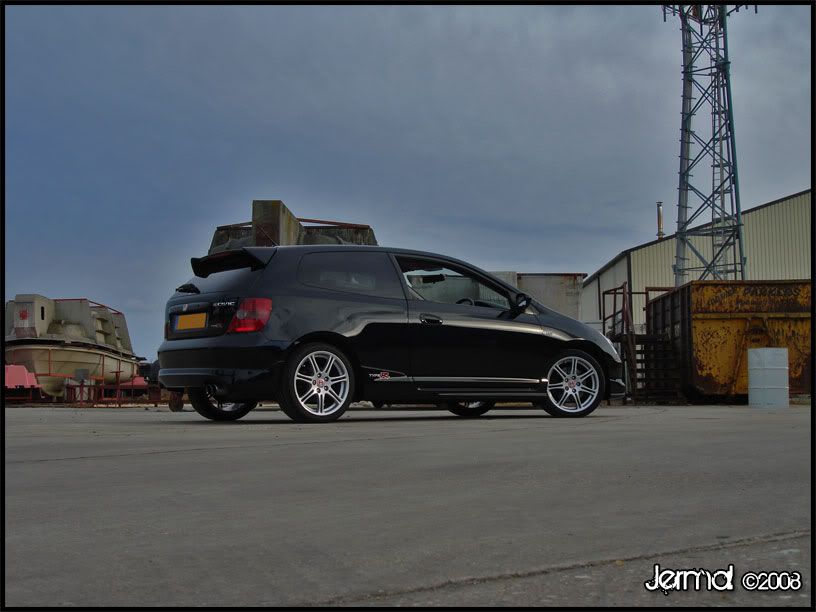
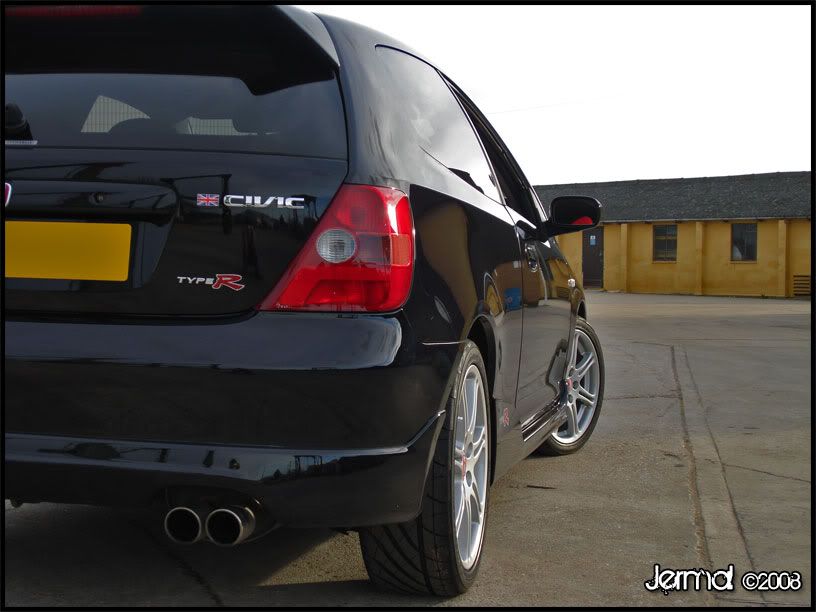
Onto the finished pics:
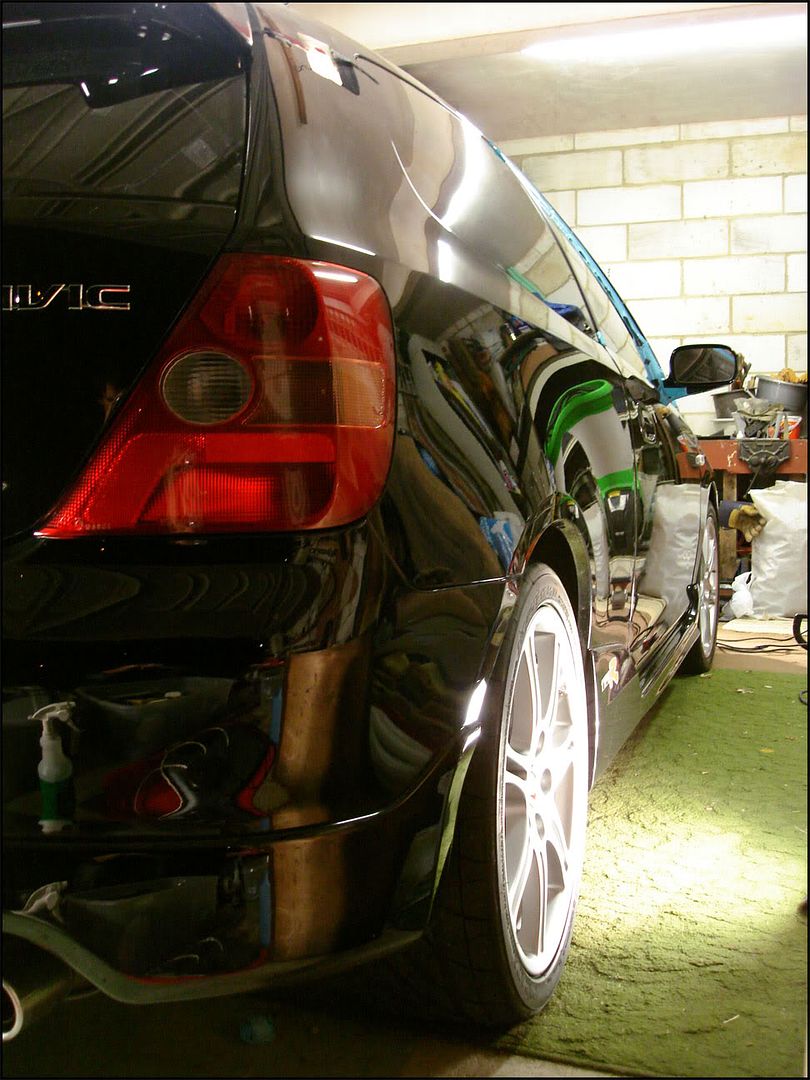
No daylight shots unfortunately I'm sure Tony will get some up next weekend though
The correction level achieved was between 85-90% with RDS remaining. The drivers side was in a pretty bad way and although most of the defects were removed the deep scratches remained.
I'd like to thank Tony for being so patient and coming down to me
Thanks for looking
Andy
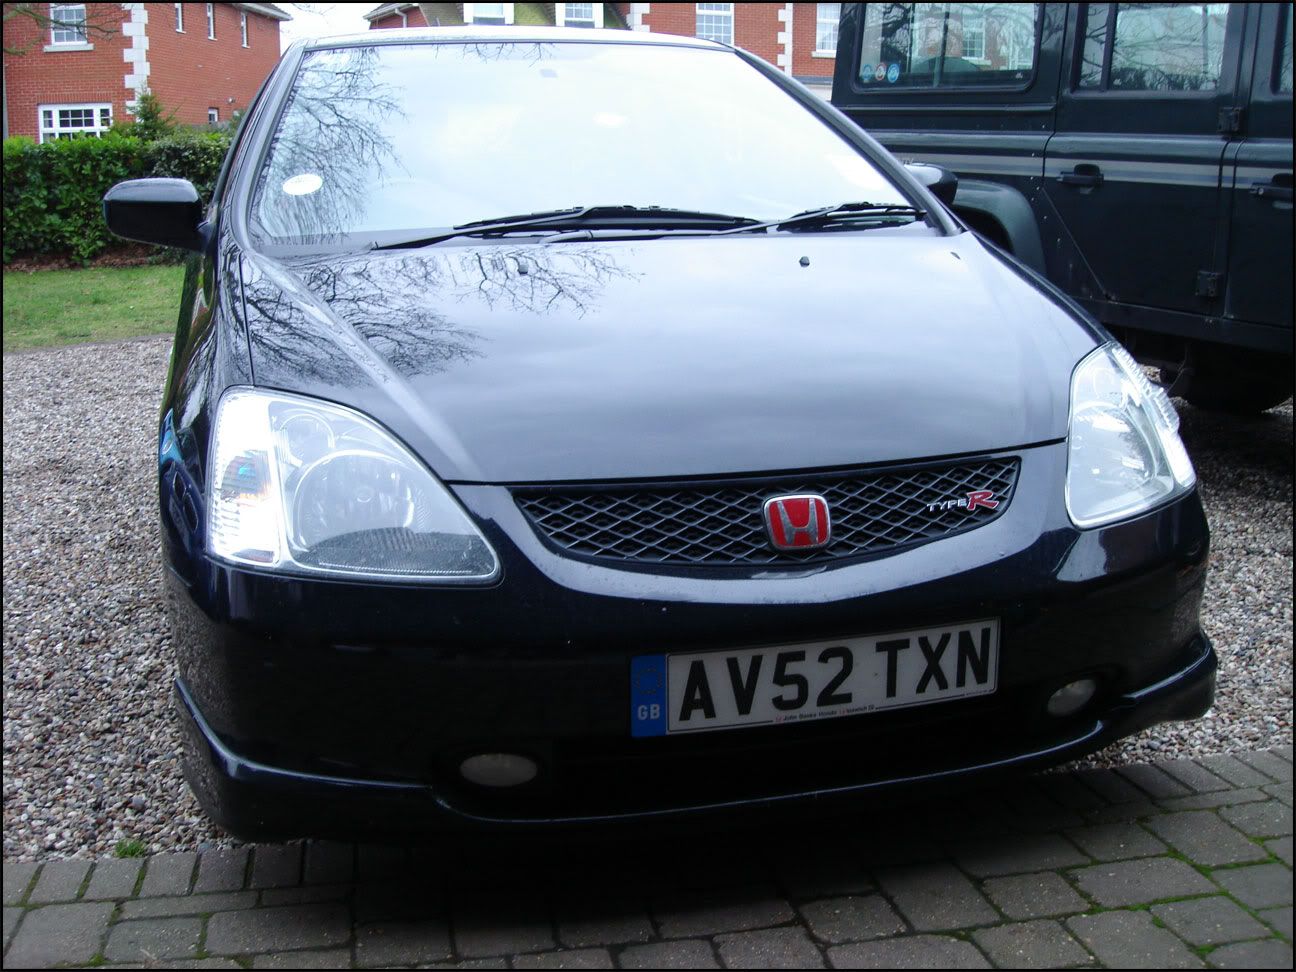
Here are the pictures from Saturdays work. I had the pleasure of detailing a very nice Night Hawk Black Civic Type R in 30th Anniversary guise.
Tony had come down from Norwich so the car was fairly dirty on arrival. First inspections of the car revealed a nicely kept car with a few imperfections to be sorted. Part of the rear bumper had recently been resprayed by a bodyshop who had left some wetsanding marks on the panel above. After reviewing the paint thickness of that area it became apparent that they had been machining quite heavily so i knew i had to tread carefully on that area.
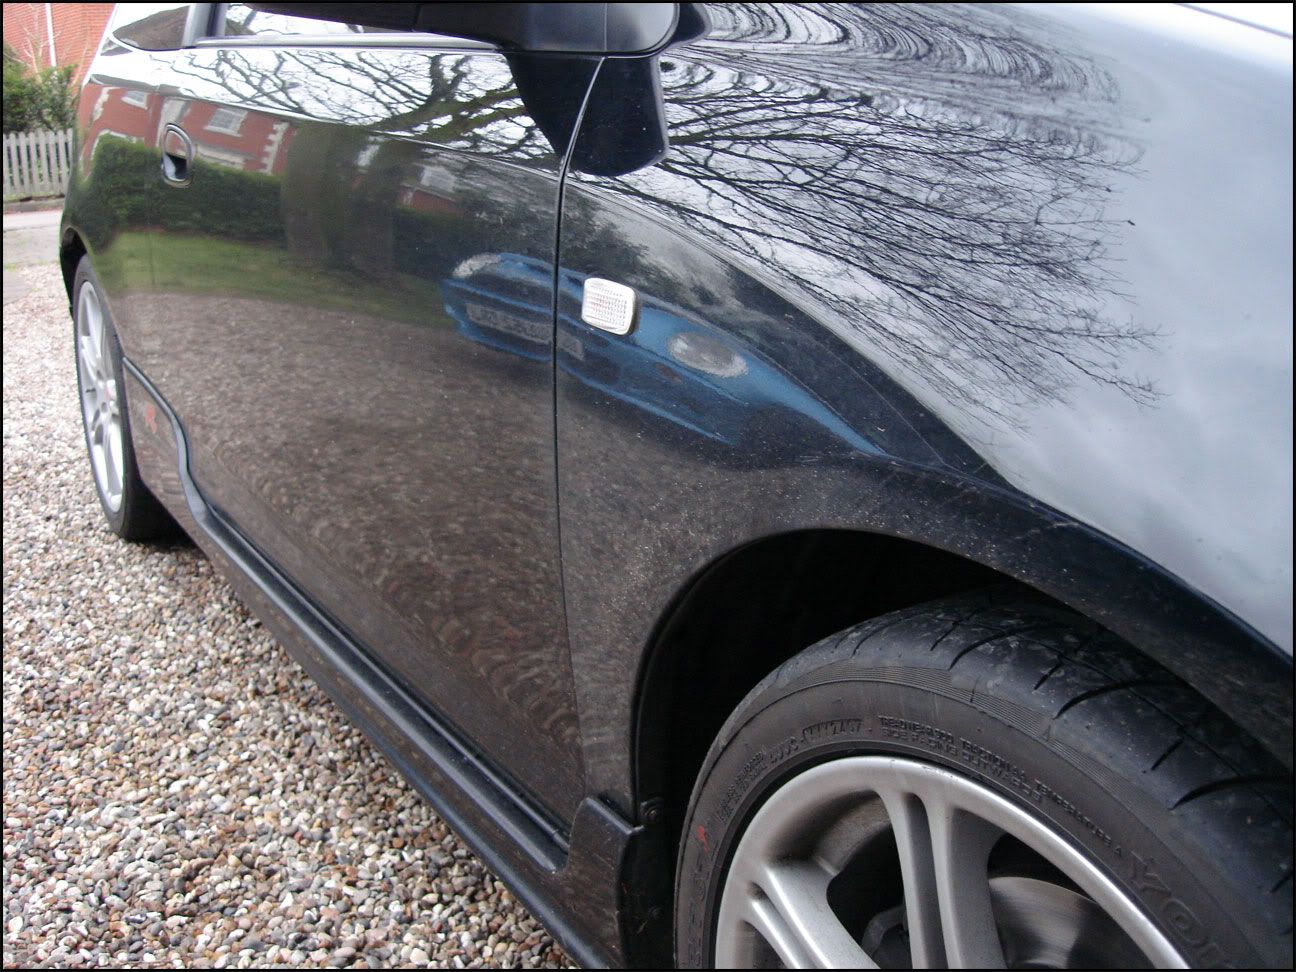
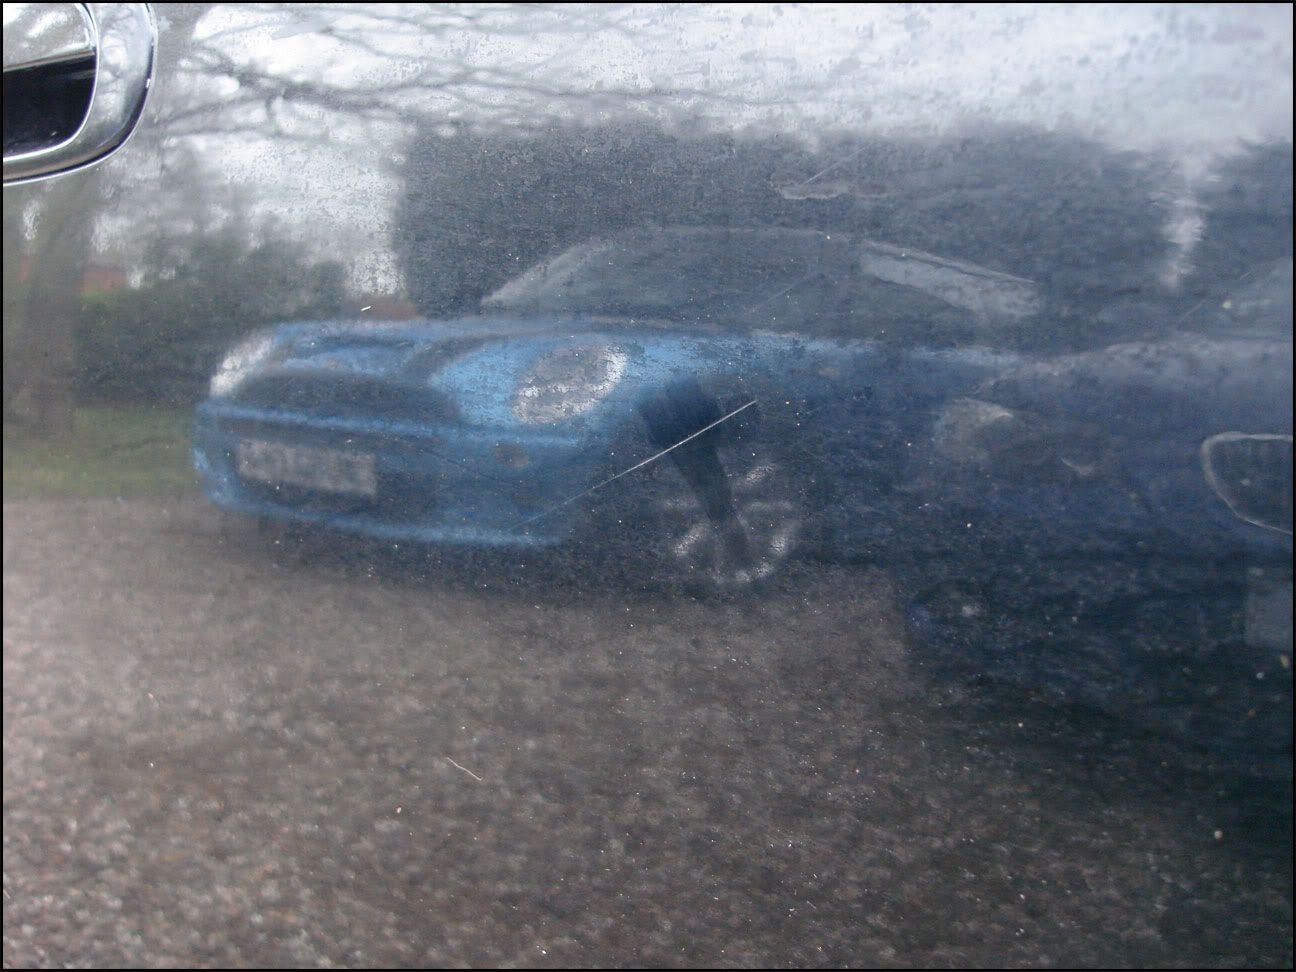
There was quite a nice scratch on the drivers door and a couple of deep stonechips that required attention.
Onto the pictures
As the car arrived:
Scratch on the drivers door:
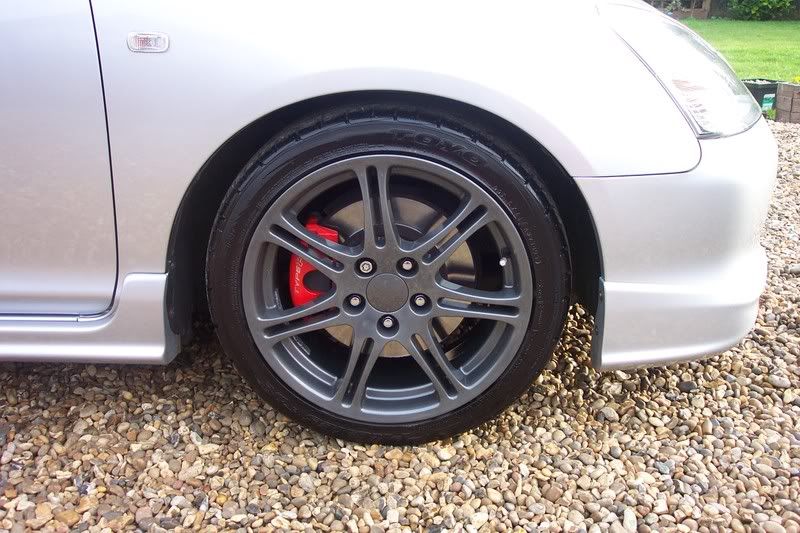
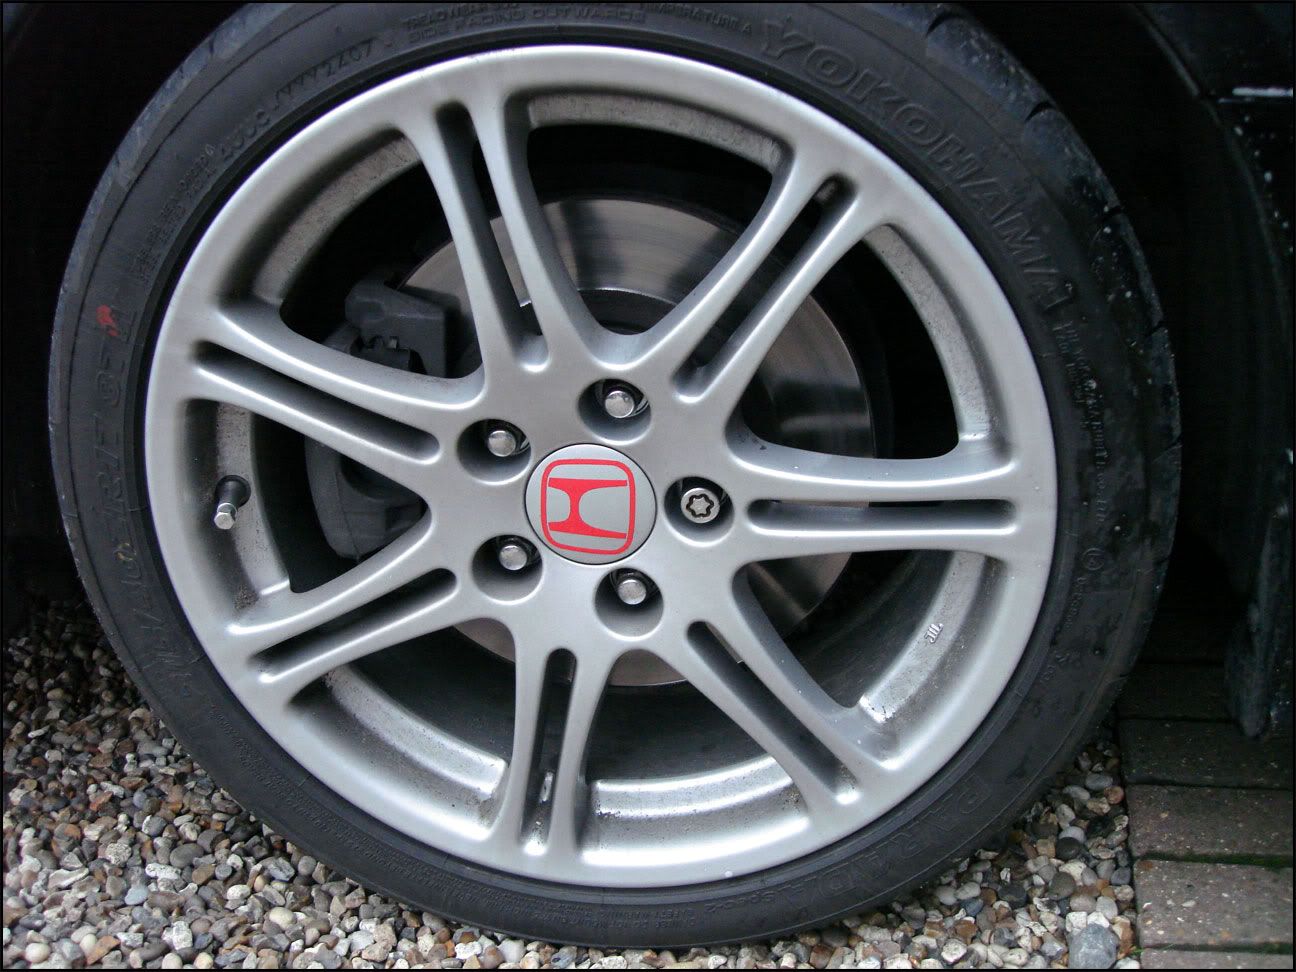
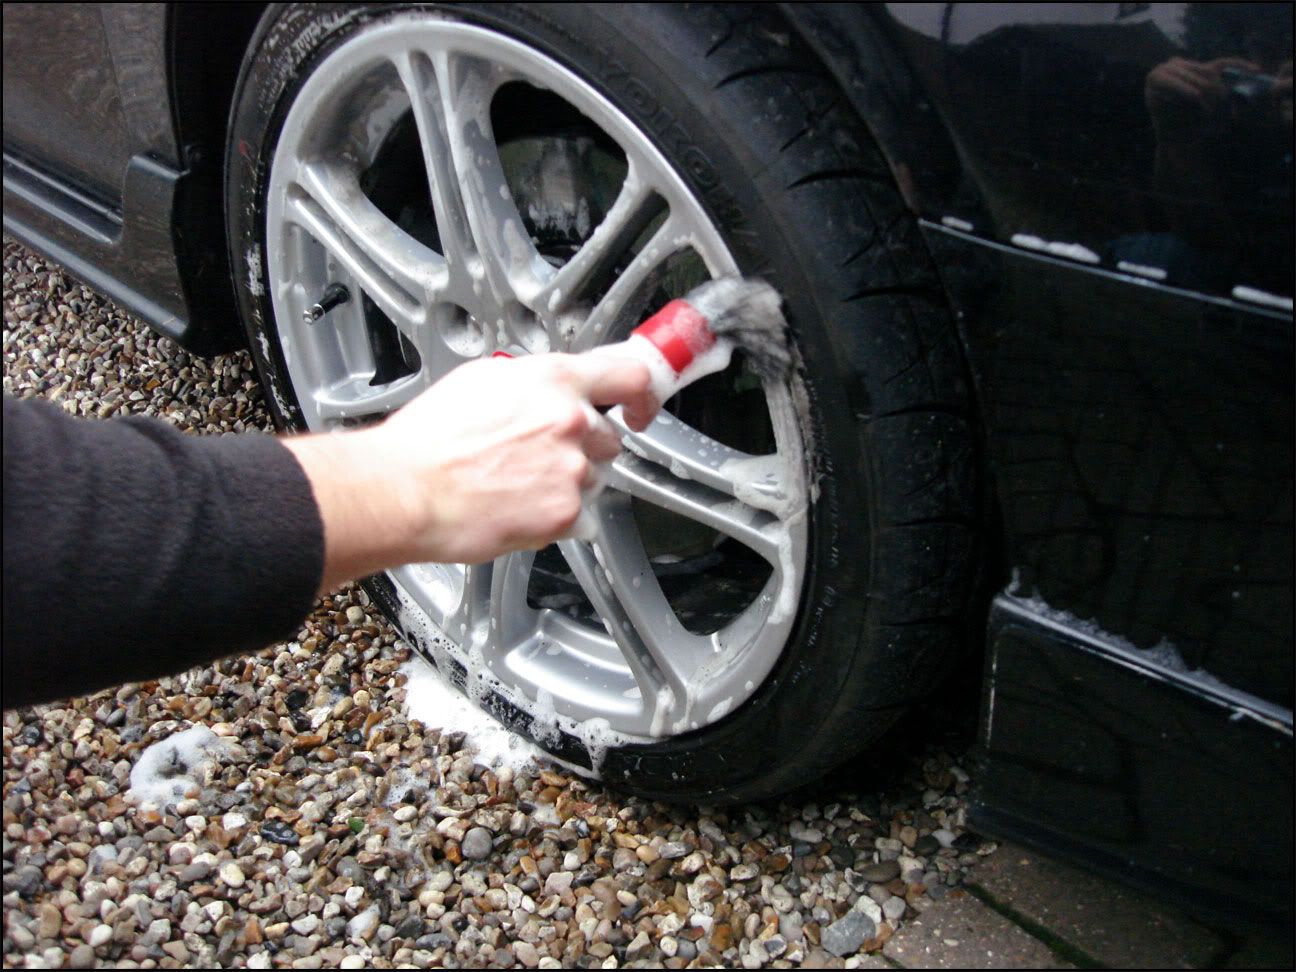
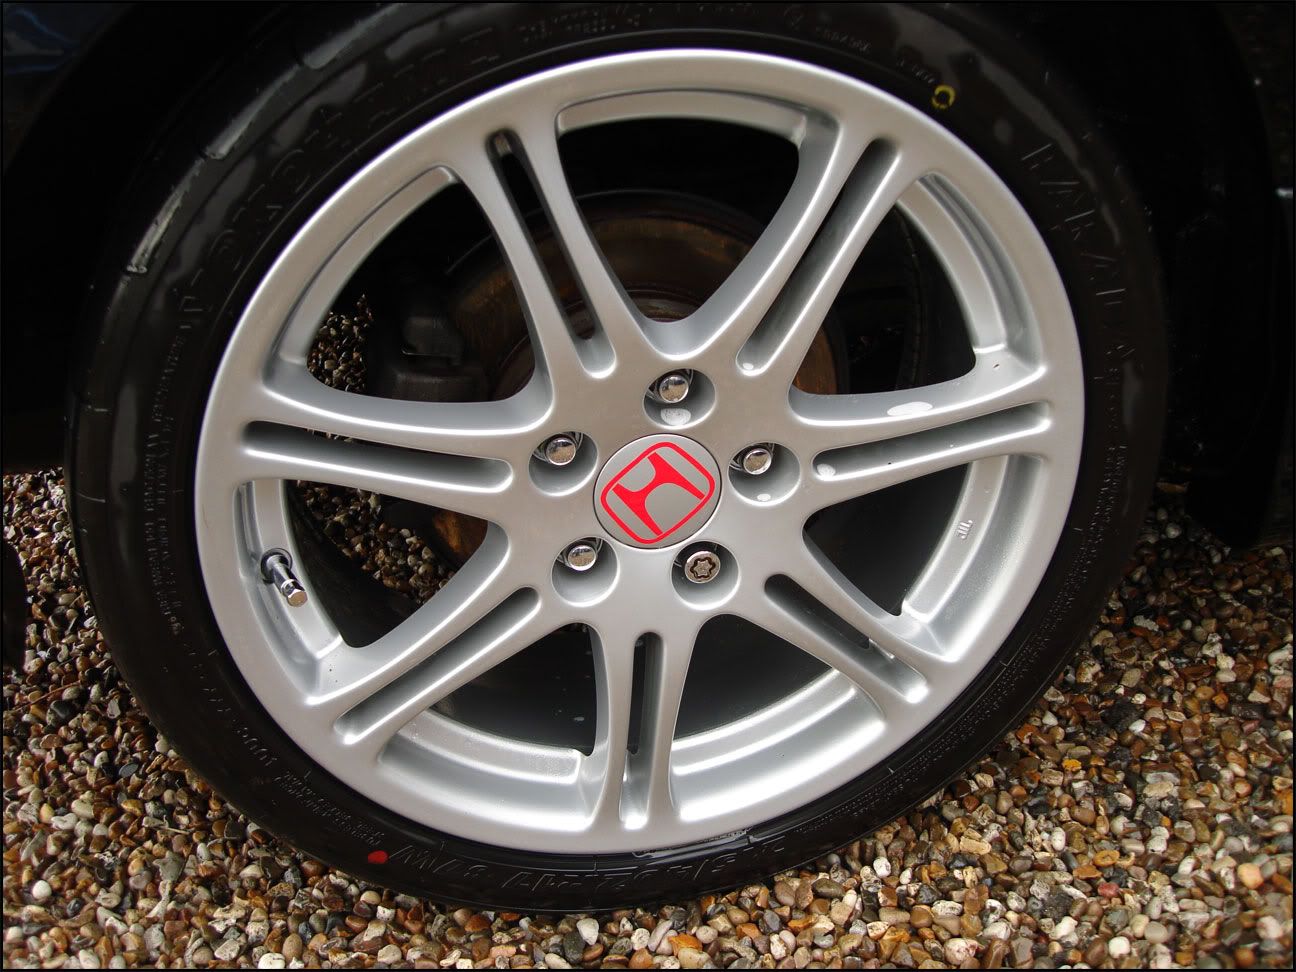
After the car had cooled down i sorted the wheels first. A weak mix of Megs Wheel Brightener sprayed onto the rim, aggitated via a Swissvax wheel brush and washed with a Microfibre Mitt.
Before:
During:
After:
The car was then foamed with a strong mix of CG Citrus Wash and Gloss in an attempt to strip any previous protection. After the foaming the car was 2BM'd with Megs Hyper Wash.
After the wash stage Tony was keen to know about claying. So using Megs Last Touch as lube we set about claying the car with CYC Poly Clay. Even though the clay was kept warm and copious amounts of QD were used the clay caused a little marring (no worries as the car was being machined)
The clay brought off a reasonable amount of contaminates but on the whole was in good condition.
The car was then foamed, rinsed and dryed.
As the rain started we rolled the car in the garage to get the paint depth readings.
This is where i started to worry a bit :laugh: The readings were between 80um and 100um with the exception of the drivers door which saw readings starting from 140um up to 300um indicating paint at some stage.
After the depth readings were taken i moved onto the paint stage. The chips and scratch were cleaned and the paint applied with an artists paintbrush.
To the scratch:
Painted
Wetsanded
Polished (these are the best pictures we could get)
Very pleased with the result there
The paint was suprisingly hard on the door and required Menz 3.02 and the Megs burgandy pad. I removed a moderate amount of clearcoat with the wetsanding and polishing as i had a healthy reading to start with. The chips on the bonnet required a little more care and were polished using 3.02 and a 3M polishing pad. Which nipped everything out nicely.
This is as far as i could get using Menz. It just wouldn't play ball on the other panels, it was clumping into balls and making the pad skip about. In steps Megs #83
All of the other panels were polished with #83 on polishing pads.
Front wing:
Before:
After:
The scratch was very deep and although it looks pretty bad in the after it was greatly reduced. The paint was just too thin for me to start wetsanding comfortably.
Pic of me machining (PIKEY!!!):
Roof after polishing:
After the #83 i wanted to refine the finish and make it ready for LSP. With the temp in the garage rising i tried Menzerna 85RD on a 3M finishing pad which worked nicely! The 85RD really brought the finish out and i'm so glad i spent the time to complete this stage. I feel it added so much to the finished product.
With time getting on the pictures took a back seat.
The LSP of choice was Dodo Purple Haze over Megs #7.
Onto the finished pics:
No daylight shots unfortunately
I'm sure Tony will get some up next weekend though The correction level achieved was between 85-90% with RDS remaining. The drivers side was in a pretty bad way and although most of the defects were removed the deep scratches remained.
I'd like to thank Tony for being so patient and coming down to me
Thanks for looking
Andy
Last edited by a moderator:
- Messages
- 25,724
I'm going to use a bit of a cliché here, but the pictures really don't do it justice. The results are stunning! I went to Andy to basically try and get rid of some of the swirl marks that had been there since I bought the car. I wasn't expecting a miracle as the condition of the paint before Andy went at it was dire to say the least. By the end of a very long day (we finished just before midnight) I couldn't believe the results.
I would recommend Andy to anyone. His standards are of the highest degree. He apparently wasn't happy with a few areas of the car the first time round. I said it looked fine to me, but he was having none of it and went at them again. He takes great pride in his work and it shows in his results. I don't think Andy would ever do a half arsed job, unlike the tools who sprayed my bumper not so long ago.
I also learnt a massive amount about care care from Andy throughout the day, which you wouldn't get from a lot of places. He was very happy to teach and he's obviously got the patience of a saint as I kept bombarding him with questions for the whole 15 hours the job took. He even made me a pizza for lunch!
In car terms, this is the best money I've spent on the CTR without a shadow of a doubt. I urge anyone who is considering about have a full detail to get it done and get Andy to do it. You will be amazed with the results.
10/10 :smt023
P.S. It's already bloody dirty again!
Last edited by a moderator:
- Messages
- 25,724
Very reasonable.Looks Fabulous..
What sort of costs then ??
I don't think it's for me to unveil Andy's price list, but I got two other quotes from companies in Norwich that do a full detail and they where twice as expensive!
SpaceMonkey
Midget Wannabe
- Messages
- 21,867
Glad your are pleased with the results Tone
I knoew you would be.
Like you say pictures don't do the work & effort justice @ all.
See yours parked next to a well kept NHB & the difference would be night & day imo.
Good work lads
I knoew you would be.
Like you say pictures don't do the work & effort justice @ all.
See yours parked next to a well kept NHB & the difference would be night & day imo.
Good work lads
- Messages
- 25,724
when was that? I haven't been that way today, but it could have been the missus?very nice, i think i might have to take a trip to see Andy ! Probably wait till it stops raining mind. Very nice motor
Was it you that drove behind me coming off of the cromer round about tone ?
- Messages
- 25,724
Nope that wasn't me. I was at my dads until 8ish on Sun.Er it was sunday at approx 4pm, and unless ur missus has manly features then i would say no.
- Messages
- 8,886
Looking awesome, still! That detailling looks well worth the money (whatever it cost
Miss my old CTR more and more every time i see a good example like yours J!!
Then you know what to do R... :lol: :smt023
- Messages
- 25,724
Gave the car a good going over today. Due to the poo weather of late, I hadn't actually cleaned the car for over a month. This however gave me ac chance to test out my new goodies from www.cleanyourcar.co.uk. No pics of the car care products as that would be a little sad wouldn't it!


- Pre wash using super spray hose end sprayer and Megs gold class mixed with Chemical guys citrus wash and gloss.
- 2BM wash using Megs Hyperwash (new) and Megs microfibre wash mit.
- Dried the car using Miracle dryer and Megs last touch detailer (new).
- Wheels washed with Megs Hyperwash and then treated with Poorboys wheel sealant. Used my Megs wheel spoke brush (new) to get right to the back of the wheel.
- waxed the bodywork for the first time since my detail (18-01-2008 ). I haven't bought any really good wax yet, so just used my megs step 3 deep crystal carbauba wax.
Last edited by a moderator: