
Dalco type R
Approved Trader
- Messages
- 48
Hey chaps not been on here for a long while but thought you maybe interested in this little install i finnished recently.
The customer already had a pioneer screen fitted with a set of 5" Hertz components and a cheap Kenwood Sub / Amp combo. However was un-impressed with the installation quality and the general performance that was achieved by the kit provided. After a listen and a chat it was sugested by me that the way forward was to put a quality amp the the front Herts components and whilst at it ditch the kenwood amp for something worthy of powering the woofer.
A DLS 3 channel amp was decided on for the budget and quality suitability reasons which turned out to be pretty spot on for what was required.
So lets get started.
Goals:
1 - Better usage of provided speakers and sub
2 - Better installation of cabeling
3 - Minimum usage of boot space
4 - Better SQ and general set up
First port of call was to sort out the doors ans the speakers that were thrown in.
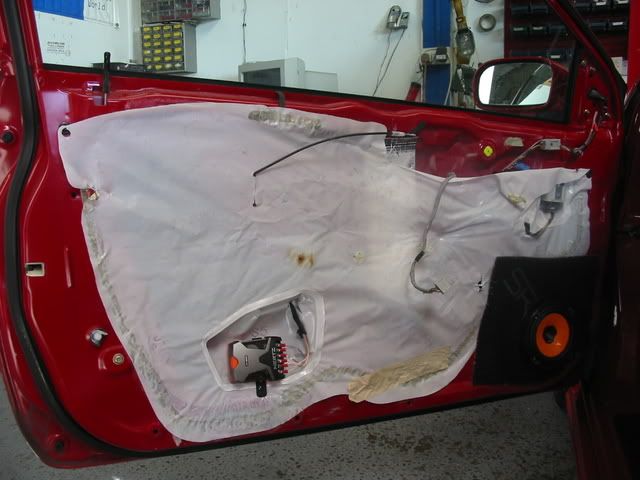
This is a shot of how the door looked before:
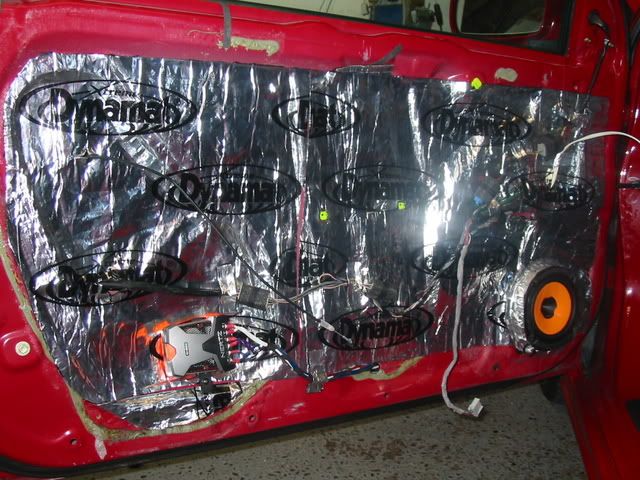
This is after 3 sheets of Dynamat (1.5 p/door) was applied, re installation of the moisture guard and a wave diffuser was fitted behind the speaker also. Now the when the door shuts it has a THUD rather than a TING and allows the speakers to work properly.
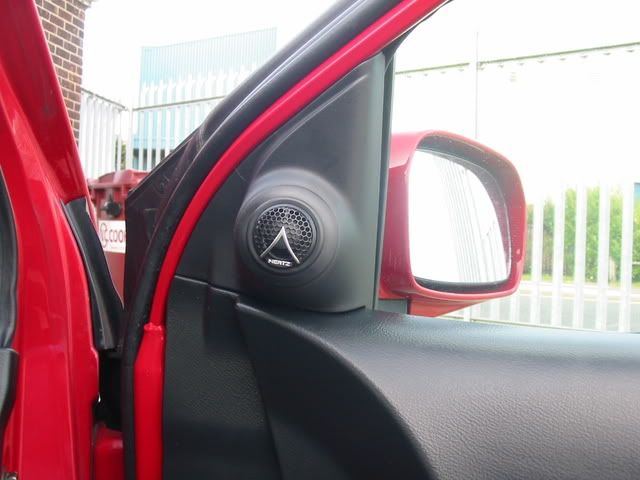
Also a shot of the tweeters now installed in the OE tweeter mounts instead of the surface mount caps as they had previously been done.
All the existiong power cables were removed and re-loomed and fitted in the correct runs (power on left signal down the centre) the fuse holder had to be securly mounted with a bracket as it was just ty-raped on the the battery harness and the earth point was relocated to its pefered location along near the back strut brace as it had been screwed into the back seat area with a naff self tapping screw !!!!!
Now after all that was sorted, The boot install could begin.
First off a full fiberglass mould was taken of the boot area with the tyre removed. 5 layers of chopmat then some re-enforcement strips in followed by another 5 layers of chop mat. This mould was rock solid, Exactly what was required to get the proper bass responce.

The woofer section was measured out and blocked off, using 1" MDF and some more fiberglass to seal it up. 3/4" MDF was used to lid the enclosure holding the 12" woofer. A small Ply base was mounted to hold the 3channel amp to the left of the woofer.
The whole piece was sprayed black. This was only for cosmetic reasons as black looked better than raw wood and fiberglass, also note there is 4 wave diffusers inside the wooferbox to again improve on the woofers performance and stop the reflection of soundwaves in the box off the shiny resin surface.
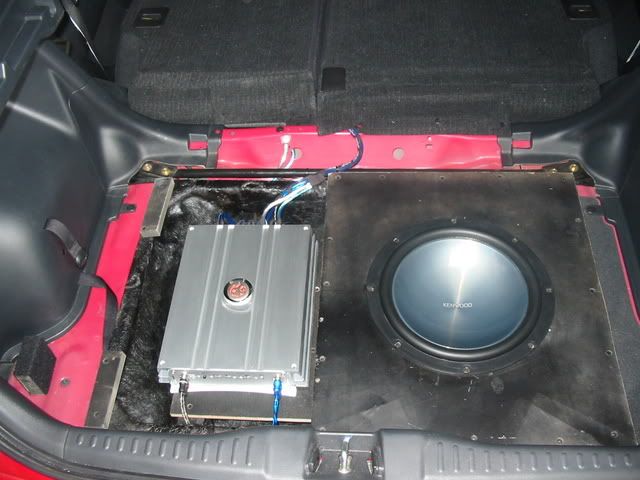
Here the woofer and amp are fixed in with all the cabeling connected and tied neatly down and opt the way.
This is a couple of shots of the back of the top covers after i'd trimmed them. Note the neat staple lines and cut edges.
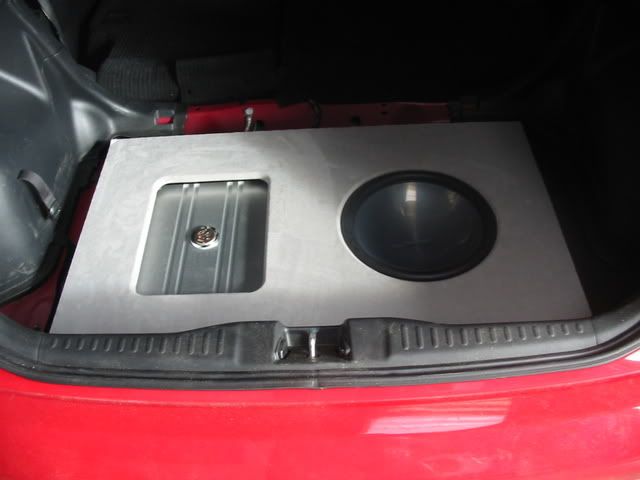
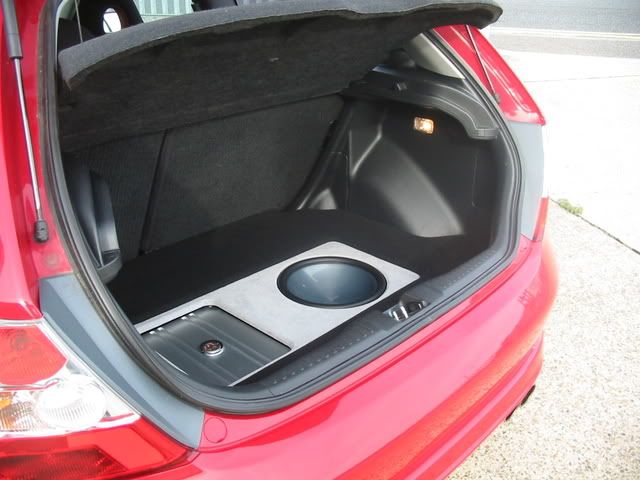
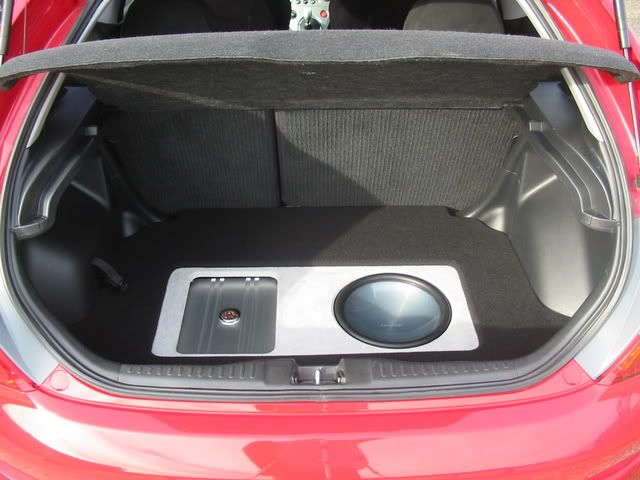
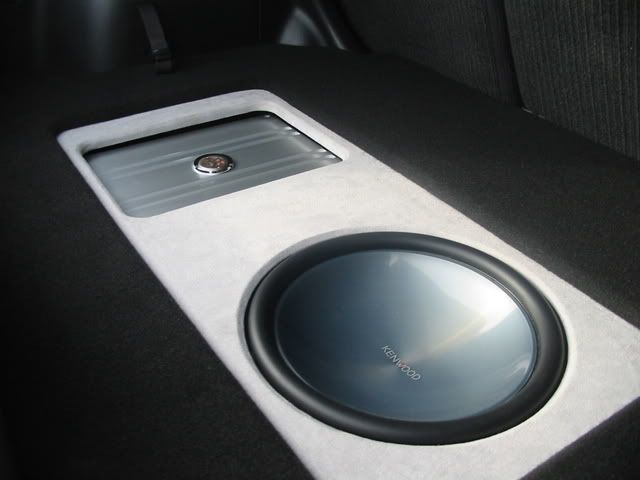
The first of the 2 top layers installed. Trimmed in light grey alcantare to match the A and C pillar pannel colour in the car. This piece flushed the woofer off nicely allowing the cheesey plastic ring it comes with to be thrown away (of kept as a new router jig) and it also hides neatly the screw holes. Note the edge is sloped on both the woofer and amp opening to give it a more detailed appearance.
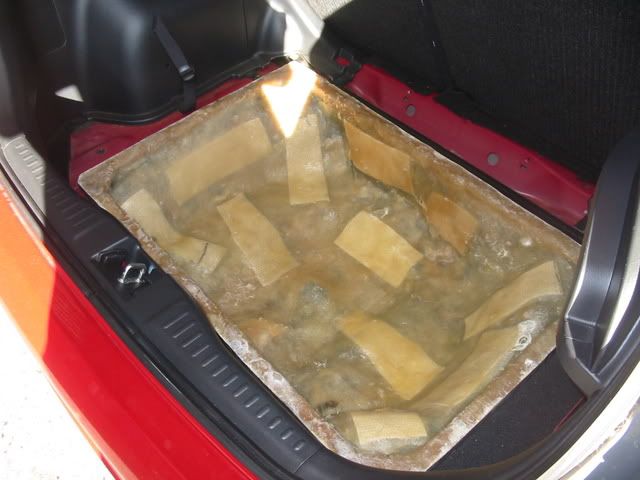
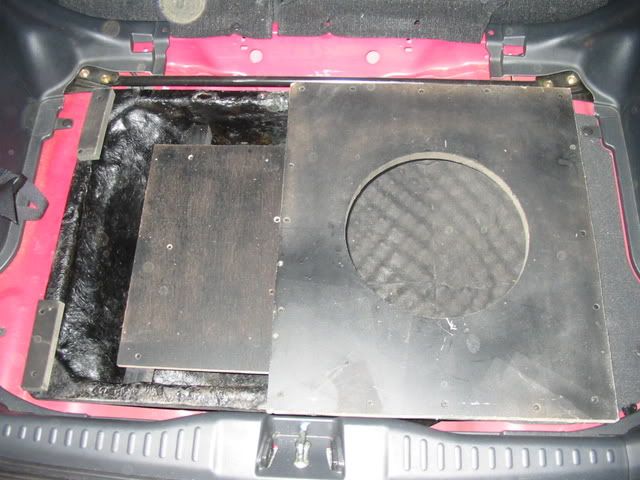
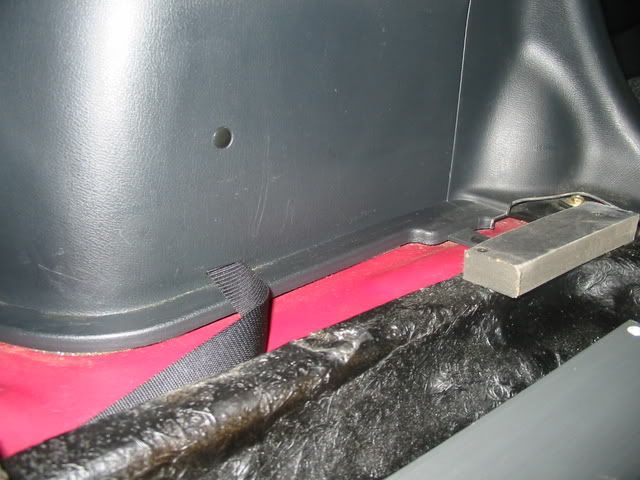
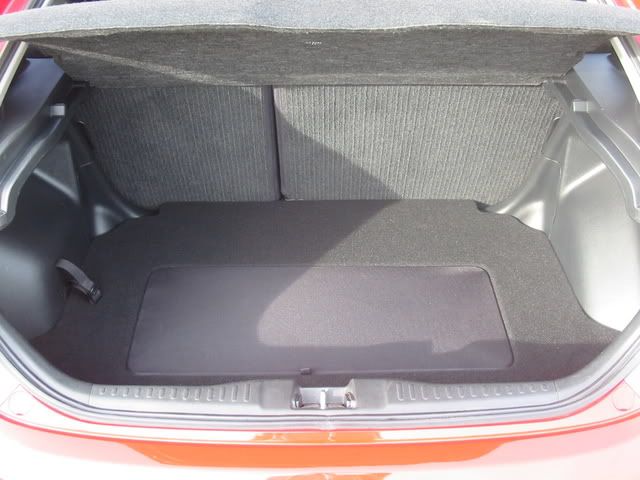
At this point I would like to show 2 pics taken at the same spot, 1 shows the boot floor and the other with all the pannels on. This is to show just how little space was taken for this install. Note the small black plastic circle for a reference point. In total only 2.5" of depth was lost from stock !!!!!
And Finally the end result.
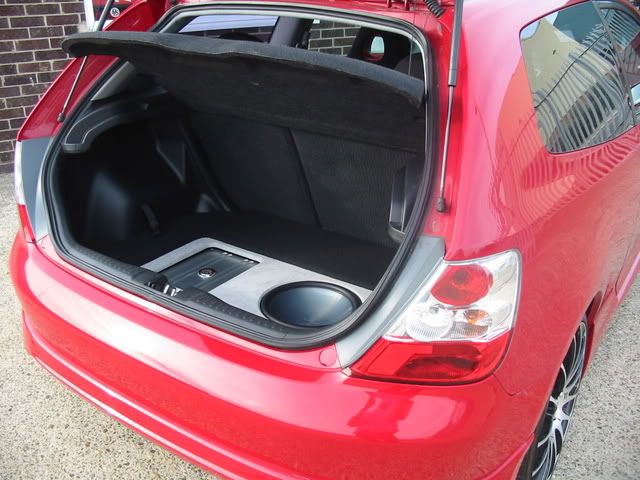
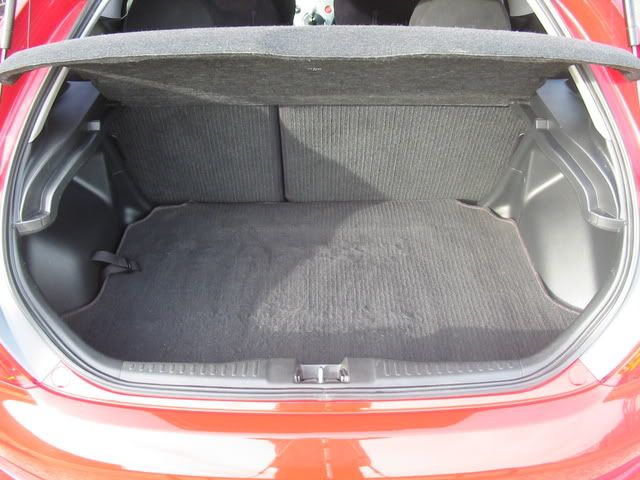
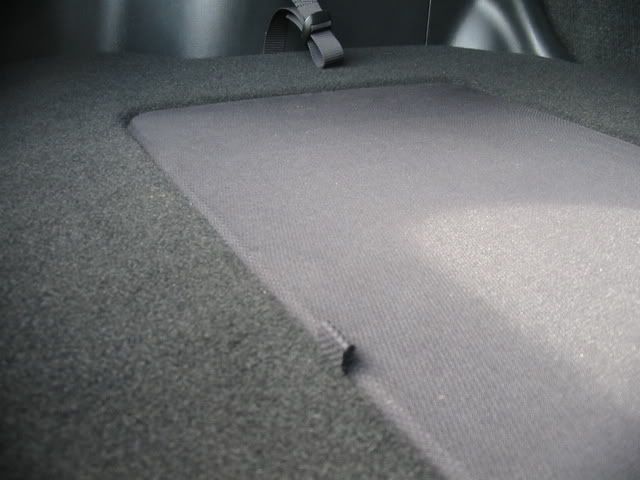
I made a cover to allow the boot to be once again fully used without a worry of damaging anything. It was then trimmed in black grill cloth to blend in with the floor nicely.
And a pic with the OE floor carpet.
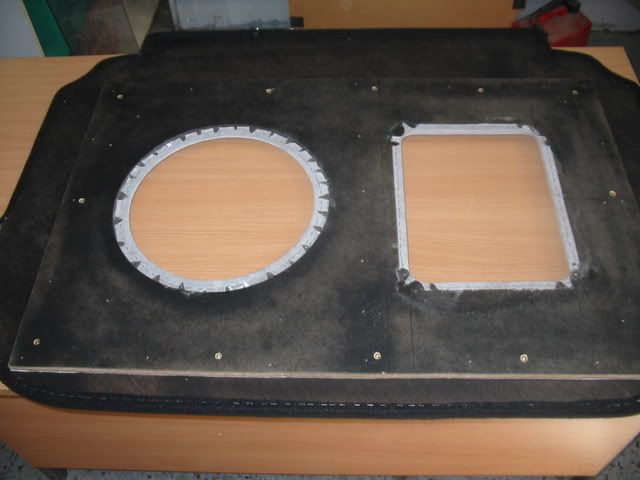
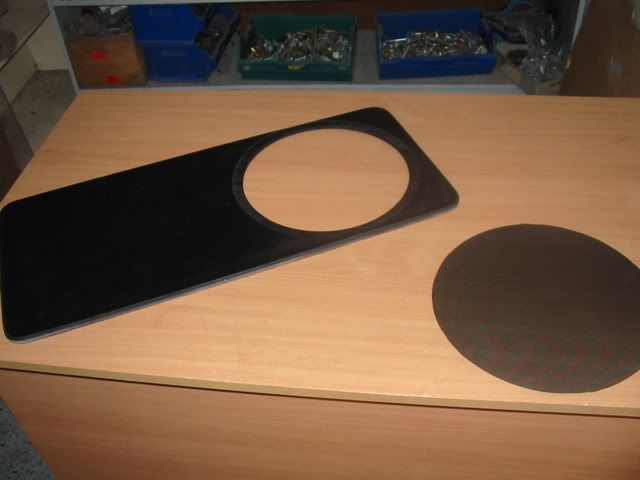
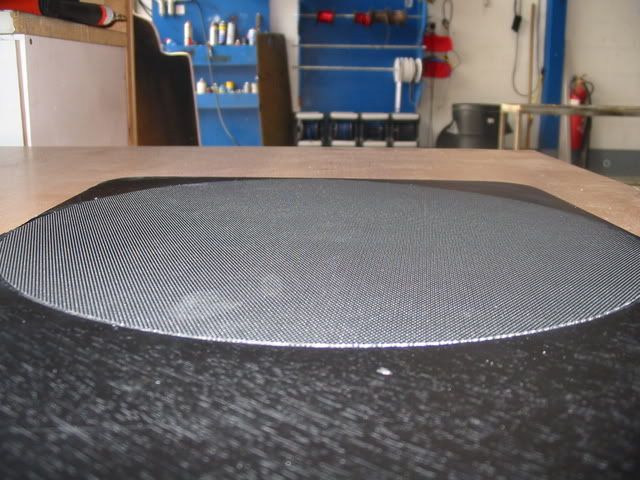
Here is a few pics of the panel made to protect the amp and woofer. Made from 1/2" Ply, The hole had a 2mm rabbited edge to allow the metal grill insert to fit flush and retain all its srtength by having a 1" edge to support it.

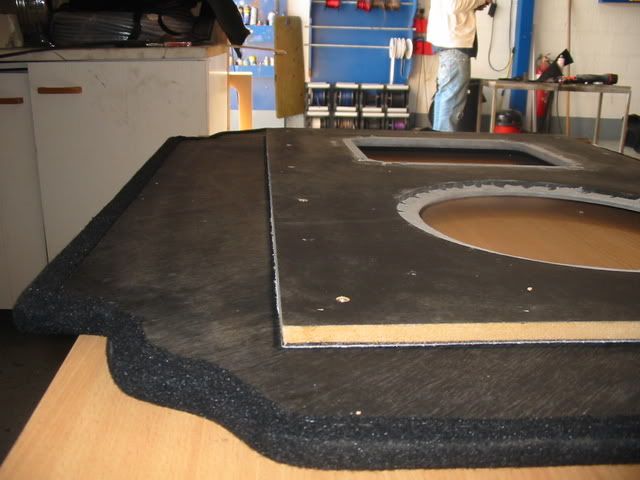
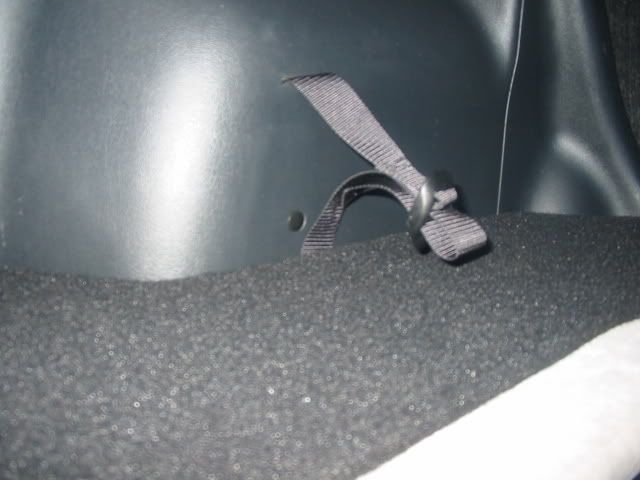
Lastly a closer shot of the detailed edges on the openings and to show how little depth was lost. Note the black carpet floor was done in one piece !!!! and another of the protection piece with small tab for ease of removal.
The sound achieved with these improvments were impressive. The bass was tight, Vocals positioned nicly on the dash center and the mids kicked well when required. The customer noticed the door thud (thanks Dynamat) imediatly which put a smile on my face, then when he turned the system up the smile was on his. It was a shame the speakers had been left powered off the radio's amp and not given the power they required. With the DLS amp running them and doors fully deadened they now sound like a £150 set of speakers should sound.
Your thoughts and comments are most welcome.
Steve
The customer already had a pioneer screen fitted with a set of 5" Hertz components and a cheap Kenwood Sub / Amp combo. However was un-impressed with the installation quality and the general performance that was achieved by the kit provided. After a listen and a chat it was sugested by me that the way forward was to put a quality amp the the front Herts components and whilst at it ditch the kenwood amp for something worthy of powering the woofer.
A DLS 3 channel amp was decided on for the budget and quality suitability reasons which turned out to be pretty spot on for what was required.
So lets get started.
Goals:
1 - Better usage of provided speakers and sub
2 - Better installation of cabeling
3 - Minimum usage of boot space
4 - Better SQ and general set up
First port of call was to sort out the doors ans the speakers that were thrown in.
This is a shot of how the door looked before:
This is after 3 sheets of Dynamat (1.5 p/door) was applied, re installation of the moisture guard and a wave diffuser was fitted behind the speaker also. Now the when the door shuts it has a THUD rather than a TING and allows the speakers to work properly.
Also a shot of the tweeters now installed in the OE tweeter mounts instead of the surface mount caps as they had previously been done.
All the existiong power cables were removed and re-loomed and fitted in the correct runs (power on left signal down the centre) the fuse holder had to be securly mounted with a bracket as it was just ty-raped on the the battery harness and the earth point was relocated to its pefered location along near the back strut brace as it had been screwed into the back seat area with a naff self tapping screw !!!!!
Now after all that was sorted, The boot install could begin.
First off a full fiberglass mould was taken of the boot area with the tyre removed. 5 layers of chopmat then some re-enforcement strips in followed by another 5 layers of chop mat. This mould was rock solid, Exactly what was required to get the proper bass responce.
The woofer section was measured out and blocked off, using 1" MDF and some more fiberglass to seal it up. 3/4" MDF was used to lid the enclosure holding the 12" woofer. A small Ply base was mounted to hold the 3channel amp to the left of the woofer.
The whole piece was sprayed black. This was only for cosmetic reasons as black looked better than raw wood and fiberglass, also note there is 4 wave diffusers inside the wooferbox to again improve on the woofers performance and stop the reflection of soundwaves in the box off the shiny resin surface.
Here the woofer and amp are fixed in with all the cabeling connected and tied neatly down and opt the way.
This is a couple of shots of the back of the top covers after i'd trimmed them. Note the neat staple lines and cut edges.
The first of the 2 top layers installed. Trimmed in light grey alcantare to match the A and C pillar pannel colour in the car. This piece flushed the woofer off nicely allowing the cheesey plastic ring it comes with to be thrown away (of kept as a new router jig) and it also hides neatly the screw holes. Note the edge is sloped on both the woofer and amp opening to give it a more detailed appearance.
At this point I would like to show 2 pics taken at the same spot, 1 shows the boot floor and the other with all the pannels on. This is to show just how little space was taken for this install. Note the small black plastic circle for a reference point. In total only 2.5" of depth was lost from stock !!!!!
And Finally the end result.
I made a cover to allow the boot to be once again fully used without a worry of damaging anything. It was then trimmed in black grill cloth to blend in with the floor nicely.
And a pic with the OE floor carpet.
Here is a few pics of the panel made to protect the amp and woofer. Made from 1/2" Ply, The hole had a 2mm rabbited edge to allow the metal grill insert to fit flush and retain all its srtength by having a 1" edge to support it.
Lastly a closer shot of the detailed edges on the openings and to show how little depth was lost. Note the black carpet floor was done in one piece !!!! and another of the protection piece with small tab for ease of removal.
The sound achieved with these improvments were impressive. The bass was tight, Vocals positioned nicly on the dash center and the mids kicked well when required. The customer noticed the door thud (thanks Dynamat) imediatly which put a smile on my face, then when he turned the system up the smile was on his. It was a shame the speakers had been left powered off the radio's amp and not given the power they required. With the DLS amp running them and doors fully deadened they now sound like a £150 set of speakers should sound.
Your thoughts and comments are most welcome.
Steve
