• Registered users are encouraged to enable MFA/2FA to add an aditional layer of security to their account. More information can be found here: https://www.ncsc.gov.uk/collection/top-tips-for-staying-secure-online/activate-2-step-verification-on-your-email

Ash's Milano Ep3 build thread..Alloy respray pg 4 :D

No not aesthetic at all, completely stops wheel hop snd changing gear is a dream and especially when ragged its really smooth. Also im remapping soon with some other bits and bobs and its recommended to either uprate the engine mounts or an engine damper so its all prepped ready for the remap :D
 
Do the HL adjusters still work? And did you find that you could see better in the dark before you fitted the 10k?
 
The headlight adjusters work fine and the visability i would say is about 3x better, although 6k is the brightest and after that it gets bluer but mine are very blue and like i said about 3x better over standard :D
 
Took some shots tonight just to show you the visibility of the HID's
IMG_0193.jpg


Looking directly at them, there a noticeable blue, but not over the top ridiculous which is what i want. Also the picture above emphasizes the blue a bit too much, in reality they are slightly less blue than the picture.
IMG_0194.jpg

visibility is soo much better over standard. I can see further, the need for my full beam such as on highways and country lanes has reduced dramatically
 
**************** Update 3 *****************

only a couple of new mods..

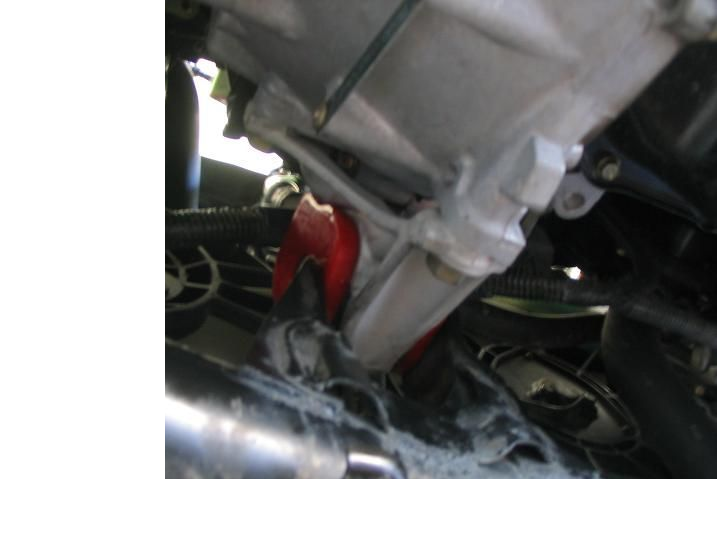
Energy mount inserts :D
energyinserts.png


Ditched the torque damper, was too much hassel adjusting settings and the rattling driving me nuts

after 3 weeks with the inserts, i've found them 100 times better than the damper, all the people saying to get the inserts and not the damper are spot on and i wish i didn't ignore you and waste my time and money on the damper :D

also thought i'd mention on the vibration side of the inserts, there not as bad as what people say, i have both the front and rear in and is around the same vibration levels as the damper :)

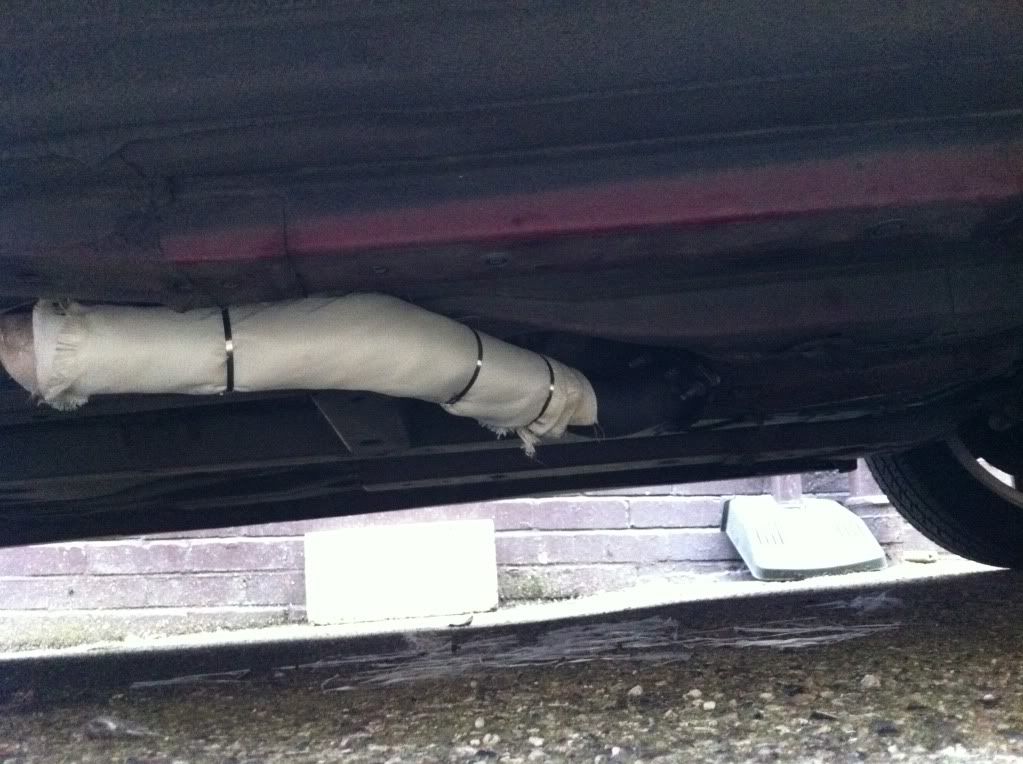
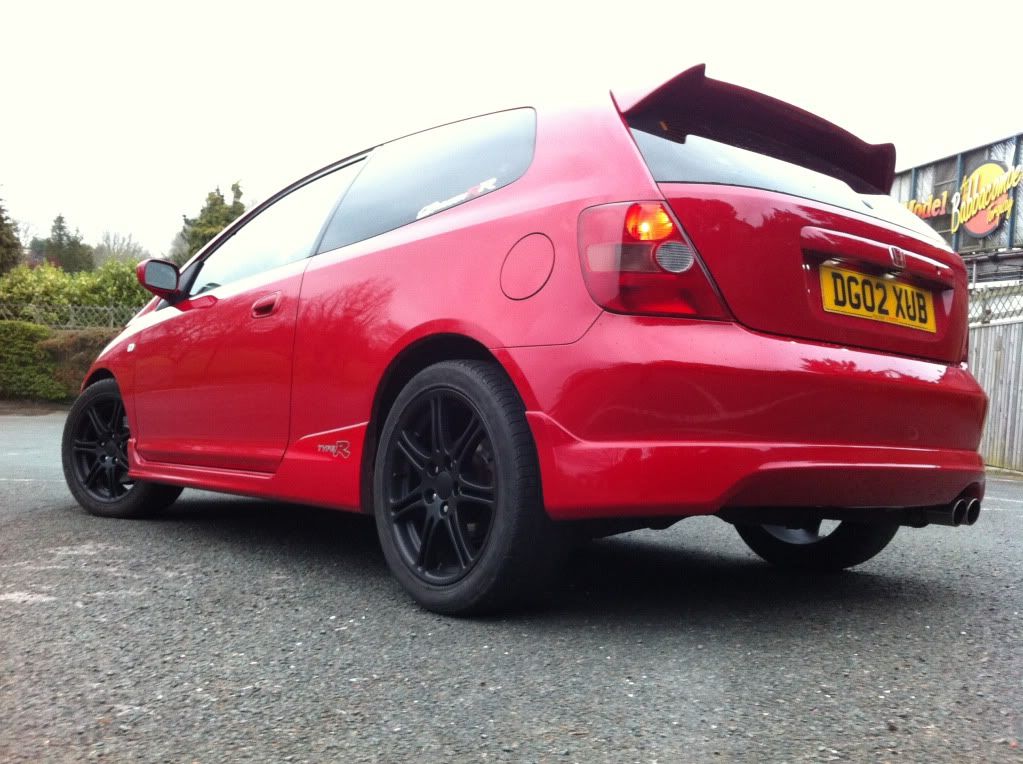
Added supersprint unsilenced b-pipe :D
IMG_0270.jpg


wrapped with a fire blanket to get rid of the rattling :D

gives the car such a nice rasp :lol:

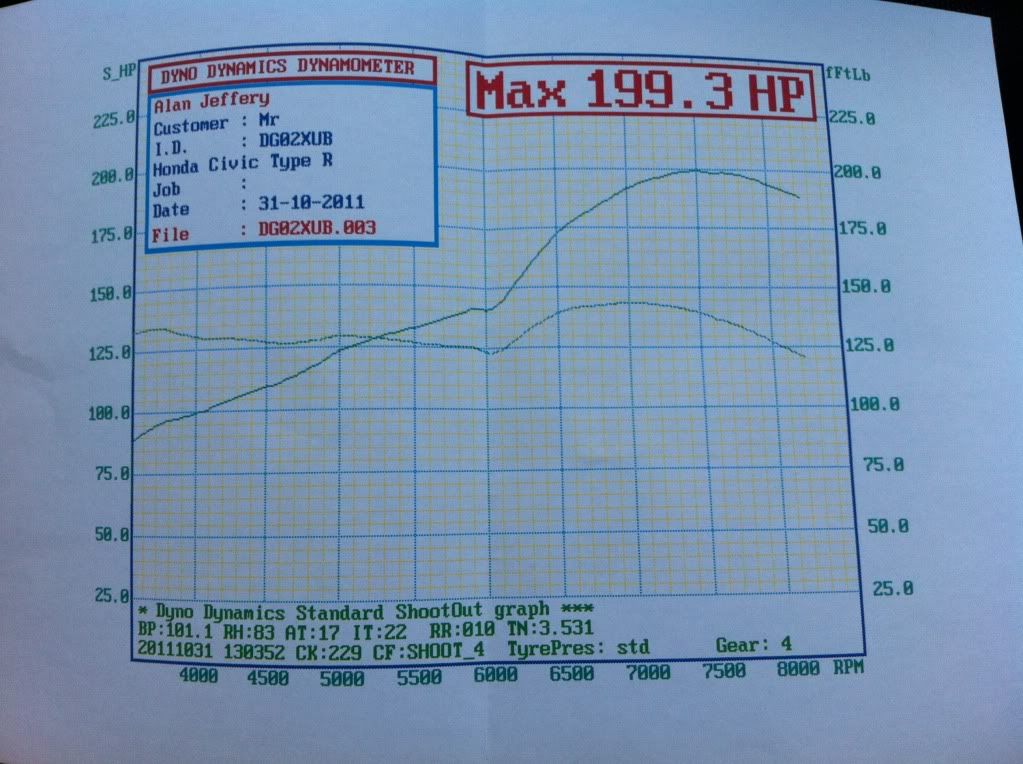
last thing to do was a rolling road print out. I wanted a before and after readout before i go down the kpro route.

IMG_0266.jpg


IMG_0269.jpg


Made a healthy 199.3 bhp at the fly
I believe standard they are 197 bhp so gaining 2.3 extra ponies im satisfied :D

one question i do want to ask is i had the dyno on the way back from holiday, and had a full boot. would that have affected my figures??
 
Last edited by a moderator:
No it will not affect the dyno as its only the front wheels that are measured so you could have an elephant in the boot and it would make no difference on the readout.

HTH.
 
The car looks brilliant mate. An induction kit and a b-pipe leaves the car basically standard then, but I'd bet sounds the balls!!

You said you were going down the Kpro route. Once you get that whats needed then? Can you just map with that and suddenly have much more power, or do you need to get a manifold etc on and some cams etc?

Never really understood this.
 
Well my plan was to get the tdi manifold, remap and inlet manifold altogether as running a decat without a remap is bad for the engine, and 199hp with my mods may not be the same for someone else, my cars an 02 plate with close to 95k miles so shes still holding up well.

I could get the remap now, but with the b-pipe and induction kit i would probably only get about 210 max, im hoping to get around the 240 mark and if im still power hungry might even treat her to a supercharger a bit later on :D
 
That car looks proper mint, you can't beat a nicely cleaned Milano I still remember mine and clean they look great. Keep up the good work and look after it
 
It's been a while since i last spent anything on my car :(

Instead of spending money, i thought i'd use some paint from around the house and do some nice free modding :D


Some pics:
IMG_0459.jpg


Althought it doesn't look bad, in the flesh it was badly scuffed/dirty


IMG_0463.jpg


IMG_0465.jpg


IMG_0471.jpg


IMG_0473.jpg


IMG_0481.jpg


IMG_0477.jpg
 
Really good effort that man. DIY mods give a nice feeling of satisfaction - that looks great. Whip off that inlet manifold cover though, you're hiding the good work.
 
That rocker cover looks really smart mate how difficult is it to remove and refit the rocker cover how long etc and what sort of paint sorry for all the questions lol
 
lol well took about 10 minutes to remove.. not hard at all, as long as you have a good socket and wrench it will take 5-10 minutes. I labelled my coil packs so i could put them back in the same place they were removed. I also took a couple of pictures to note which nuts went where. The only hard part was the reservoir in the top left of the engine bay. Its in a position where when you start to lift the rocker cover, it will scratch it, so removal i didn't mind scratching it, but once painted, i removed the 2 nuts holding the reservoir on so i could push it out of the way. I also put a bin liner on the engine whilst the cover was off.

stuff used:
i used a 10mm socket and wrench
Nitro Mors paint stripper (8 pounds at B&Q) - not the best, if i were to do this again, i'd get something a little more powerful, but did the job in the end
VHT white paint - bought on ebay for a fiver
gloss black spray paint - 2.99 at local shop

in total it took a day, mostly waiting for coats to dry. It had 6 coats in total, and i have no experience with spray painting so im quite pleased and would say it is a very easy task :)
 
Brill mate cheers for that might give this a go one weekend what about the gasket did you buy another one or is it a rubber one attatched to the cover
 
well honda advise you to replace it each time, but its normally ok to re-use it once, plus honda replaced my chain and tensioner not so long ago, so it should still be fresh. Mine was sealed and glued to the cover, so i just left it on there :) have checked it yesterday and today and no oil leeks so it seems all good :)

and yea it will be a pain in the arse to keep clean :)
 
Ash's Milano Ep3 build thread..Alloy respray pg 2 :D

Alloys just been resprayed :D


well happy with the results:
IMG_0574.jpg

IMG_0577.jpg


And added some Honda badges:
IMG_0578.jpg

IMG_0580.jpg


:)
 
Back
Top