• Registered users are encouraged to enable MFA/2FA to add an aditional layer of security to their account. More information can be found here: https://www.ncsc.gov.uk/collection/top-tips-for-staying-secure-online/activate-2-step-verification-on-your-email

EP3 Driveway Motorsport

In the pics it looks like you have a good bit of adjustment left in the shoulder straps. There is a lot of faffing around involved in getting harnesses fitting just right! This is how mine sit:


Fancy a 7 hour drive to sort it for me, its beginning to frustrate me now and its to cold to be **** balling about outside lol.

Im going to measure the straps and see what size they are, then see if i can find some longer as i cant see a way of making them longer!
 
7 hours? Nope.

What I mean is that you should be able to make the shoulder straps a lot longer. Have a look at this pic; the blue arrowed part is doubled over and the red part single. So if you move the green arrowed buckle closer to the mounting points it will make the rear end of the shoulder straps longer, moving the shoulder pads forward. Then use the adjustment over your chest to take up the extra slack.


You can see that in mine the green buckle is a lot closer to the rear mounts than in yours.

I thought id be missing something simple! ** do that before i leave the office later!!!!!!!

See what paint balling does to your brain!
 
As i can't deal with the noise any more and the fact that I've put it off i have given myself a task for the weekend. Rebuild the OSF calliper! Kit turned up today with new piston, seal, dust seal and slider grommets.


Not looking forward to it but needs are a must as I'm booking a day at brands on the 27th Feb to get to know the car again after the work I've done. So I'tl be a nice easy day on the car with the tool box in the garage.


Just to order a set of Front DS2500 pads, brake fluid change (RBF600 i think) and she is ready to go.
 
I have sworn never to touch my brakes again. i had a nightmare with mine all 4 where seized, didnt matter as it died anyway.. :(
 
It's actually pretty easy to rebuild the fronts, time consuming though. Watch your fingers if you use compressed air to get the piston out!

Also, ATE type 200 fluid (previously known as super blue) is on sale at euro car parts right now, can't recommend it enough.
 
Set about getting the calliper done at the weekend was dreading it but turned out to be easy!!!!


So front calliper refurbishment commenced,


Only problem i had is that my compressor has no balls and couldn't blow down the first pigs house!!! So put calliper back on car and pushed piston out with the brake system, then finished removing it by mule-gripes.


Could say it needed it! Old piston with new


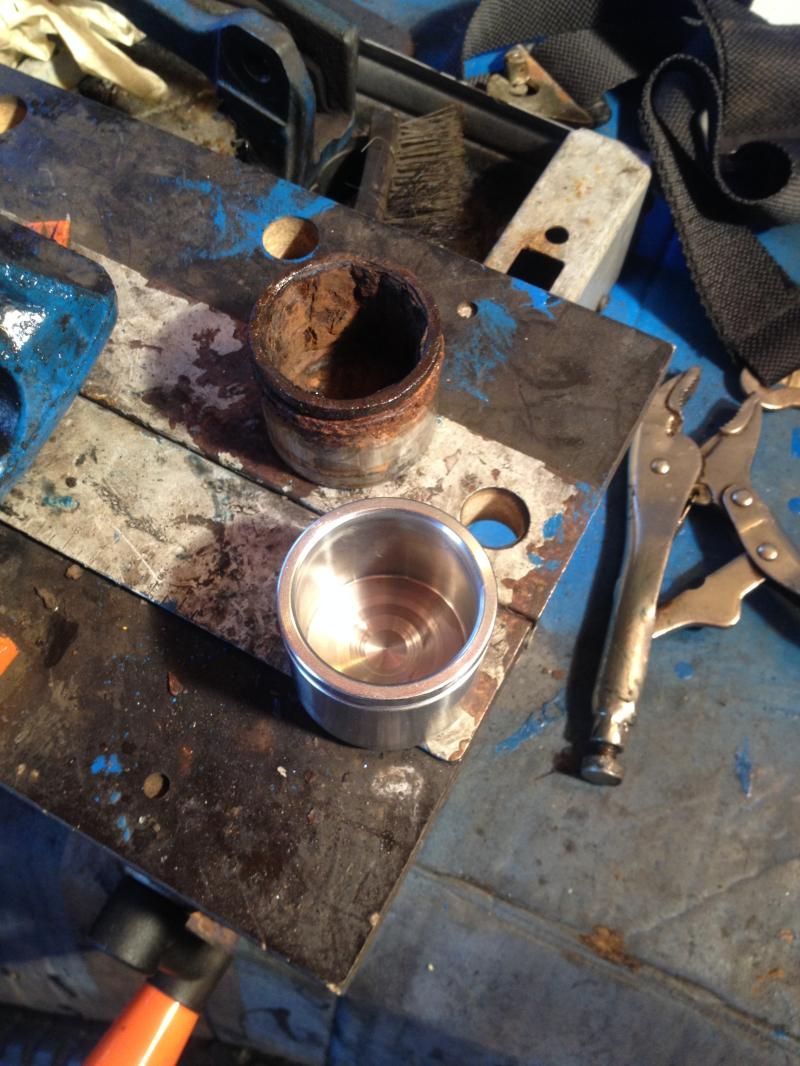
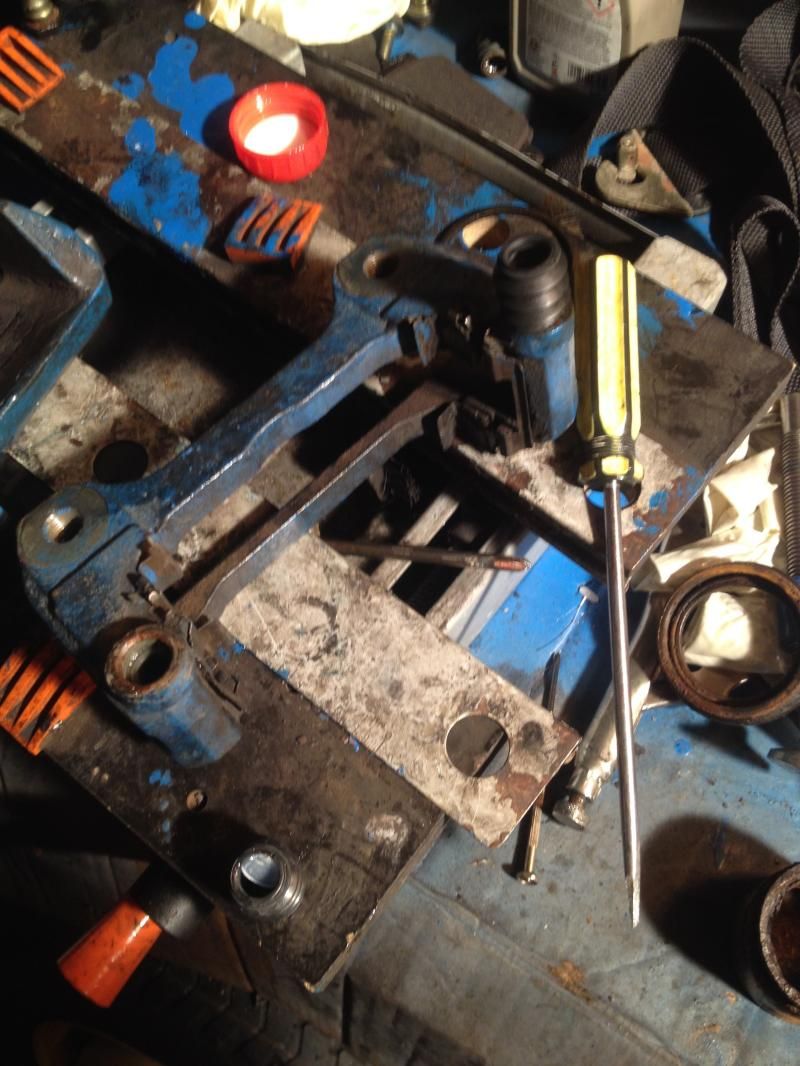
What i was left with


Removed the dust cover and picked out the calliper seal. Checked the new ones against the old to make sure they was the same size.


Out came the dremmal and started to clean as much as possible concentrating on where the seals sit.


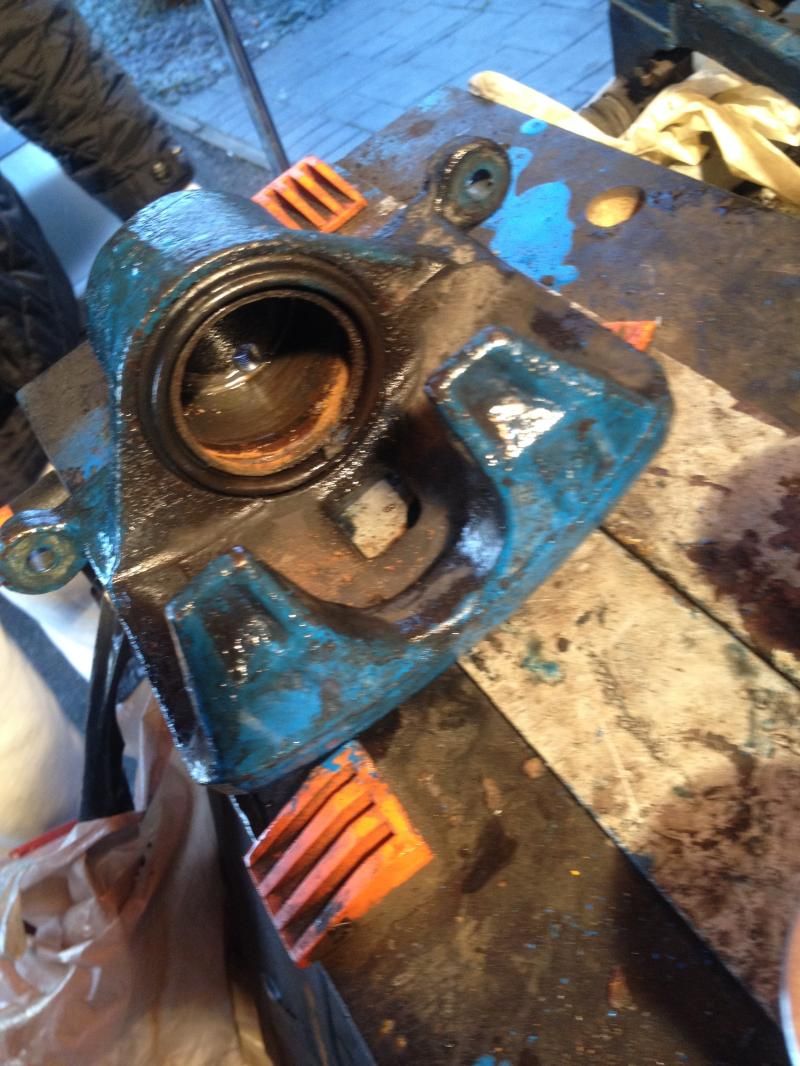
Before i started this was the state


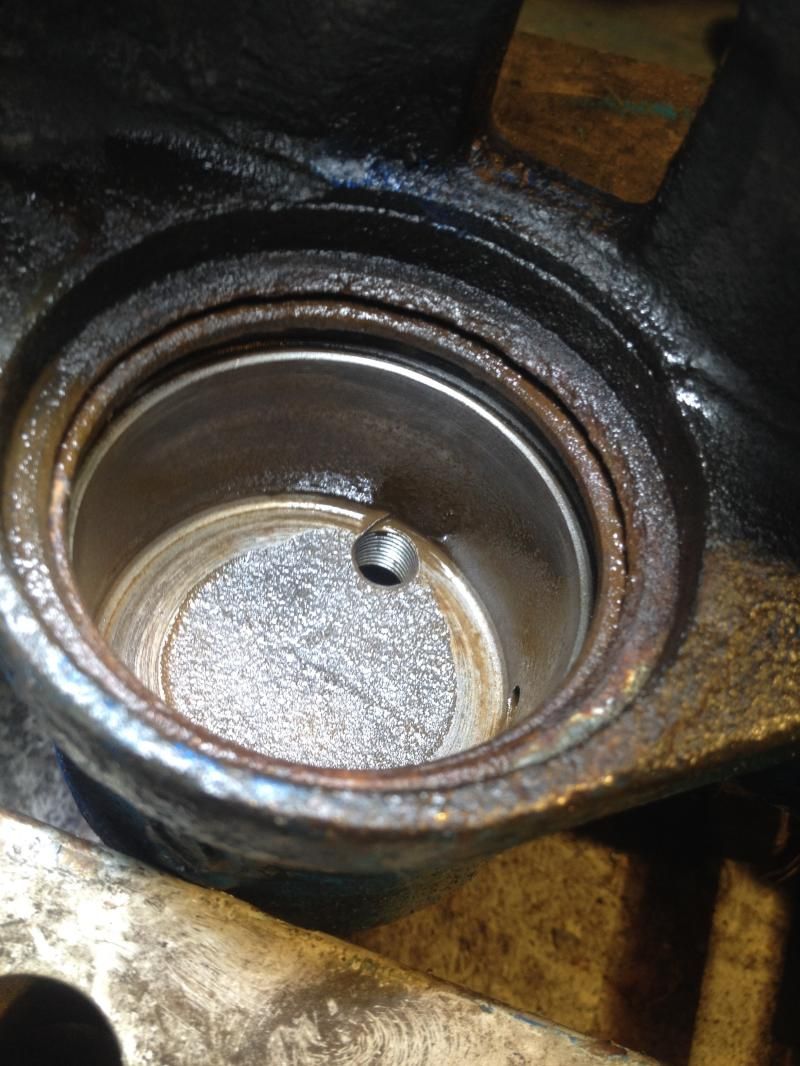
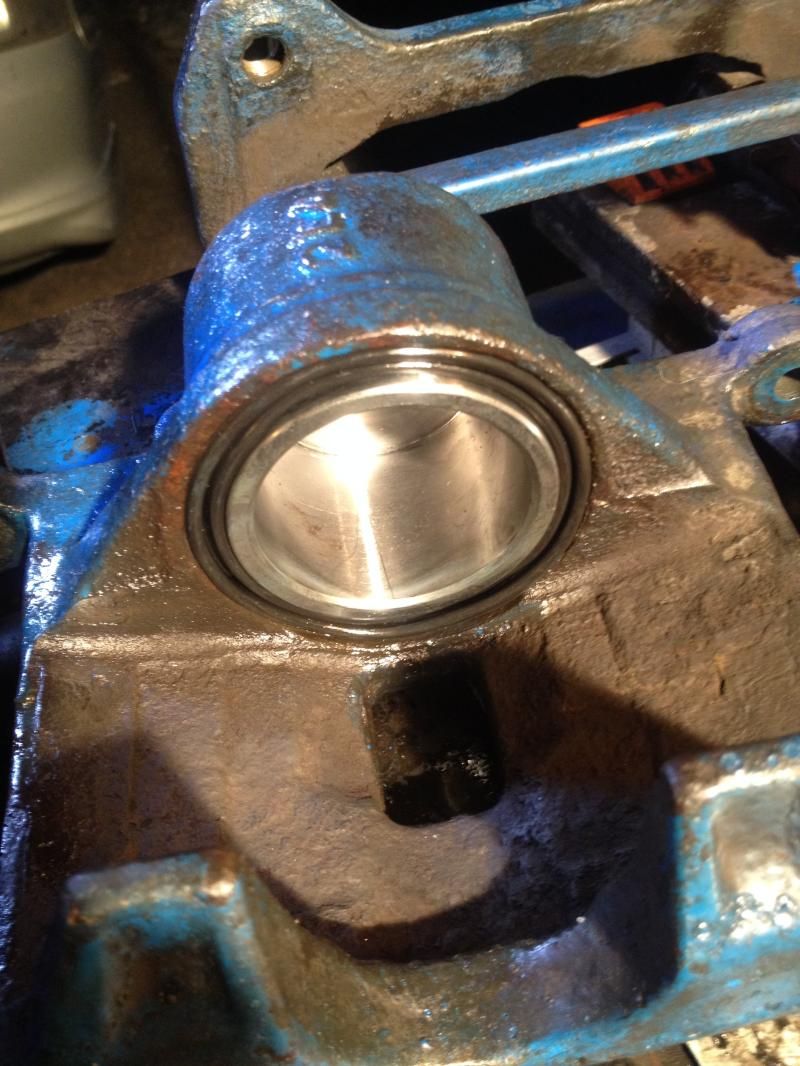
Must if had my finger over the next photo as it didn't come out. But needless to say it was rather shiny!


Out came the sliders, washed and greased, they just pull out.


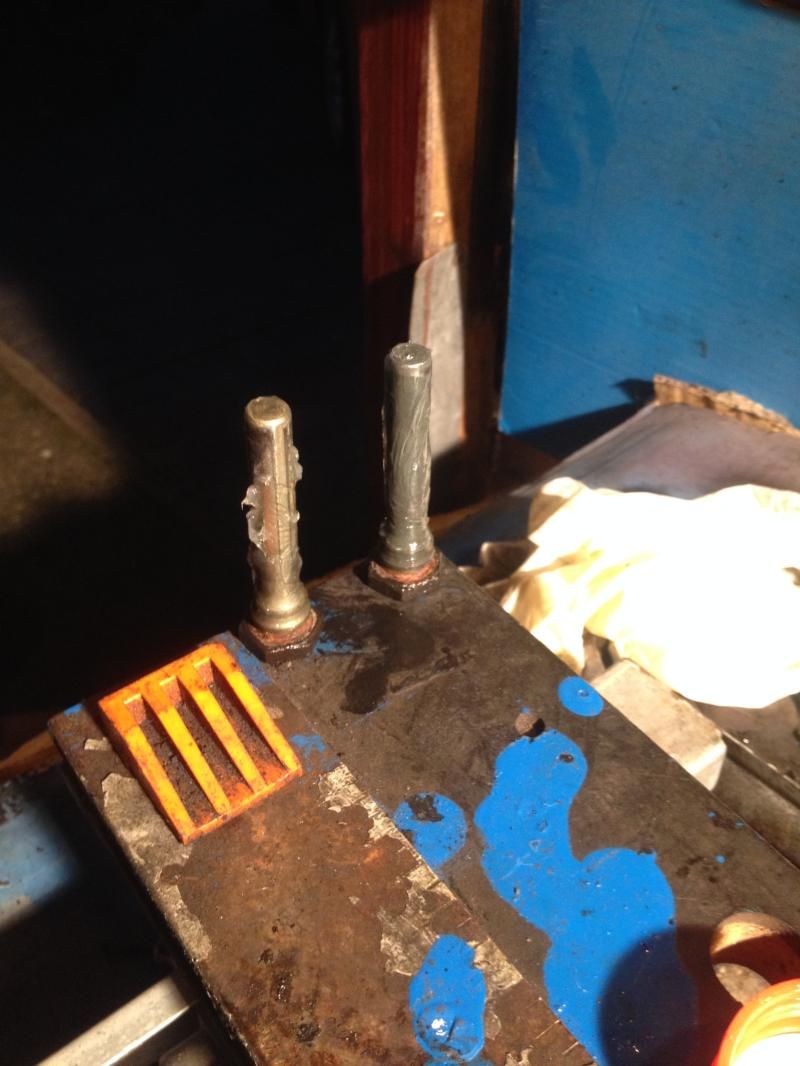
Cleaned as much as i could in the carrier and fitted new boots.


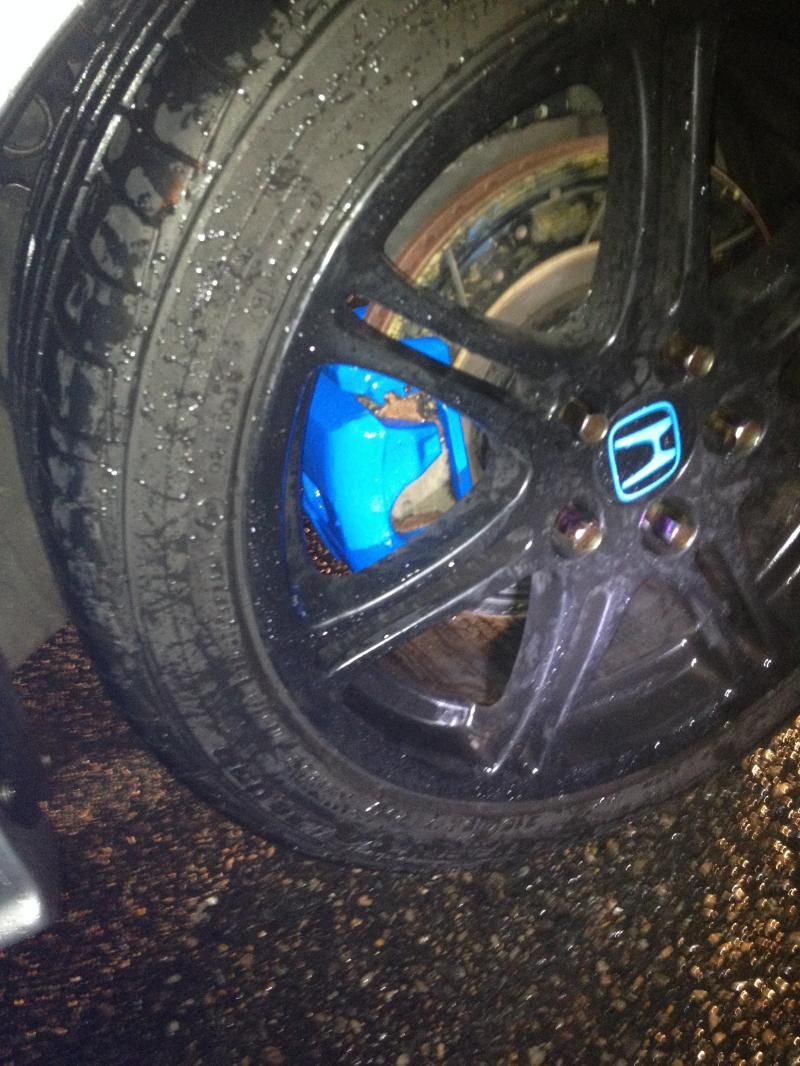
Placed the sliders back in (Little bit of grease in the boots so it pushes it into the cylinder. And started to rebuild the calliper. Started by covering everything is a bit of brake fluid. Replaced the seal ring in the calliper. Lubed up the piston with fluid and placed the dust cover over the end so it overlapped slightly.


Offer'd it up to the calliper and fitted the end of the dust cover into the placements then pushed the piston down flush so the rest of the cover on the top recess. Refitted, bled and test drove and all seems good :)


Took me about an hour start to finish in the dark with a lamp.


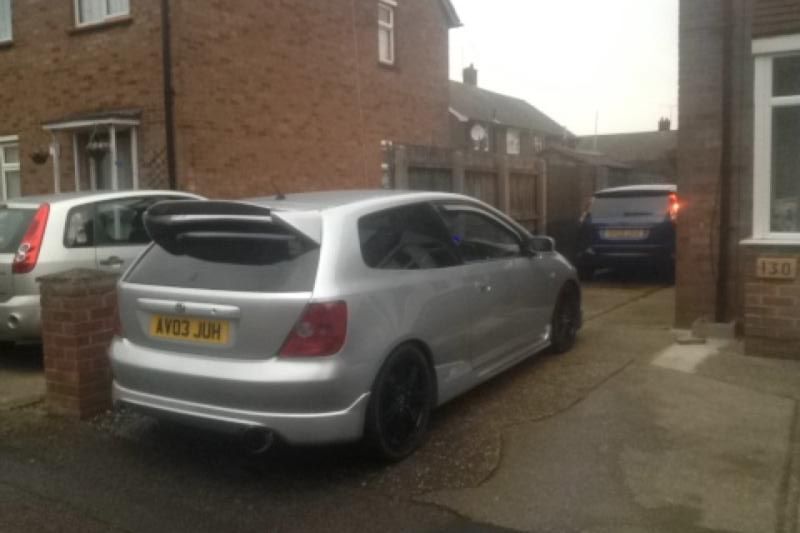
Reason i did the brakes so late is that i wanted to spend some time cleaning her as she had been used for work for two weeks and had changed colour!


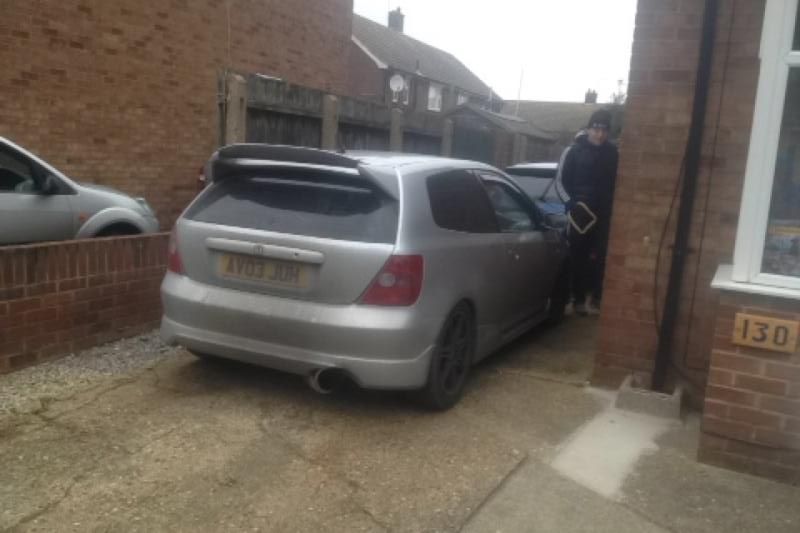
Just a jet wash and the half and half made me giggle


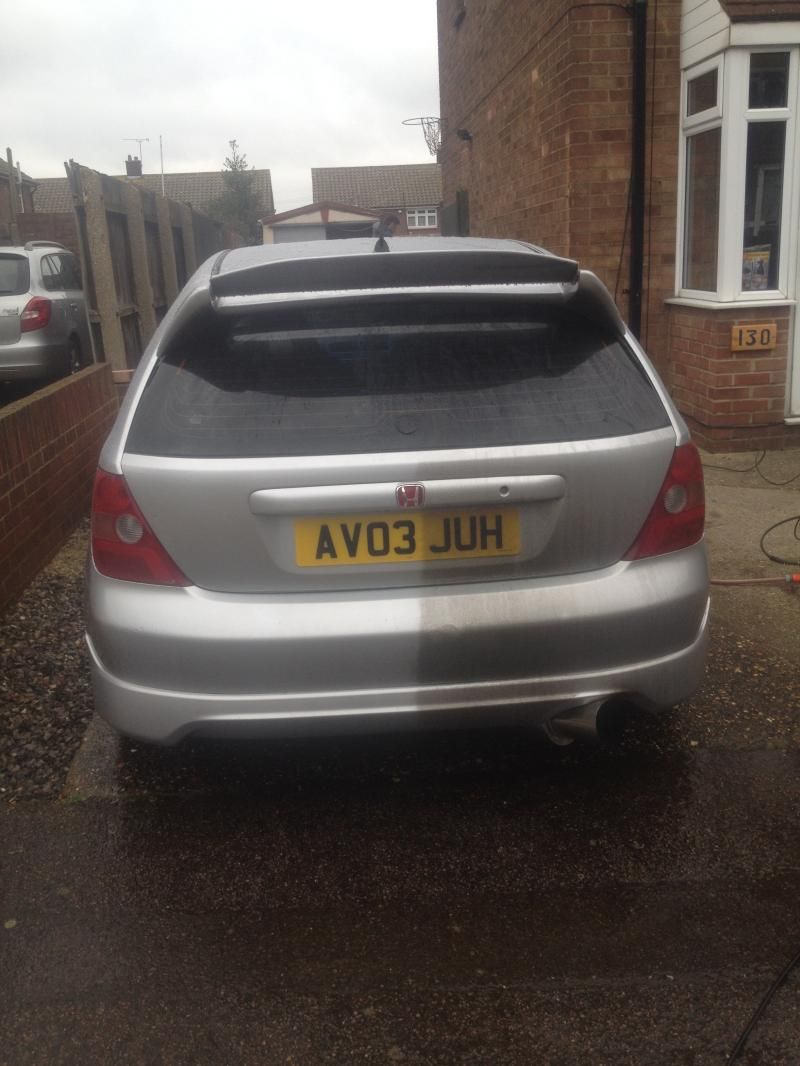
Some Auto glym shampoo, meguirs polish and Fusso99 wax and she was clean again


Got rather annoyed at not being able to see much so got some Bosch wipers


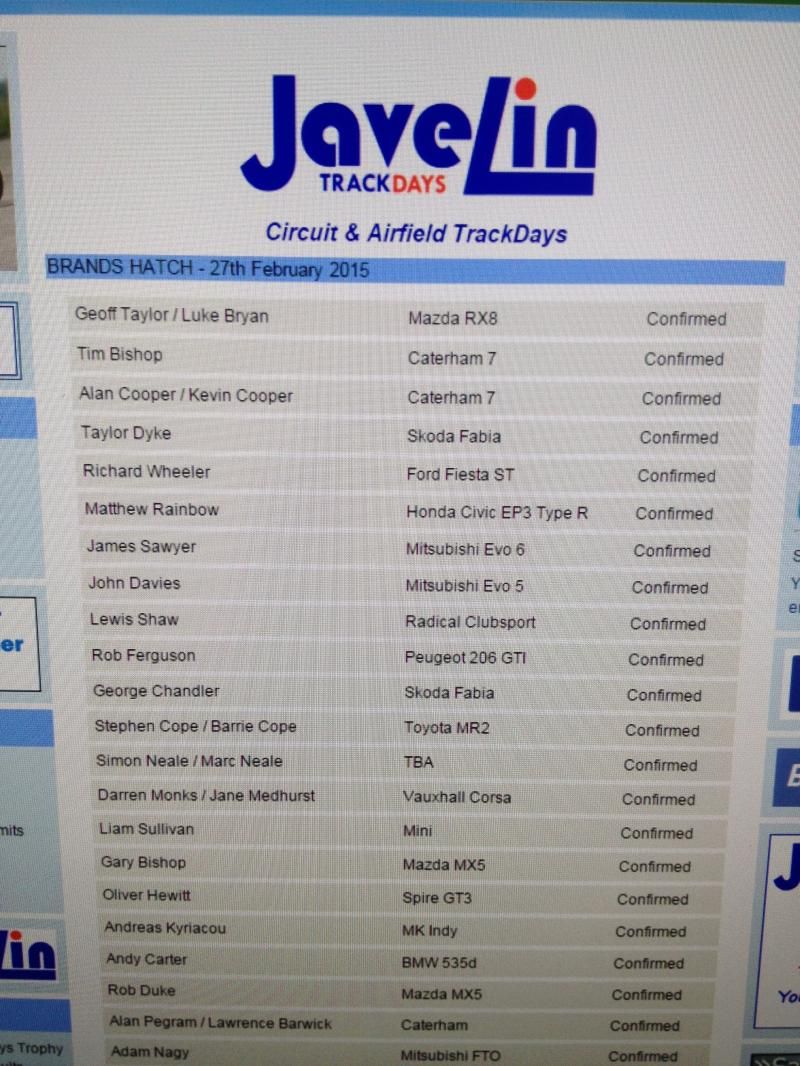
Then booked my first track day for 2015 for the 27th Feb at Brands Hatch.


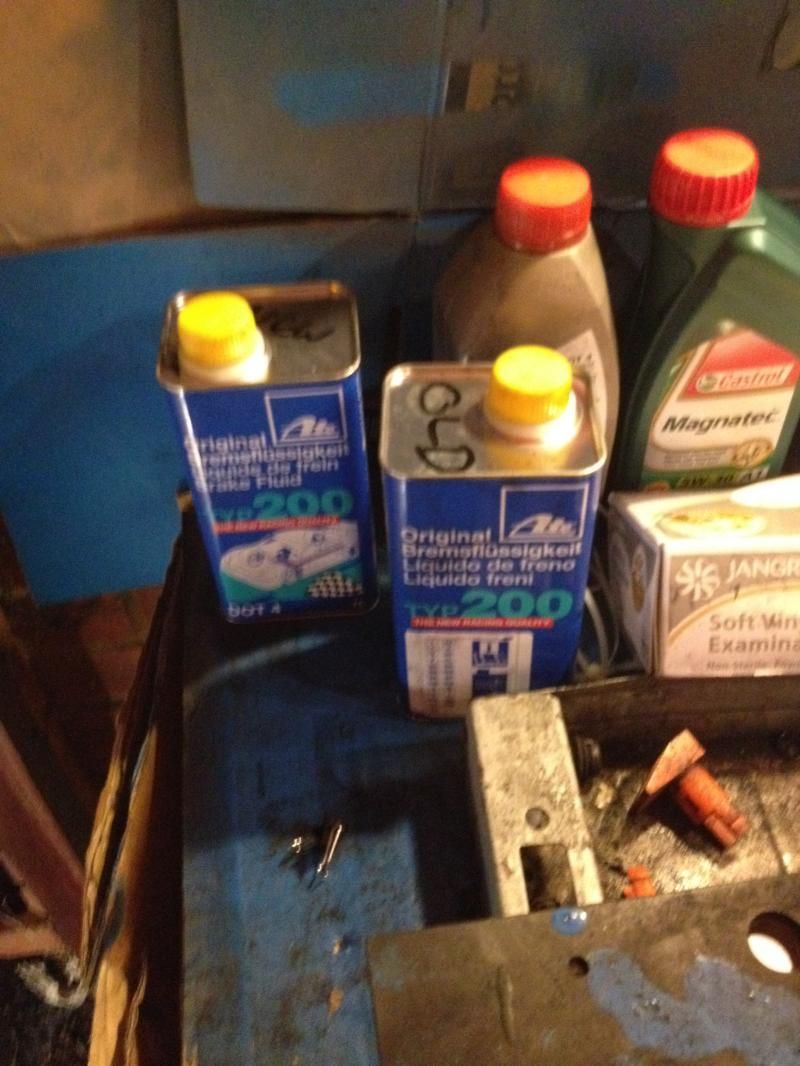
Just waiting for Feredo DS2500 front pads to arrive in the post then going to flush the brake fluid. Not sure on using RBF600 or a 5.1 fluid!


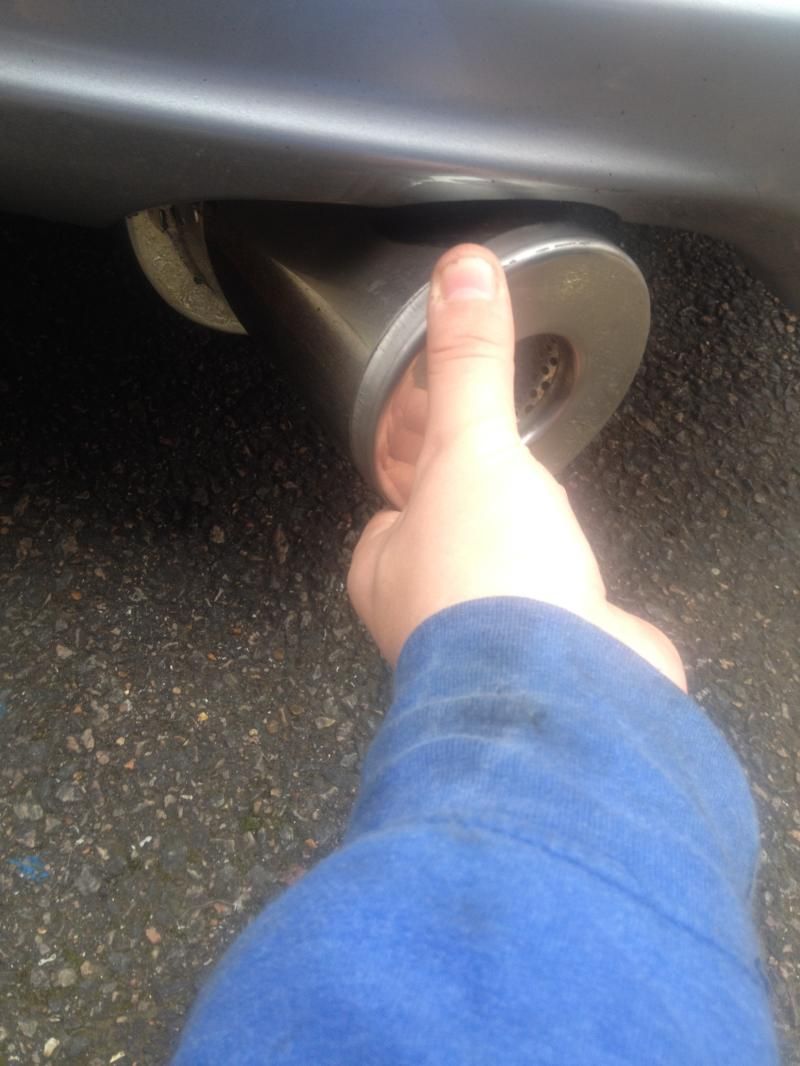
Also got a Bung just in case i get black flagged for noise.


Hopefully picking up some accord alloys before the day so i have a spare set of wheels.


Looking forward to seeing how the car behaves and learning abit more about it. Should let me decide on the next stage, if its going to be LSD or some more power in the midrange.
 
Fitted the pads last night. Had a right ball ache with something so simple!


Even got the missus involved


Started on the drivers side and everything was perfect, went to put them on passenger side and calliper piston wouldnt push back, so off came the calliper to be hit rather hard....... job done. Refitted calliper and went for a drive to bed them in.


The horrible side!


Drove for about 5-10 minutes without touching the brakes then from 60mph to 20mph ten times in succesion.... let car cool down by driving slowly a further 5 minutes and check. Disk was white ish as it should be but wanted to give them another run in just to be safe. Went well, no fade this time so continued home.... get up to speed and the car judders....... brake.....judders more, mostly through the steering wheel so i pull over to check everything and the passenger alloy is red hot and pads smoking!!!!!


So another calliper refurb kit has been ordered so ** soon have both front callipers re-furbed as i done the other last week. Not anything major just a pain in the buttock's when i thought i was on a home straight!


Really looking forward to Brands, so here are few photo's from LRB Media.


Bung turned up as a pre cautionary measure. Will fit and test as soon as i can really.


Although i was 98.7 static at brands last time i thought it's better to have one than not in case of a black flag one day.


nice work mate, how did you get on with rebuilding caliper? it isn't that bad rebuilding a caliper, i spent most of the time cleaning them up.... love to go for a track day at Brands Hatch.
 
Last night i managed to get an hour on the car to refurb the next calliper. Was a lot more of a pain that the other but got there in the end. Also was in worse condition considering it was fine about three months ago when i refitted everything back together.


Just a comparison, Old Vs New


And the Calliper finished.


Now they just need a coat of paint and flushed with some higher boiling point brake fluid.


Went to fit the bung and its the same diameter as the back box itself so need to send that back and get a smaller version.
 
nice work mate, how did you get on with rebuilding caliper? it isn't that bad rebuilding a caliper, i spent most of the time cleaning them up.... love to go for a track day at Brands Hatch.

It was a pain in the ars getting the piston out but apart from that just dirtier than the other one. Easy job just a crap job to do.

Pop down on the 27th if your local to get a feel for the atmosphere and say hi. Then ** let you know when i book the next one :)
 
Managed to get round to flushing the brake fluid. Couldn't get hold of rbf600 so went for ATE typ200. Thought it was going to be blue so Itl be easier to flush but is. Or so colour. Managed at least 500-700ml through each calliper. Although the front near side had small air pockets. In it no matter how much I bled it so I will change bleed nipple as and when. In total I flushed just under 2ltrs through the system.


E923BF80-0A0A-421C-9BC8-D9959C09DF73_zpsybvlnbgy.jpg


Re painted the front and rear callipers, looks abit more fresh again


6D984F53-8235-4914-A2C1-CF3041FFDE73_zps4bcqp4km.jpg


Also need to send the bung back as its thats little bit to big. It's the same diameter as the actual tail pipe.


12BA4658-CBDB-4C7D-9DC5-B38CBA5E7651_zpspjqzeeqd.jpg


Very impressed with the brakes now. After a spirited drive over the weekend a few people come up to me to tell me the discs where glowing, so all is ready to hit the track once I recieve a smaller bung. :)
 
I was amazed at the difference in my brakes after the rebuild and new fluid, better in every way. I think a full rebuild of the brakes will go on my annual winter maintenance list now.
 
Back
Top