- Messages
- 850

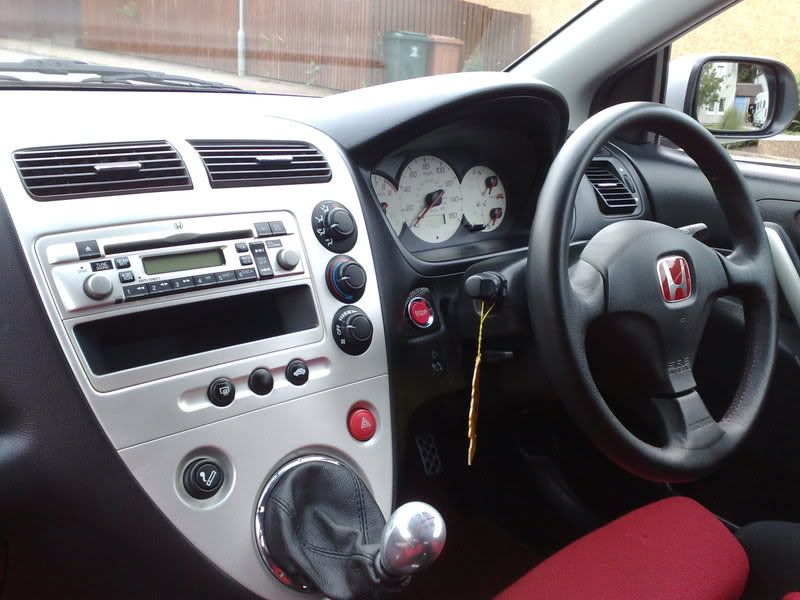
I have just installed my starter button and used the instructions that came with it. I have a limited knowledge of this type of stuff but managed to wire it in about 45 minutes.
This guide is general and can be used for most installations, but it it very important that you identify the correct wires before you begin.
To Identify the wires use a voltmeter and not a test lamp to confirm the identity of the of the
1. Starter wire
2. 12v ignition source
3. 12v constant supply
The starter wire will only show 12v when the ignition key is turned all the way forward to the engine crank position.
The ignition source will only show 12v when the ignition is turned on. Verify that it is an ignition wire and not an accessory wire by starting the car up and watching the Volt meter. An accesory wire will go to Ground during engine start, but an ignition wire will stay at 12v during engine start
The 12v constant source can come from either the fuse panel or the Ignition.
2004 Honda Civic Vehicle Wiring Information
These are the only wires you need to tap into. After taking the the steering colum surround off you will se a plug with these wires going in to it.
12v White
Starter Black/White
Ignition Black/Yellow
Accessory Black/Red
Second Accessory White/Red
First connect start Button
Pin 1 is the output to PIN 85 on the relay
Pin 2 is connected to the 12v Ignition source (Black/Yellow)
Pin3 is to Ground (Metal Earth) - Needed For the Button Light
Now Connect The Relay
Wire Pin 30 to the 12v Constant Source (White)
Wire Pin 86 to Ground (metal body earth)
Wire Pin 87 to starter wire on sterring column (Black/White)