
You are using an out of date browser. It may not display this or other websites correctly.
You should upgrade or use an alternative browser.
You should upgrade or use an alternative browser.
- Messages
- 25,724
Re: Any of your rear braces.
FOAD.
I've got a standard OEM one you can buy.
- Messages
- 180
Hooo soo beautiful car.
For begin, what's the model of your spring and what's the sesult ? You're running only inte the road or in the circuit /road ?
+ Where had you the regulation of your camber? Is it you who have to decide on top or kept silent them to find?
Thanks for your answer.
For begin, what's the model of your spring and what's the sesult ? You're running only inte the road or in the circuit /road ?
+ Where had you the regulation of your camber? Is it you who have to decide on top or kept silent them to find?
Thanks for your answer.
- Messages
- 25,724
The springs are Eibach Pro street and provide a 20mm drop.
I'm only running the car on the road at the moment, but plan to track it at some point. It gets expensive when you add it all up, trackday, insurance fuel etc.
The camber settings can be found in the suspension sticky thread in the modifications section. My set up is -1 degree negative camber all round with 1mm toe in at the front and 1mm toe out at the back. This is good for fast road use, but may not be aggressive enough for track sessions. The problem with a more aggressive camber setting is that it will chew through the tyres quicker. At the end of the day, the settings used are ultimately up to you, however I would seek advice from a professional if you're uncertain of what you want.
I hope that answers your questions Tony.
Suits
First to flounce
- Messages
- 22,193
Im getting an aggressive setup at tgm next week, can let you all know in more detail once it's done
What, more aggressive than the FRSU normally is ??

- Messages
- 52,627
What, more aggressive than the FRSU normally is ??
I had that once on my DC5. Was a bit mad on the motorway! :lol:
- Messages
- 25,724
Considering you will be driving I think I'll crash into you intentionally.
Oh look, what's that on my tomtom? Screech, bang!
- Messages
- 25,724
Anything less than -2 deg camber = go home.
Aggressive set up on the CRV then?
- Messages
- 12,071
Aggressive set up on the CRV then?
Ha! I think it would have to run 20" massively dished wheels to pull off serious camber :lol:
- Messages
- 25,724
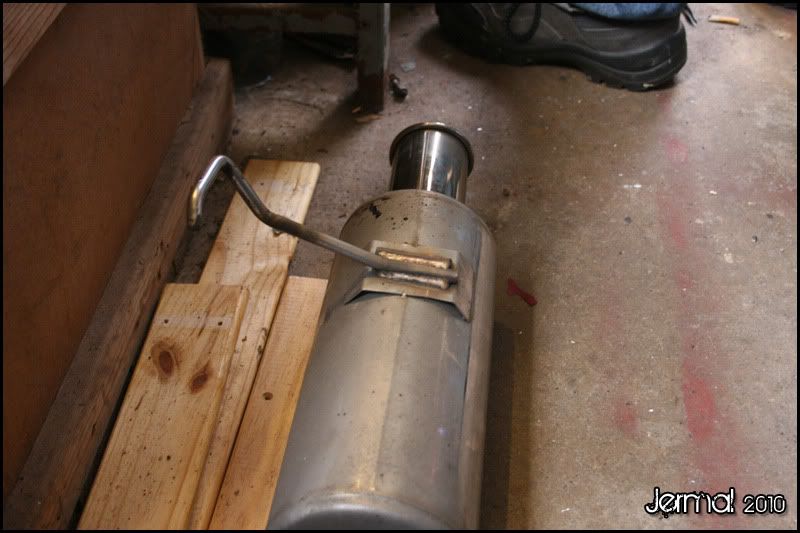
So, I had to do a couple of minor jobs on Sunday which had been niggling me for a little while now, but because of a busy work schedule, I just haven't had time to do it. First on the list was to fix a broken hanger on my Spoon N1. I first noticed this had snapped when cleaning my back box up in preparation for JAE. Thankfully the remaining hanger has done me proud and kept the N1 in situ since JAE and the exhaust hasn't deviated off centre at all. Obviously, this would be putting excess weight on the remaining hanger and it would only be a matter of time before that went too, so I thought it would be best to fix it.
The exhaust with the missing hanger on the right:
and what it should look like:
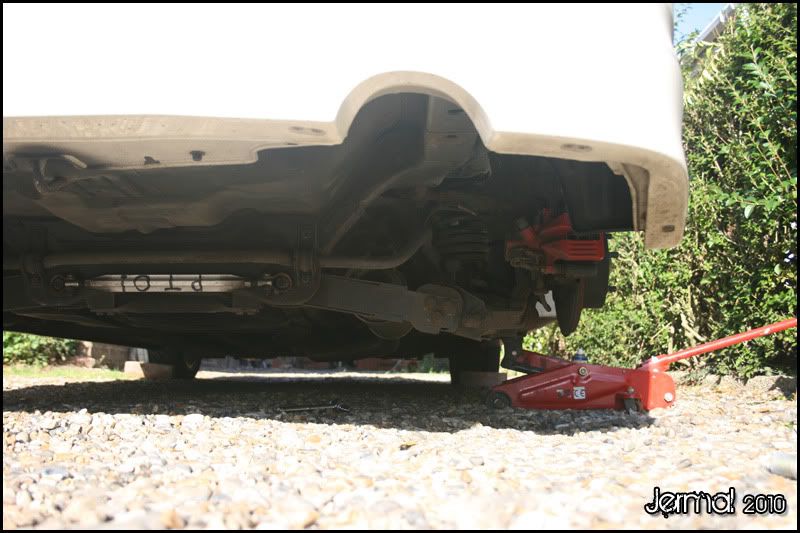
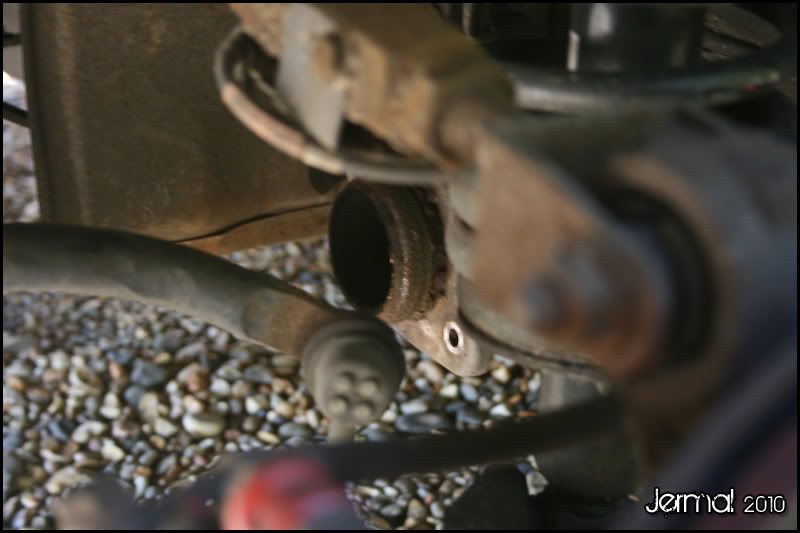
Backboxless:
(I was tempted to see how loud it was without the backbox, but time was against me, so I decided not to arse around :lol
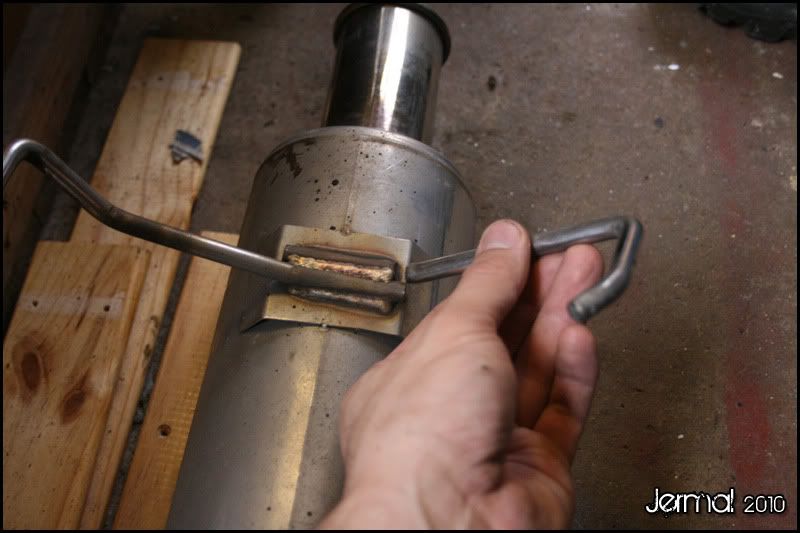
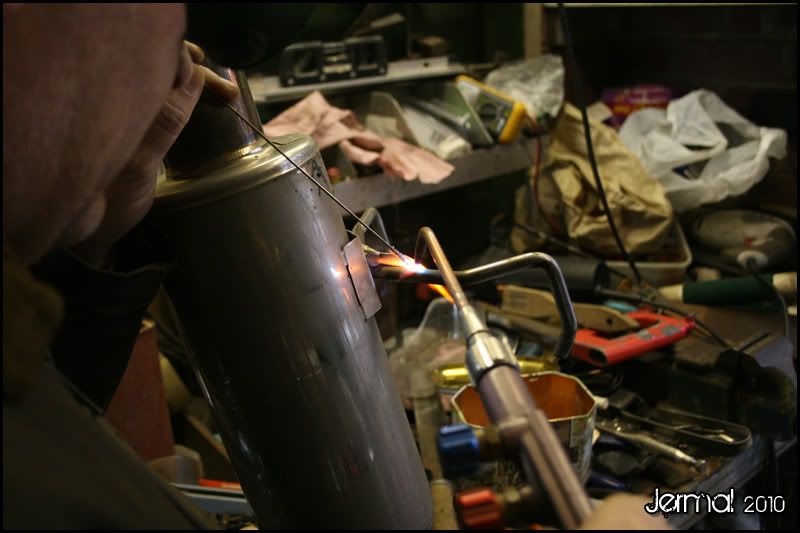
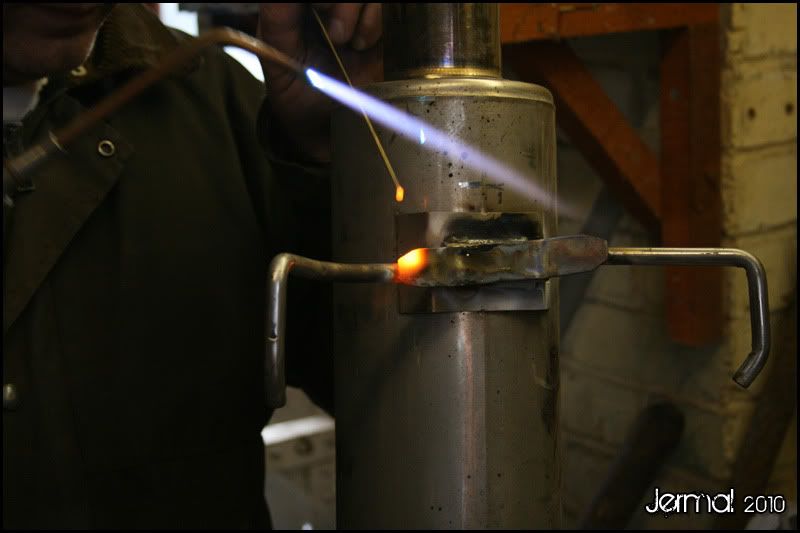
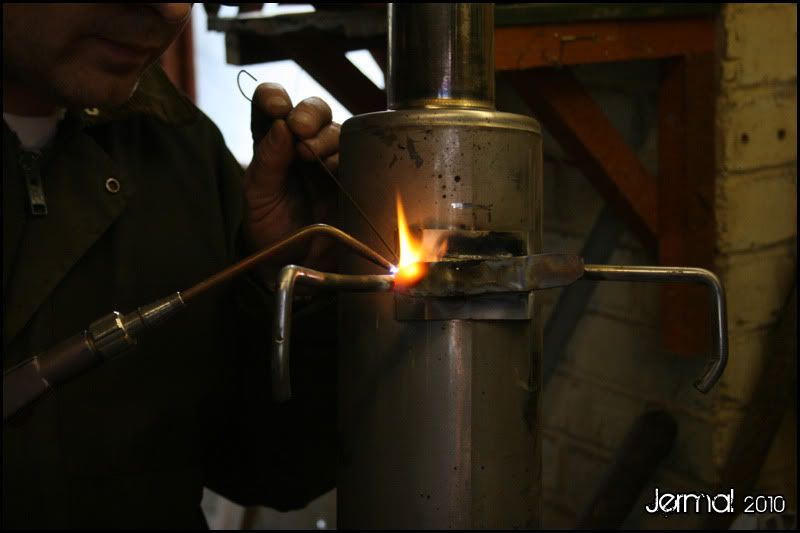
Unfortunately, welding the piece back together was not an option, as my step dad did not have the correct welding rods for stainless steel, plus welding stainless is a bit of a specialist area anyway due to the different grades of stainless, so we decided to braze the piece back on and braze an extra bracing bar to add strength and stability. Let the oxyacetylene commence...
Hot:
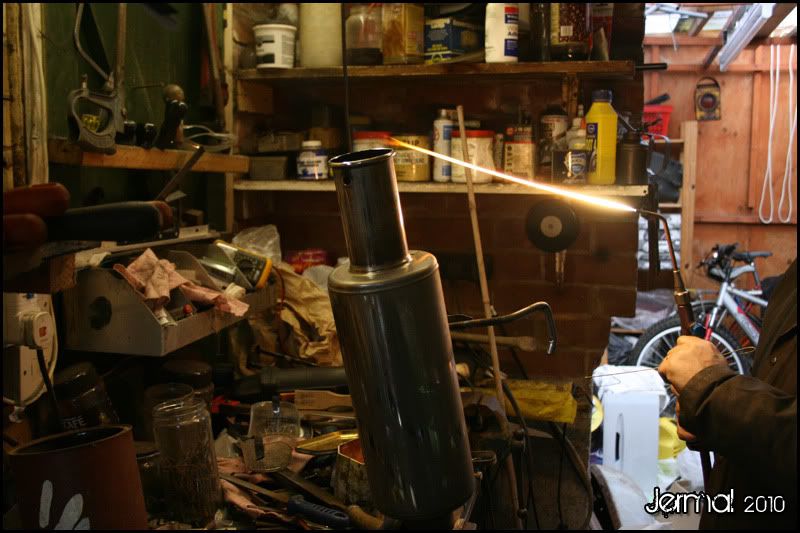
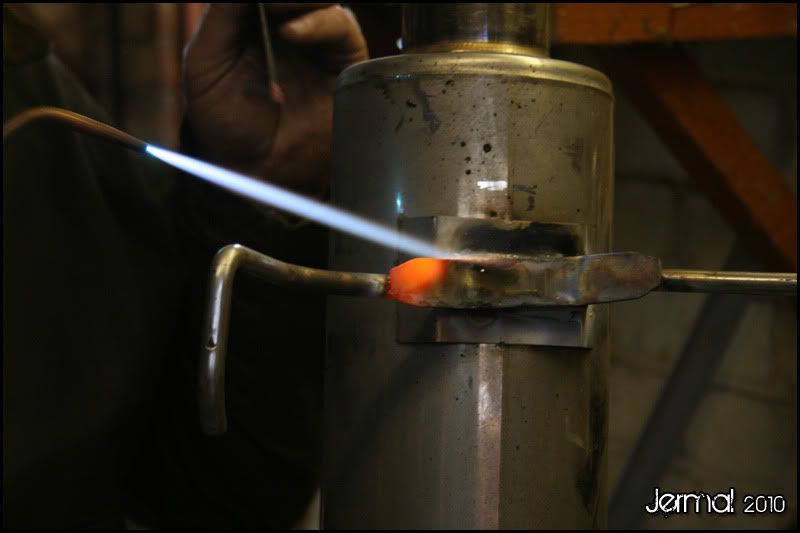
Hotter:
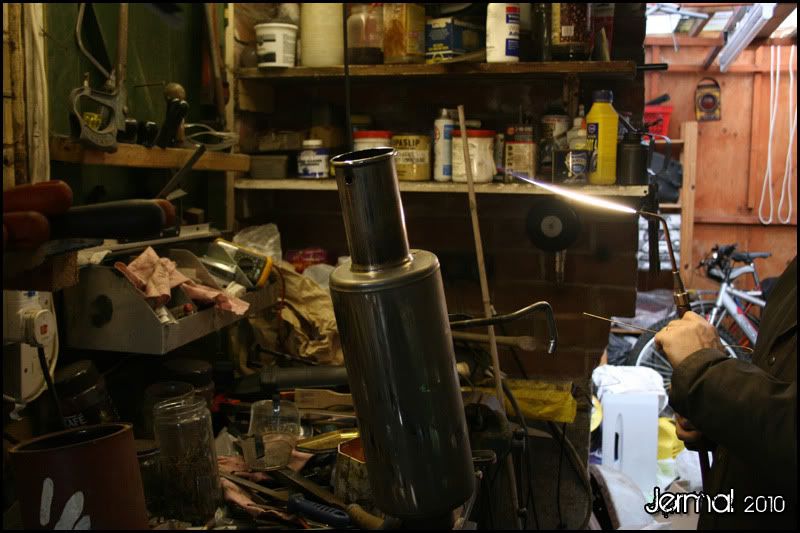
Disco!:
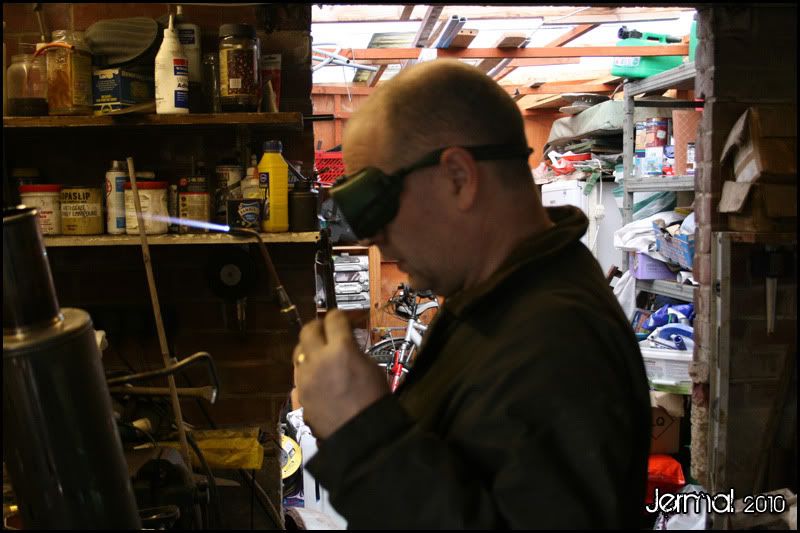
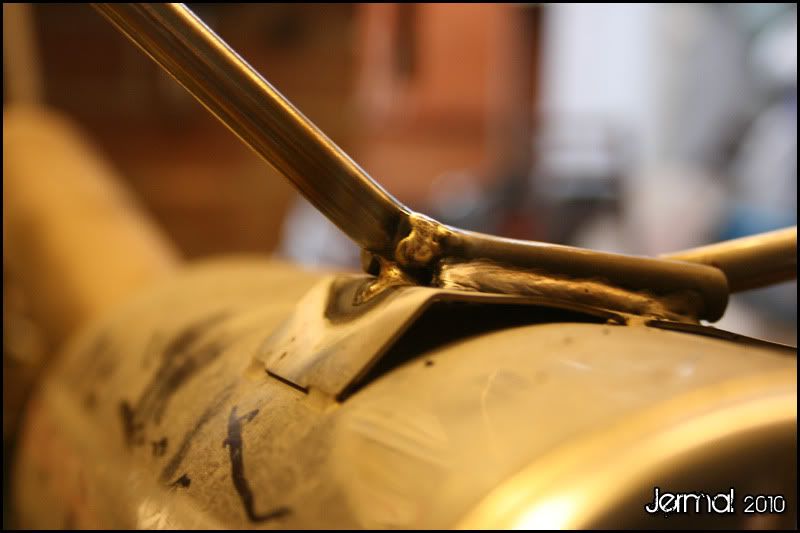
The initial joint brazed back into position (I had to hold the hanger in the correct position, so the angles were correct. Even wearing gauntlets, it was hot, hot, hot!)
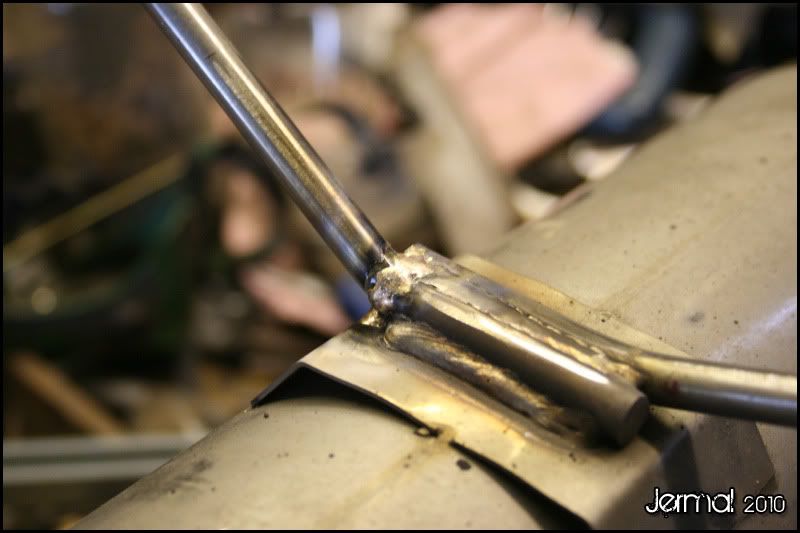
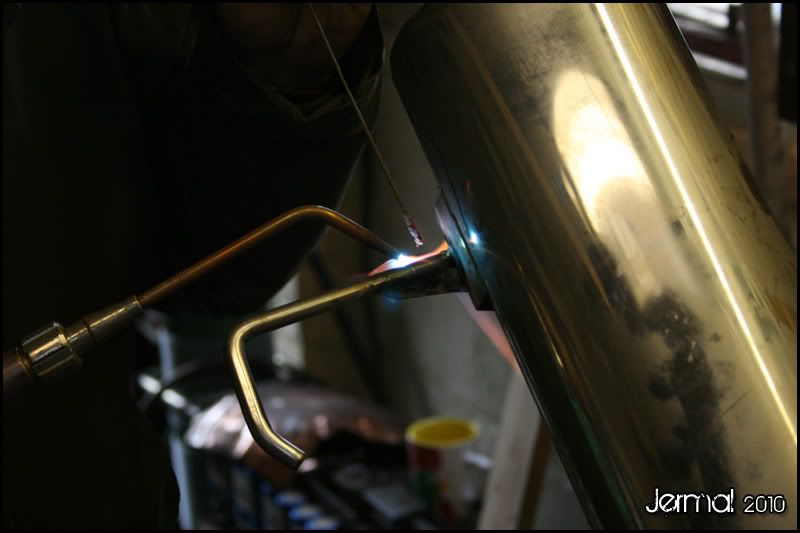
Our stainless steel modified bracing plate:
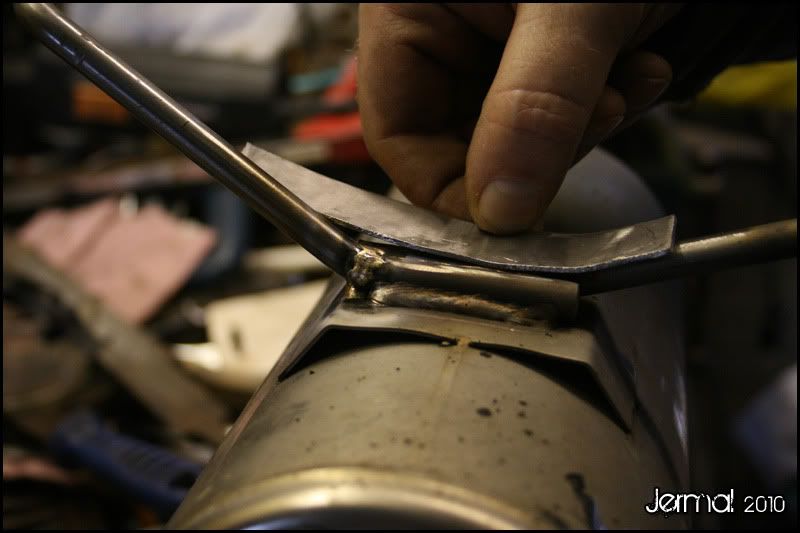
Brazing the plate onto the joins:
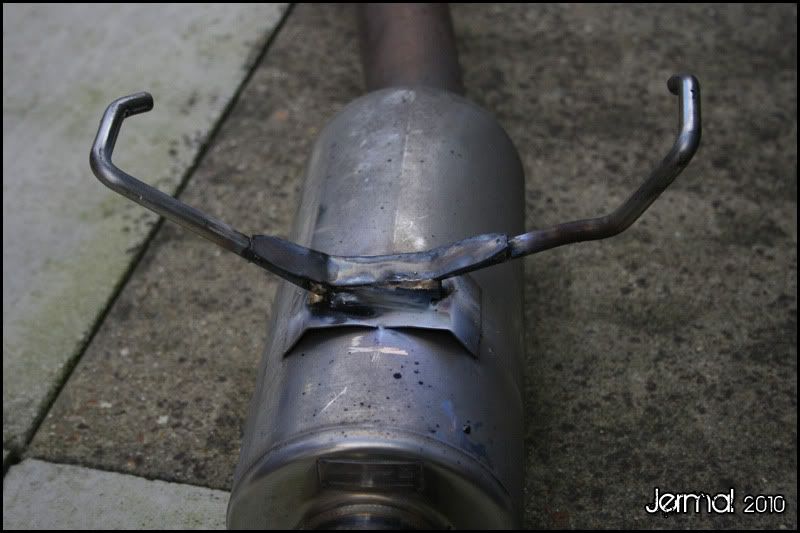
The finished article:
Certified ultimate performance... Orly!?!
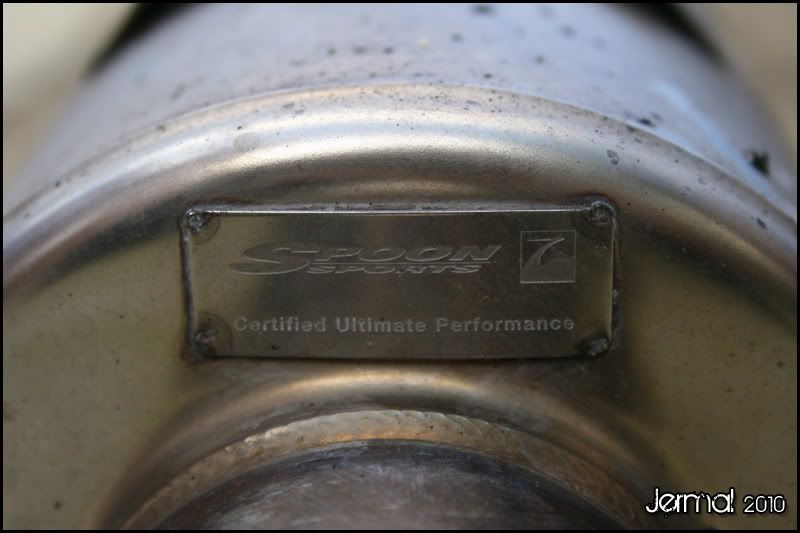
This exhaust is only about 3 years old, as it was bought for the car by the previous owner of which I had receipts. Obviously I was unlucky and the hanger had broken at an obviously weaker part due to the need to bend the steel. Now it's been fixed and braced/strengthened, it should be stronger than when it came out of the factory. Hopefully.
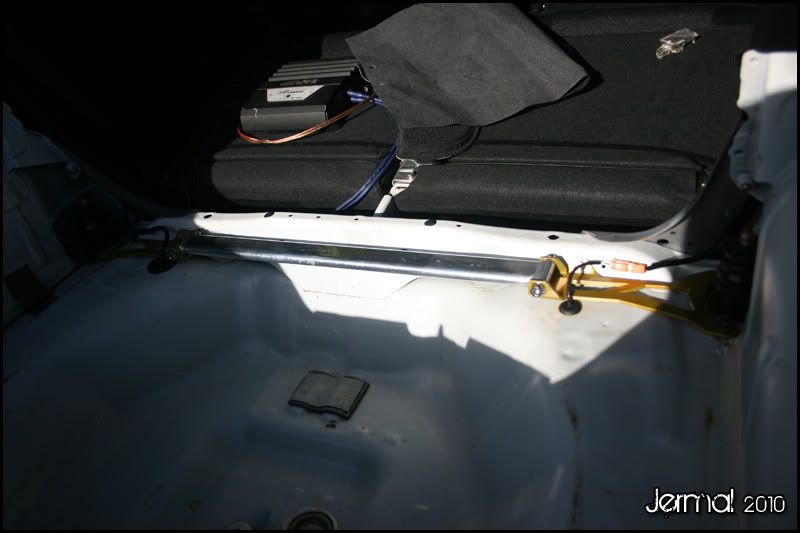
Next task on the list was to fix the dreaded leaky boot which many DC5's fall prone to and is a common fault. My suspicions were that the boot was leaking around the lights, after water drains off the roof/rear windscreen and into the drain recesses either side of the rear windscreen. I had put up with it for a while now, but due to recent awful weather, more water than usual was getting into the boot, so much so that it was making the boot lining damp. This, I do not want.
First port of call was to strip the lining out of the boot:
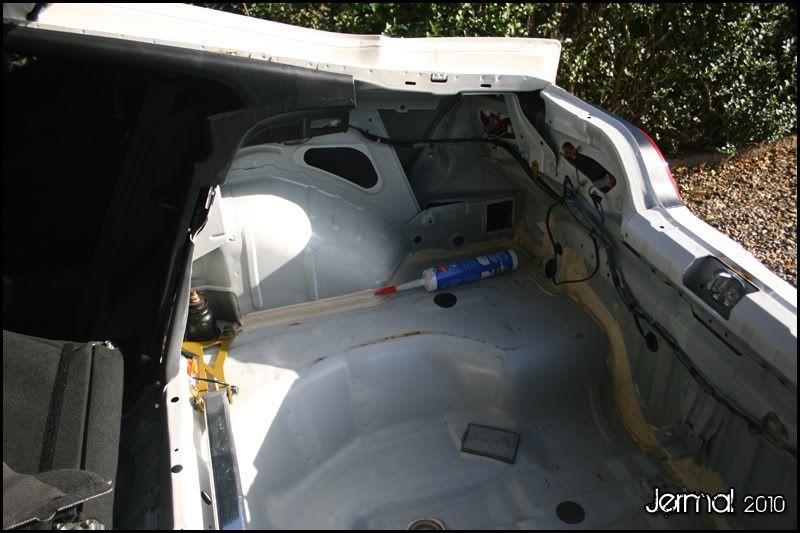
I also removed the boot seal, which was intact an in good condition, so this was eliminated as a potential cause for water ingress.
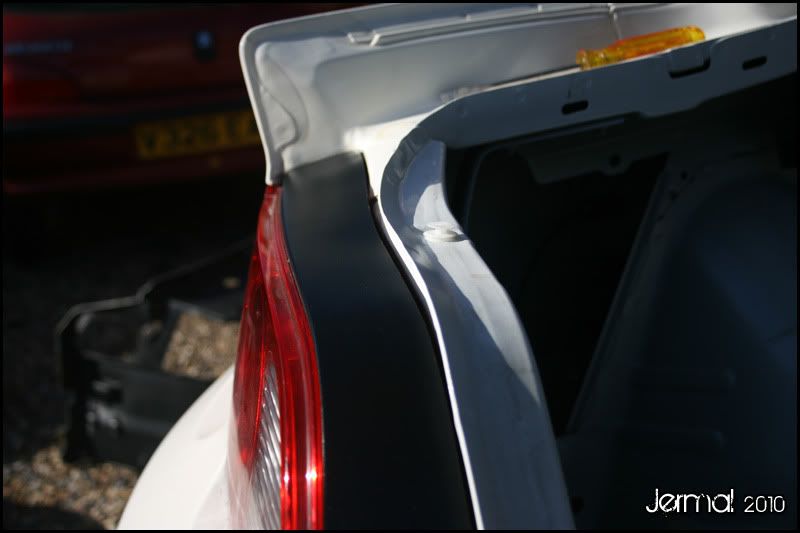
With the lining/seal removed, it was clear just how easy it is for water to get behind the lights as there is quite a gap between the bodywork and the lights:
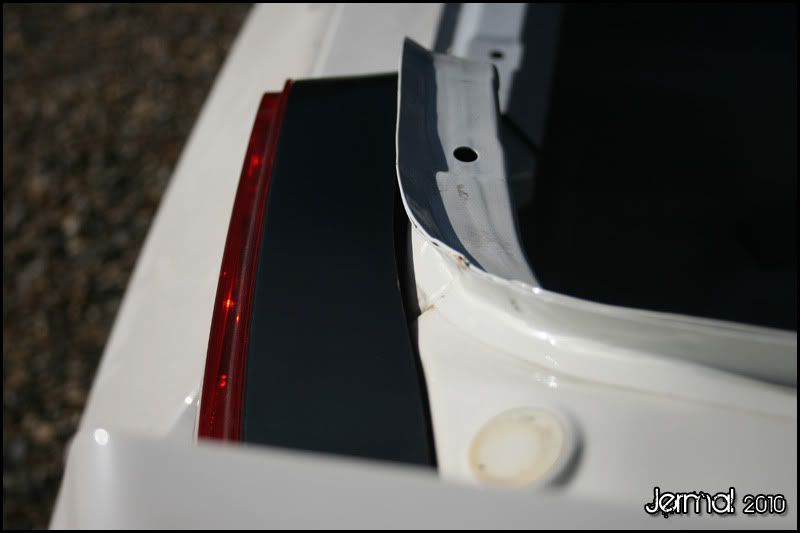
I used some clear bathroom sealant from B&Q and filled the recesses to create a seal. I also made sure that the top of the sealant was smooth and any water collecting hear could drain away from the lights. I also continued to pump sealant between the bumper and chassis to ensure a continuous seal along the length of the boot. Unfortunately I don't have any pictures of the finished result, although in all honesty it's not particularly interesting.
So a day later and after a heavy rain shower last night, I ventured out to see if it had done the trick... In a word, No.
It's not all bad though. The sealant has stop the water getting in around the lights, as in the boot around the lights, it's nice and dry now, where before it was wet. But water is still getting into the boot. I can see where it's getting in from the inside and I've got a feeling that the sealant between the bumper and chassis (near the boot handle) is not complete. I will therefore pump some more sealant into the gaps and fingers crossed, it should sort the problem.
Watch this space...
The exhaust with the missing hanger on the right:
and what it should look like:
Backboxless:
(I was tempted to see how loud it was without the backbox, but time was against me, so I decided not to arse around :lol
Unfortunately, welding the piece back together was not an option, as my step dad did not have the correct welding rods for stainless steel, plus welding stainless is a bit of a specialist area anyway due to the different grades of stainless, so we decided to braze the piece back on and braze an extra bracing bar to add strength and stability. Let the oxyacetylene commence...
Hot:
Hotter:
Disco!:
The initial joint brazed back into position (I had to hold the hanger in the correct position, so the angles were correct. Even wearing gauntlets, it was hot, hot, hot!)
Our stainless steel modified bracing plate:
Brazing the plate onto the joins:
The finished article:
Certified ultimate performance... Orly!?!
This exhaust is only about 3 years old, as it was bought for the car by the previous owner of which I had receipts. Obviously I was unlucky and the hanger had broken at an obviously weaker part due to the need to bend the steel. Now it's been fixed and braced/strengthened, it should be stronger than when it came out of the factory. Hopefully.
Next task on the list was to fix the dreaded leaky boot which many DC5's fall prone to and is a common fault. My suspicions were that the boot was leaking around the lights, after water drains off the roof/rear windscreen and into the drain recesses either side of the rear windscreen. I had put up with it for a while now, but due to recent awful weather, more water than usual was getting into the boot, so much so that it was making the boot lining damp. This, I do not want.
First port of call was to strip the lining out of the boot:
I also removed the boot seal, which was intact an in good condition, so this was eliminated as a potential cause for water ingress.
With the lining/seal removed, it was clear just how easy it is for water to get behind the lights as there is quite a gap between the bodywork and the lights:
I used some clear bathroom sealant from B&Q and filled the recesses to create a seal. I also made sure that the top of the sealant was smooth and any water collecting hear could drain away from the lights. I also continued to pump sealant between the bumper and chassis to ensure a continuous seal along the length of the boot. Unfortunately I don't have any pictures of the finished result, although in all honesty it's not particularly interesting.
So a day later and after a heavy rain shower last night, I ventured out to see if it had done the trick... In a word, No.
It's not all bad though. The sealant has stop the water getting in around the lights, as in the boot around the lights, it's nice and dry now, where before it was wet. But water is still getting into the boot. I can see where it's getting in from the inside and I've got a feeling that the sealant between the bumper and chassis (near the boot handle) is not complete. I will therefore pump some more sealant into the gaps and fingers crossed, it should sort the problem.
Watch this space...