• Registered users are encouraged to enable MFA/2FA to add an aditional layer of security to their account. More information can be found here: https://www.ncsc.gov.uk/collection/top-tips-for-staying-secure-online/activate-2-step-verification-on-your-email

Phil’s ep3 resto

Messages
15
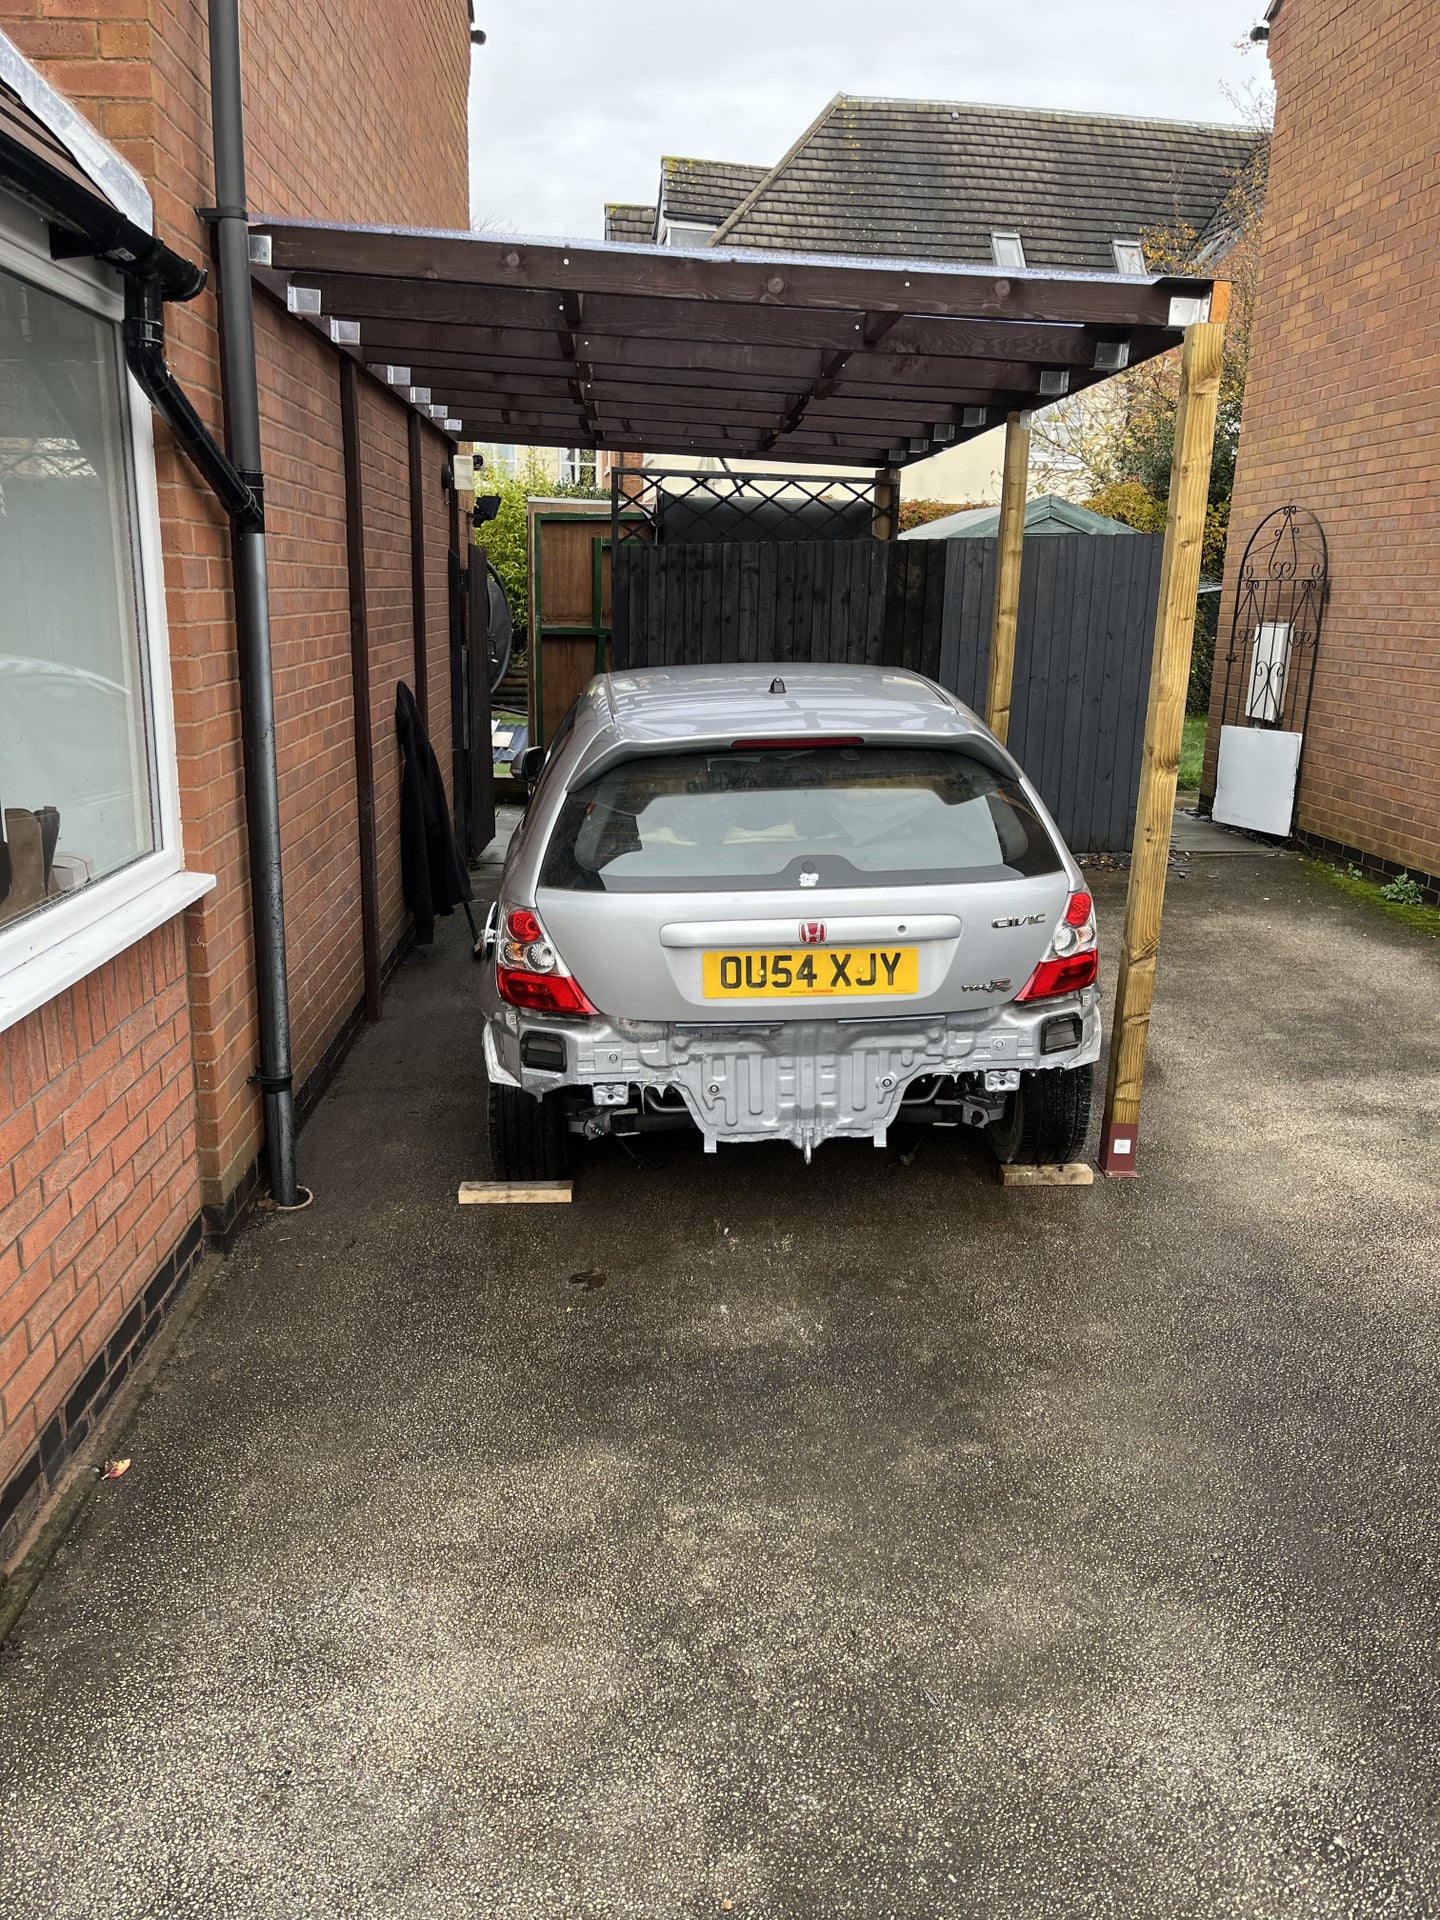
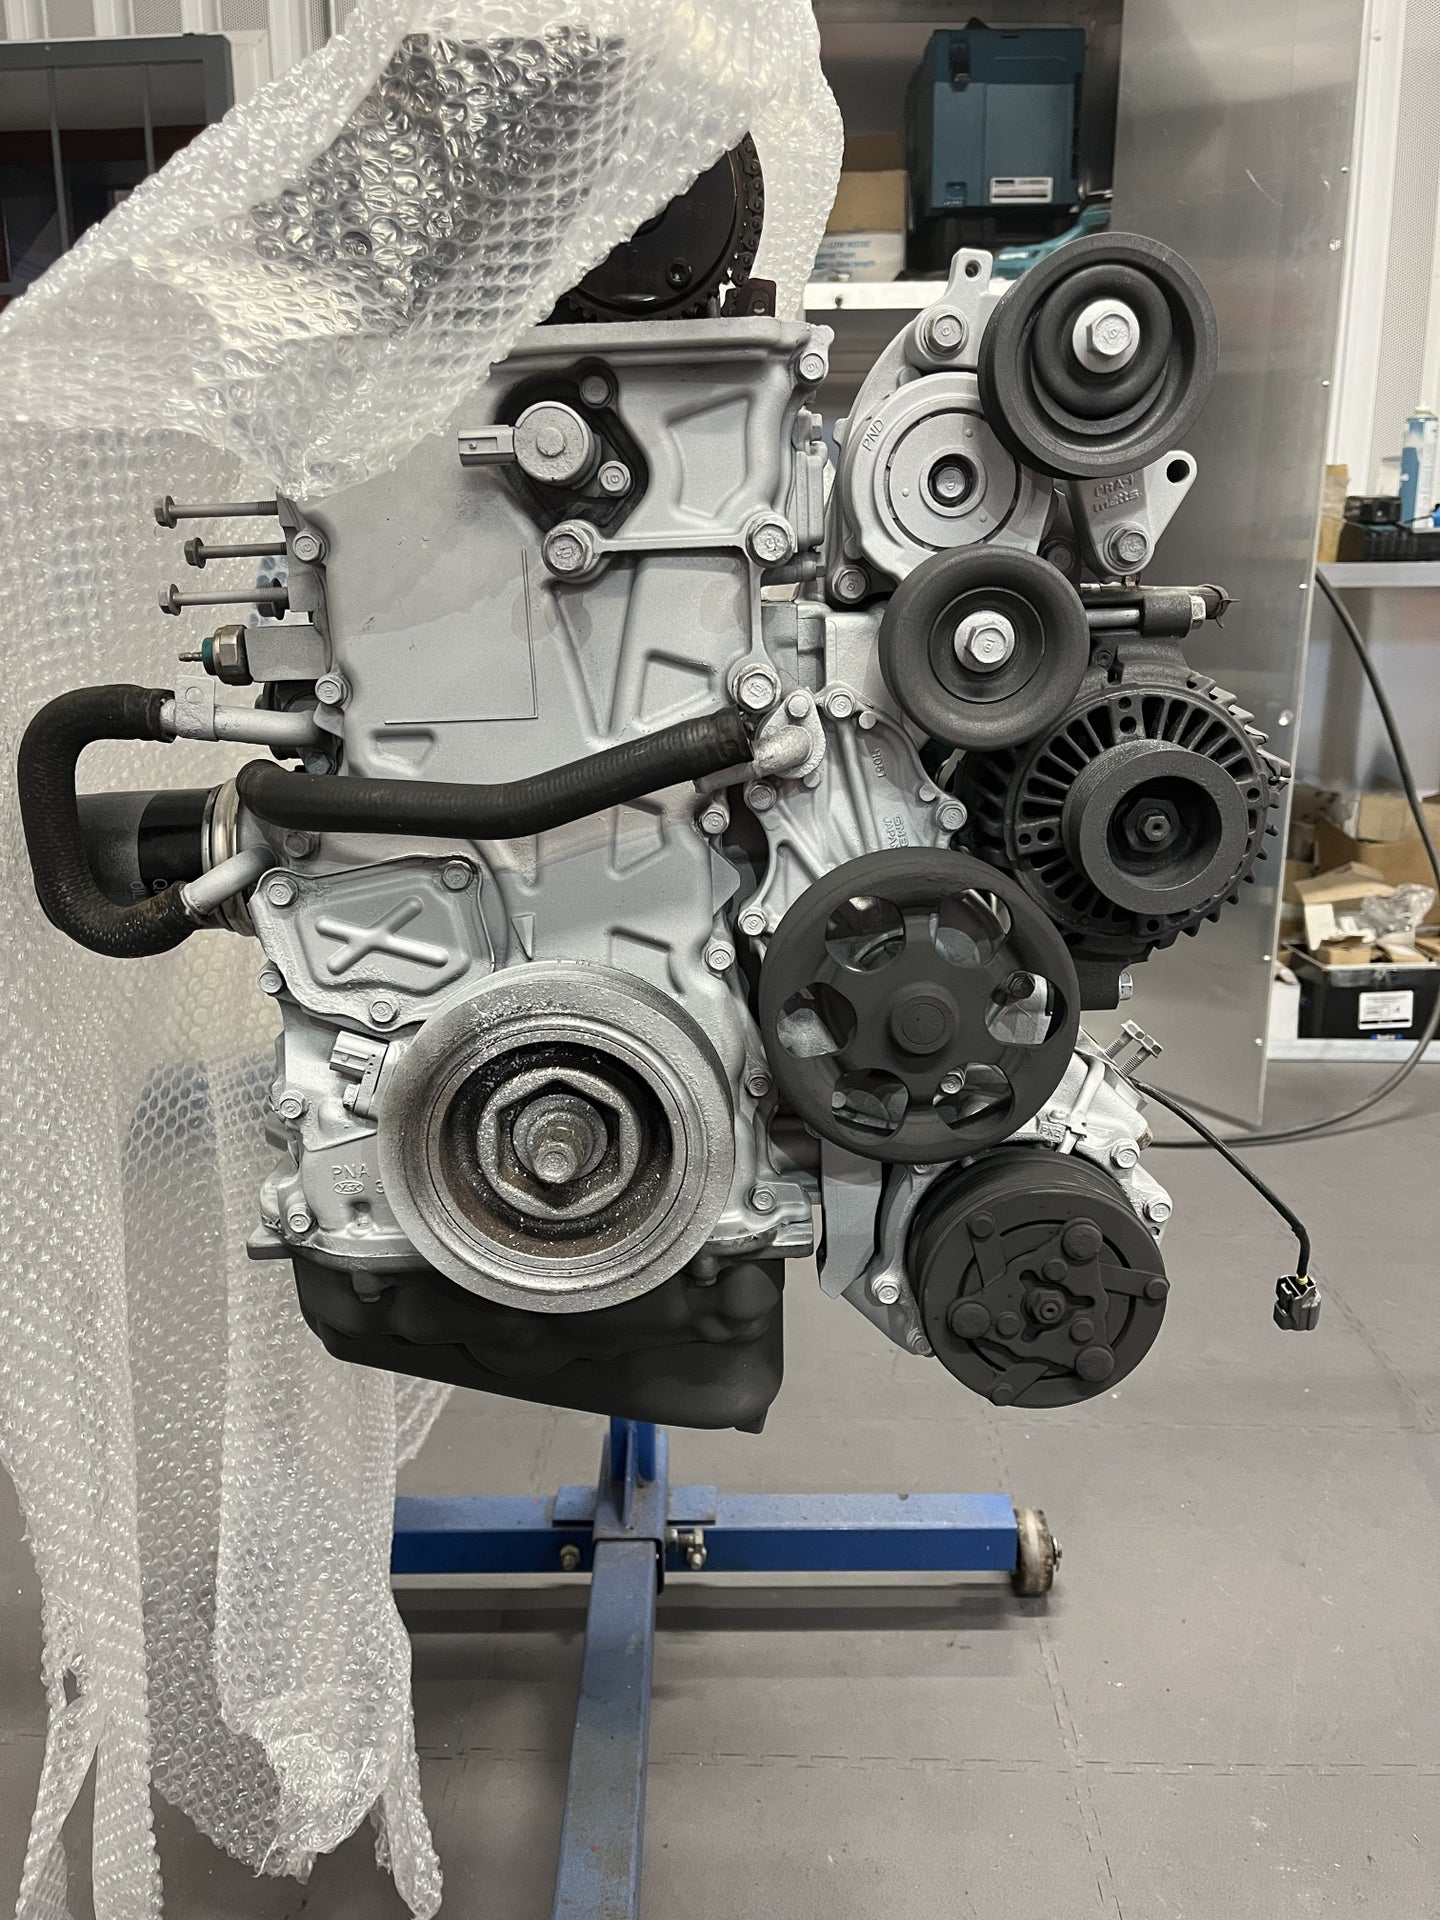
So after owning a supercharger premier edition around 12 years ago and a DC5 after that I’ve decided to get another ep3 as a project. The car is a 2004 with 140,000 miles on the clock. Not too much history with the car but the plan is to either replace or clean up everything on the car so that didn’t bother me to much.

So this is how the car looked like after picking it up
1000008275.jpeg
1000008276.jpeg
As you can see the car came with a mugen replica wing, a silly load exhaust, tints all round and has been lowered on what I think are apex springs.
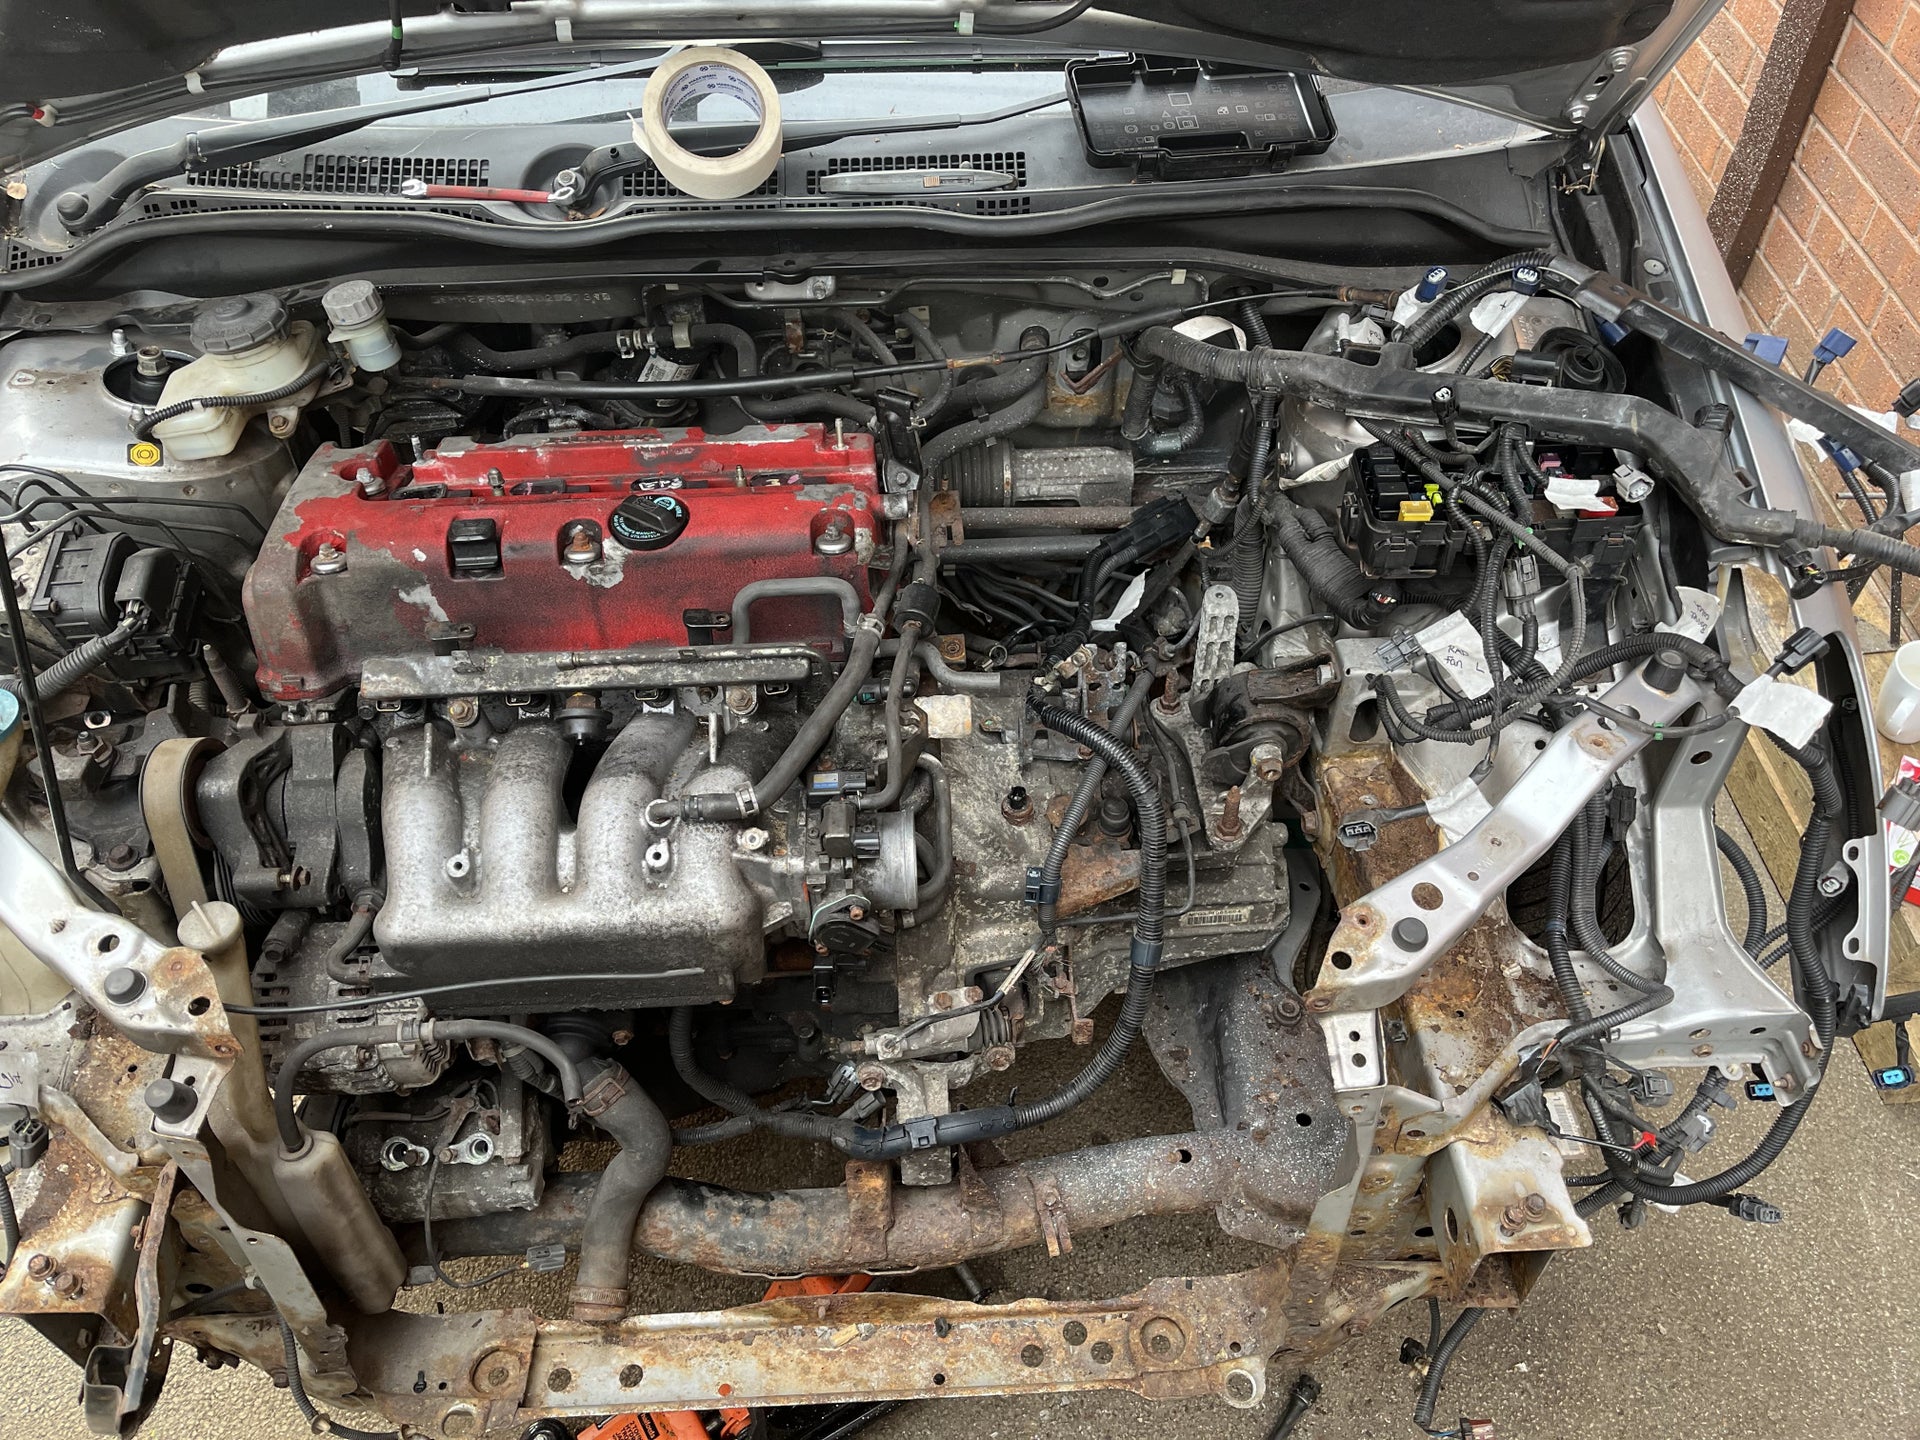
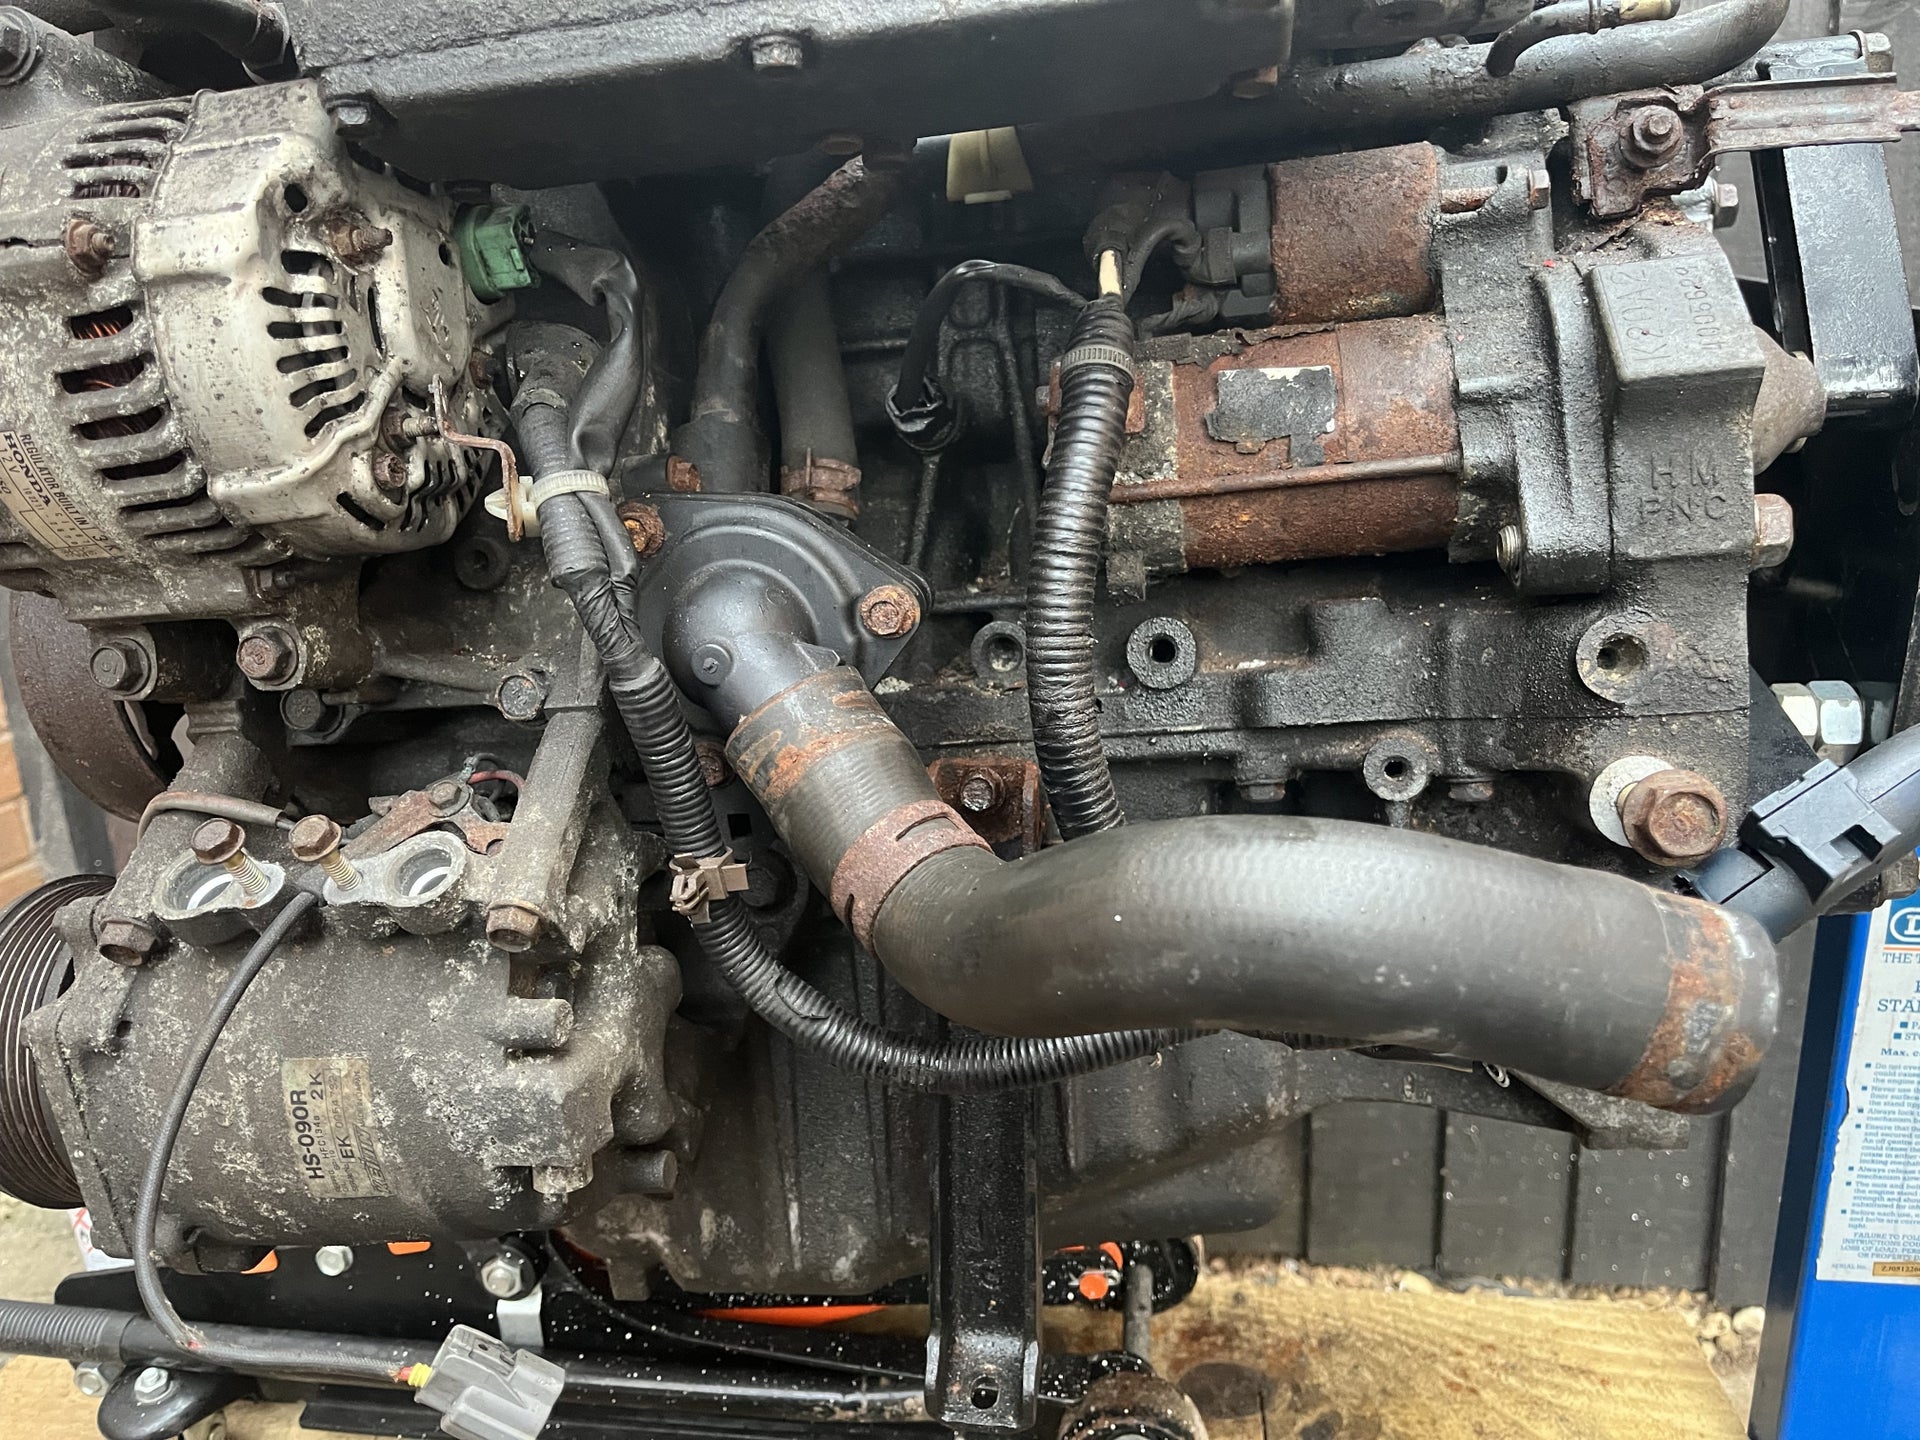
The first job is to strip the underneath and suspension, under seal and have the suspension all powder coated with new bushes.
 
  • Like
Reactions: mka
As I forgot to mention in the first post I bought the car 6 months ago now so I’ve already started stripping down the underside.
Luckily both arches are solid.
IMG_1534.jpeg
IMG_1538.jpeg
Fuel tank removed
IMG_1649.jpeg
Unfortunately the drivers side cill has two rust holes where the side skirt brackets fix
IMG_1651.jpeg
IMG_1653.jpeg

I haven’t got round to checking the passenger side yet but I’m just going to presume it’s going to be the same! Going to just replace the whole cill rather than patch up the two areas. Reason for this is I’d rather know it’s all solid than potential have the problem all over again in a year or so.
Hopefully I’ll have the rear suspension arms back from powders this week so need to decide what bushes I’m going for.
 
So I managed to get half a day off work and spend the afternoon on the car. Spent most the day cutting both cills out, I’ve decided to do just for peace of mind even tho there were only 3 small rust holes. Also managed to get most of the rear end sanded and treated with hammerite kurst.
As the car stands..
IMG_1684.jpeg
Cills cut out..
IMG_1681.jpegIMG_1682.jpeg
As you may of spotted the passenger side is going to need outer and inner cills replacing.
 
So it’s been a while since I last posted anything on here. In that time I’ve managed to rebuild the callipers with all new seals, suspension parts have all been powder coated, new poly bushes started to be fitted, weld in the new cills, all cavities treated with bilt hamber S50, primer, stone chip, and paint the underside of the car. I haven’t taken to many photos as I get carried away working and forget to take them but here’s a couple of where I am with the car to date.
Callipers painted

Red Font Rectangle Carmine Auto part


Suspension powder coated and poly bushes started to be fitted

Silver Household hardware Font Nickel Symbol


Human body Grass Font Religious item Jewellery


Underside in stone chip.

Automotive tire Hood Bumper Automotive exterior Motor vehicle


Composite material Automotive tire Engineering Vehicle Concrete


Automotive tire Motor vehicle Slope Landscape Geological phenomenon


And finally the underside and arches painted satin silver

Tire Wheel Automotive tire Car Vehicle


Automotive tire Hood Tread Motor vehicle Tire


Tire Automotive tire Hood Motor vehicle Wheel


Hood Automotive tire Motor vehicle Helmet Automotive design


Automotive tire Automotive lighting Motor vehicle Vehicle Bumper


Motor vehicle Tire Automotive tire Automotive lighting Automotive design


Cavities being treated with S50

Wood Drilling Gas Machine tool Engineering


Hood Automotive tire Tire Motor vehicle Vehicle


Tire Wheel Automotive tire Motor vehicle Automotive lighting


There is a couple of areas that I’d like to go over again but overall I’m happy with the result. Hopefully I can get all the poly bushes fitted in the next week or so and start fitting everything back together before starting on the engine bay. If anyone knows the best way of removing brake lines that are seized and the nut rounded the help would be great.
 
Wonderful work mate.

Those sub-frame and suspension arms came up great.

I've considered maybe having a go at doing mine (EP3 lower arms) but I'm fare less as applicable and tool'd up (press) as your good self.

Great thread will enjoy following this.
 
Got home from work and decide to loosely put one side together as I couldn’t wait to see what it looked like;
IMG_1900.jpeg
IMG_1901.jpeg
IMG_1902.jpeg
Really happy with how it’s starting to look. I will eventually get round to replacing all the bolts and cleaning the lca plastic covers.
Hopefully I’ll have the car rolling this weekend and then I can start on the engine bay.
 
looks great. will be following future updates, because i always wanted to something like this to mine.
 
So again I’ve left it a while since I was last on here and a bit more has been done to the civic. I’ve now put the rear suspension back together with new hardrace camber adjustable arms and the front temporary together just to get the car rolling again. Typically of me I’ve forgotten to take photos so I’ll take some when I’m next working on the car.
Car back on all four wheels and turned around.

img_1946-jpeg.93301


Next job was to take the engine out the car. I’ve never done this before so I took my time and labeled everything as I went along, hopefully this will make it a lot easier for when I put it back in.
Start of the strip down

img_1988-jpeg.93303


And finally engine out

img_1995-jpeg.93304


As you can see from the previous photo, there is a lot of surface rust in the bay hence why I’ve decide the take the engine out. I have gone over all the rust with a screwdriver and luckily there isn’t anything serious. So the plan is to take it all back to bare metal, treat the rusty areas with a converter, primer and paint silver again.
Whilst the engine is out I’ll be stripping it back to a bare block and painting/cleaning everything before it goes back in the civic.
 
This is a great thread Phil, thanks for putting it up, I have a 2003 car and 2 months ago I took it for about its 3rd mot and service in my ownership and I asked the garage for an opinion on the underside and rust. They said nothing unsafe or needed doing but that it has lots of surface rust.

I've used some bilt hamber products but I've not heard of s50 I will go have a look. I've read your comments on your engine bay. When I look at the after photos of the bottom of the car, what are the layers I'm looking at, in the bay it's s50,primer,paint, what is it on the underside, what is 'stone chip'?
Hi mate sorry for the slow reply, S50 is a cavity wax that protects the areas you can’t get into with a spray gun. Also stone chip is like a rubberised paint that give you some sound deadening and protection from stones hitting the underside.
 
Thanks for all the comments and encouragement

Whilst the weather has been to wet and cold to be rolling round on the floor I’ve been focusing on the engine. Like normal I haven’t taken too many photos of the processes but I have got some before and afters.
So as you can see the engine was looking very tired and a bit of a mess

img_1997-jpeg.93835


img_2025-jpeg.93836


img_2026-jpeg.93837


img_2030-jpeg.93838


And now for how it looks now

img_2142-jpeg.93839

img_2143-jpeg.93840

img_2144-jpeg.93841

Everything is only loosely put together just to see what it looks like. I’ve ordered a full engine gasket set so can’t do much until that turns up. Also I’ll be replacing the timing chain hence the bottom pulley not being painted yet and I’m still waiting on the paint to turn up for the rocker cover. I must admit the bolts do let it down so I may look into replacing them at a later date.
Hopefully the weather picks up soon and I can make a start on the engine bay.
 
The gasket set turned up last week so I set about replacing all the rubber seals and gaskets. Here’s a few photos of some of the seals being replaced

img_2148-jpeg.94203


img_2158-jpeg.94204


img_2161-jpeg.94205


img_2152-jpeg.94206


I won’t bore you with anymore but you get the idea. The only parts I haven’t used out of the kit is the head gasket and valve stem seals as I didn’t feel comfortable taking the head off and since the engine was running fine before I took it out the car I couldn’t see the point.

I also replaced the two bearing in the aux pulleys
img_2149-jpeg.94207


Next on the list was repainting the rocker cover. I tried using VHT wrinkle red as a lot of people recommended it, I must admit it did take me 3 attempts to get it to a standard I was happy with. I think in the future I’ll buy a separate rocker cover and practice painting with the VHT but this is how it turned out for now
img_2210-jpeg.94209


img_2211-jpeg.94210


Also started to paint a lot of the small brackets around the engine bay gloss black
img_2212-jpeg.94211


Next will be cleaning up the steering rack and replacing the slider plus starting to prep the bay for painting.
 
Back
Top