• Registered users are encouraged to enable MFA/2FA to add an aditional layer of security to their account. More information can be found here: https://www.ncsc.gov.uk/collection/top-tips-for-staying-secure-online/activate-2-step-verification-on-your-email

Tucker's Cosmic EP3

Got to be one of the cleanest ep3's around?!!

Cheers Chris but I doubt it is, probably far from it, but I do try!


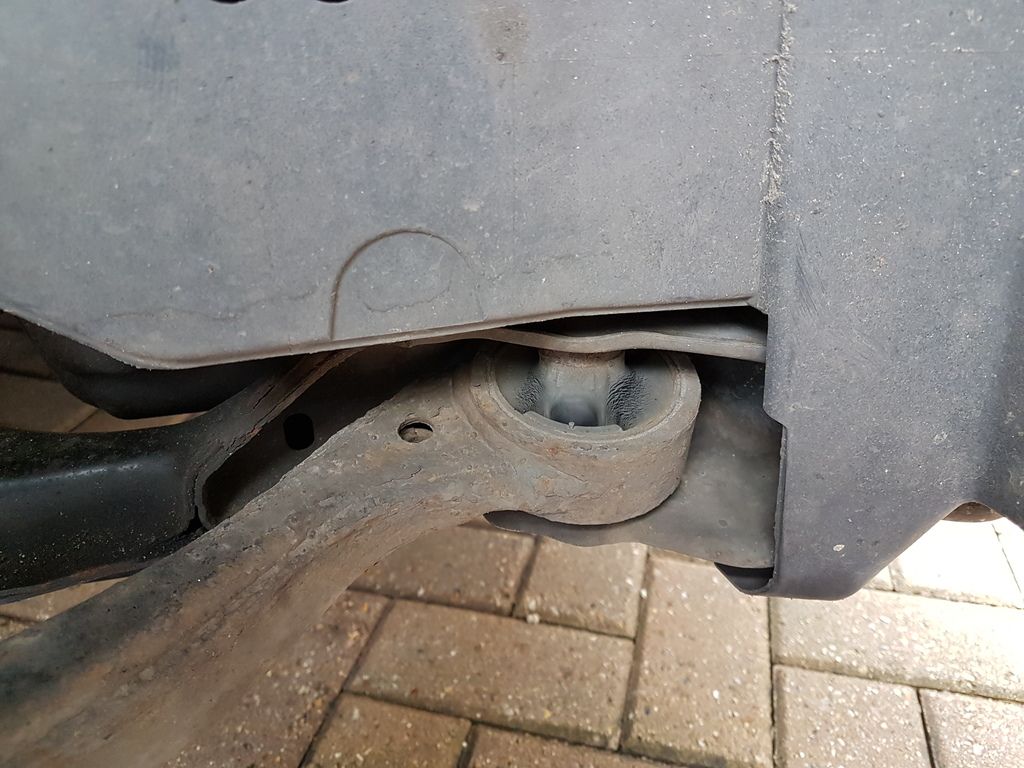
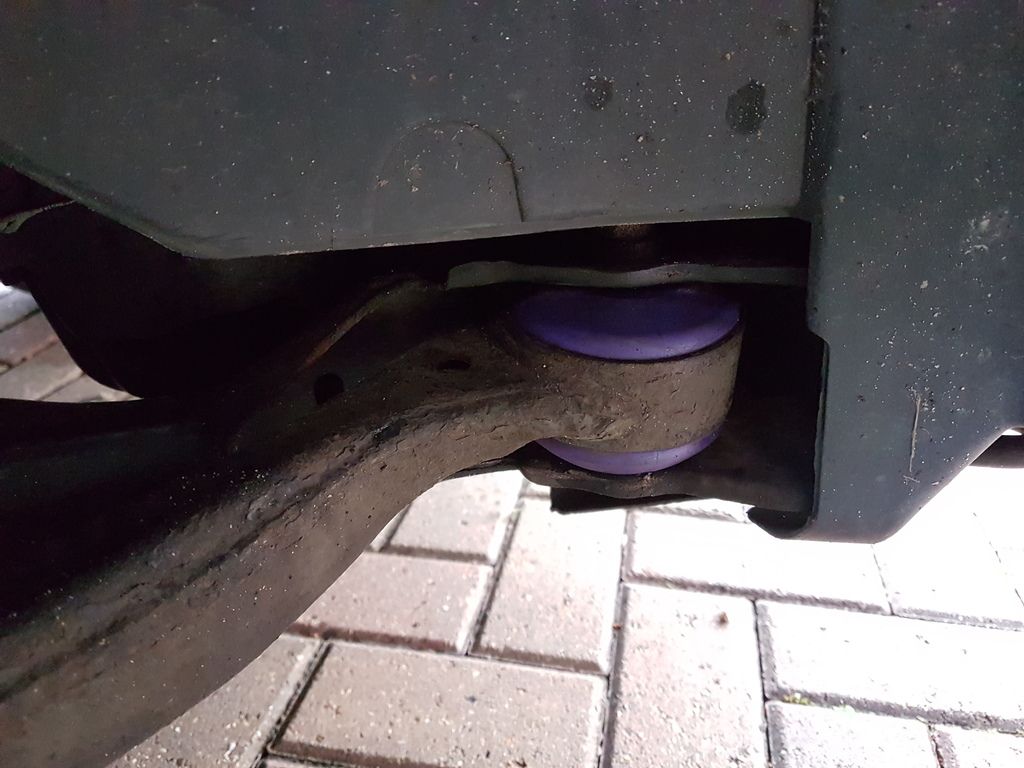
A bit of a bigger update to explain where I'm at....so the Front Lower Arm Bushes (Front) were replaced with the Powerflex Purple Series bushes as previously planned.


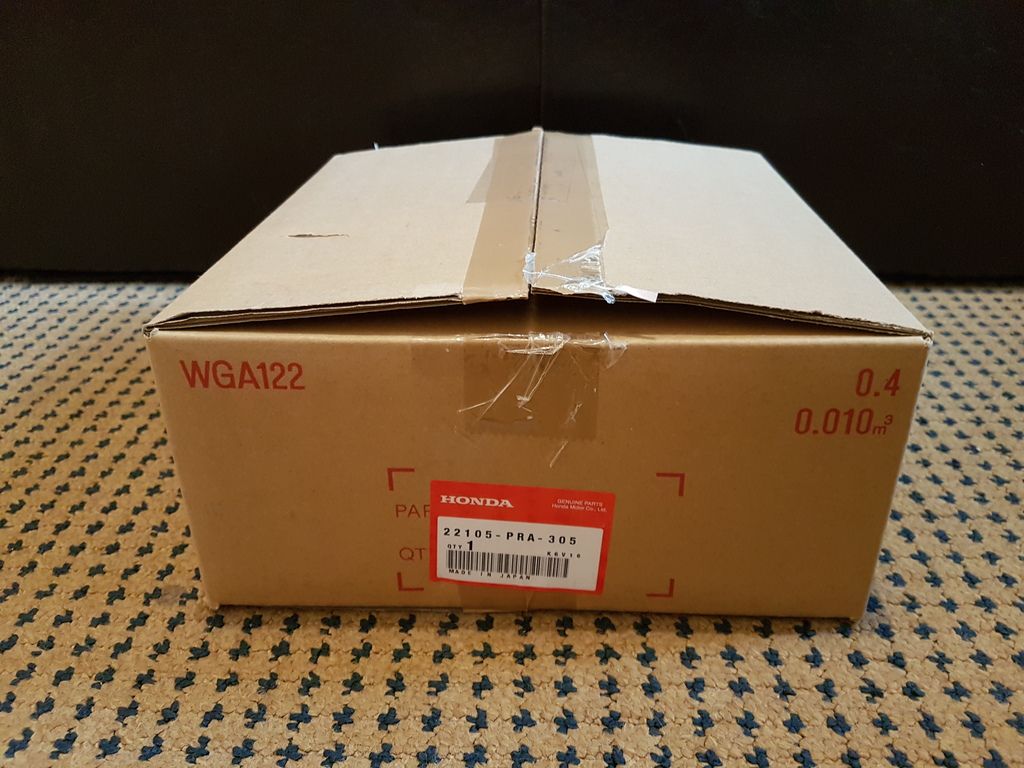
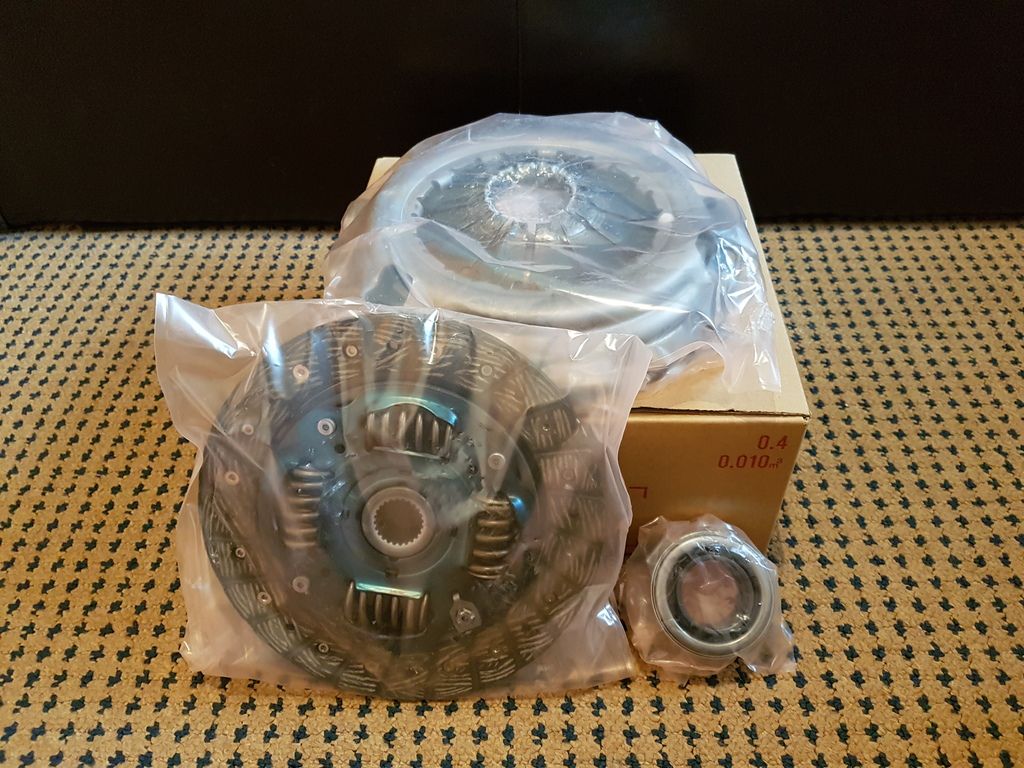
I managed to get a Genuine Honda Clutch Kit on sale for a good price prior to getting the bushes done so booked this in to be done at the same time. It was getting very hard to change gear when in VTEC and from the paper work I have I'm not sure it's ever been replaced.


While waiting I was told that when they removed the Driveshaft part of the bracket for the Half-shaft fell apart as it was only being held together by the bolt! The oxidisation on the break shows that it wasn't new.
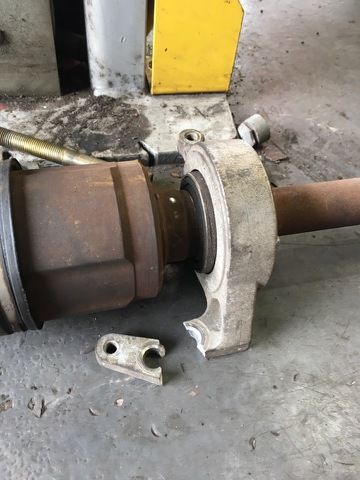
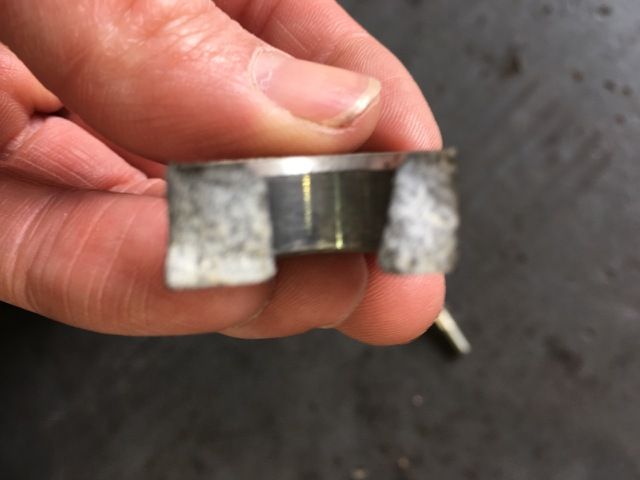


Unfortunately on the day we were unable to source a new part so for the time being it was put back and a washer used to hold it together. I jumped in to take her home but as I pulled away the Engine Management Light came on! Plugged in my ODBII reader when I got back and it displayed the code P0325 - "Knock sensor 1, Circuit Bank 1 or Single Sensor".
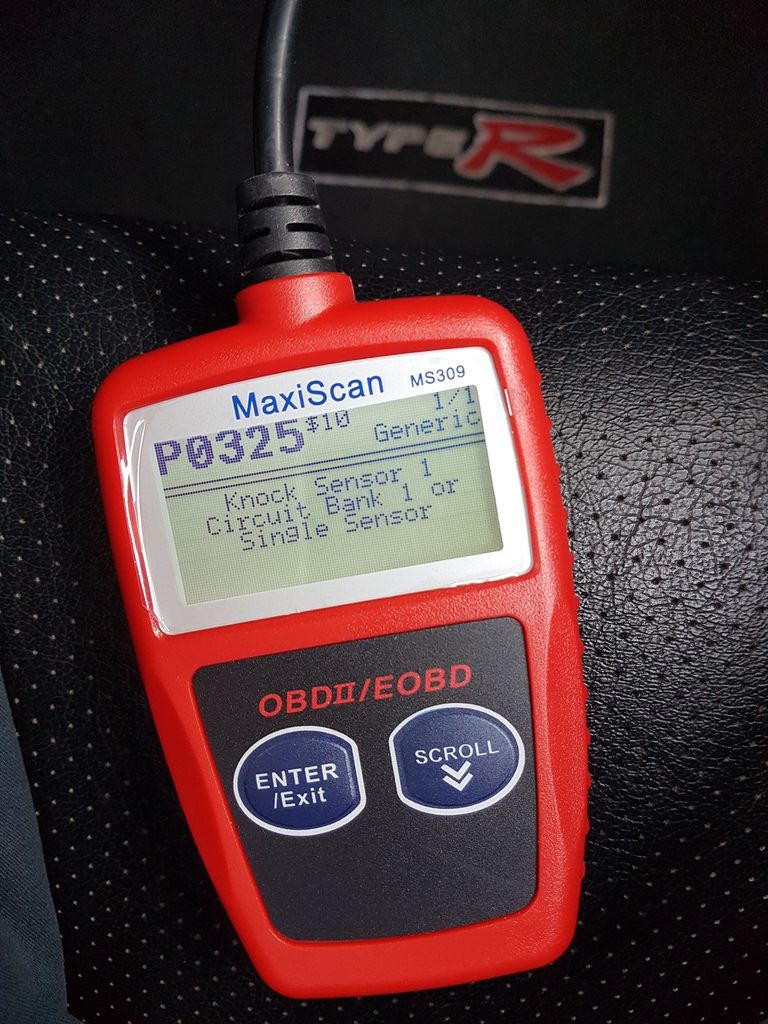


Gave the garage a call and explained what had happened. They said they checked with their reader once the job was done to make sure everything was ok and had nothing come up. They said that when I come back to get the Driveshaft sorted they'd have a look at this too.

Managed to source a used Half-shaft for a good price but when it arrived I wasn't happy with the condition. There was a fair amount of play and it didn't rotate as freely/smoothly as I'd like, seemed like the bearing was pretty worn to me. I made a complaint and a new one was sent out to me which was much better.
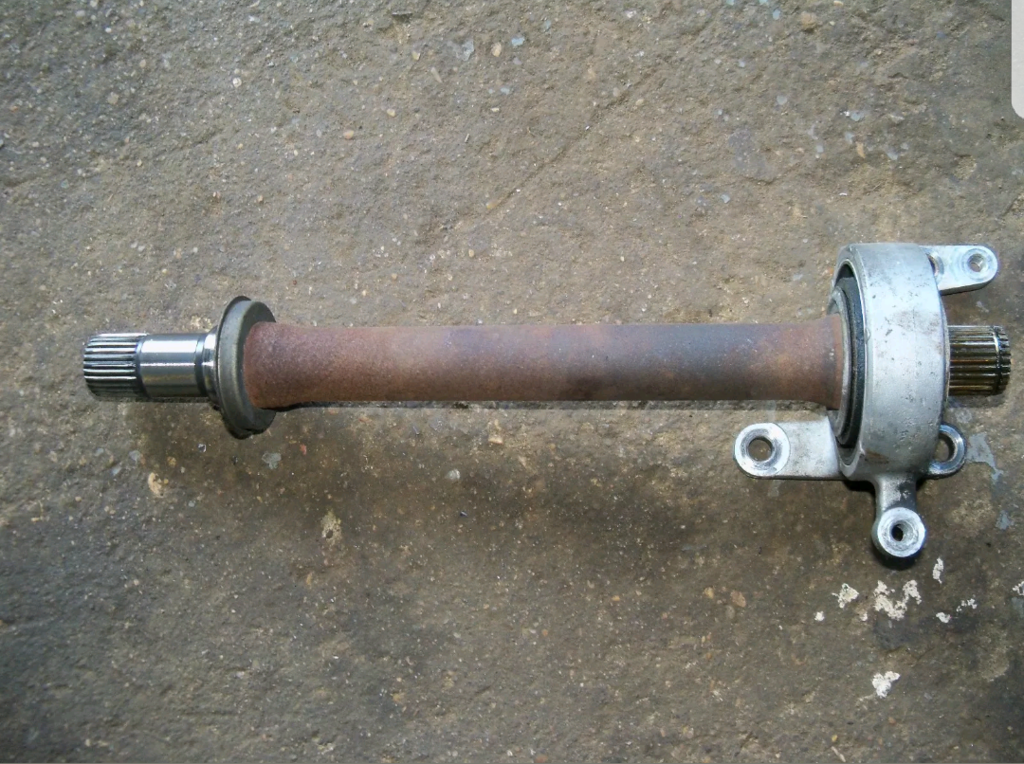


Got back down to the garage who fitted the new Half-shaft without any trouble and also connected their reader which displayed the same error code & message that mine had. Obviously I never had this problem before which leads me to believe that the Knock Sensor was damaged during the clutch install as I know this can happen pretty easily with them being so sensitive. Not particularly happy but I'll get a new Knock Sensor which will hopefully clear the light. Until then I'll just have to keep the driving to a minimum.
 
Another way of lowering risk with knocking in the short term is to only run the highest octane fuel you can find (and of course, don't thrash it).

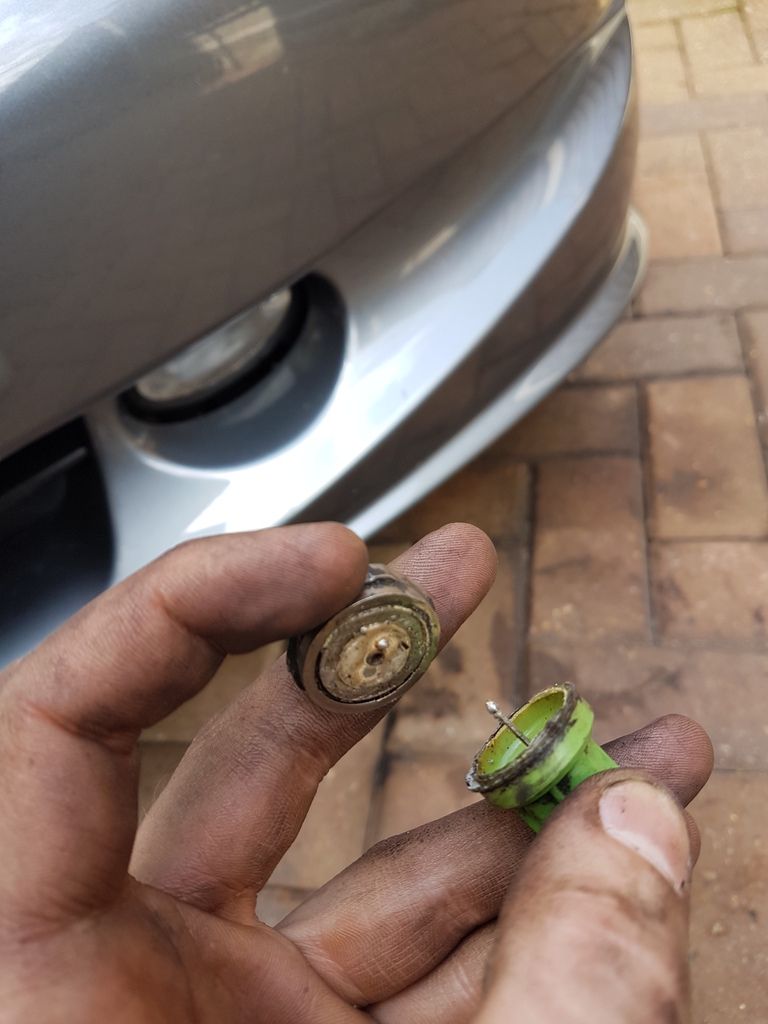
The sensor isn't too difficult to replace, it's just awkward to get to. It's under the intake manifold. You can either undo the two retainers holding the top of the radiator on and pry that out the way enough to get your hand in, or jack up the car and come at it from the underside.
 
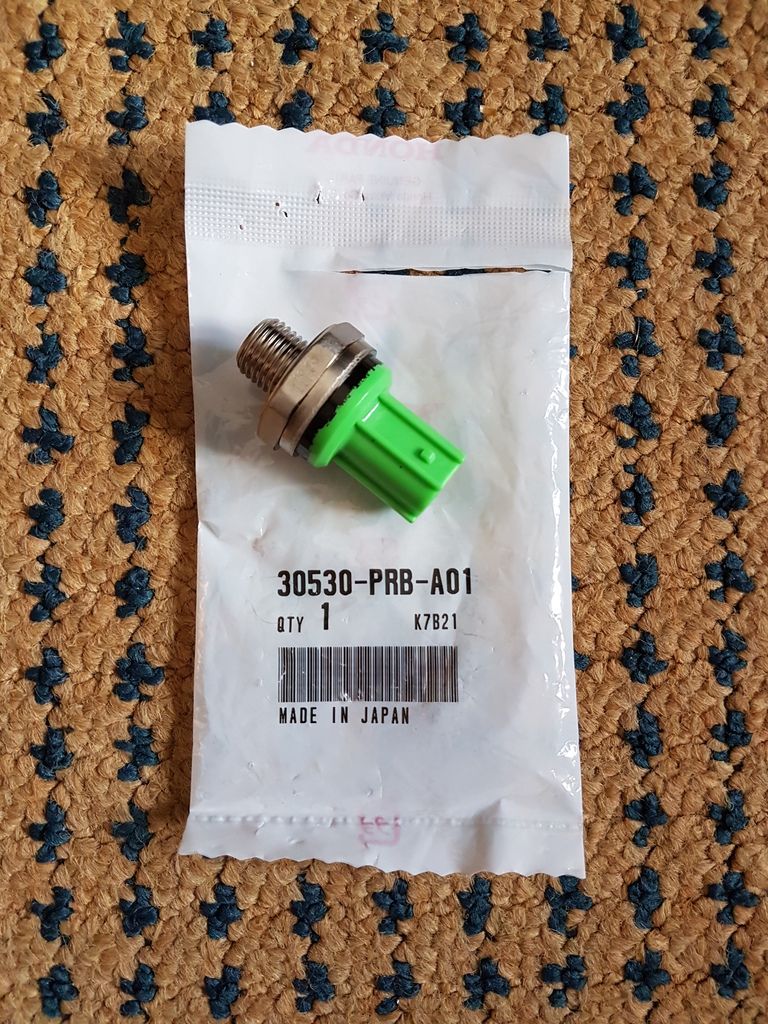
So got myself a Genuine Honda Knock Sensor.


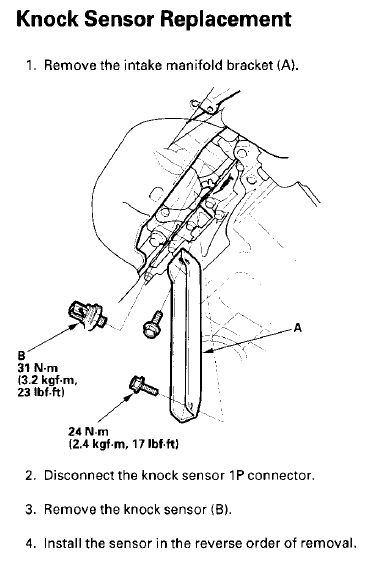
The mechanics manual shows that the knock sensor can be accessed from below by removing the intake manifold bracket. This was the route I decided to take as it seemed the easiest and quickest way of doing it.


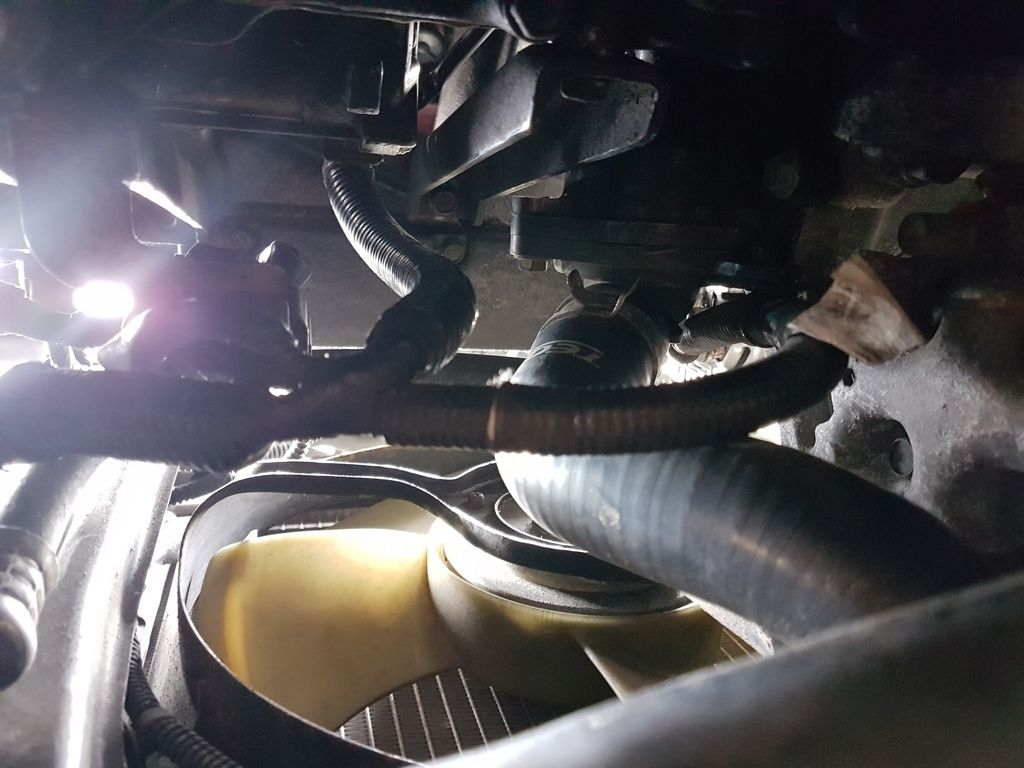
It was a bit awkward as there wasn't much room for maneuver under the car with it on jack stands and my hands aren't the smallest but I got it done.


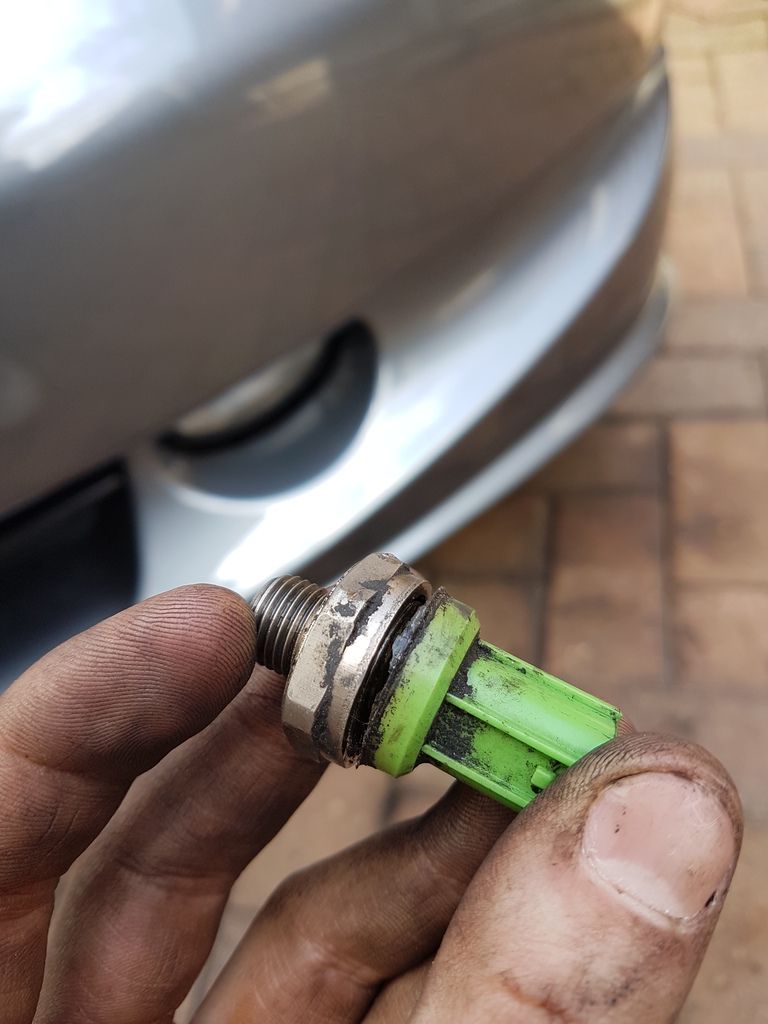
The old sensor fell apart as I removed it, this confirmed to me that the damage was caused by the wiring being pulled during the clutch change.


Back on the ground and the EML has not come back on. What a difference the new clutch has made, smooth shifts in high revs has made it much more enjoyable to drive. 1st to 2nd can still crunch a little so I assume this is the synchros, would have been nice to have this done at the same time as the new clutch but I just don't have that kind of money at the moment.
 
The knock sensor on the track car did the same but we hadn't been anywhere near it. Could just be age related.
 
The knock sensor on the track car did the same but we hadn't been anywhere near it. Could just be age related.
Could well be, I suppose 13 years of UK weather would take it's toll. I didn't kick up a fuss when they told me as these things happen which is why I just bit the bullet. I like the garage and they seem straight shooters but you just never know, which is why I like doing as much as I can myself.

Sent from my SM-G935F using Tapatalk
 
Could well be, I suppose 13 years of UK weather would take it's toll. I didn't kick up a fuss when they told me as these things happen which is why I just bit the bullet. I like the garage and they seem straight shooters but you just never know, which is why I like doing as much as I can myself.

Mine cracked on my '52 when I had to pull the cable, they do become very fragile over the years (plastics right next to the block, I guess it's to be expected)
 
Just one of those things I guess mike. The joys of owning an older car, wouldn't have it any other way though haha.

Sent from my SM-G935F using Tapatalk
 
So I managed to get a decent amount done over the bank holiday weekend, made the most of the extra day off and the decent weather we were having.

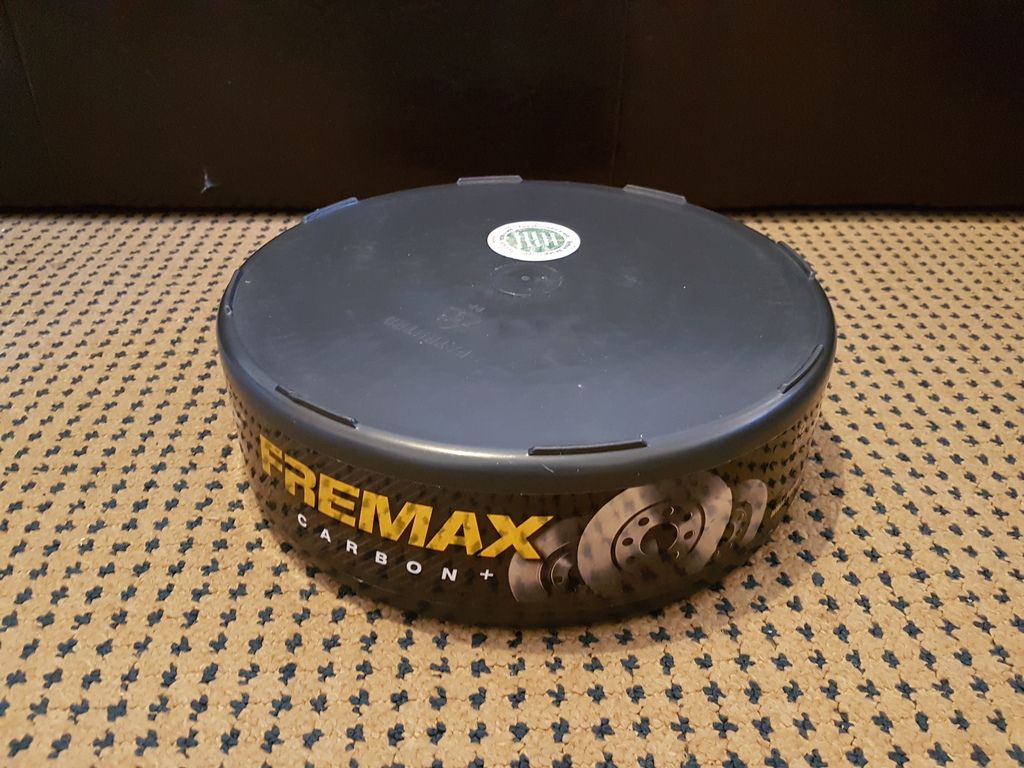
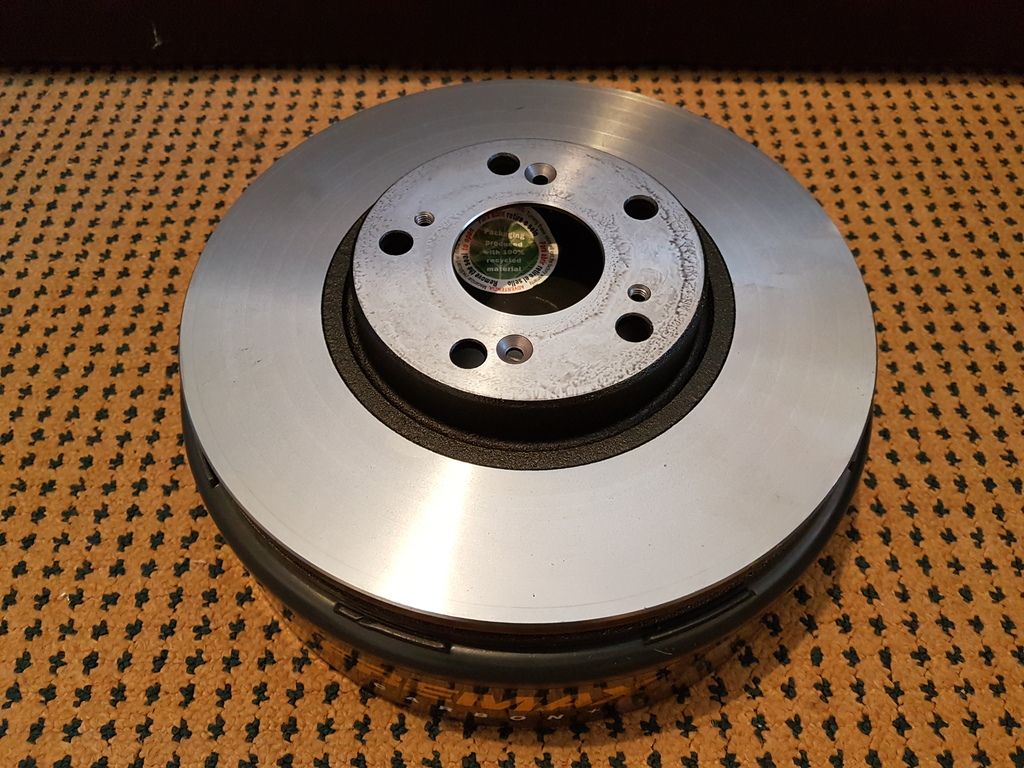
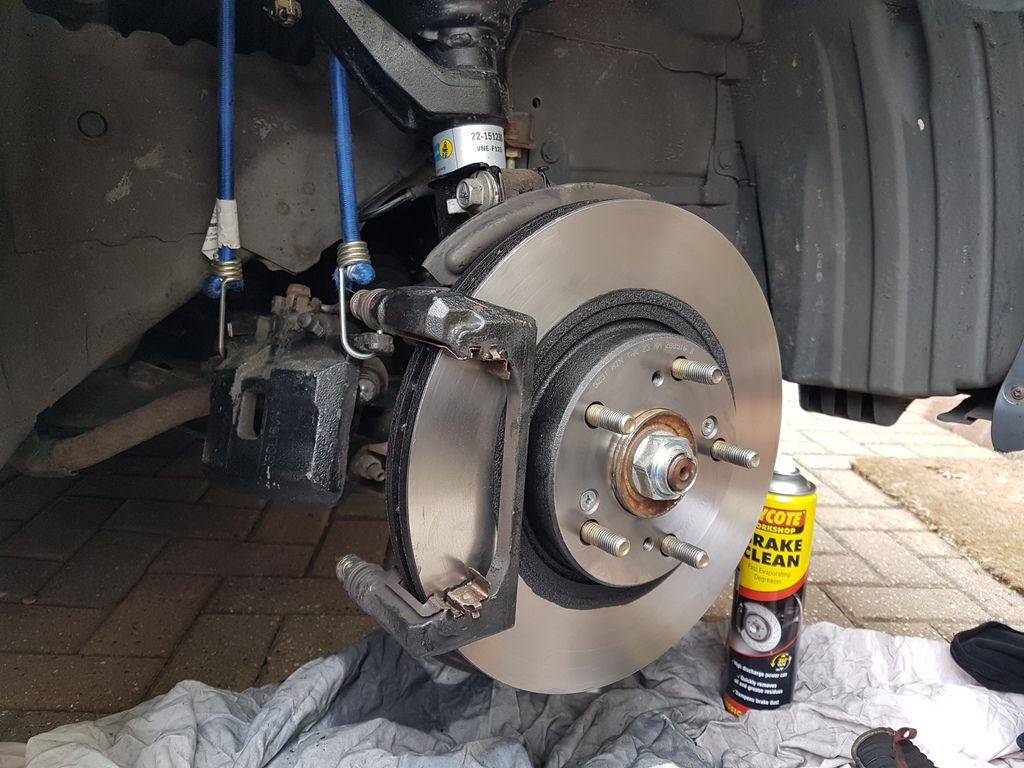
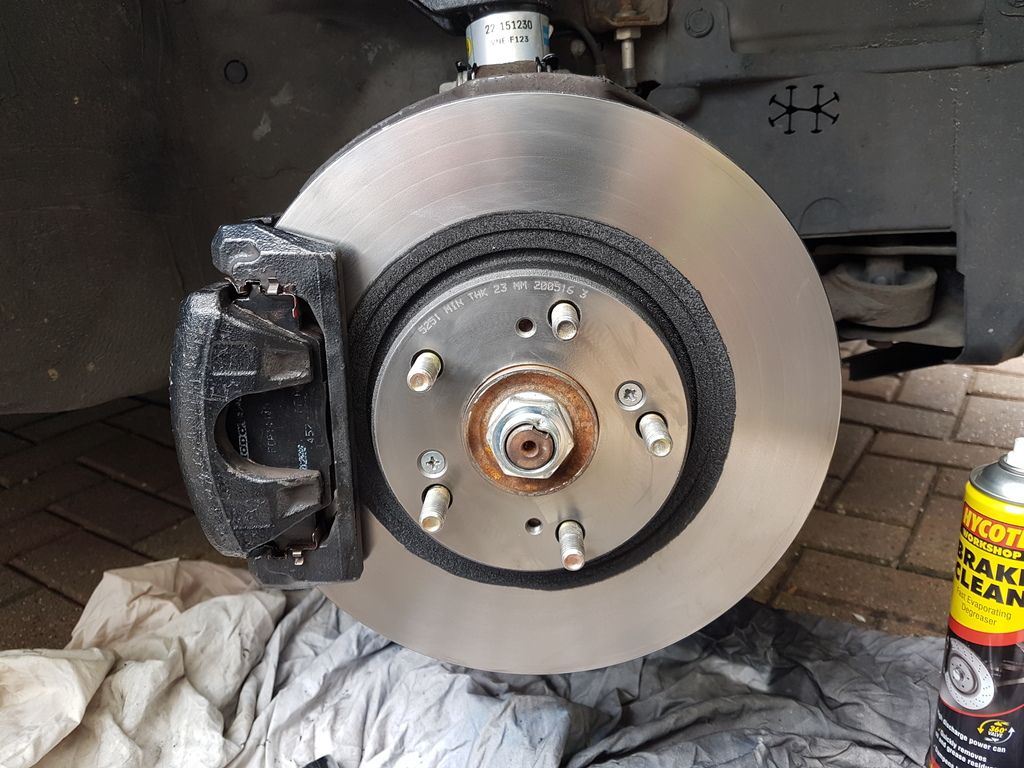
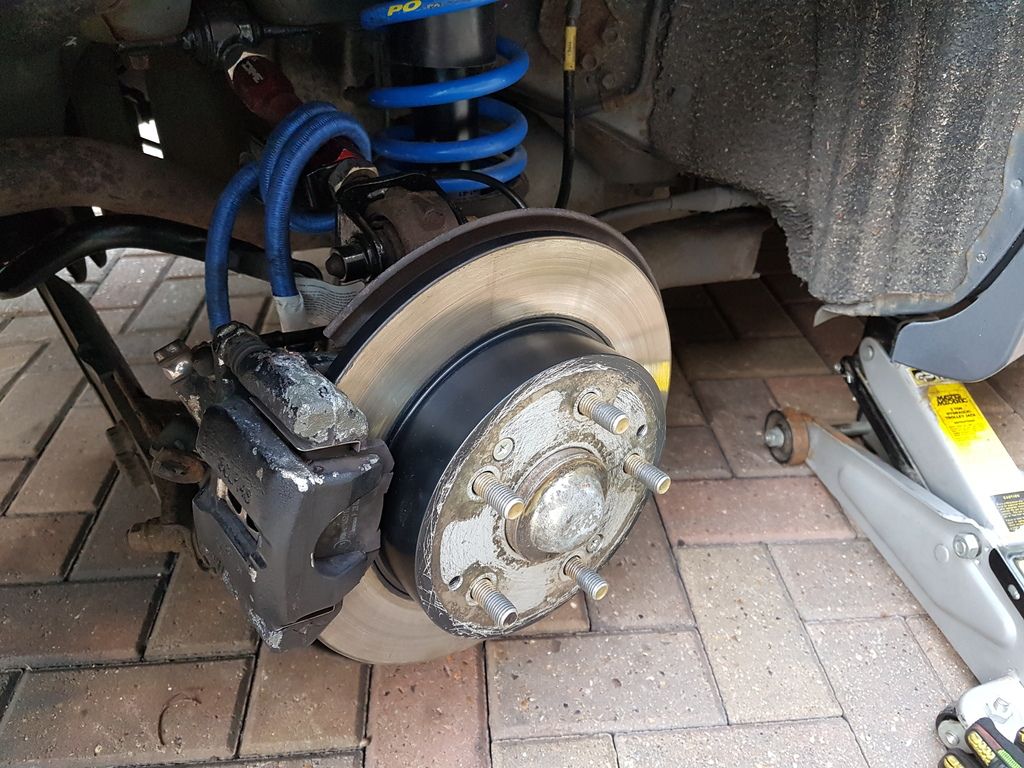
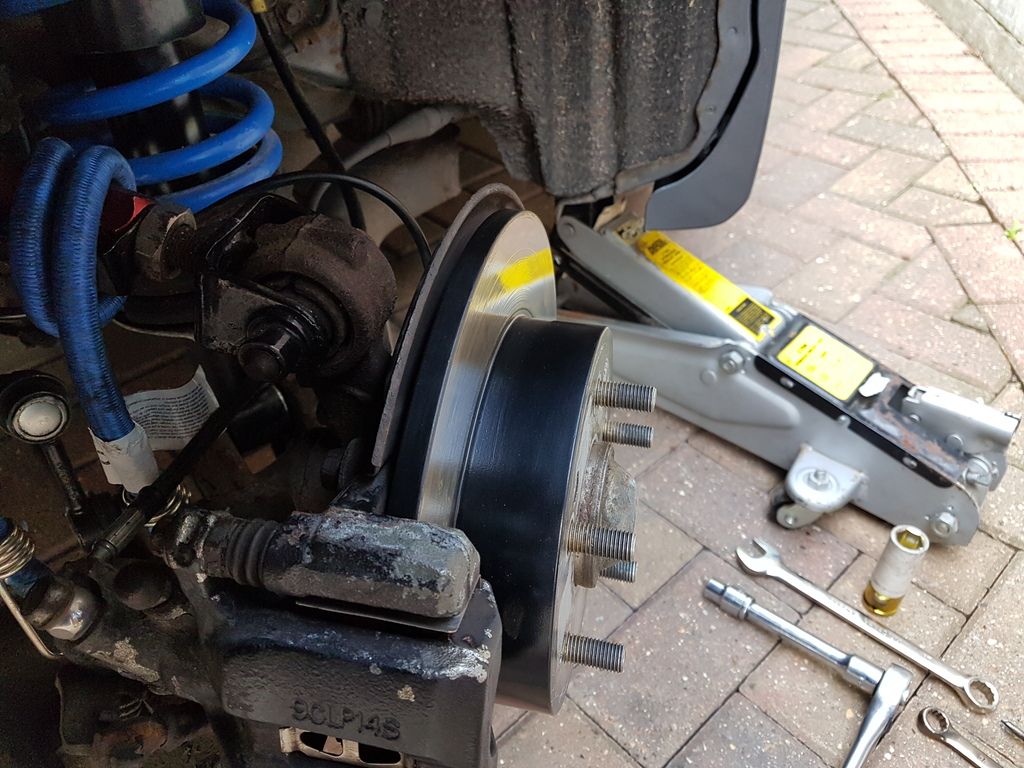
I had been experiencing some pretty bad vibrations through the steering wheel when applying the brakes at higher speeds. I'd previously tried braking firmly from higher speeds and repeating this to try and remove any deposits from the disc but to no avail. I bought some new front discs as I believe they were warped, also had some scoring on the NS. Ordered some Fremax C+ Vented Discs from brakeparts.co.uk, very well priced and a convincing description on the website - "These are High-performance, high carbon content and painted hub discs - Fremax are OE manufacturers and exclusive suppliers to the Porsche GT3 Cup Challenge Brazil."


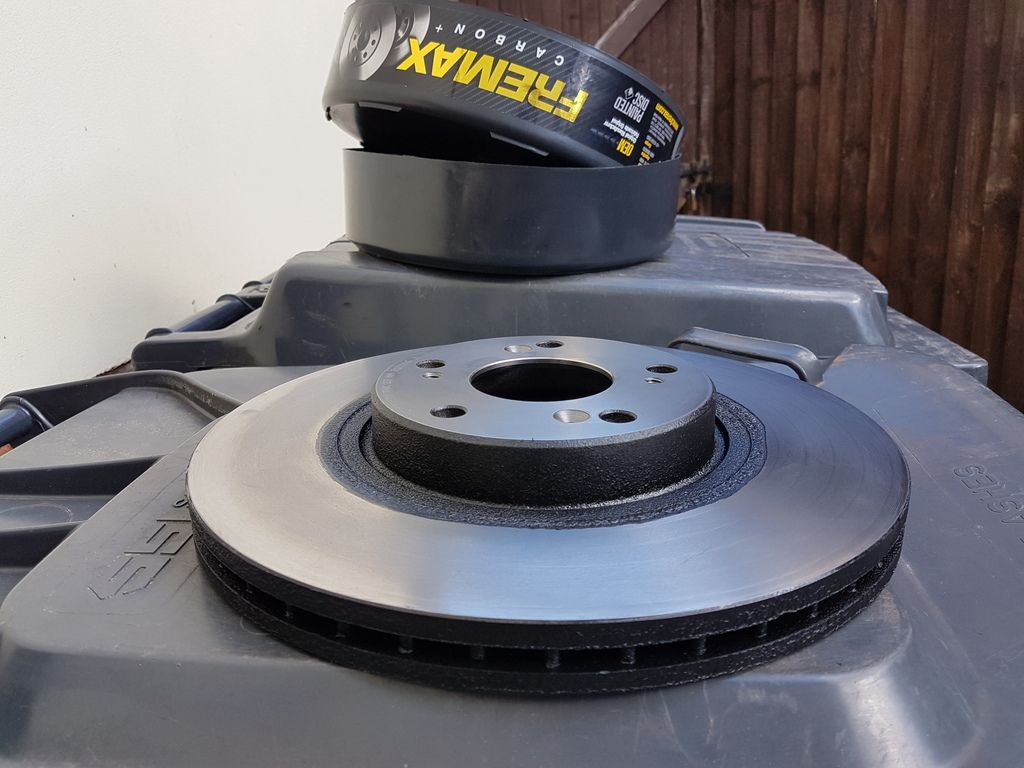
The centres had a covering which was black, decided to paint a bit more to prevent any rust on the areas that don't make contact with the pads.


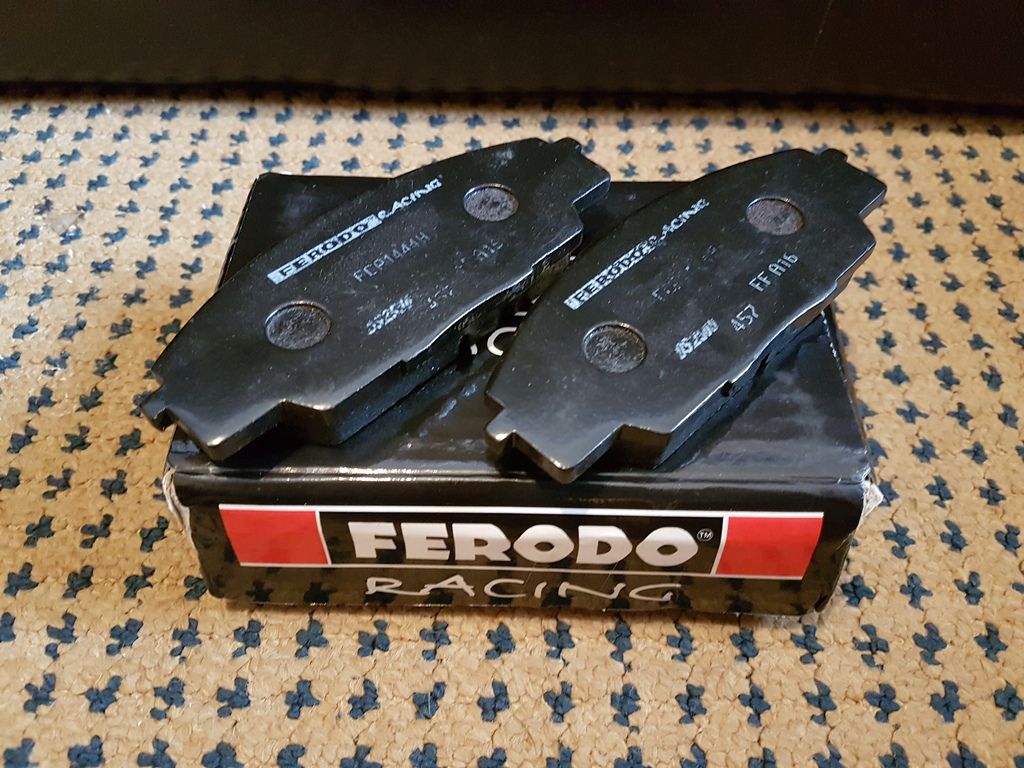
Already had some Ferodo DS2500 front pads so decided to fit them too as the old pads on the NS had worn unevenly due to the scoring in the old disc.


Now the fronts were sorted I turned my attention to the rears. Nothing wrong with them but they were previously painted silver so now needed to be black to match the fronts!


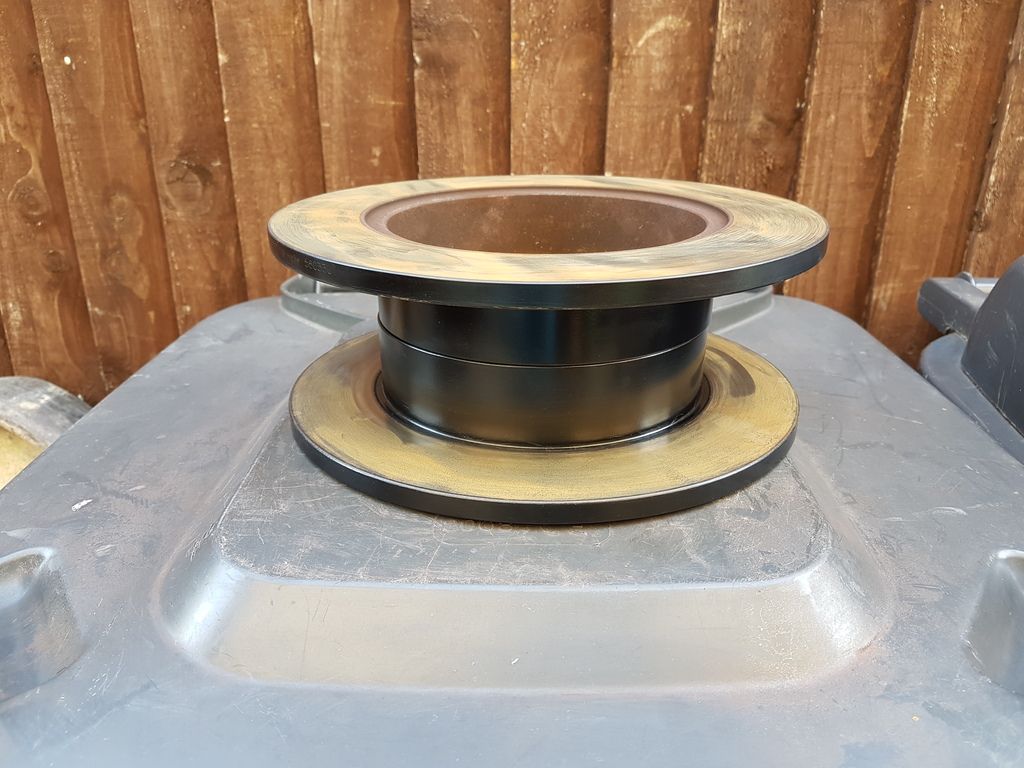
No more vibrations when breaking, I've still got the old discs and l think I will get them skimmed and keep them as spares. Probably not done enough miles to judge them fairly but not overly impressed with the DS2500's, especially for the price they command. Not bad once warm but initial bite is not great, may be best to combine them with a grooved disc rather than blanks. More to follow.....
 
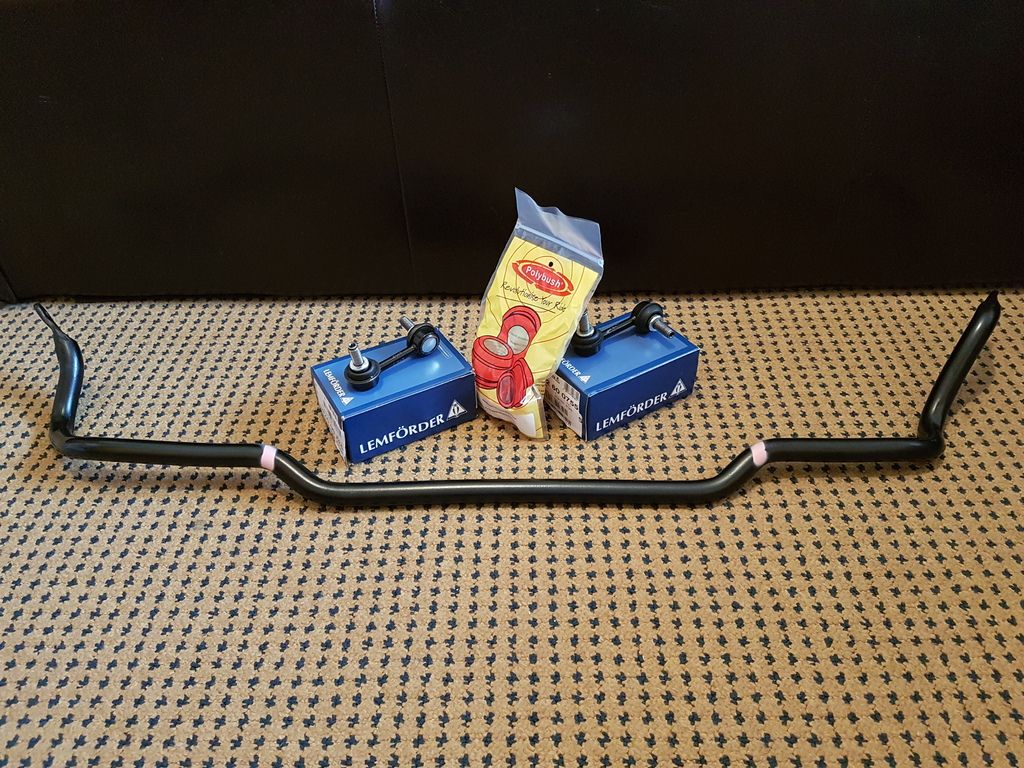
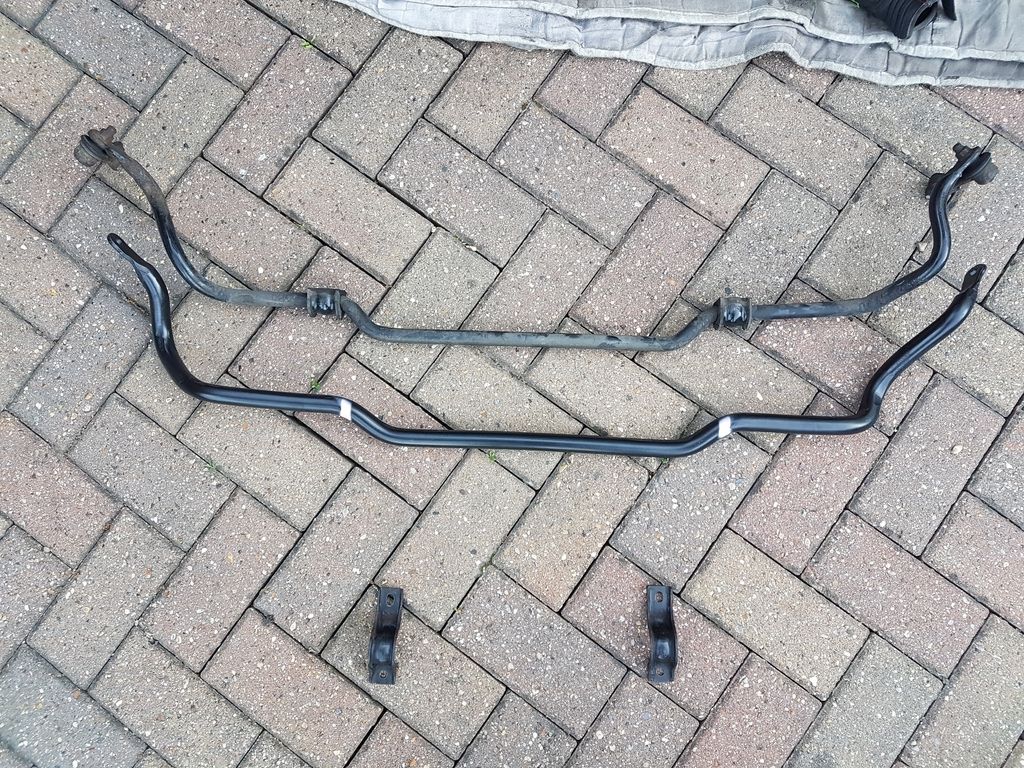
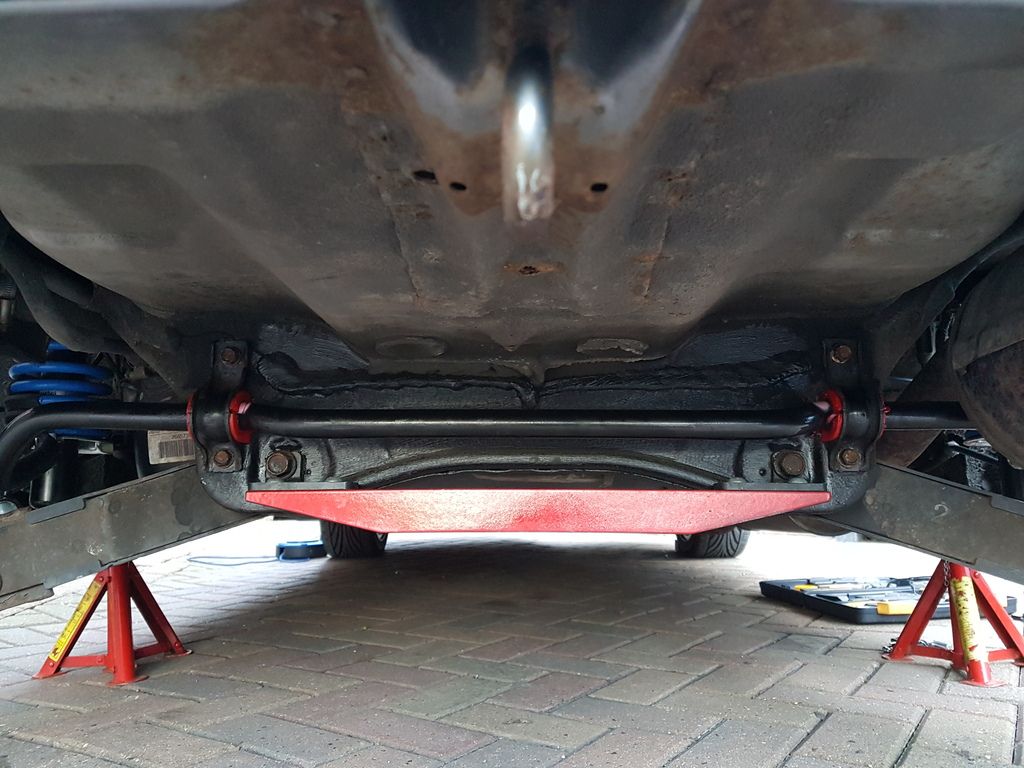
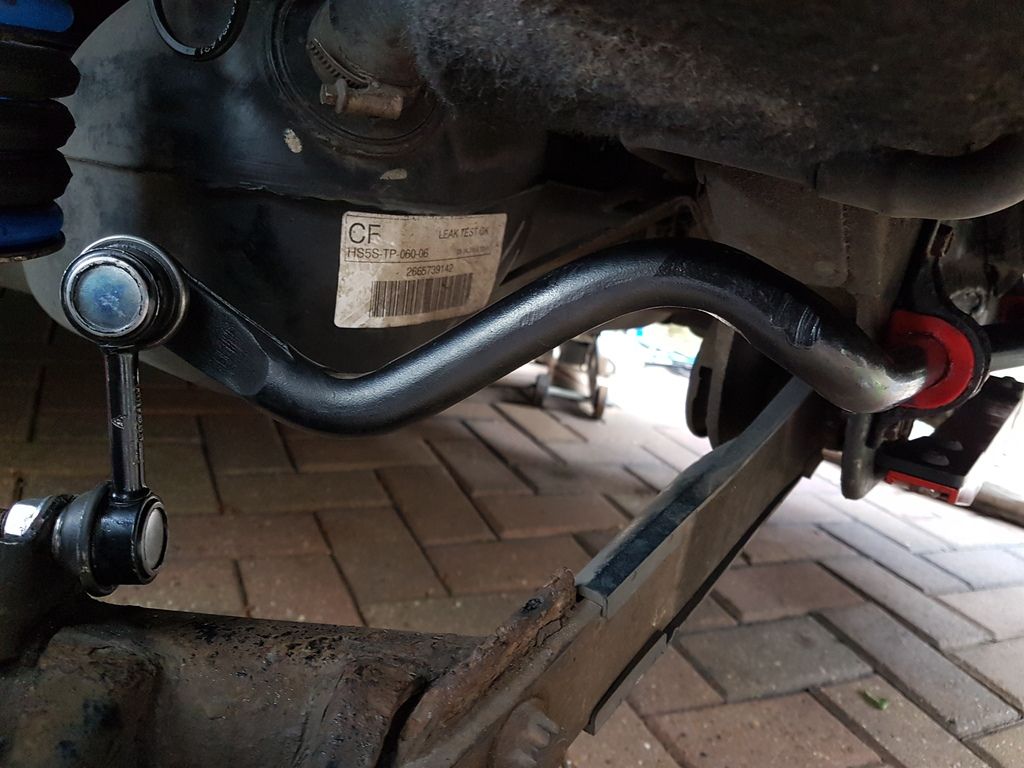
JDM Rear ARB and some Polybush....bushes also went on. The droplinks were pretty rusty and I know plenty have had to cut theirs off so thought it was good practice to change them too while I was at it, just went with Lemforder as I also have on the front.


UK v JDM.


All fitted, made sure it was the right way up before I torqued everything up.


This mod really made a difference, it has definitely increased stiffness and stability at the rear of the car. More coming....
 
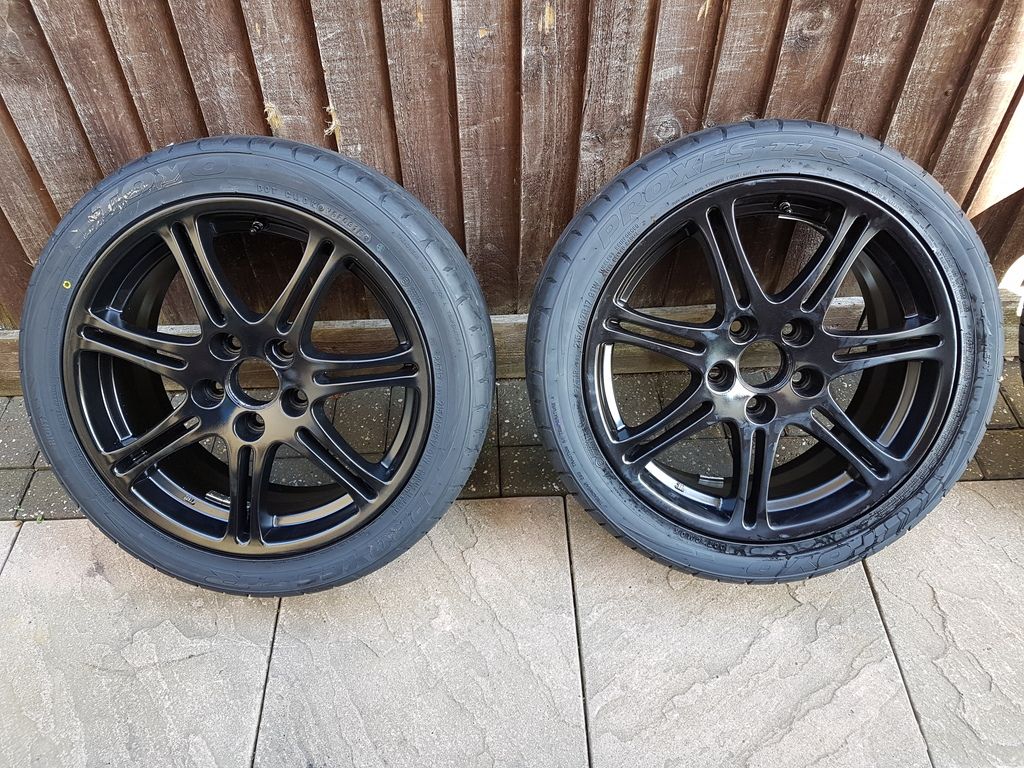
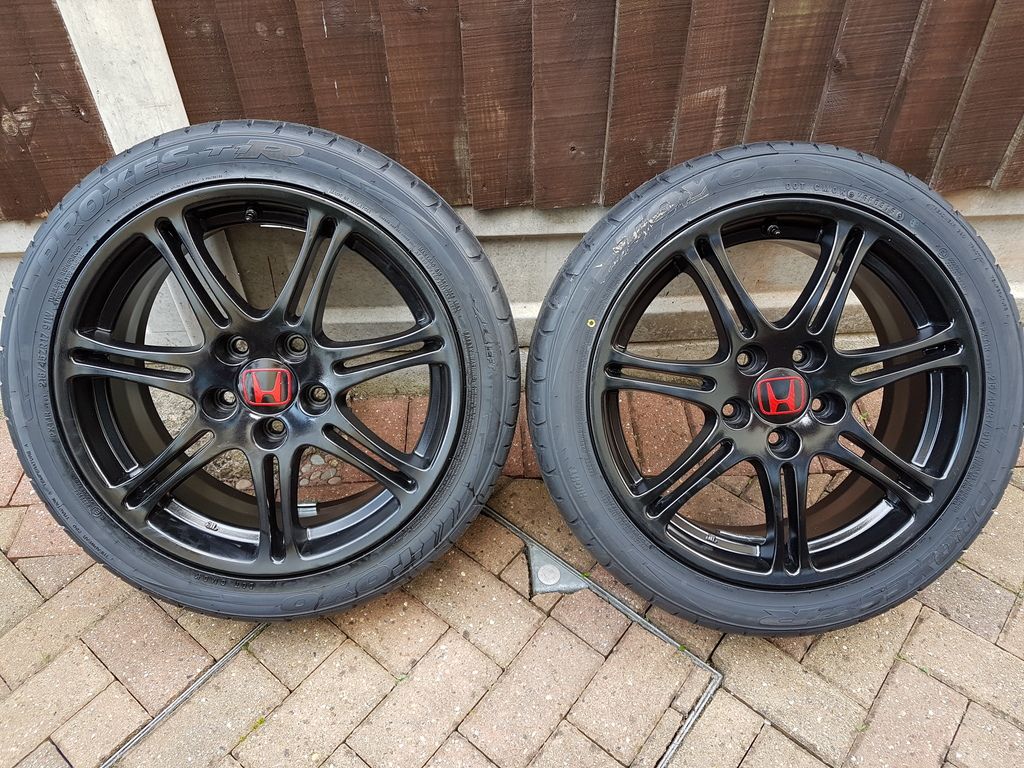
Finished refurbishing the other two wheels then took them to have the new tyres fitted and balanced. Still a little bit hazy in the pictures from the Rim Wax I used on them which I'd yet to buff off.


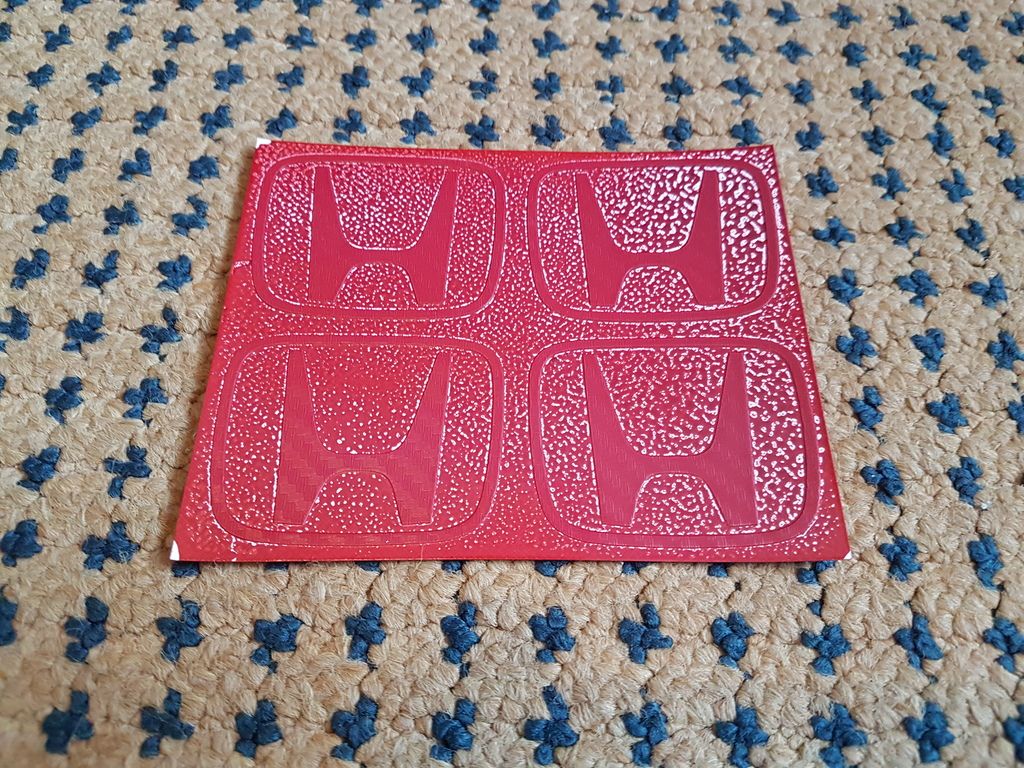
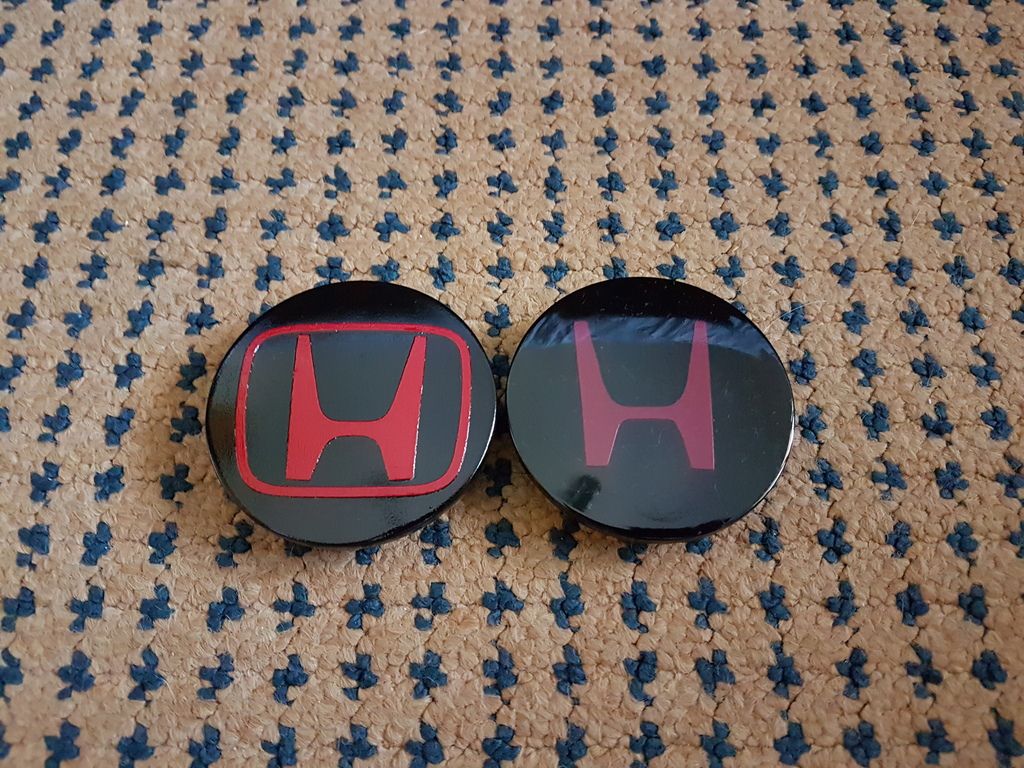
Took the opportunity to get the centre caps done. The red on the old ones has faded and I've never really liked them with just the 'H', prefer a more OEM look. Got some with a carbon fiber effect and painted them in the Anodised Red.


Stuck them down on the centre caps after I'd finished them with the Satin Black and then applied the clear coat to help protect them. You can see the difference in the quality of the finish when side by side, although one is gloss and the other satin. To be honest I prefer them this way as the gloss just looks too perfect a finish for me, sounds weird I know but that's the only way I can describe it - it's probably the shine which stops them looking black when the lights reflects off them them!


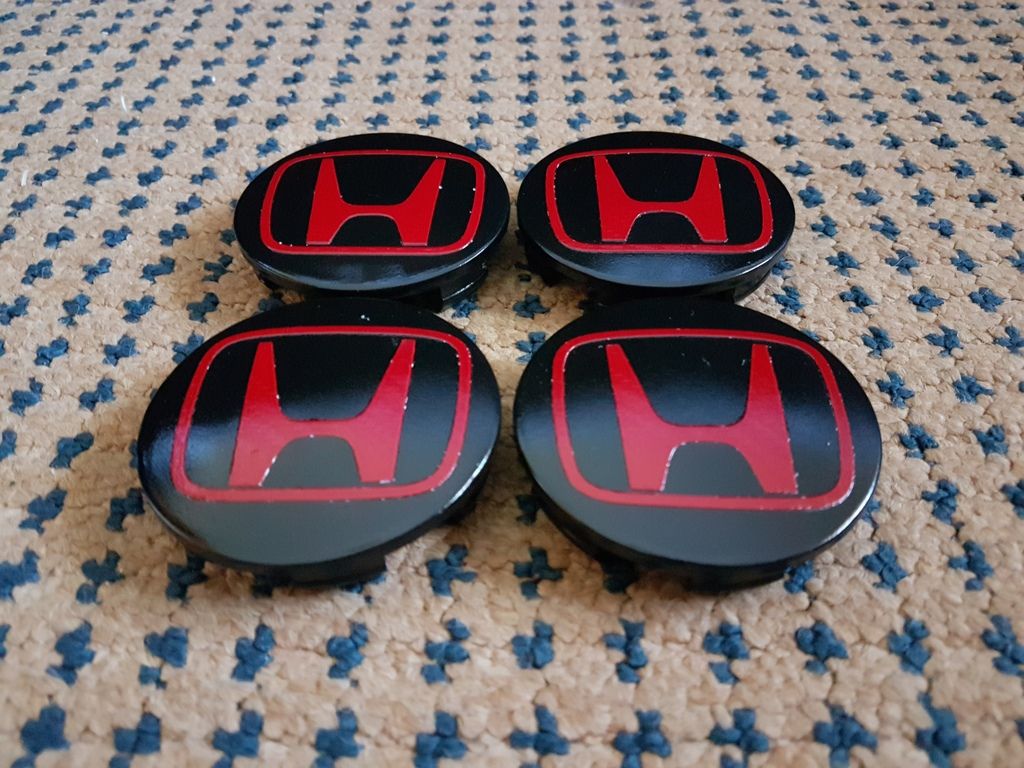
All four new centre caps. Please ignore the white spots, more wax that I'd yet to remove when taking the pictures.


Fitted to the fresh wheels and tyres, pretty happy with the results, looks really good combined with the discs now that they are black too.


Going to have to do something about the calipers now, you can probably guess my likely choice of colour! Anyway that's it for now but I'll have another update shortly although this is all you really need to know....


Awesome work matey!

Sent from my SM-G925F using Tapatalk
Nice one Newb. Still a few more things I want to get done this summer while the weather is good.
Nice bits there dude! Seats look decent too.
Thanks Krzys. They are in very good condition but not perfect, as to be expected. I'm hoping to find the time to fit them and get some pictures up this weekend.
 
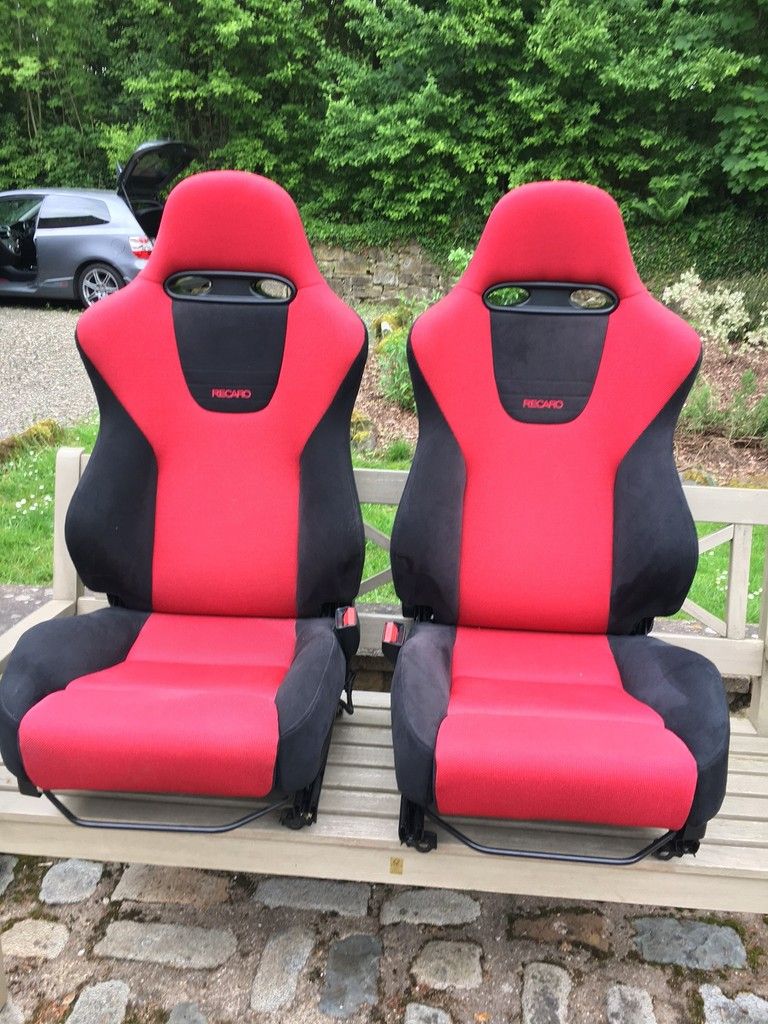
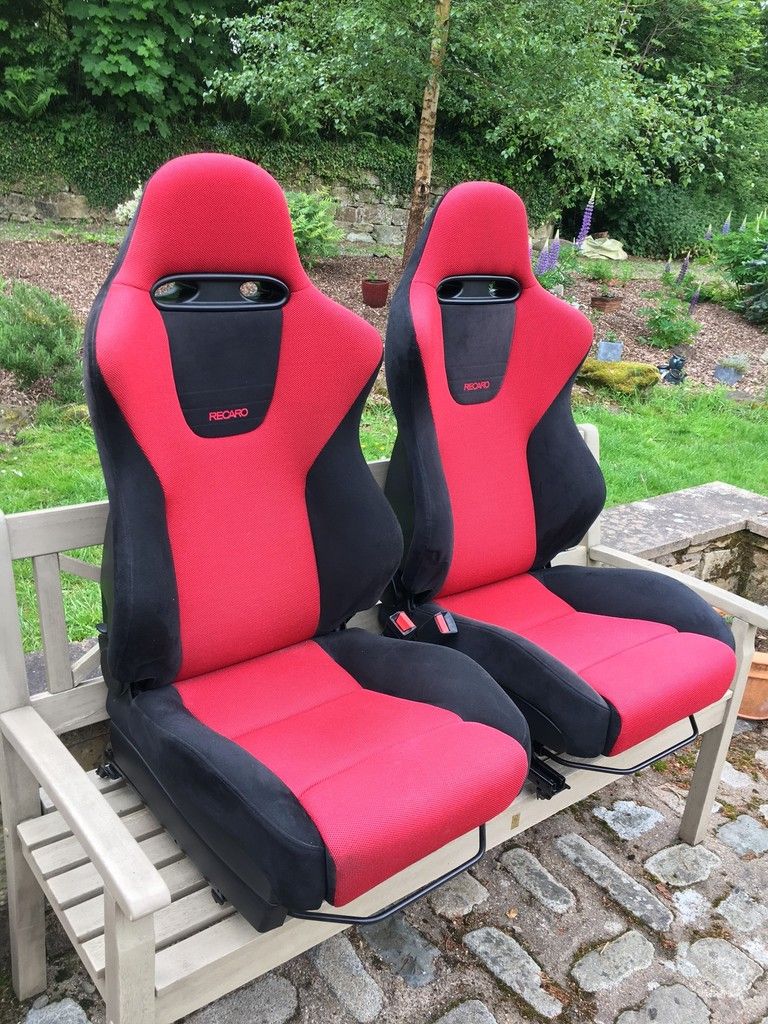
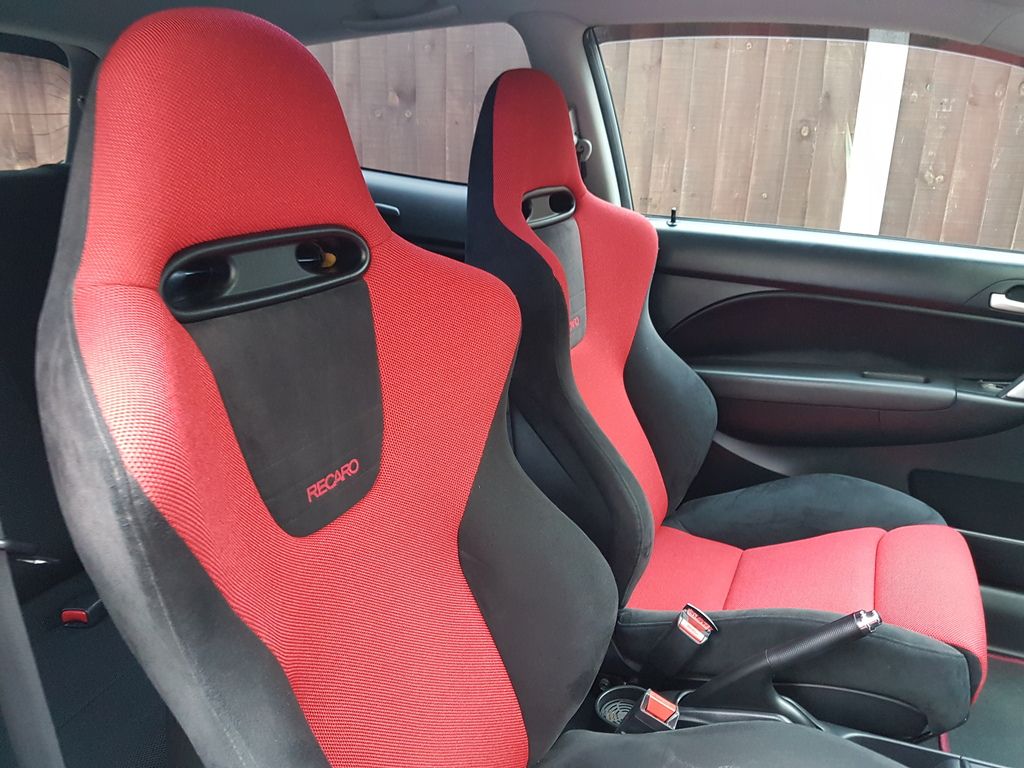
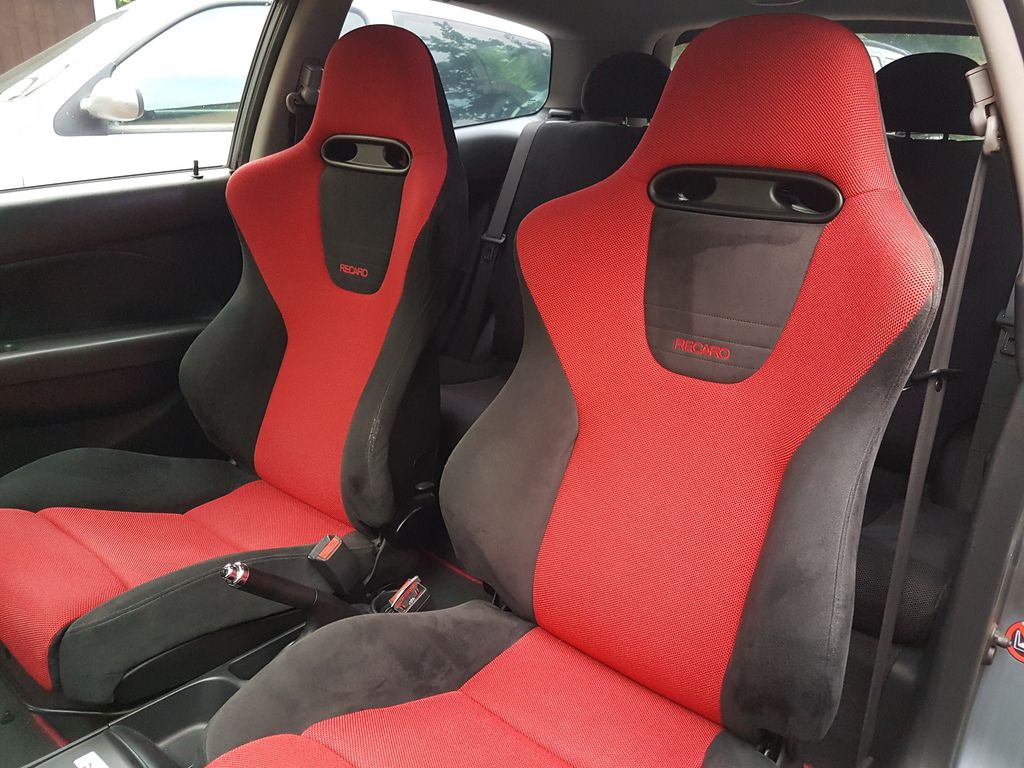
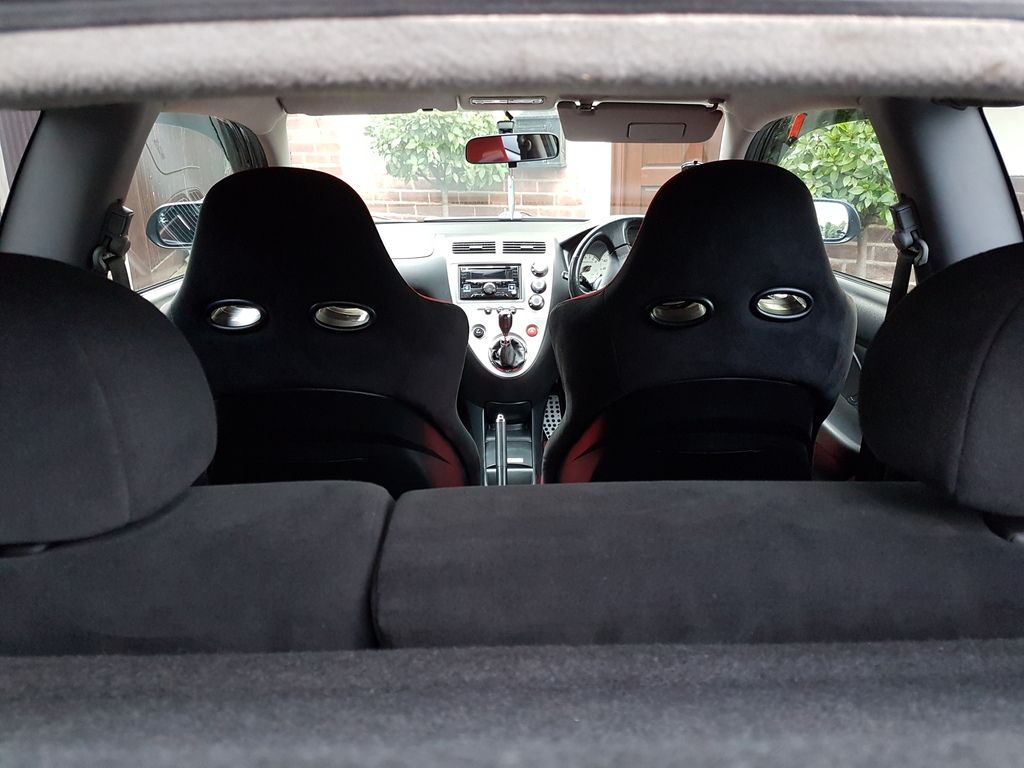
I picked up these Premier Edition Recaro's, and also the rears, from Nightrunner (top bloke) - some of you may have seen what happened to his EP3 :(

Had them in around a month now and I love them, lucky I'm slim though as the bolsters are a very snug fit! They really work well when you are taking corners at speed.


The eagle-eyed among you will notice the one and only problem with these seats in that first picture :smt103


There is some bolster wear on the drivers seat but nothing major. I was considering getting seat covers but then what's the point of having them if they're hidden? I think I'd rather just use them and have them repaired when the time comes! :-k


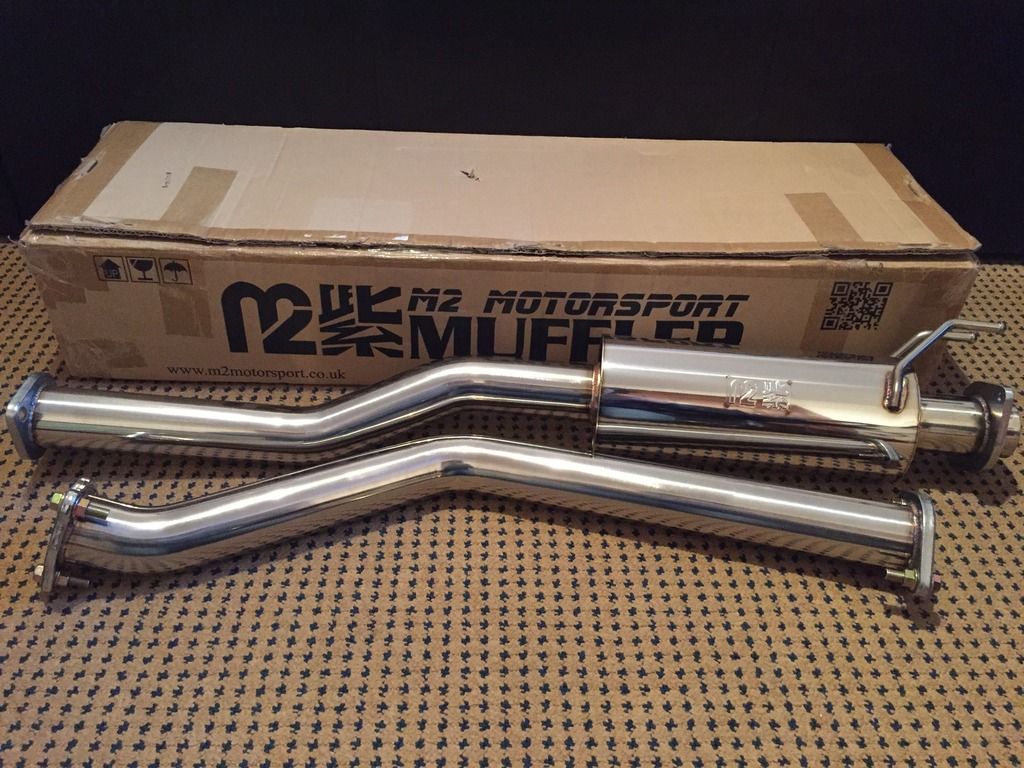
I've sold the DC5 Manifold & Cat now as it would have required a remap. I would have gone with the RBC to go along with the KPRO/K100 and remap which I just can't do at the moment as I'm currently looking at buying my first property so funds will not allow....maybe one day! I did, however, treat myself to a new b-pipe.

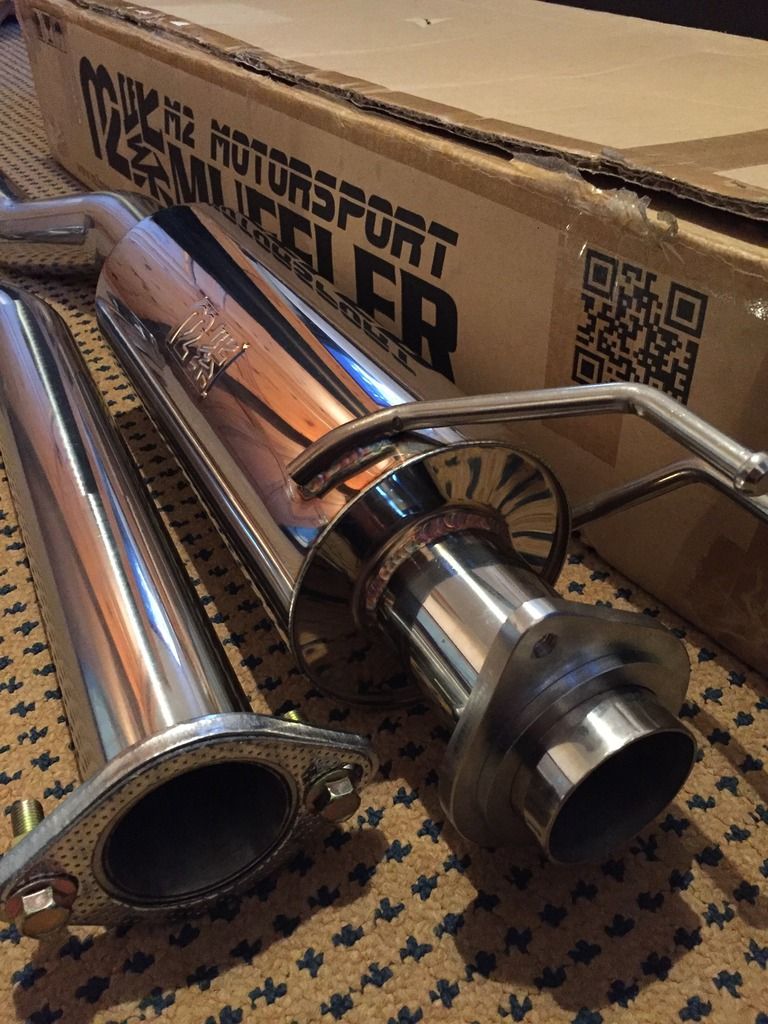
I went for the M2 Centre Section with Muffler as originally planned and will just be swapping it with the OEM piece.


Looks like a decent bit of kit for the price, I'll be fitting it this weekend if I find the time.
 
Looks nicely put together, be interesting to hear before/after.

I plan on doing something similar when my exhaust eventually gets to me.

Here's hoping the weather holds out :)
 
Seats look very nice.

I'm thinking of getting the same centre pipe and keeping the original back box. Be interested in what you think once you fit it.
 
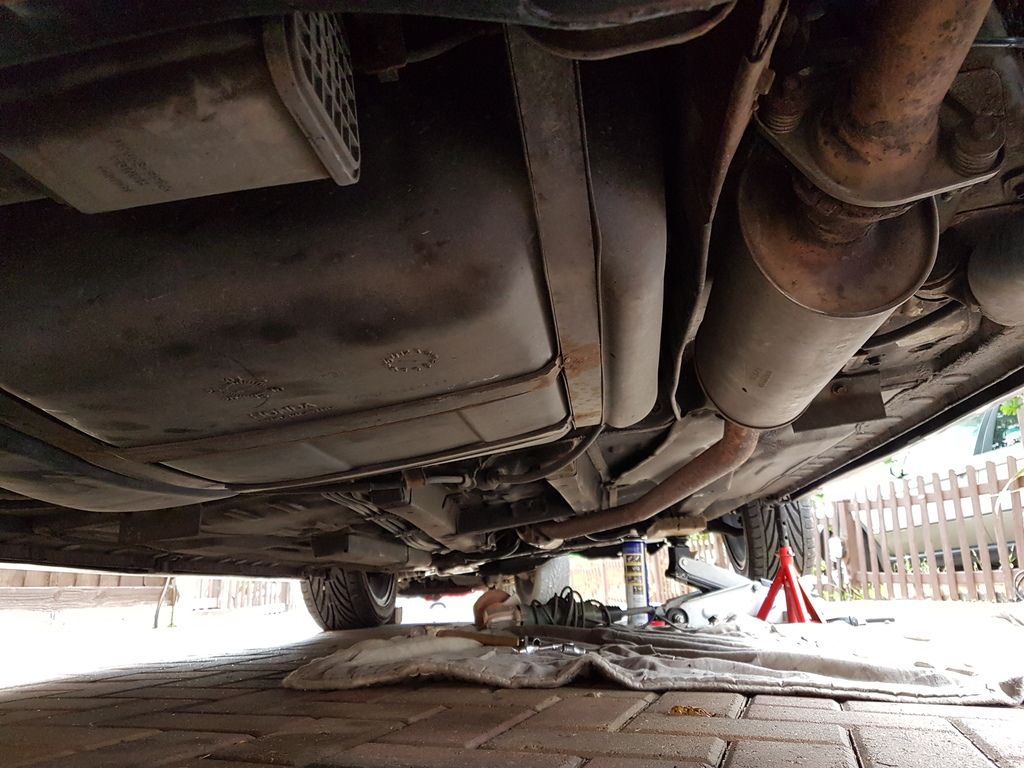
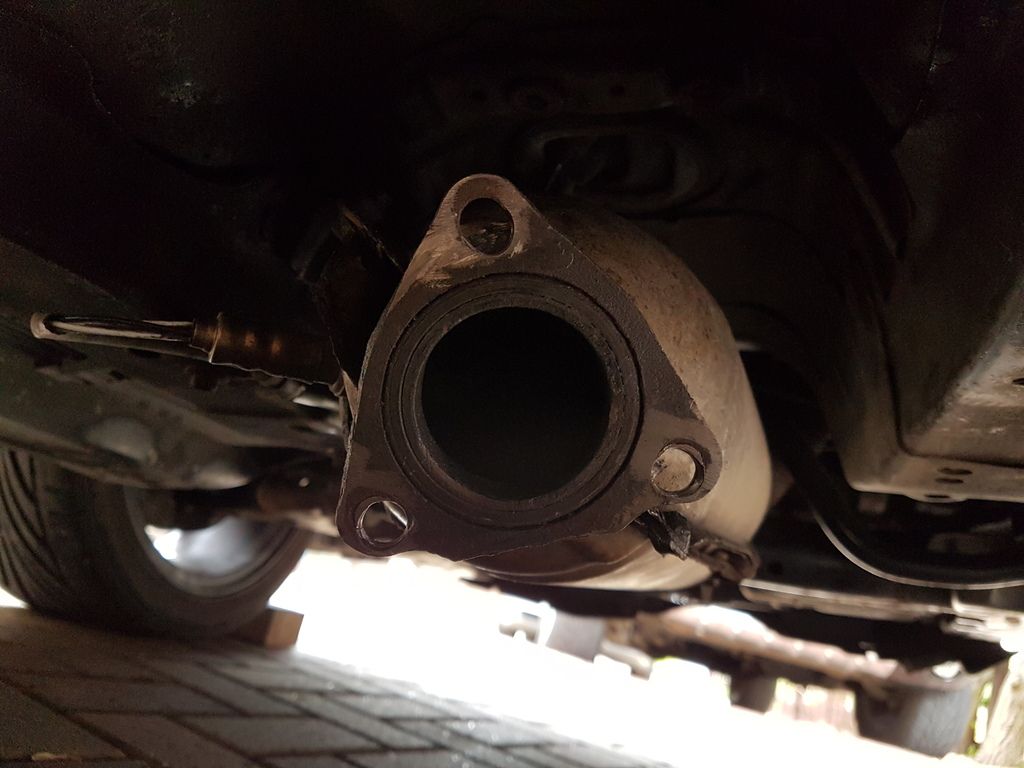
Managed to get the b-pipe fitted this weekend but not without problems. Firstly I went about removing the OEM pipe, the bolts were rusted quite badly so I used a grinder to cut them off.


I then had to drill out the last part of the studs that were still in the flange of the cat. This was a nightmare because they are hardened steel and it took a lot of time and patience....and a few cobalt drill bits!


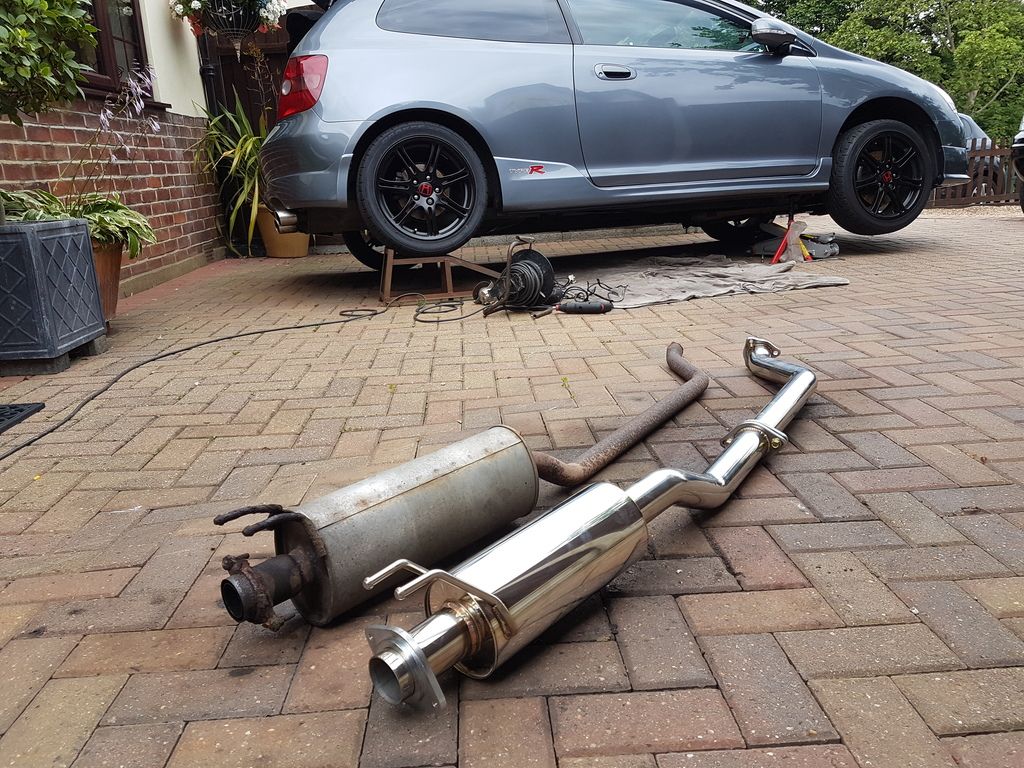
Side by side you can see the size difference in the pipe diameter and the resonator.


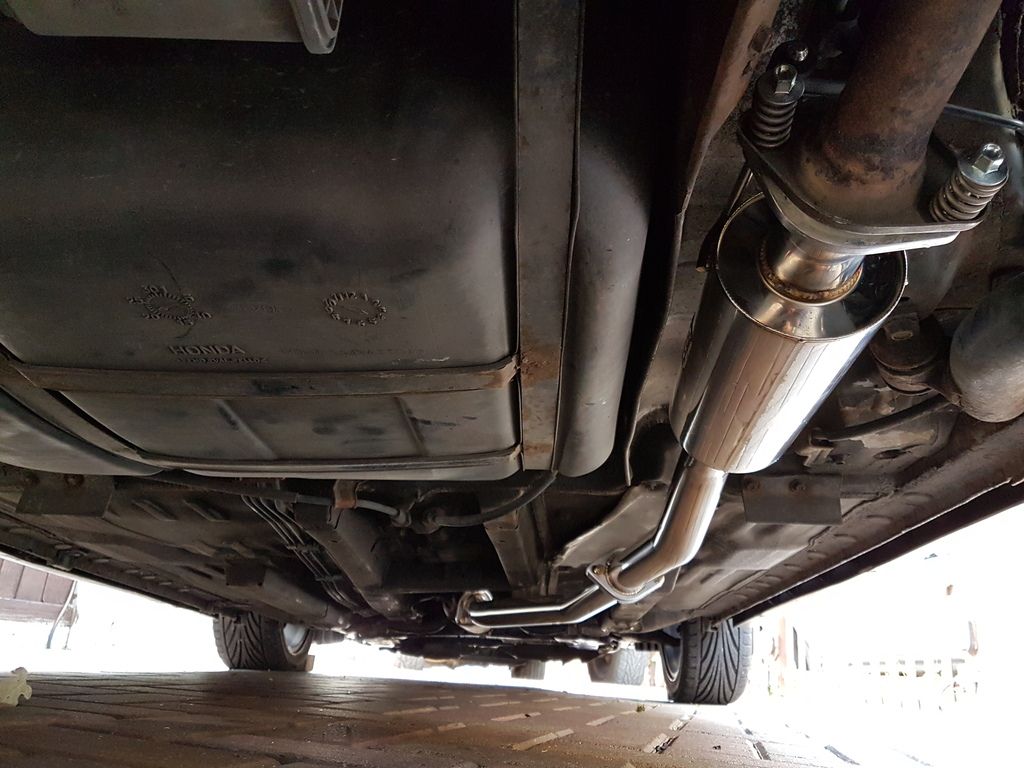
Actually installing the M2 b-pipe was a piece of cake, it was a great fit and I just swapped over the OEM hanger as it was still in good condition.


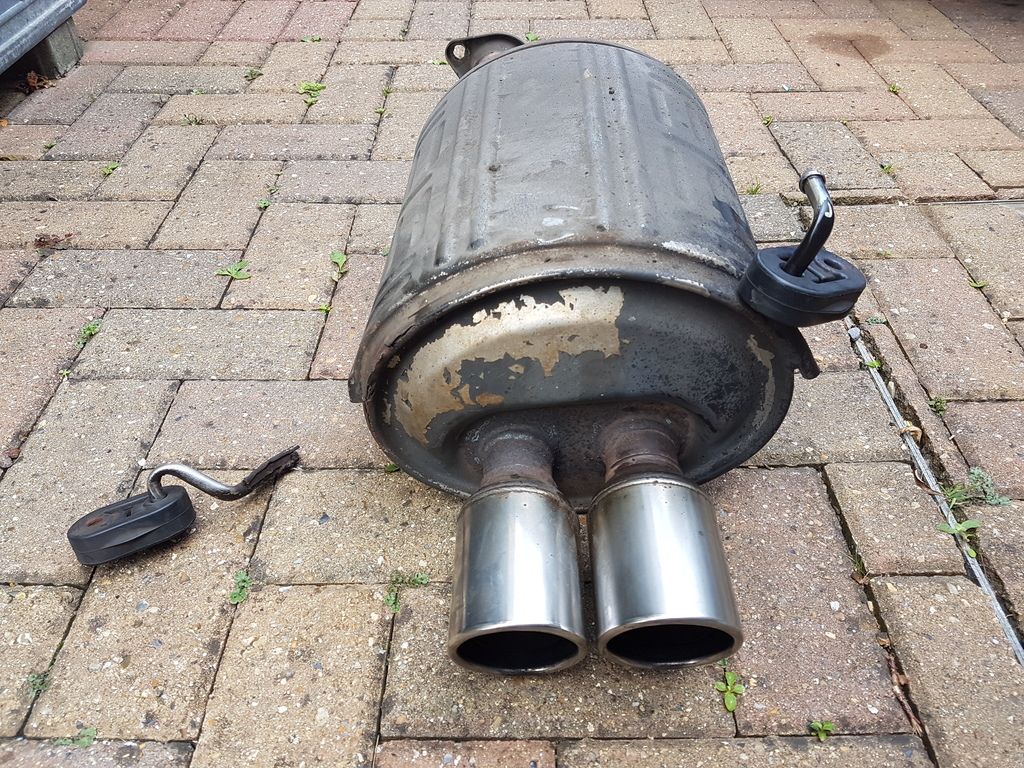
The plan was to use the OEM back box but once again rust was my enemy :x


I've taken the opportunity to invest in a stainless steel back box to complete the cat-back. It's all about timing and whilst it's not the route I was looking to take it came up for a good price so I thought why not! I will probably get the arm welded back to the OEM back box in case I don't like the new one which I can always sell on.
 
Shame about the rust. :/

Last time I had to undo a b-pipe/cat I ended up taking a file to either side of the bolts until the head was almost a straight line (the bolt when undone looked like a very narrow T) then I could get a decent grip on it.

So she's just sat until the back box arrives now?
 
That's a good idea mike, I'll try to remember that in case I ever do another one in future.

Well it's actually held up ok with the one hanger but I've also bodged it with an old coat hanger so I can use it if I really have to, but yes she's sat until I get the new one sorted.
 
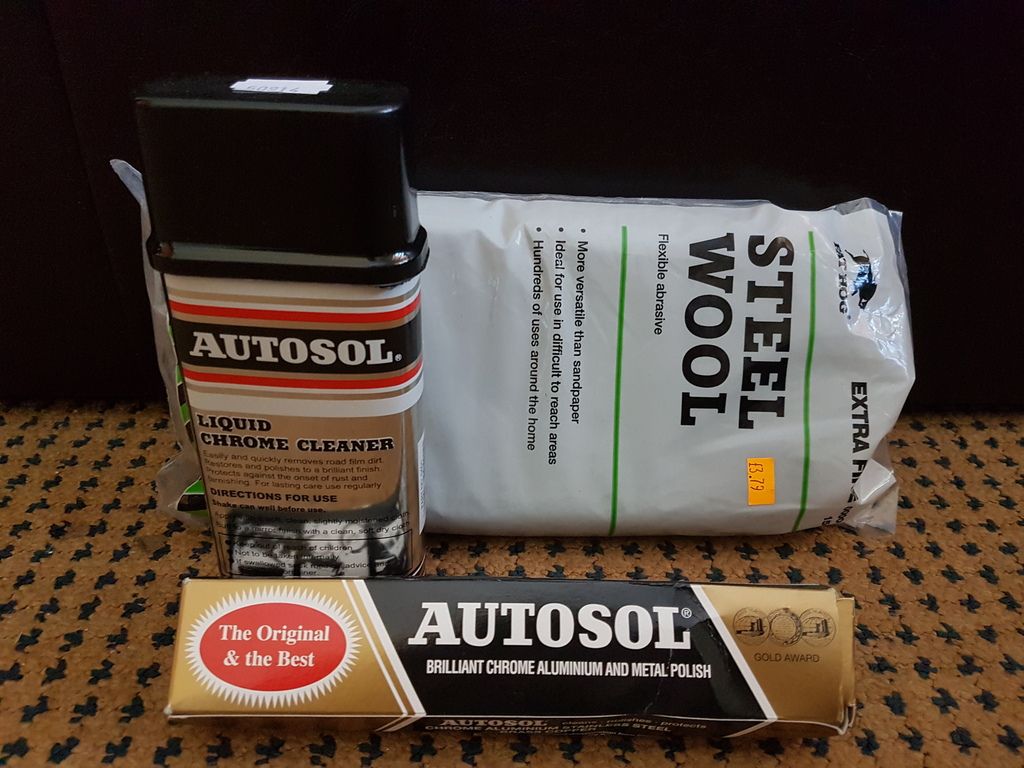
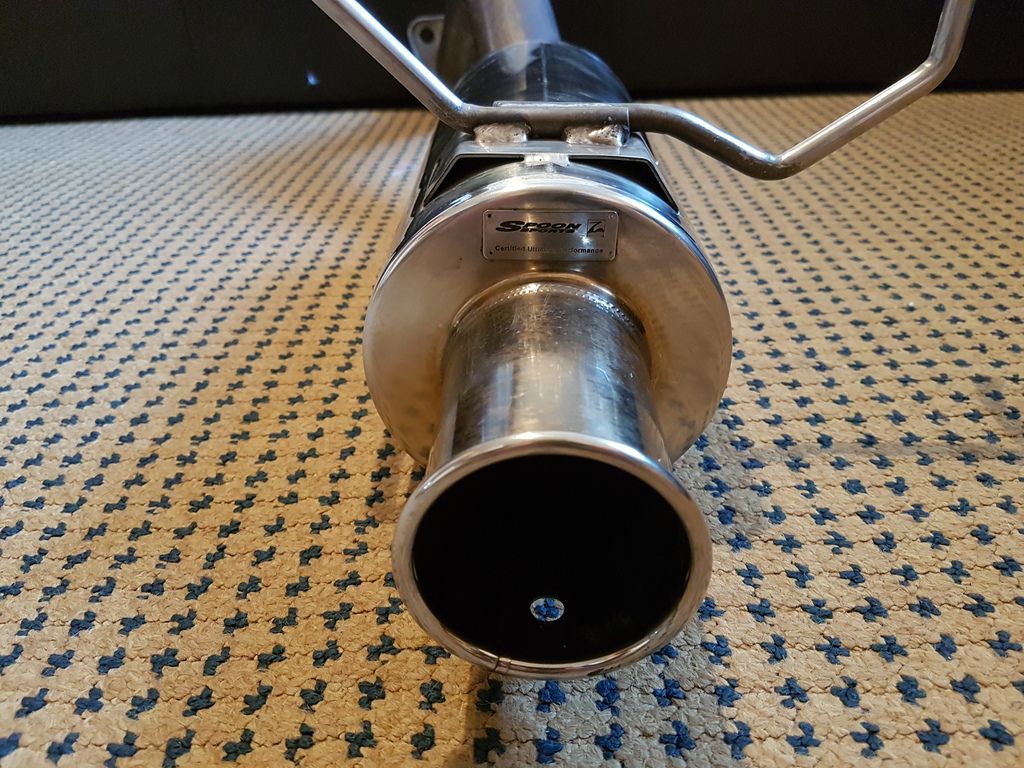
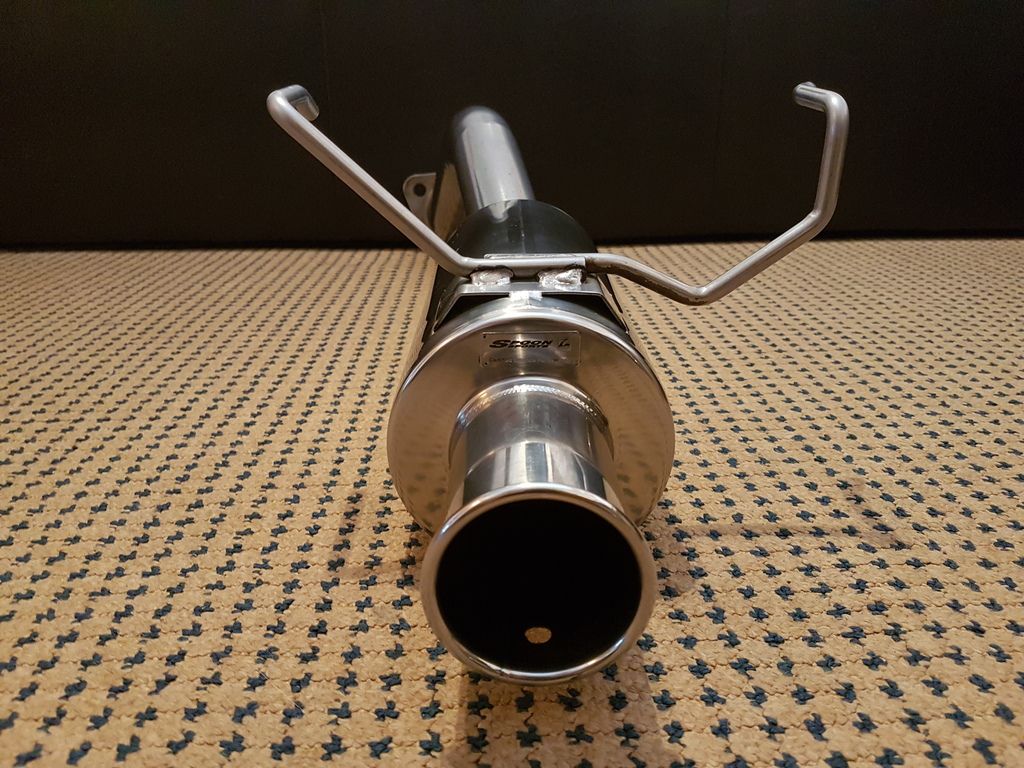
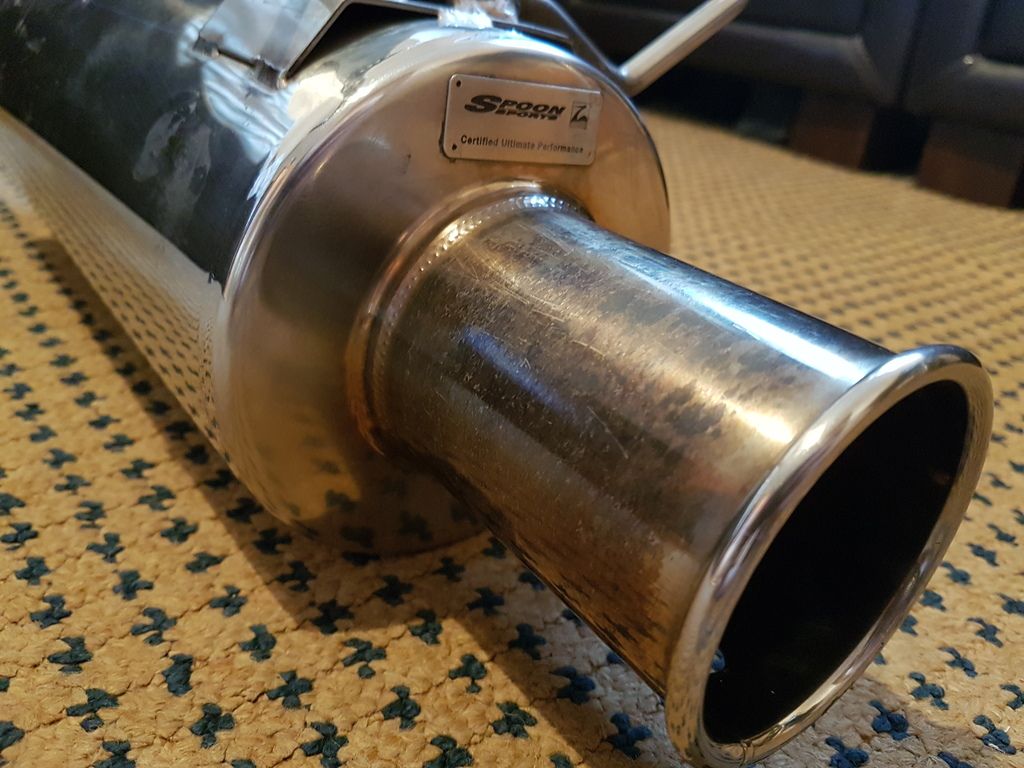
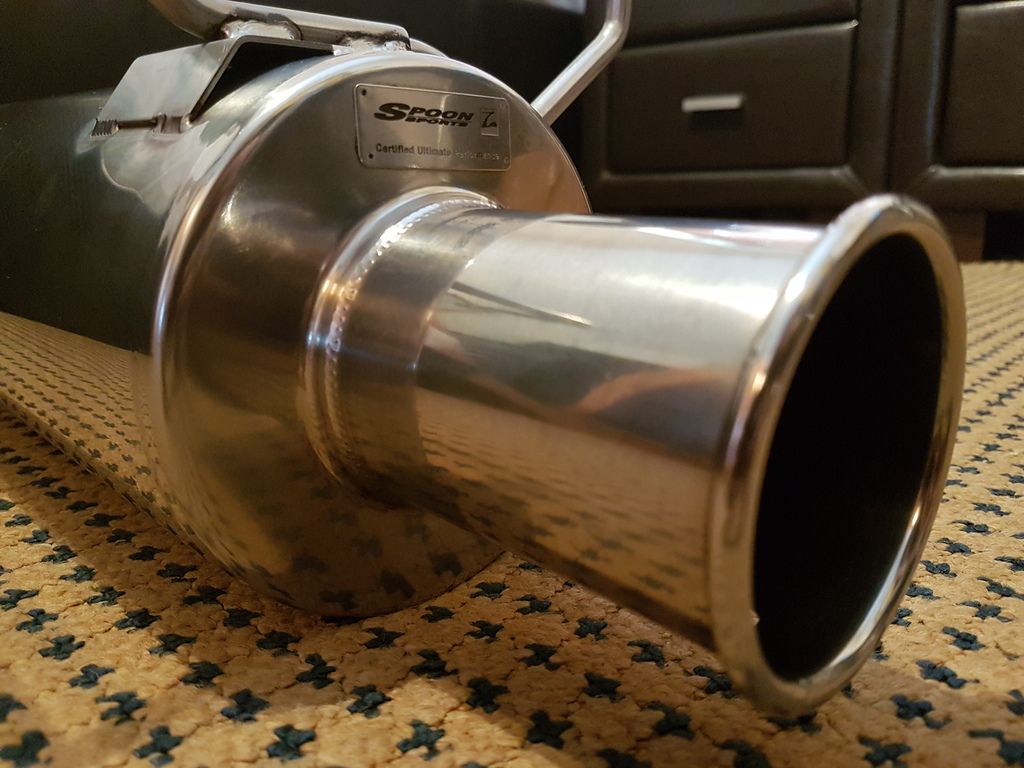
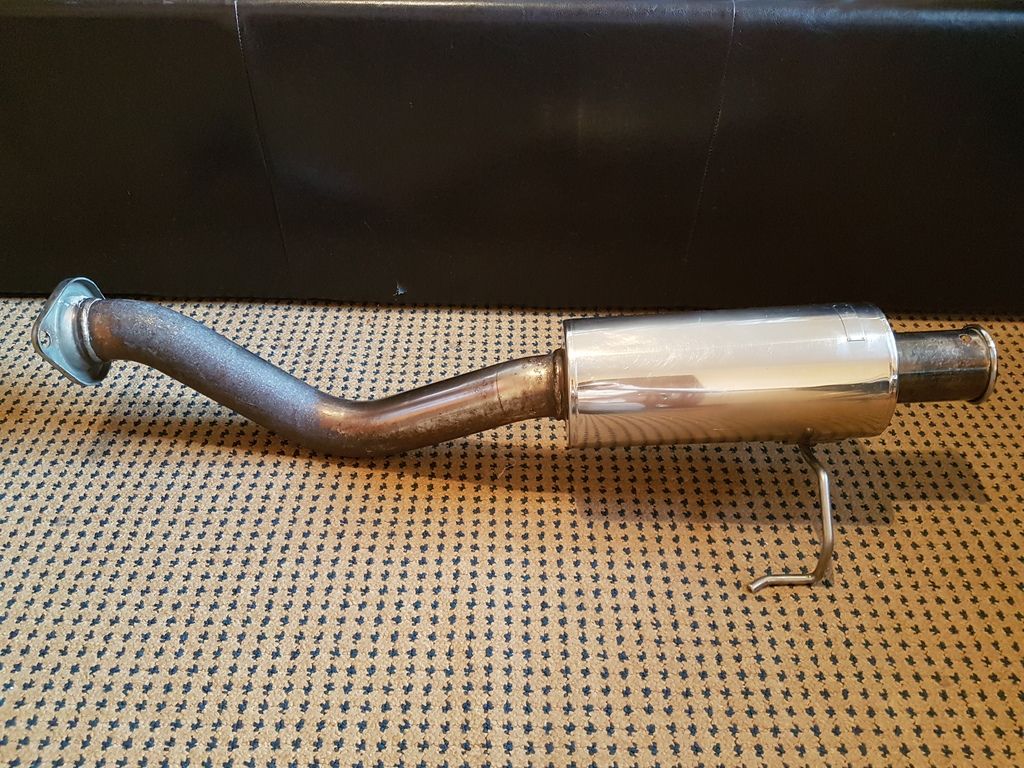
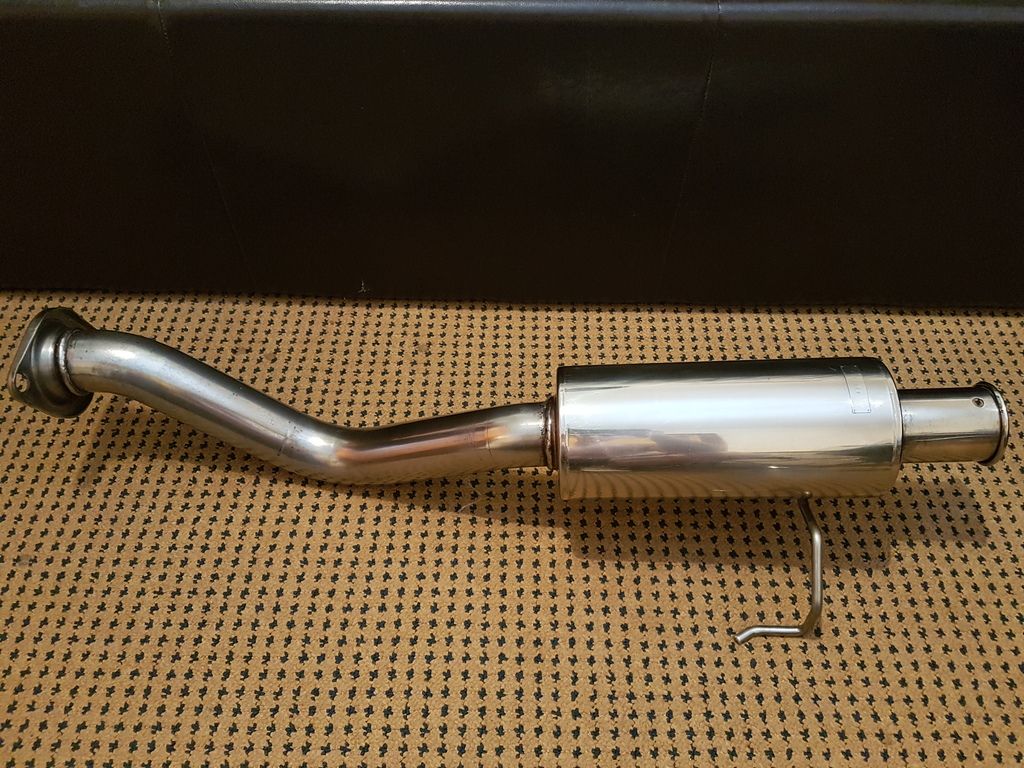
Got to work on the new back box this weekend, picked up some Extra Fine Steel Wool & some Autosol metal cleaner and metal polish.


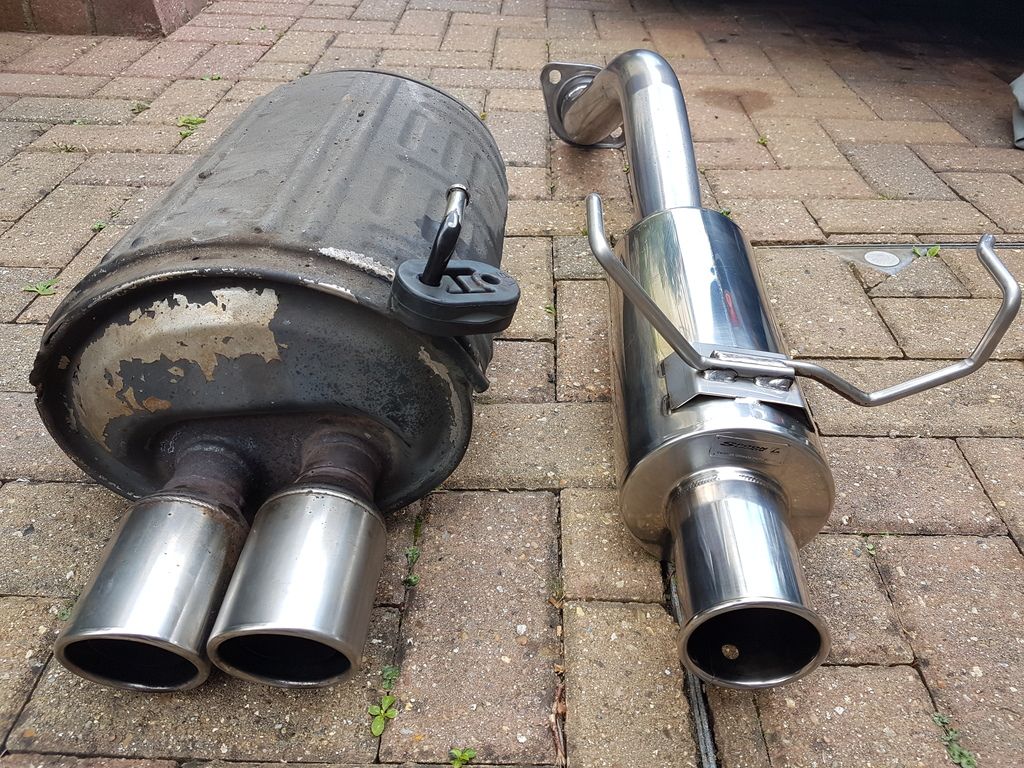
I didn't expect it to be so bad considering it's Stainless Steel but it came up alright after giving it plenty of elbow grease. Some before and after shots and as you can see it's a Spoon N1.


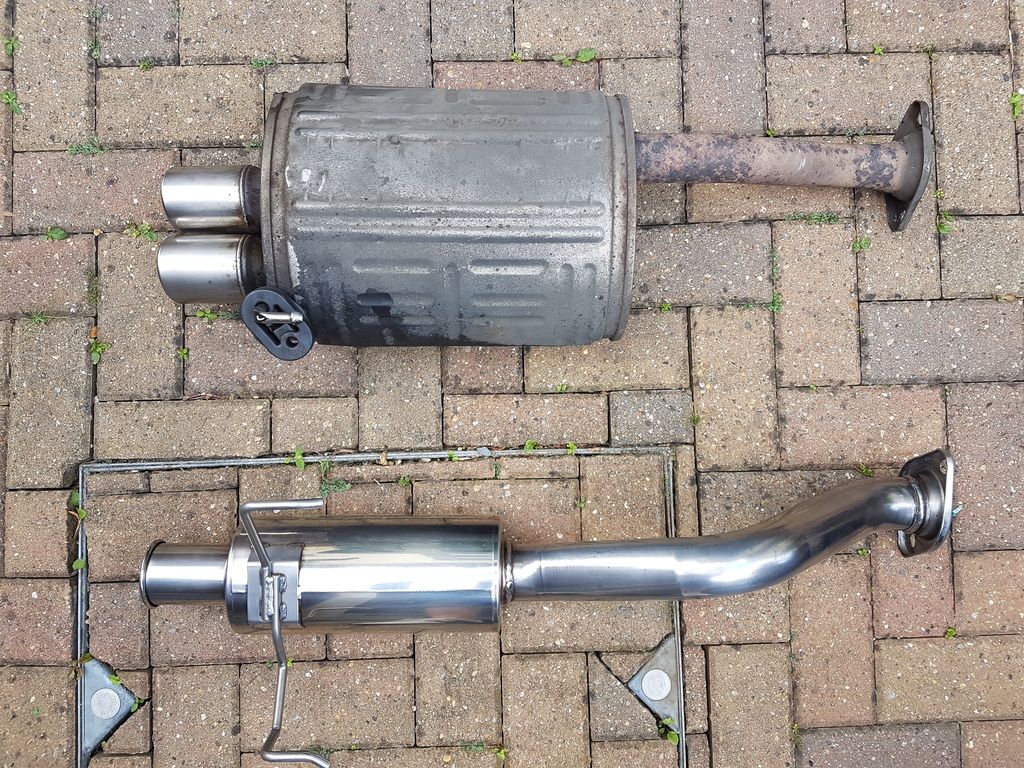
Side-by-side with the OEM back box you can really see the difference in size and boy can you tell the difference in weight between the two! Just swapped over the OEM hangers as I did with the b-pipe, still in fantastic condition for their age so no real need to replace.


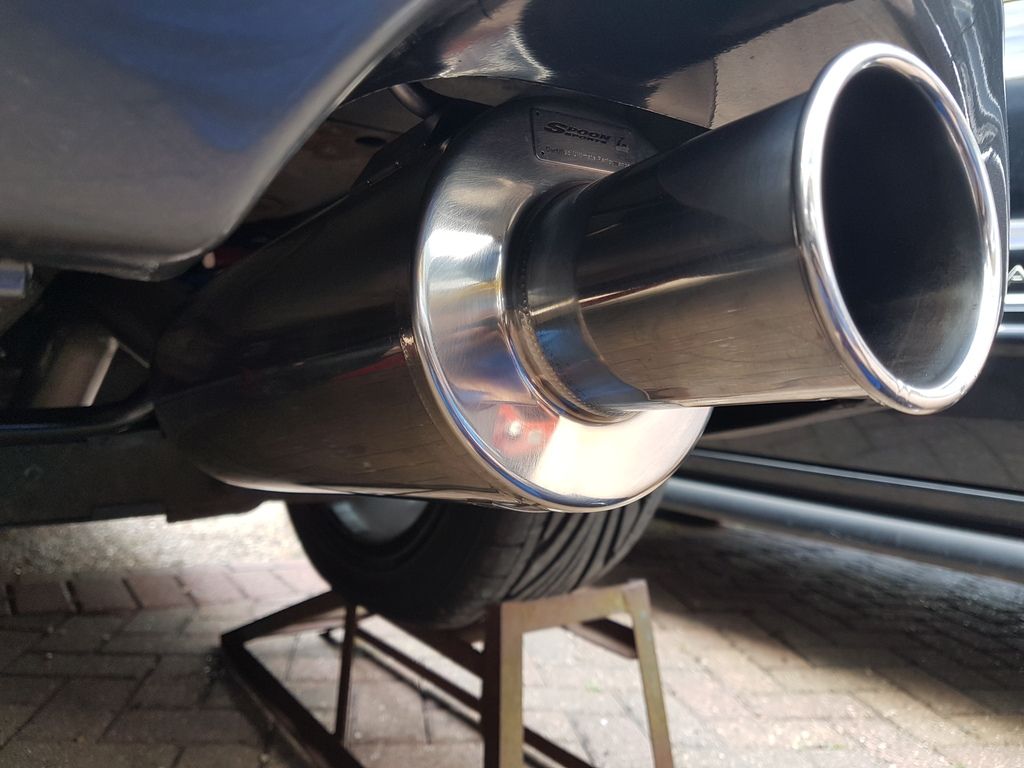
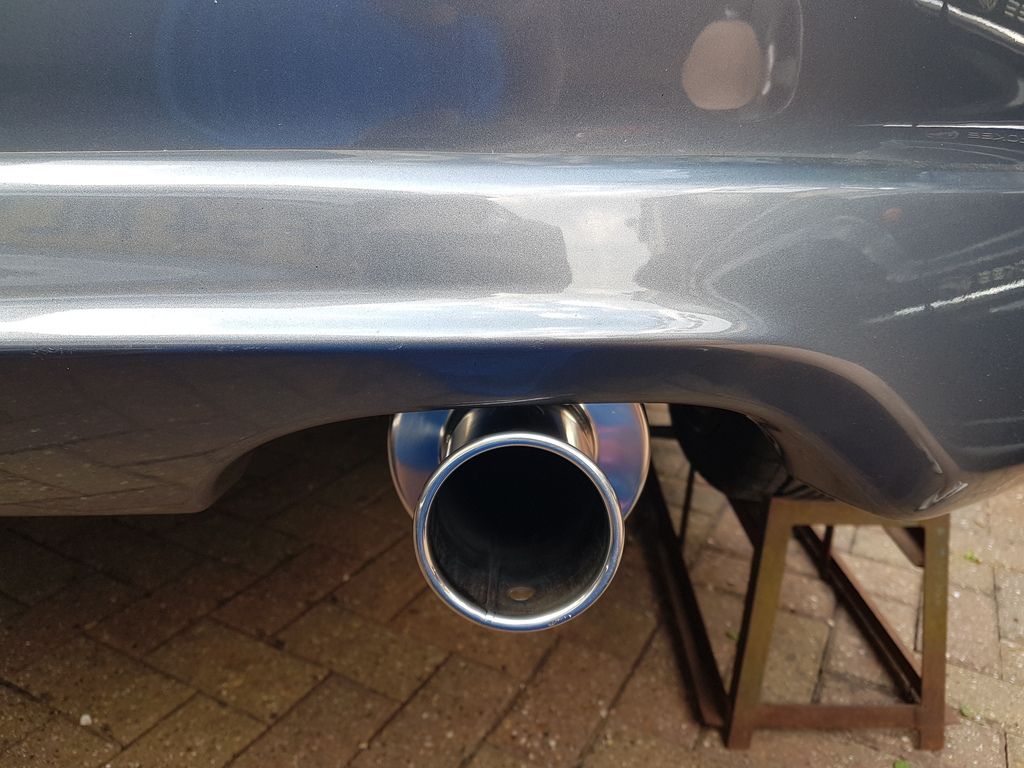
Mated up to the M2 b-pipe with no issues and was a doddle to fit.


I always had the same idea as Nightrunner which was OEM+ and was never sure about the look of these as I really like the OEM tail pipes, but I have to say it's growing on me and looks much better in person. My only concern is that....it's pretty f***in' loud! :smt077
 
Back
Top