
- Messages
- 429
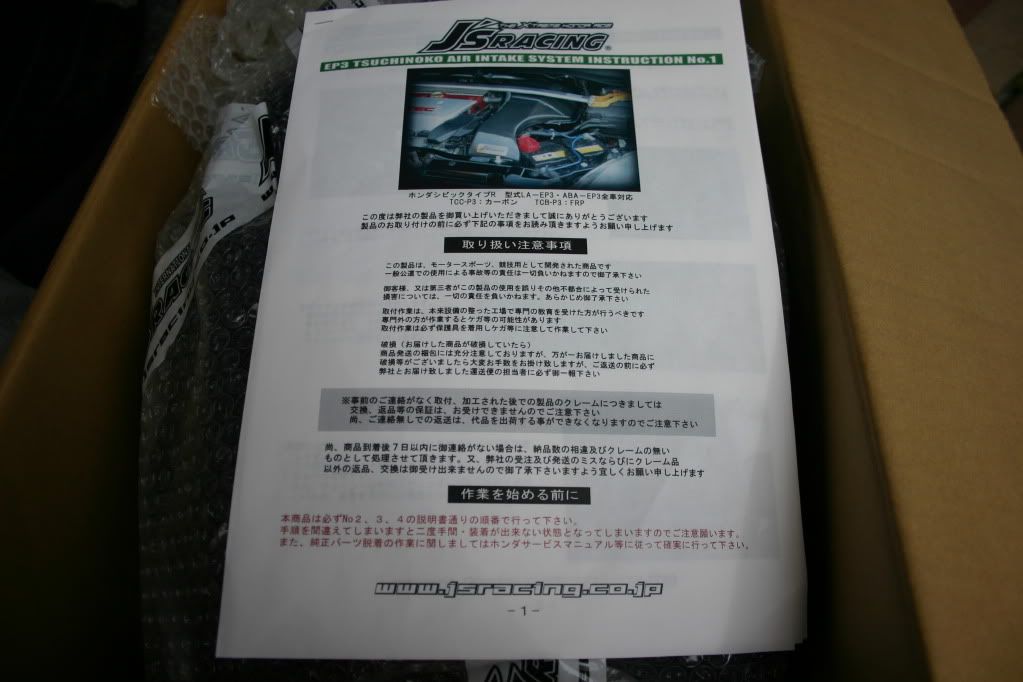
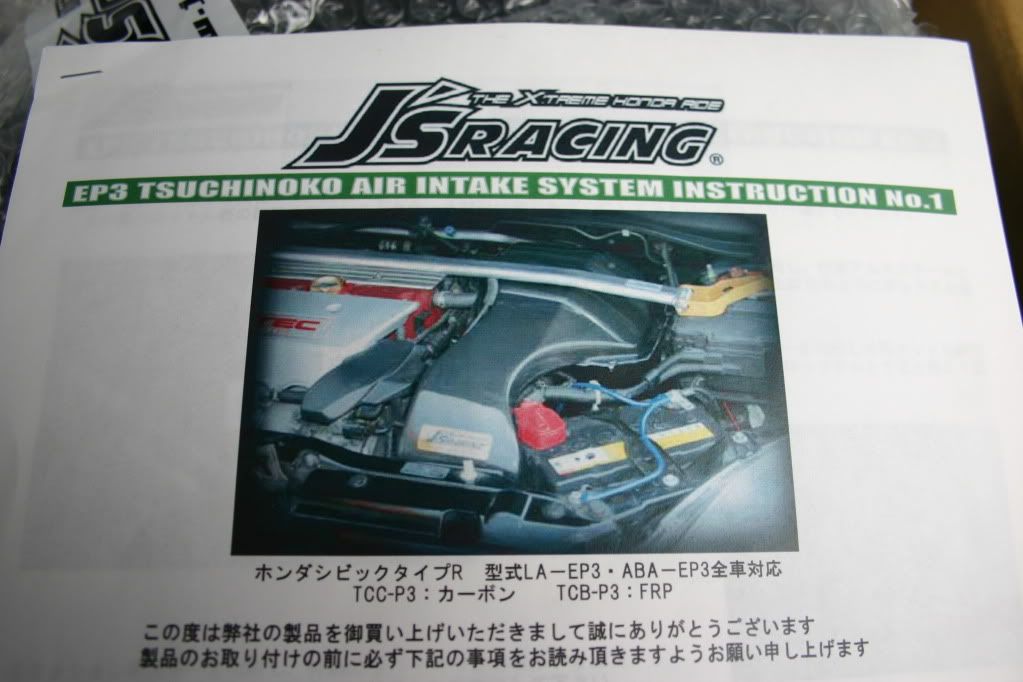
I reckon this will be handy for those interested in this, especially since the instructions look like this...
Now before I begin I have a list of people to thank
Firstly James @ touge for being a top chap and keeping me up to date with my purchase
and secondly to my helpers/camera men/fellow droolers :lol:
N3YL B
Orcrist
Markl
Cheers fellas!
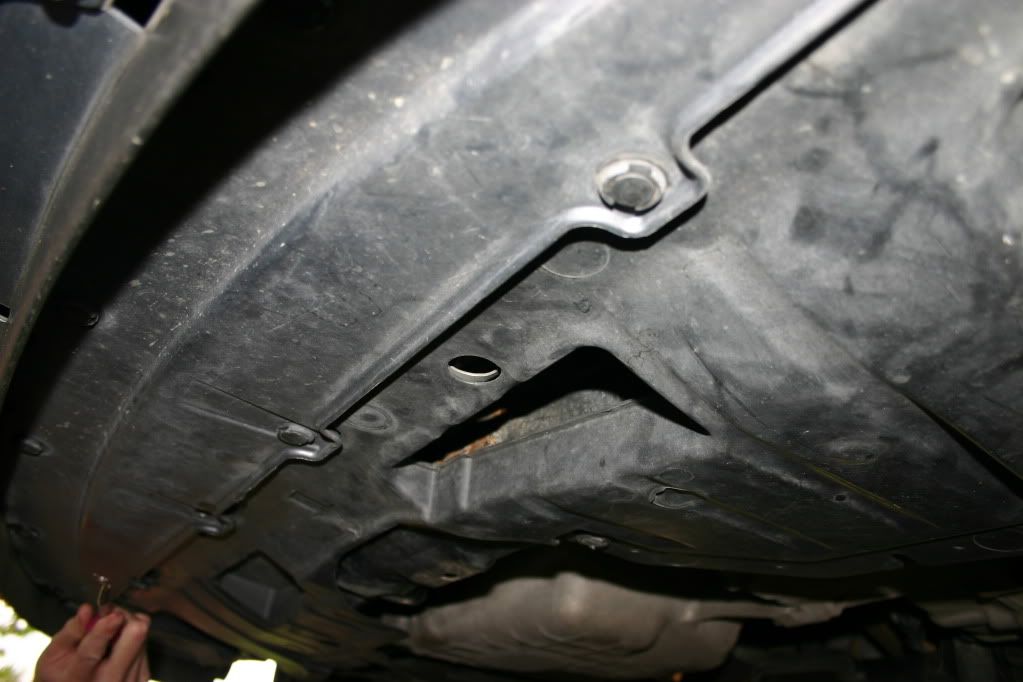
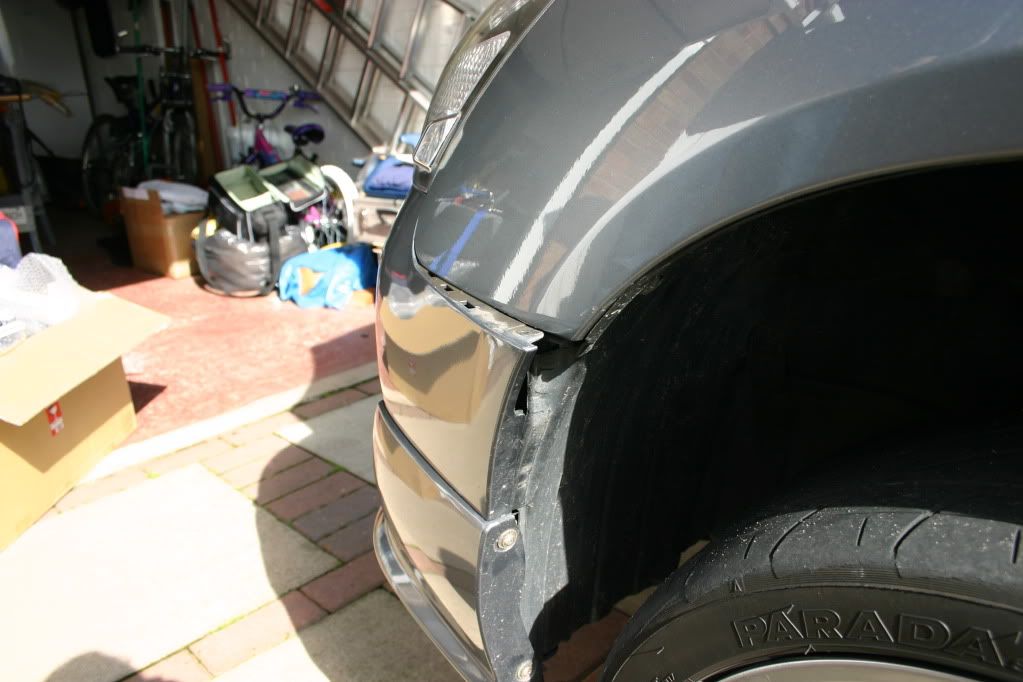
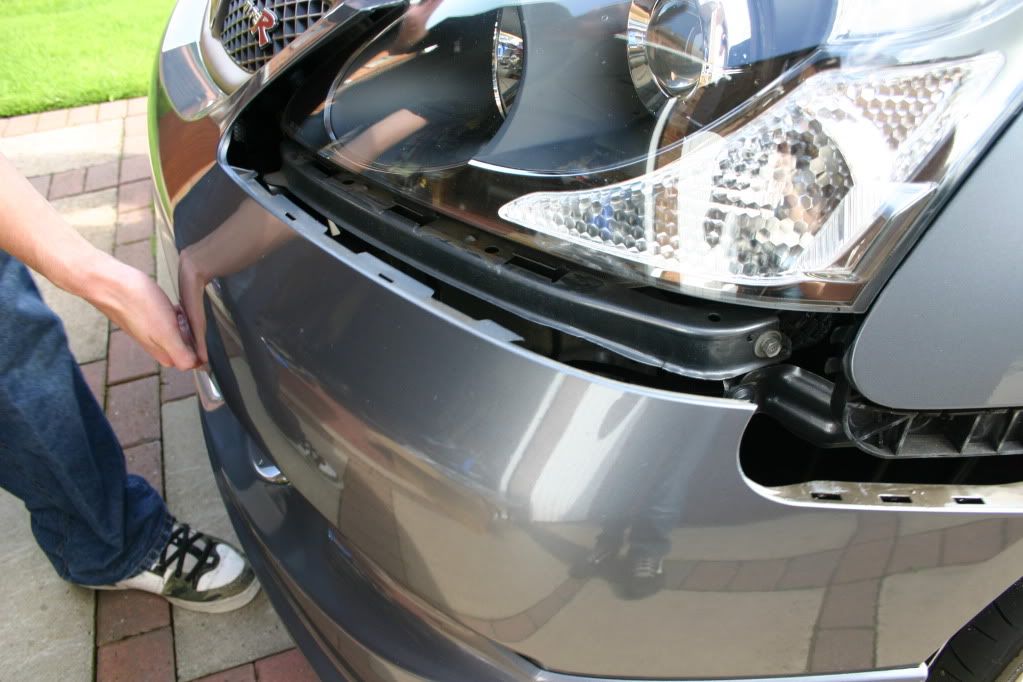
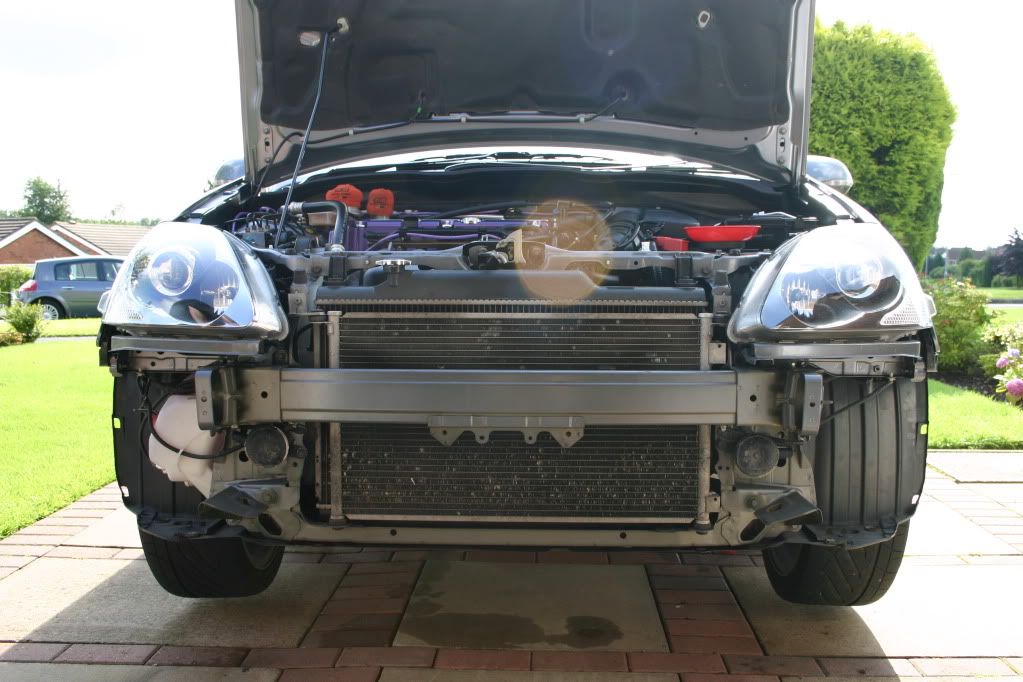
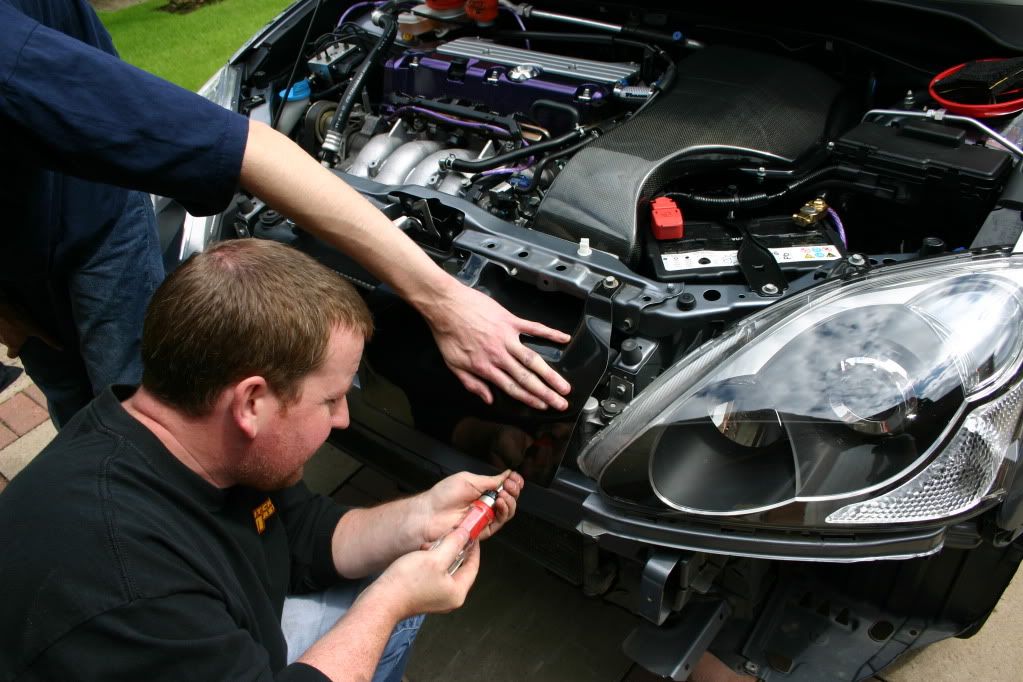
Okay so first things first remove the front bumper, resist the urge to go for the carbon slab first!

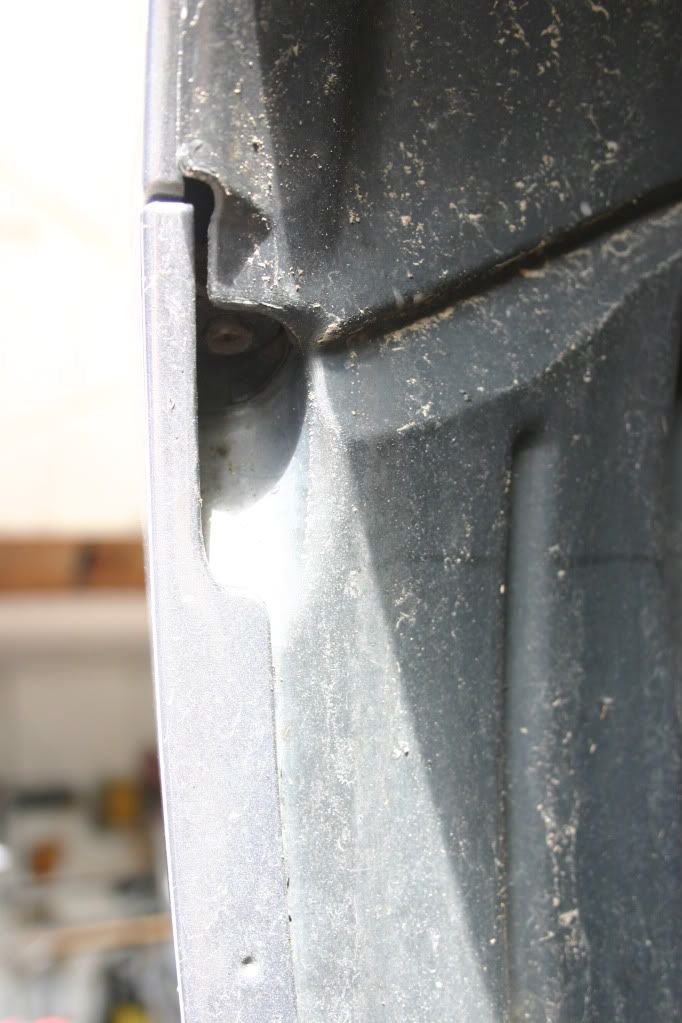
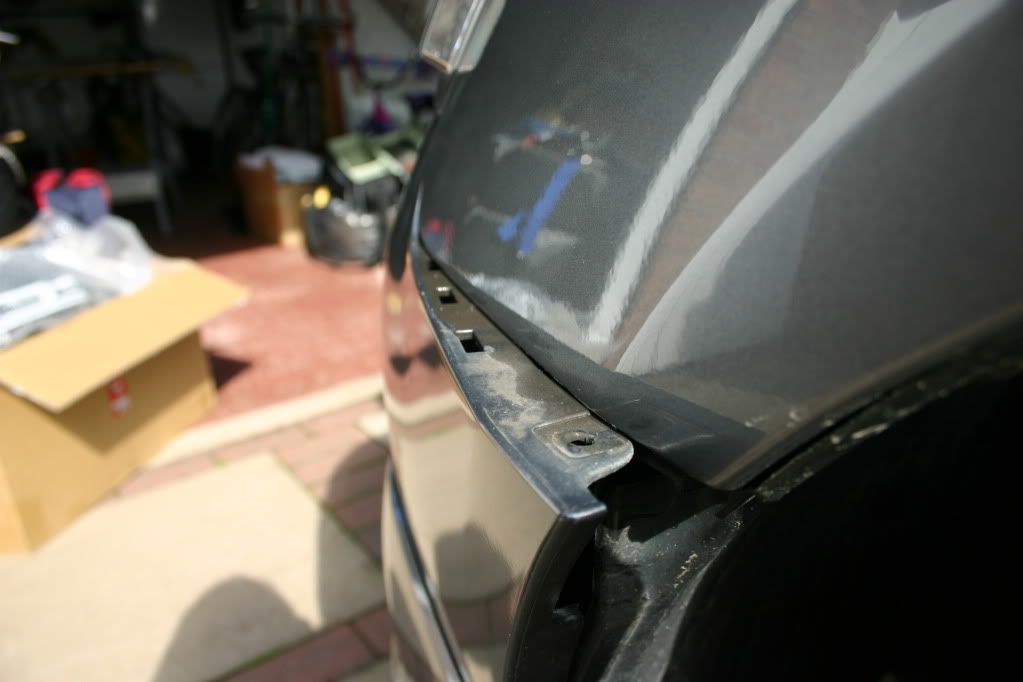
Now gently prise away the bumper from its mounts around the headlight/wing
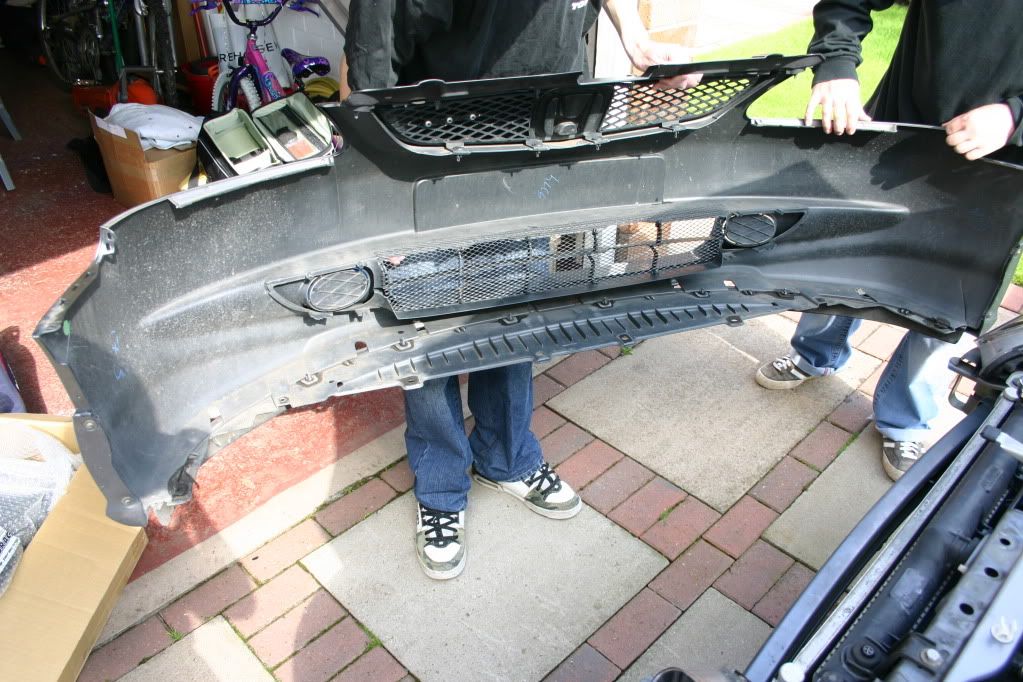
Voila! and heres one I made earlier a meshed rad grille, if you haven't done this already nows the time, its a worthwhile mod")
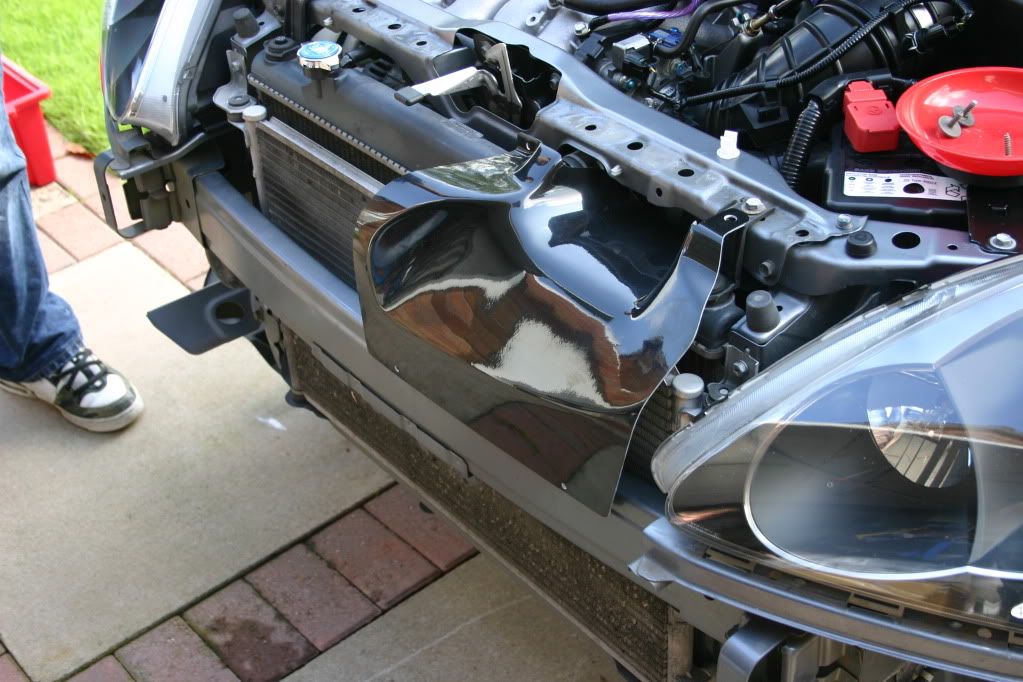
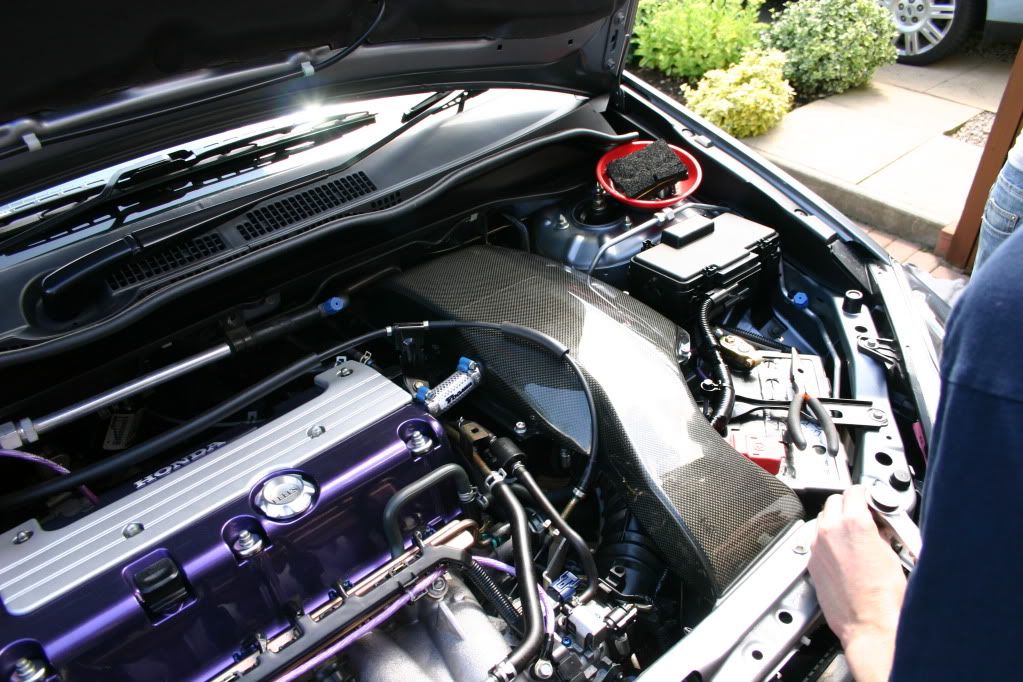
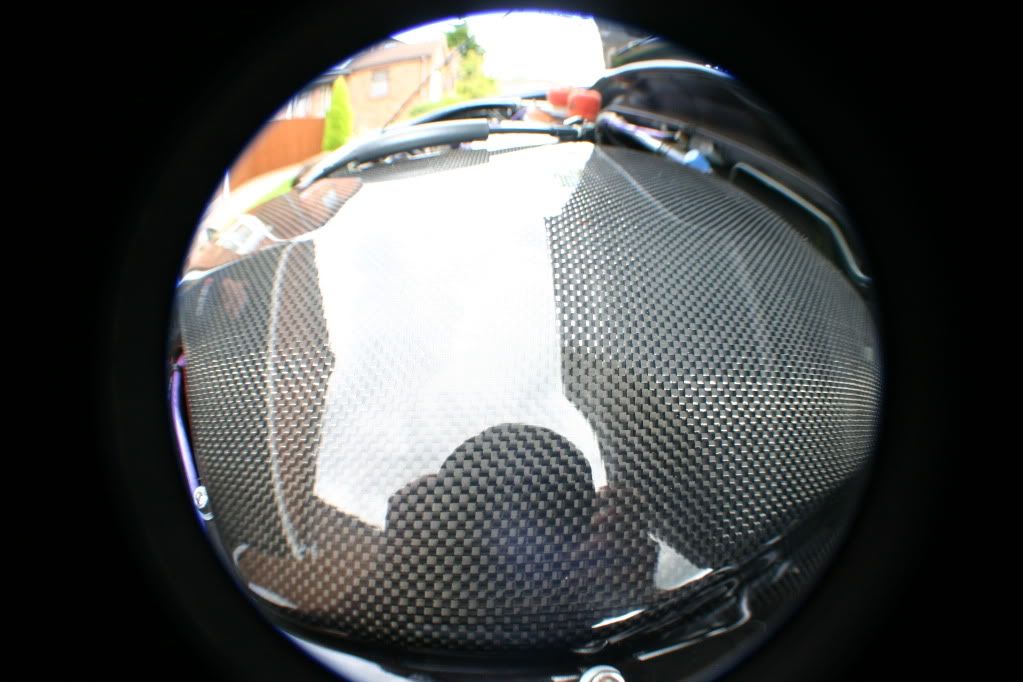
And now a sneaky test fit of the unsung hero of the kit
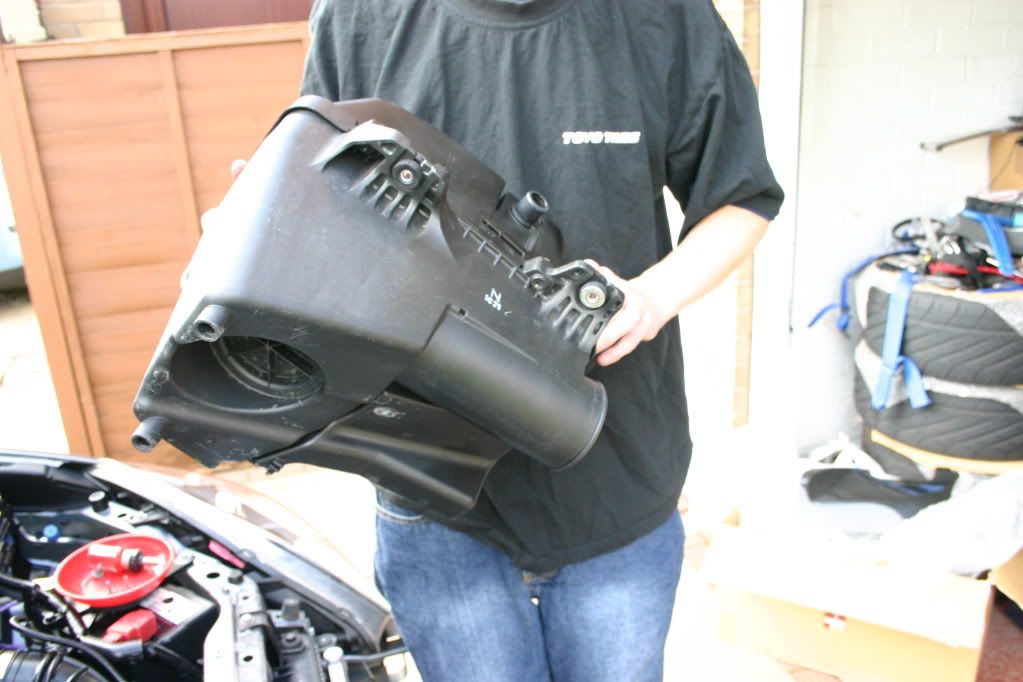
Now we can take out the old airbox and old intake pipe, the ribbed pipe that goes to the throttle body can be left in place.
Its a fair old beast!
Now we can begin with the new shiny bits
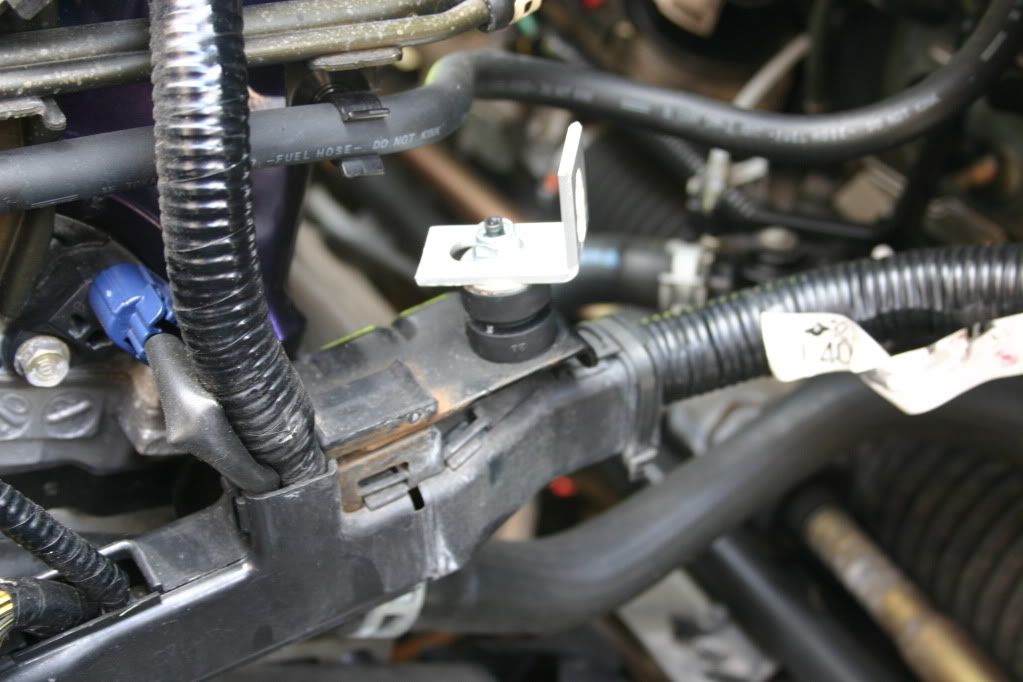
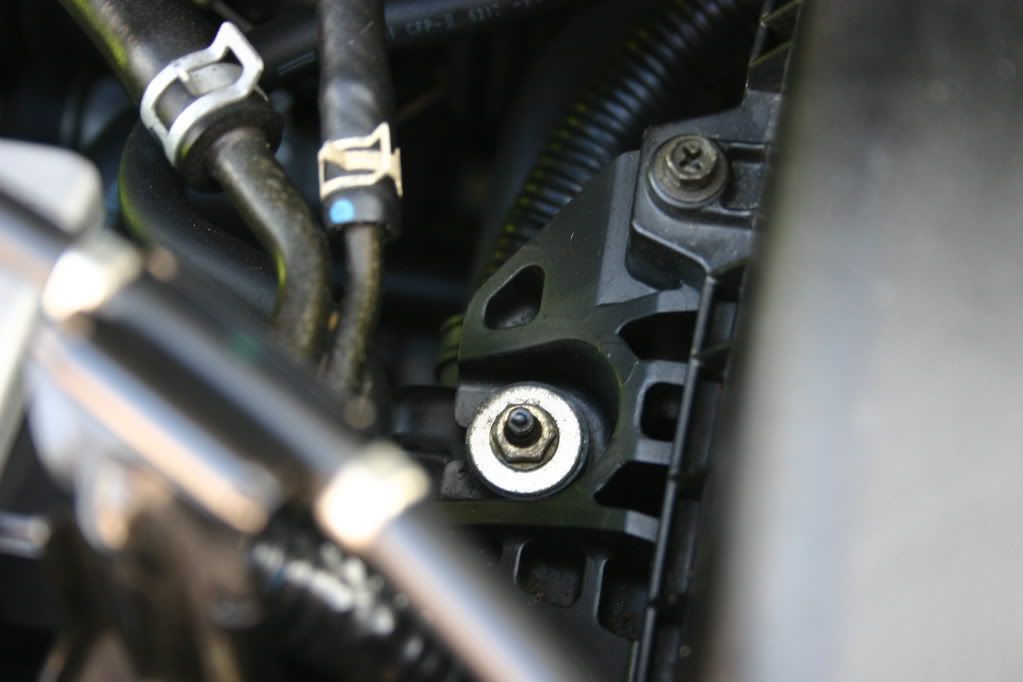
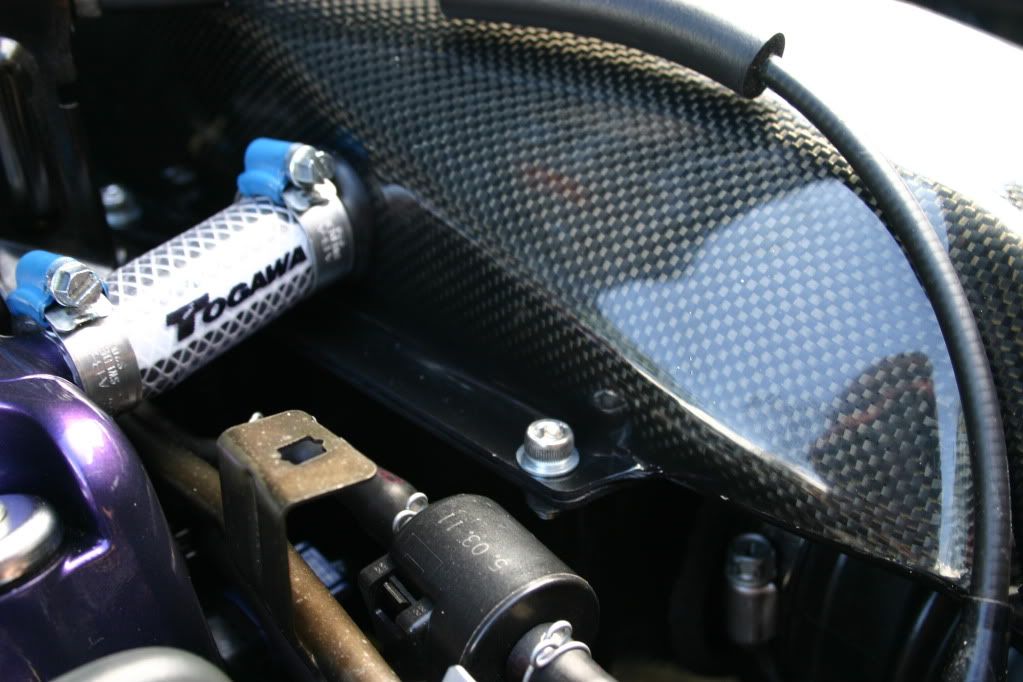
Important in the pic above the washer is from the oem airbox, but dont place it like in the pic, put the bracket in first then the oem washer and then the nut, as you will see in the finished pics my airbox sat a little high on the right hand side because of this error so I had to move it aftre taking the pics.
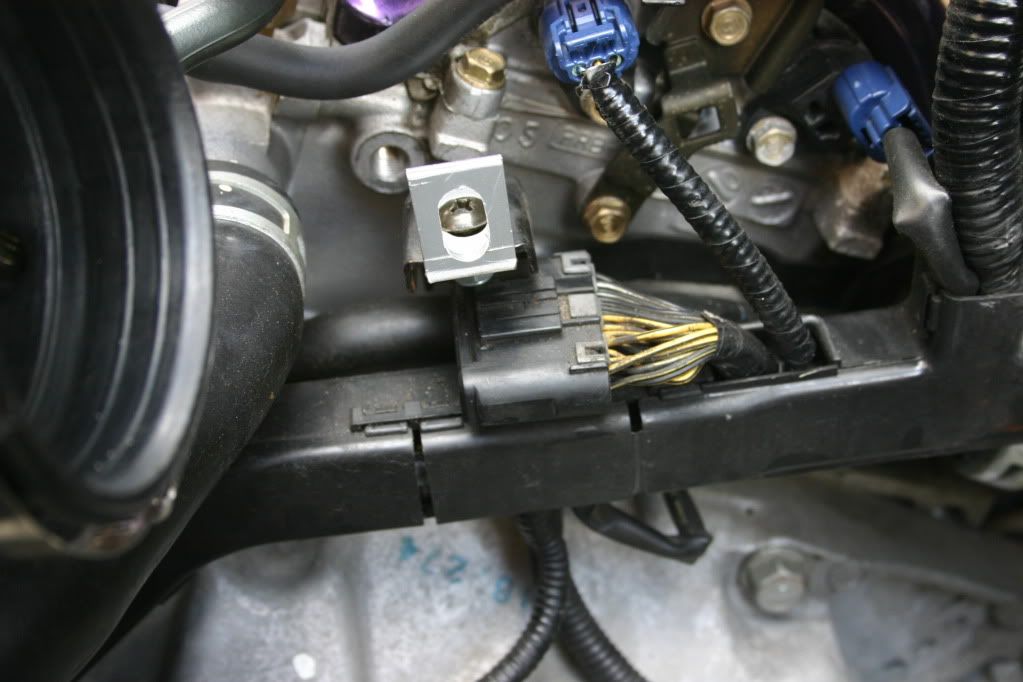
place a locking nut under this bolt above as it will stop it undoing itself like the Gruppe M
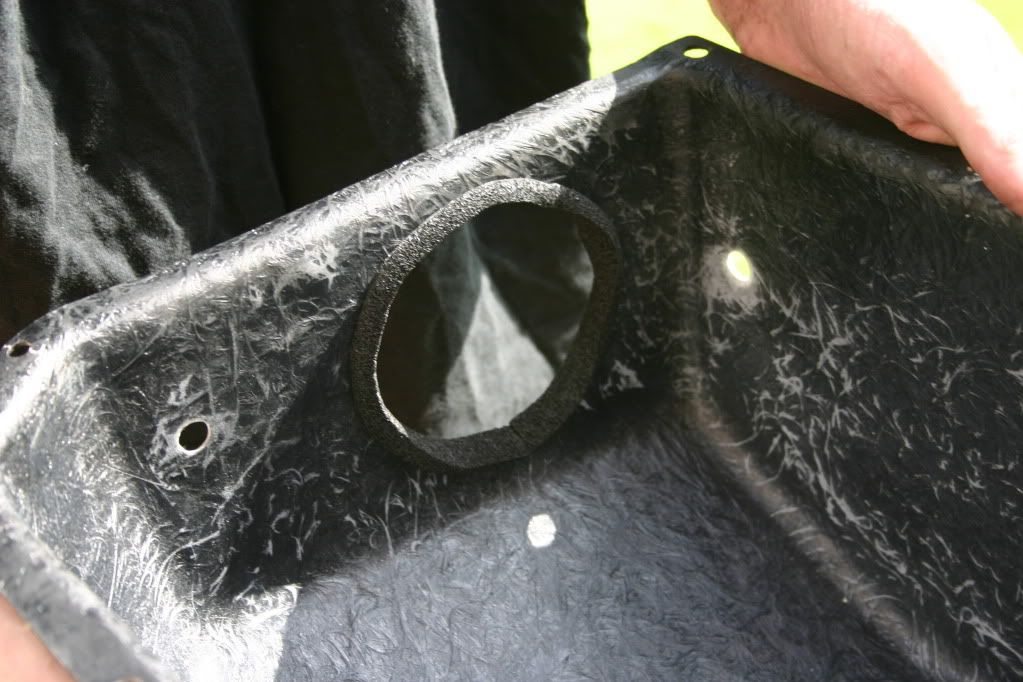
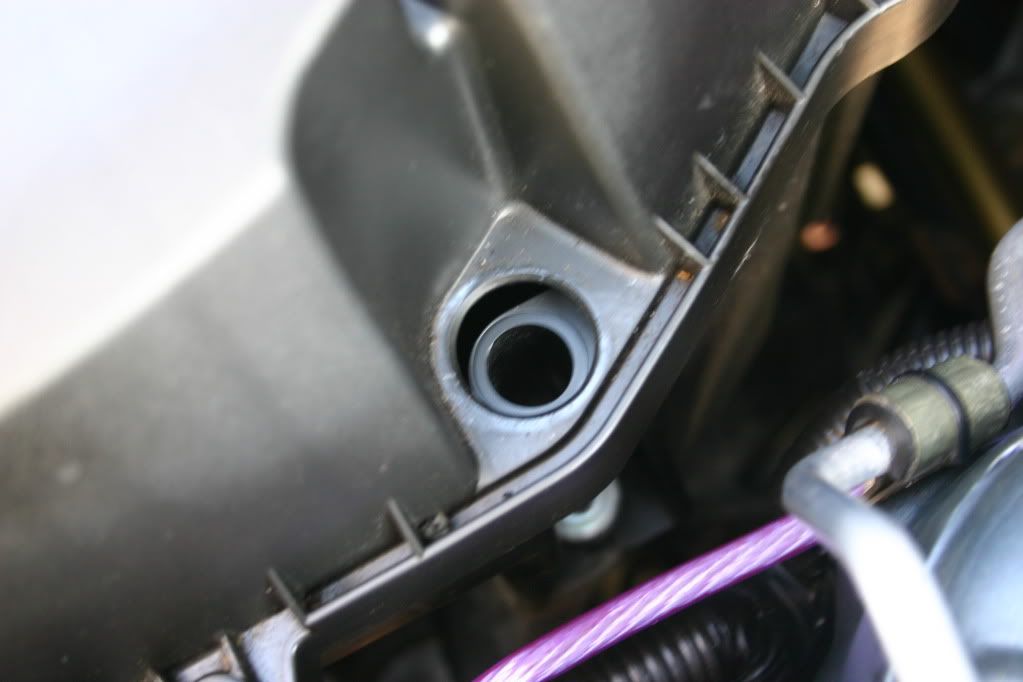
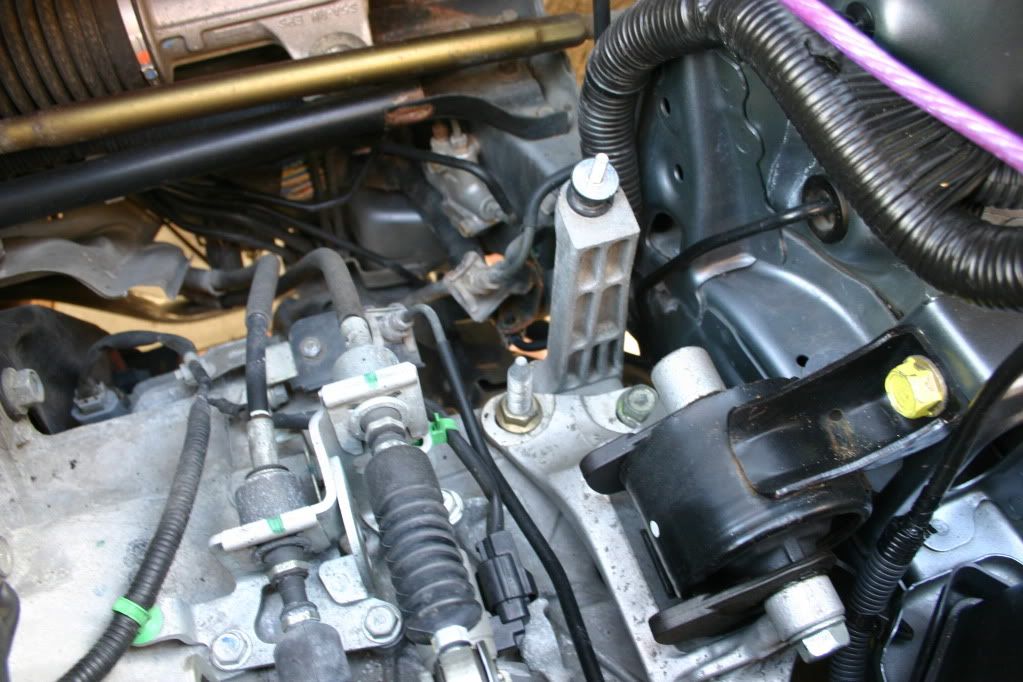
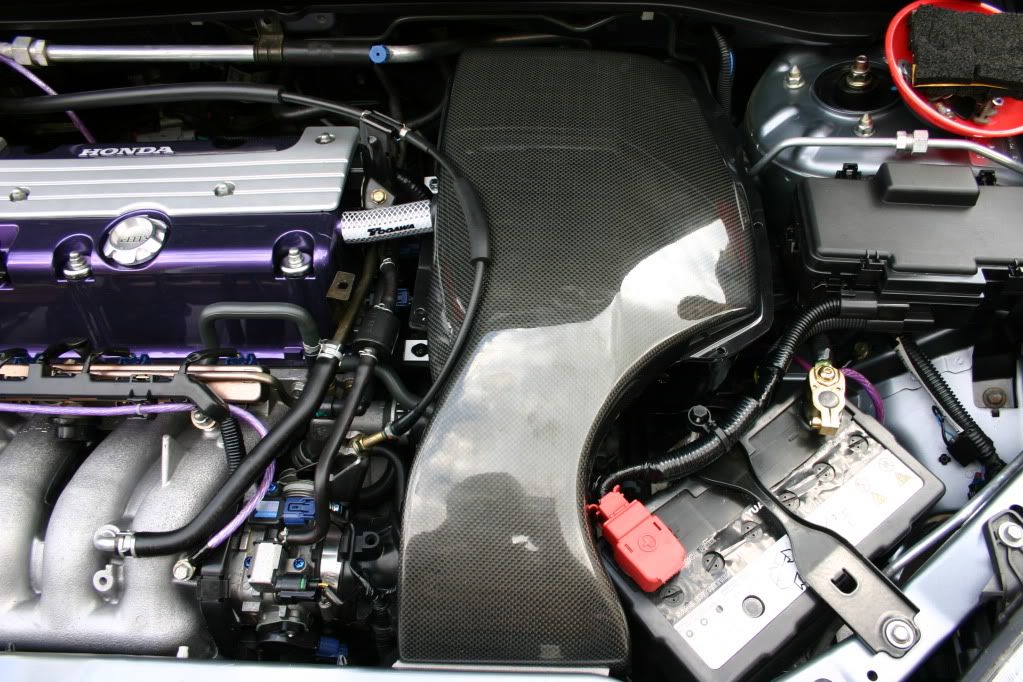
above. using the longest black piece of foam go around the airbox hole that links to the oem pipe>throttle body
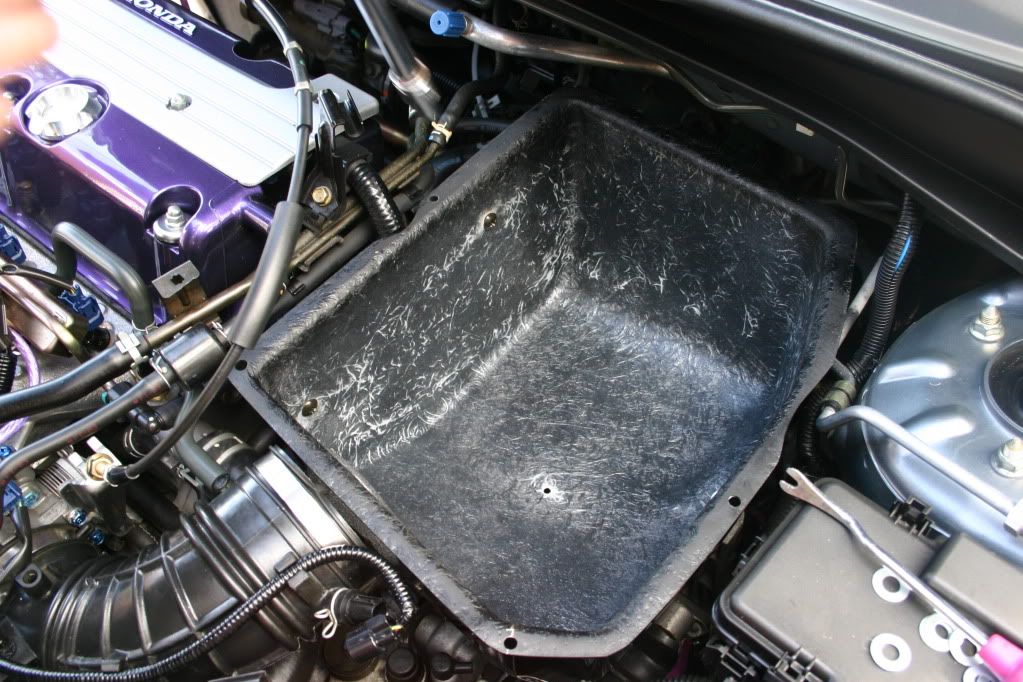
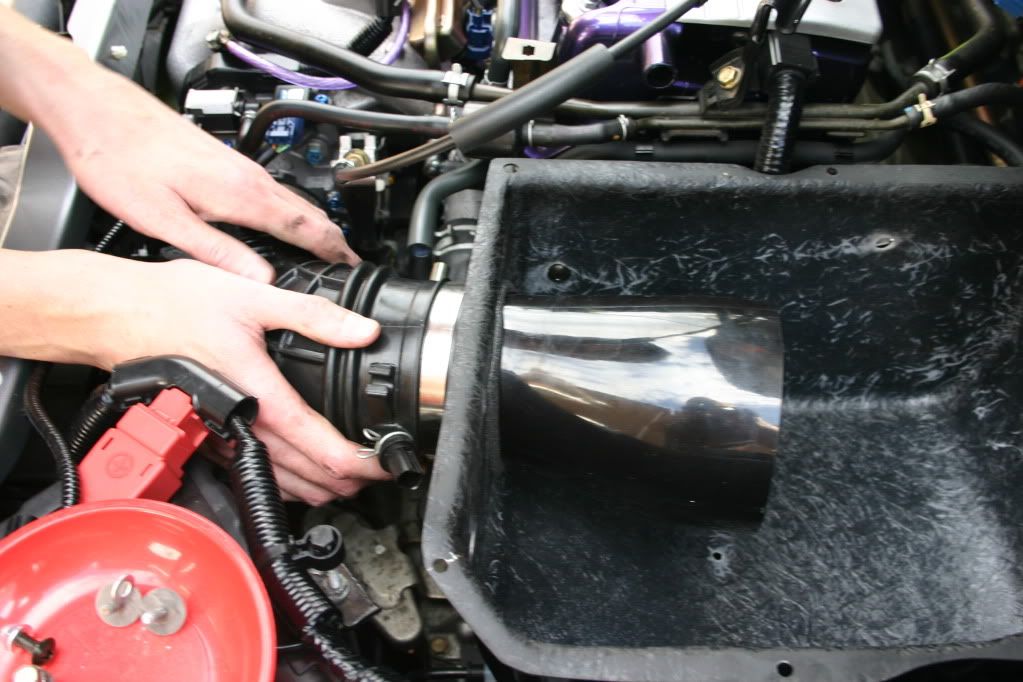
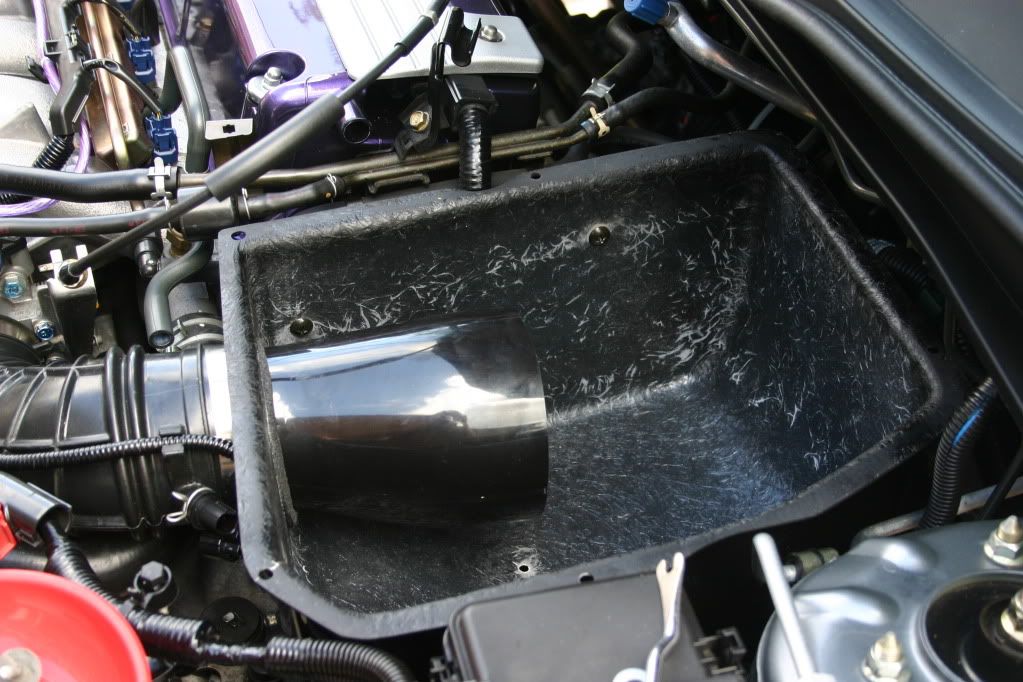
above. fit the airbox and use mount the "whale penis" style pipe through the airbox and into the oem hose, it will only go so far.
**INTERMISSION**
**INTERMISSION**
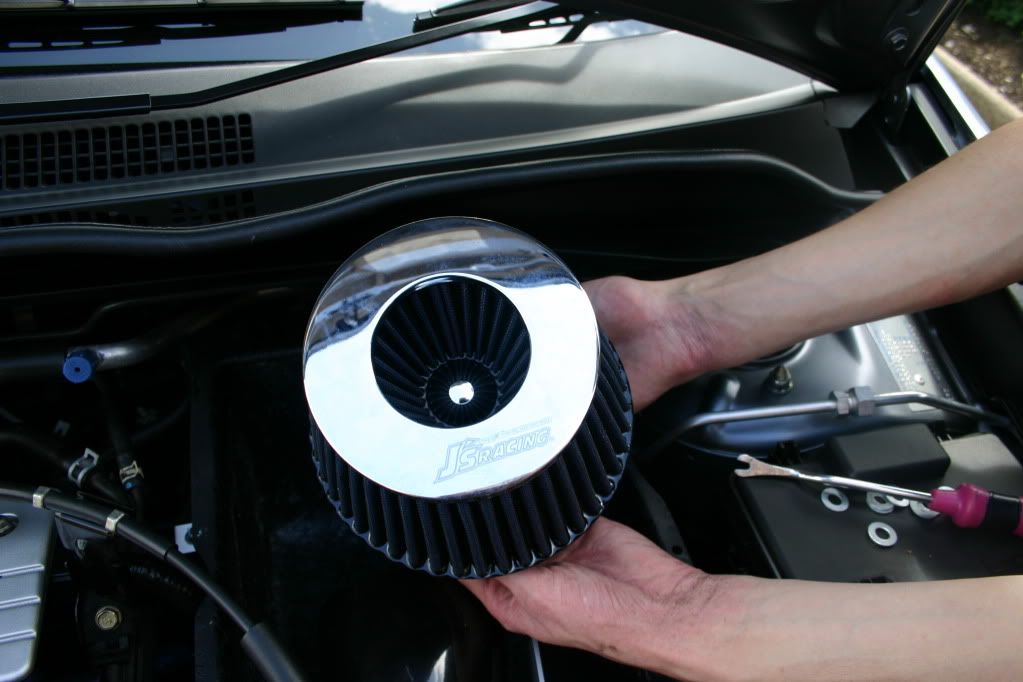
Now for the filter

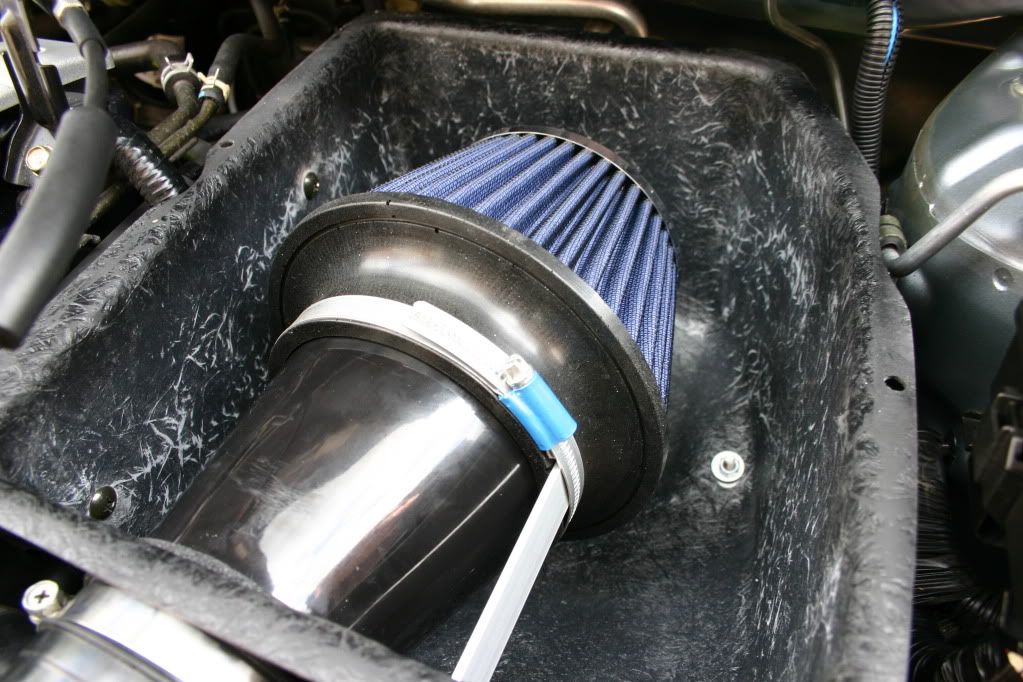
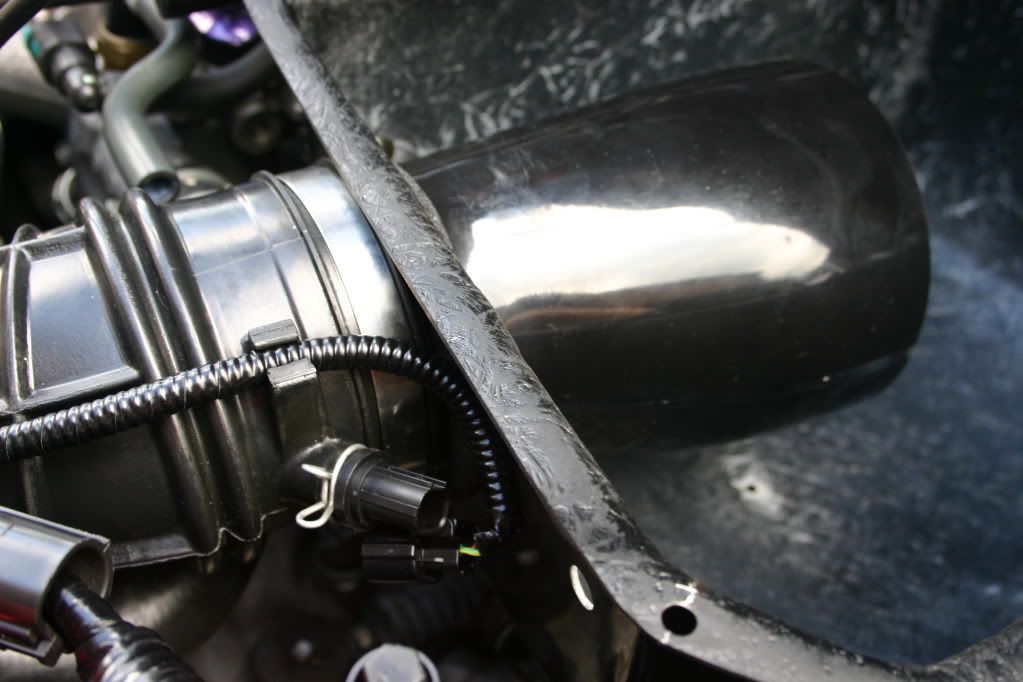
Slide it over just enough so you can tighten the jubilee clip over the bracket to help keep it in place (stops you getting a droopy whale penis)
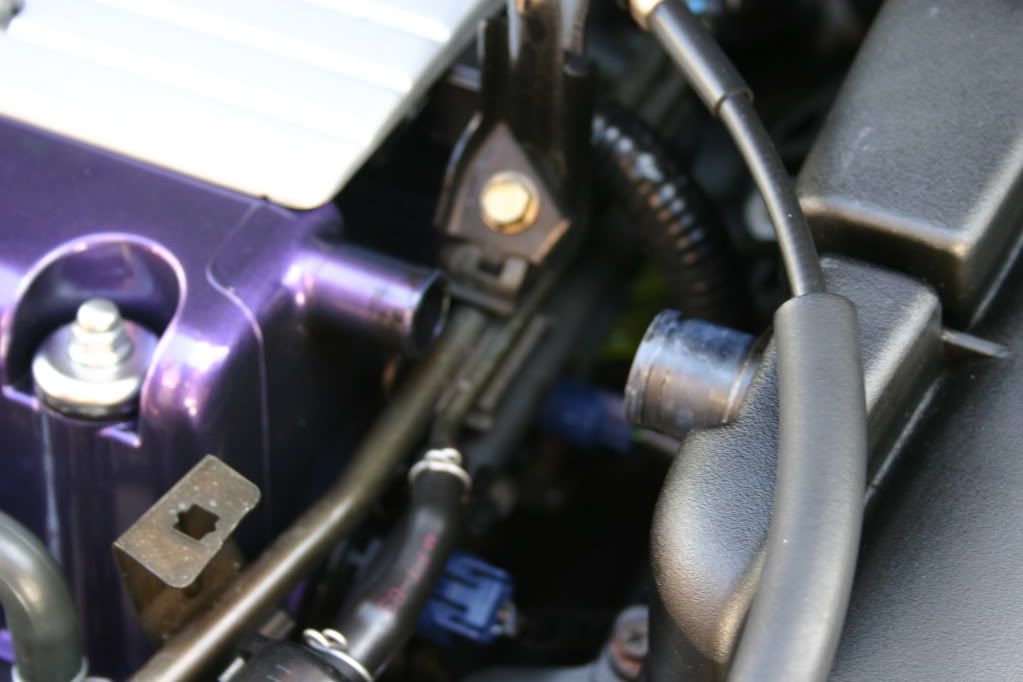
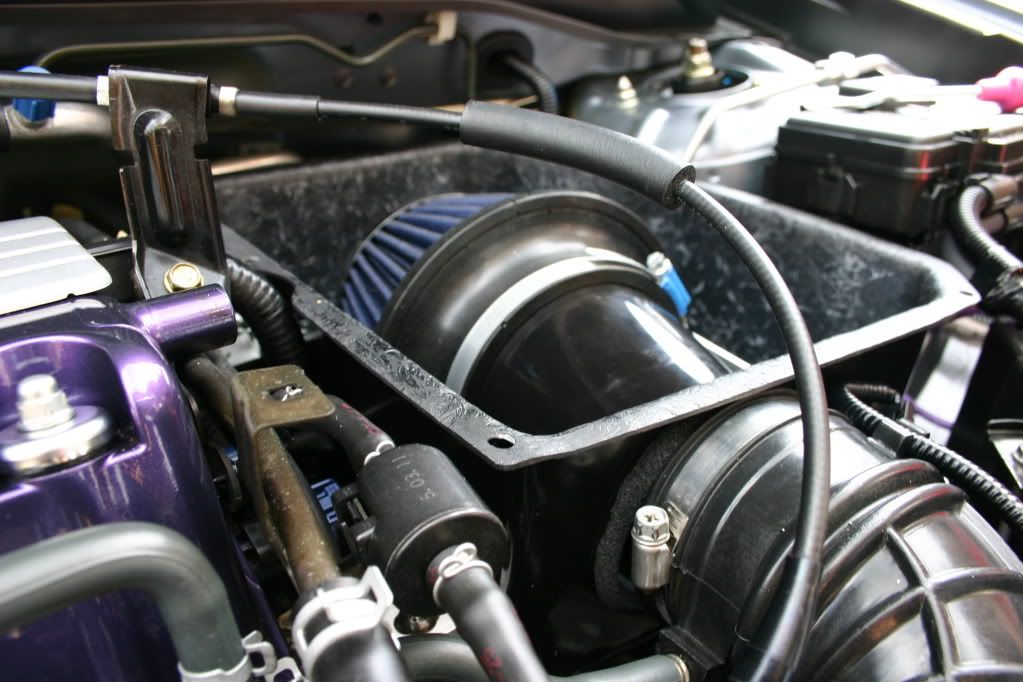
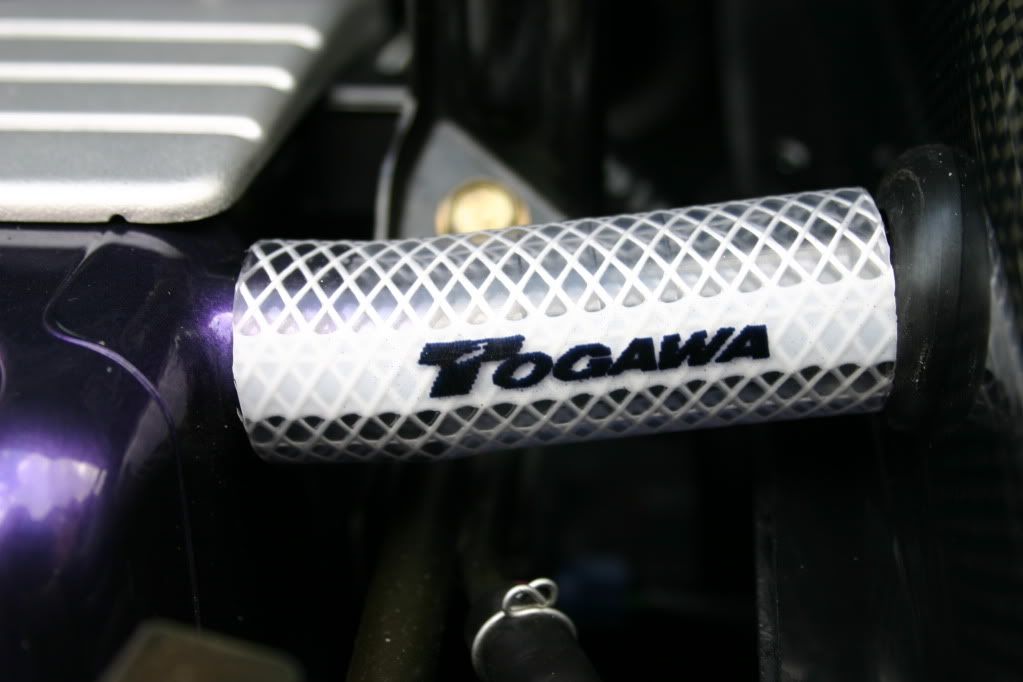
Now to get the lid on you need to push half of the black breather pipe into the top, the other half gets covered in togawa's finest garden hose which in turn joins the rocker cover, this needs to be cut to length, measure twice cut once!
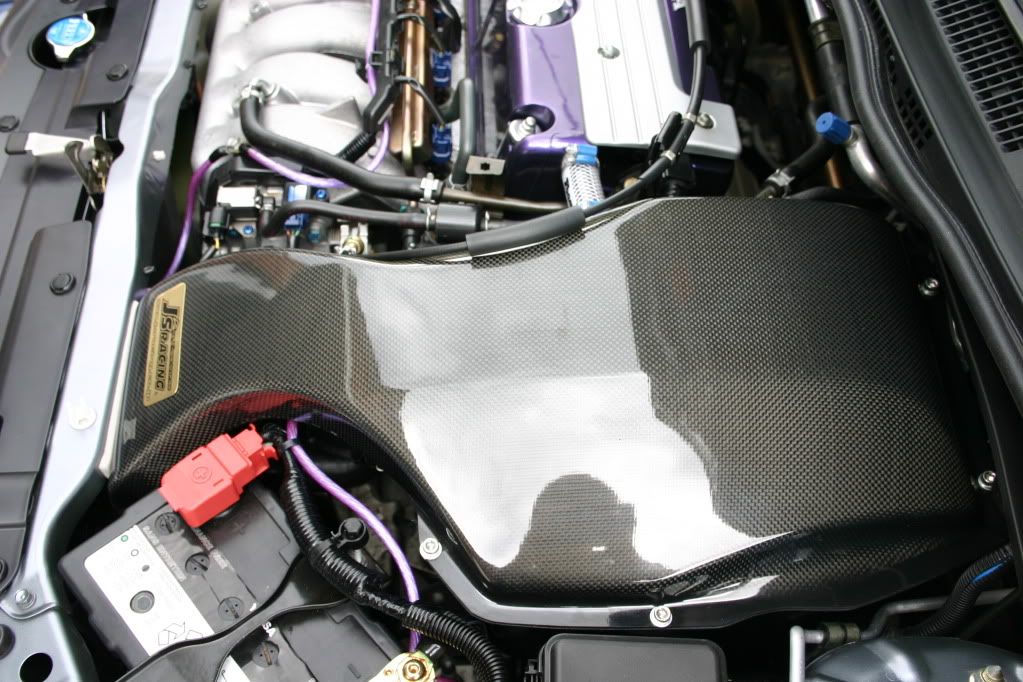
Okay so now before the final fit put those jubilee clips on!
If you have long enough arms you can reach under the back of the airbox from the rocker cover to fit the back allen headed bolts to secure the lid, or if you prefer you can get to them through the wheel arch
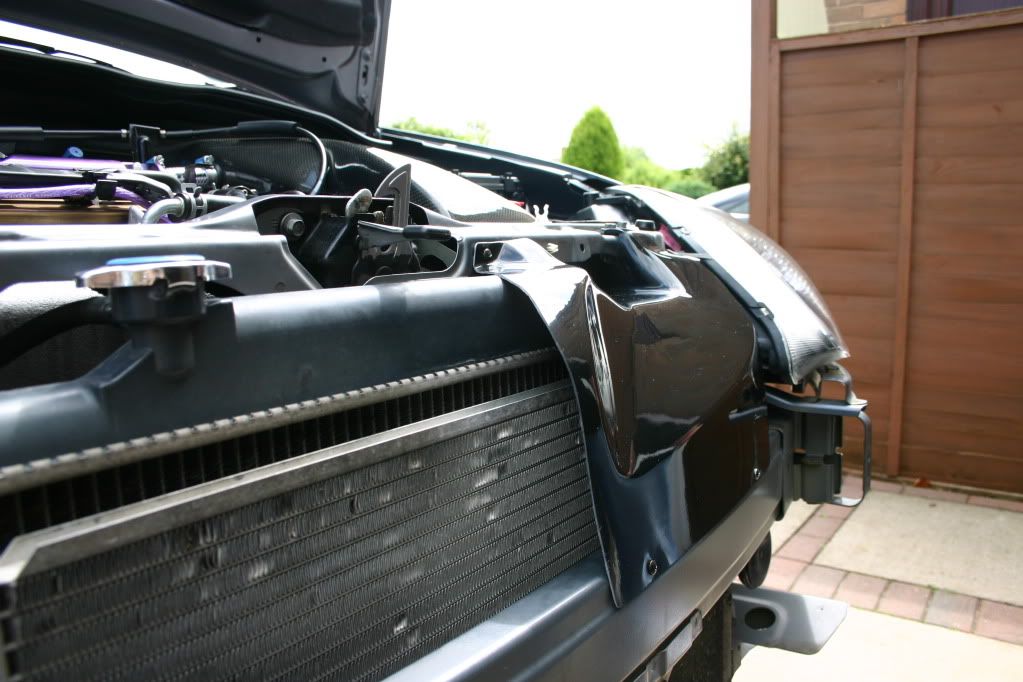
Okay so now onto the front scoop, first secure it using the oem rad stay bolt
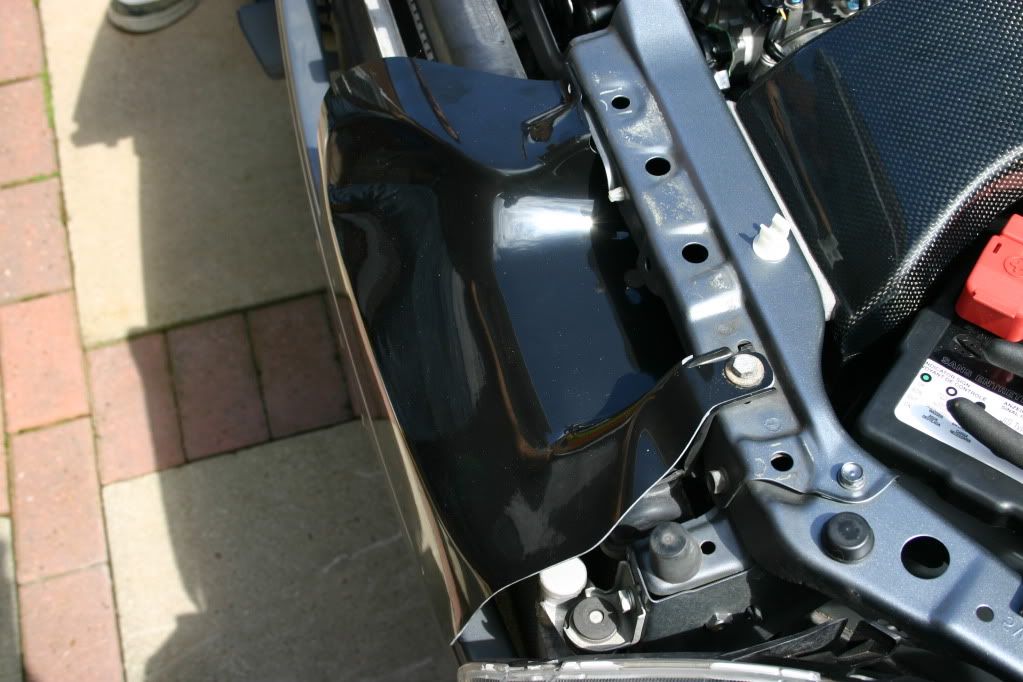
and then mark the holes you will need to make (3 in total)
Drill and then screw in place

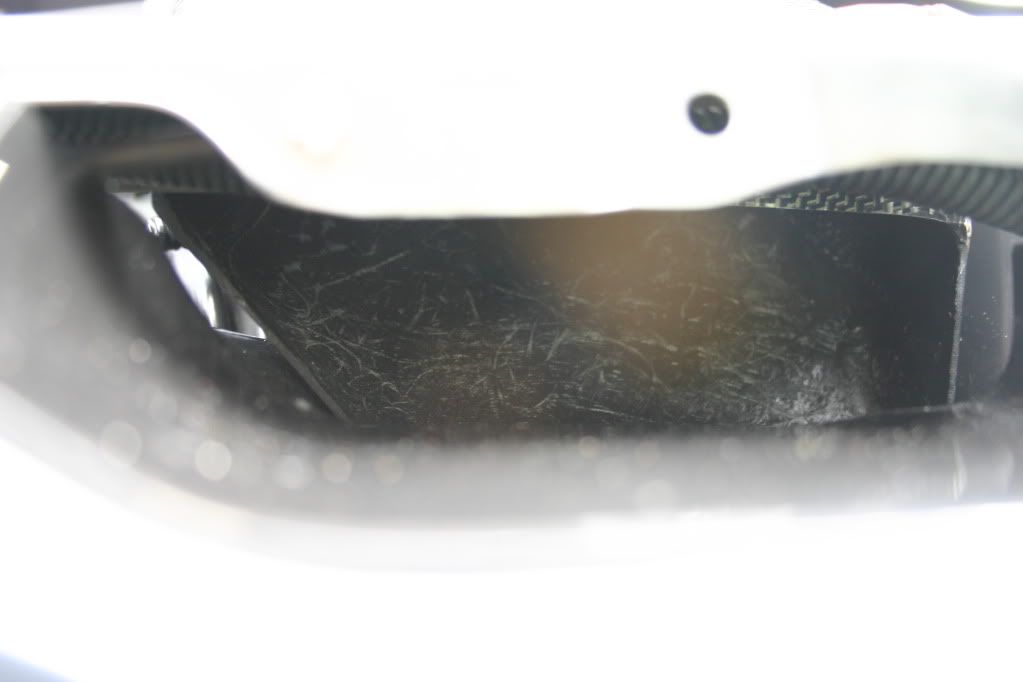
A little bit of trimming is needed to fit on a facelift ctr

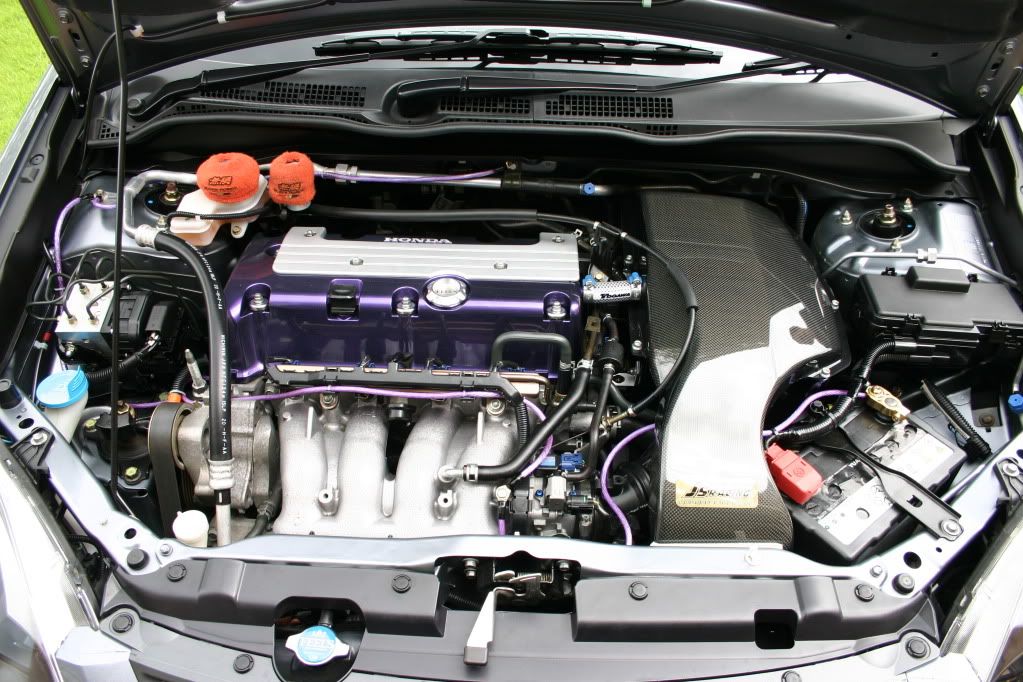
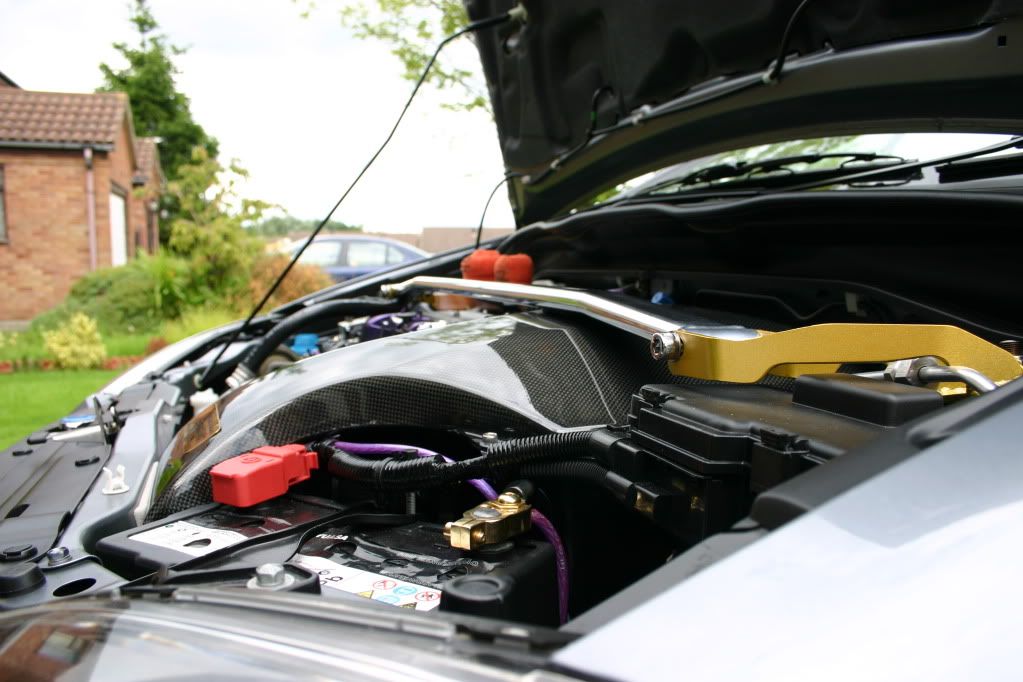
Finally refit the bumper stand back and admire!

Thanks for reading! Hope you find it useful
Now before I begin I have a list of people to thank
Firstly James @ touge for being a top chap and keeping me up to date with my purchase
and secondly to my helpers/camera men/fellow droolers :lol:
N3YL B
Orcrist
Markl
Cheers fellas!
Okay so first things first remove the front bumper, resist the urge to go for the carbon slab first!
Now gently prise away the bumper from its mounts around the headlight/wing
Voila! and heres one I made earlier a meshed rad grille, if you haven't done this already nows the time, its a worthwhile mod
And now a sneaky test fit of the unsung hero of the kit
Now we can take out the old airbox and old intake pipe, the ribbed pipe that goes to the throttle body can be left in place.
Its a fair old beast!
Now we can begin with the new shiny bits
Important in the pic above the washer is from the oem airbox, but dont place it like in the pic, put the bracket in first then the oem washer and then the nut, as you will see in the finished pics my airbox sat a little high on the right hand side because of this error so I had to move it aftre taking the pics.
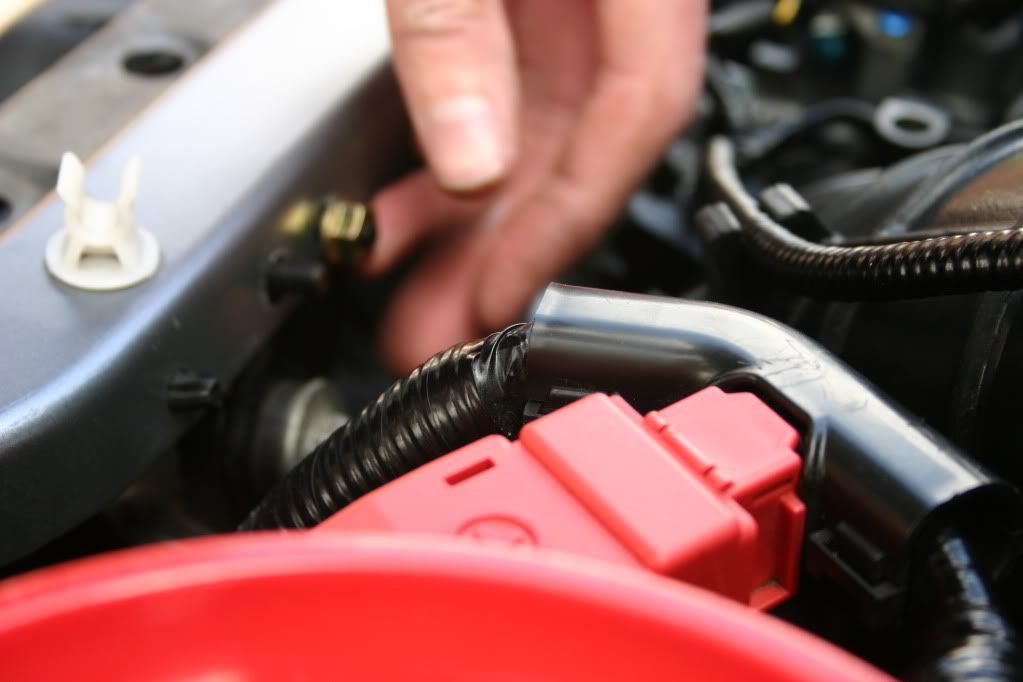
place a locking nut under this bolt above as it will stop it undoing itself like the Gruppe M
above. using the longest black piece of foam go around the airbox hole that links to the oem pipe>throttle body
above. fit the airbox and use mount the "whale penis" style pipe through the airbox and into the oem hose, it will only go so far.
**INTERMISSION**
**INTERMISSION**
Now for the filter
Slide it over just enough so you can tighten the jubilee clip over the bracket to help keep it in place (stops you getting a droopy whale penis)
Now to get the lid on you need to push half of the black breather pipe into the top, the other half gets covered in togawa's finest garden hose which in turn joins the rocker cover, this needs to be cut to length, measure twice cut once!
Okay so now before the final fit put those jubilee clips on!
If you have long enough arms you can reach under the back of the airbox from the rocker cover to fit the back allen headed bolts to secure the lid, or if you prefer you can get to them through the wheel arch
Okay so now onto the front scoop, first secure it using the oem rad stay bolt
and then mark the holes you will need to make (3 in total)
Drill and then screw in place
A little bit of trimming is needed to fit on a facelift ctr
Finally refit the bumper stand back and admire!
Thanks for reading! Hope you find it useful
Last edited by a moderator: