This is one of the most tedious jobs i have ever carried out on my EP3, do not attempt this unless you have heaps of patience and fingers made of carbon fibre :lol:
this is very picture heavy thread as there are so many steps to remove the covers :evil:.
so here goes.
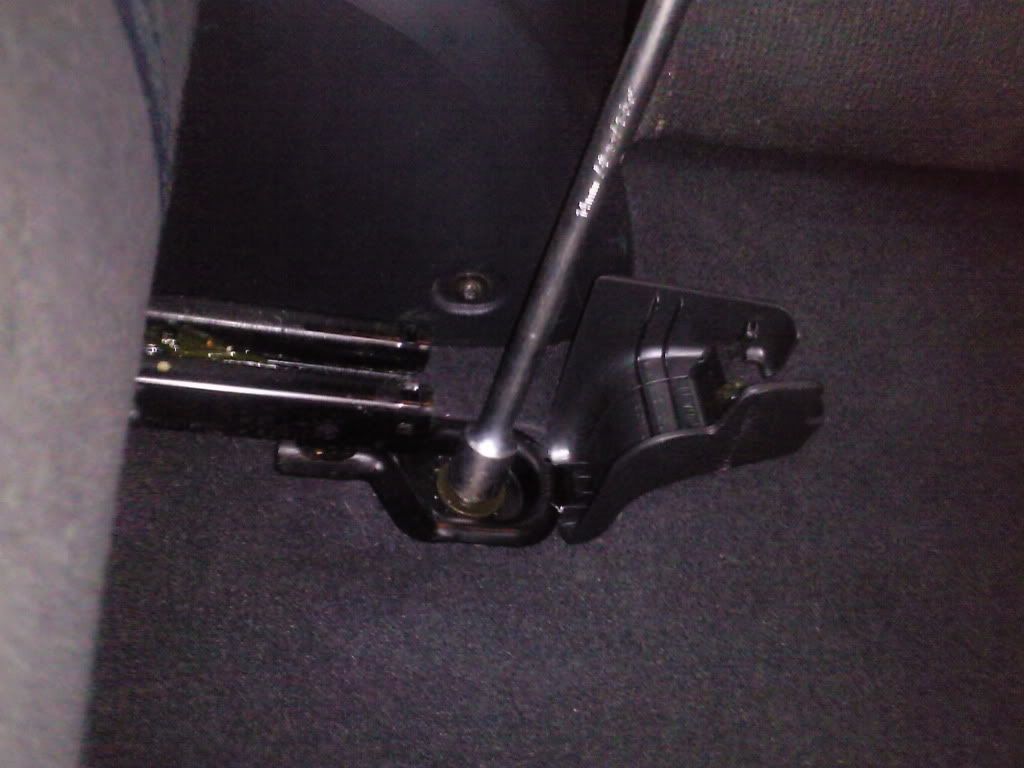
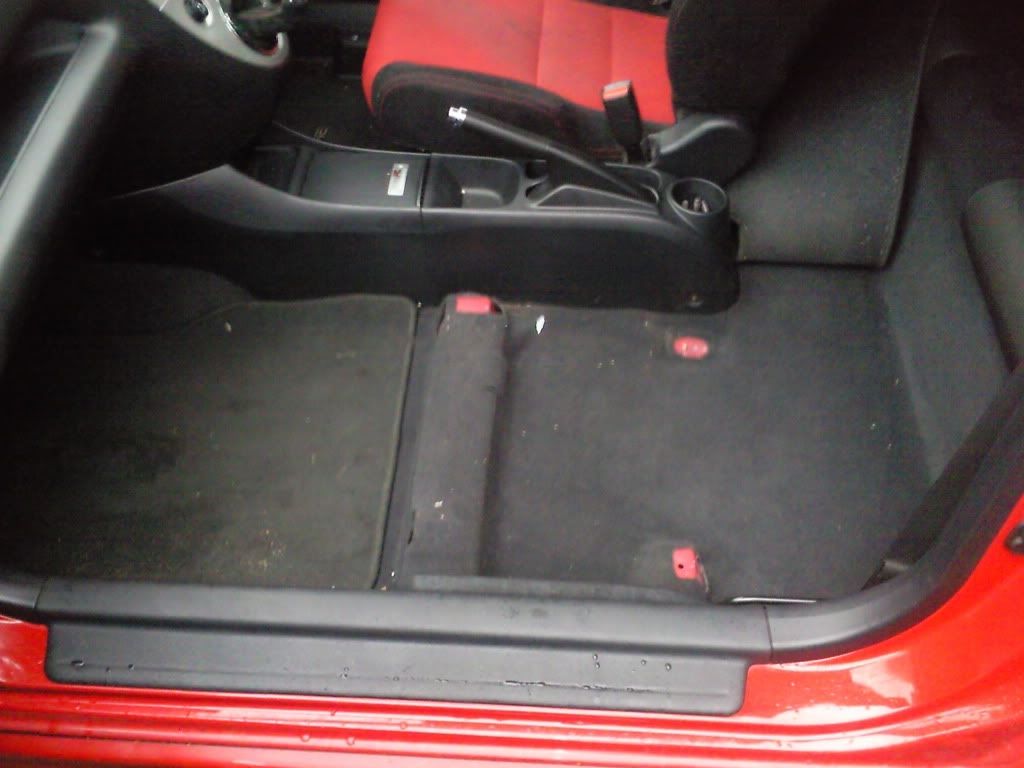
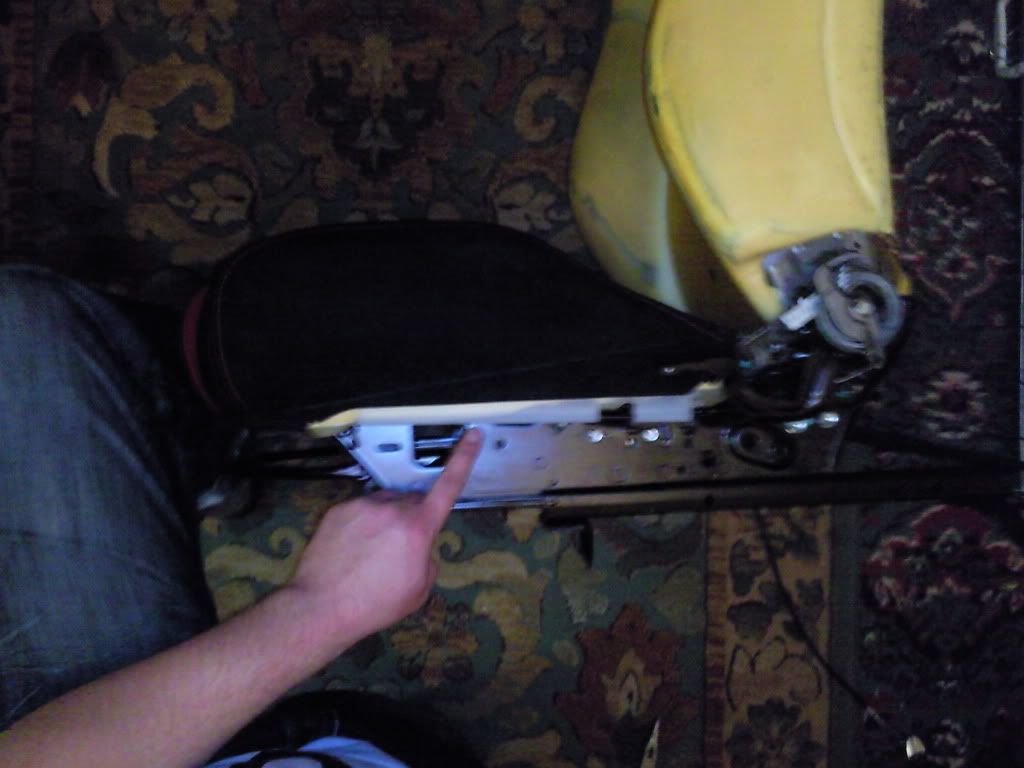
locate and remove 4x bolts that attach the seat rails to the floor.
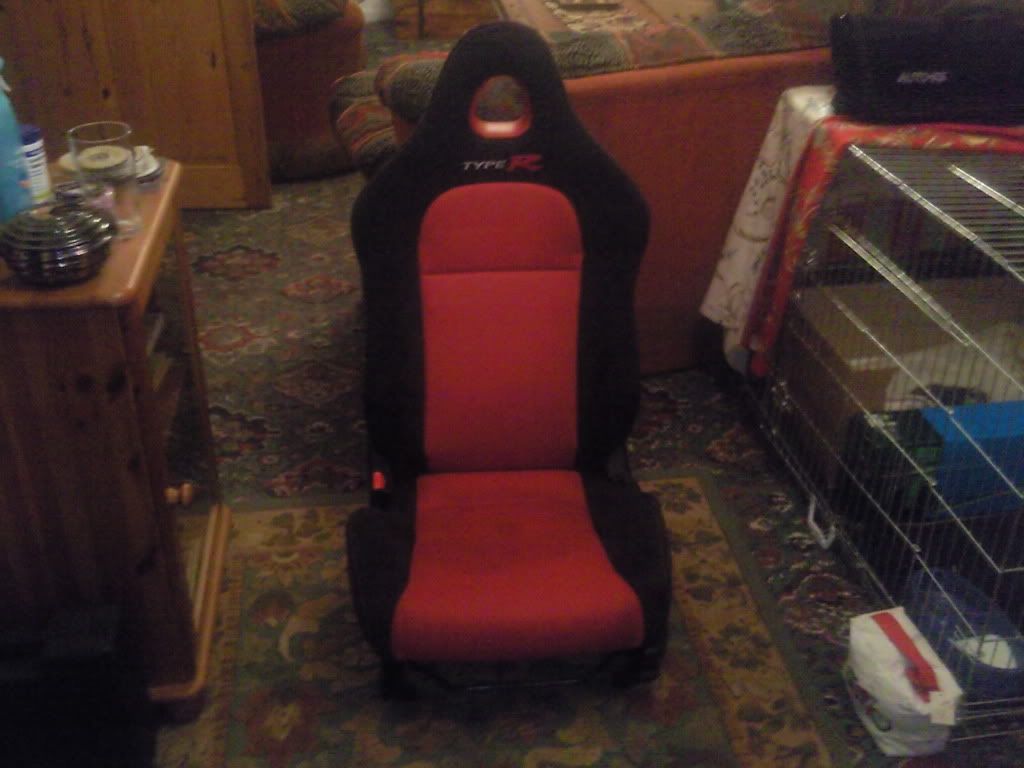
remove seat from car, get yourself comfortable.
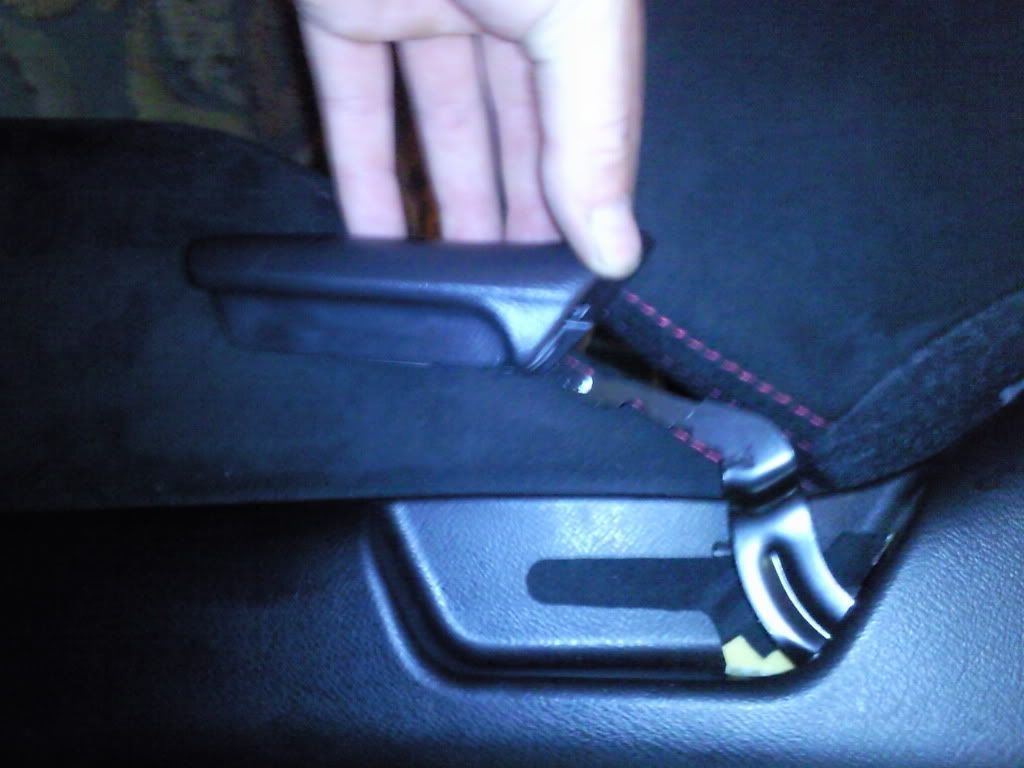
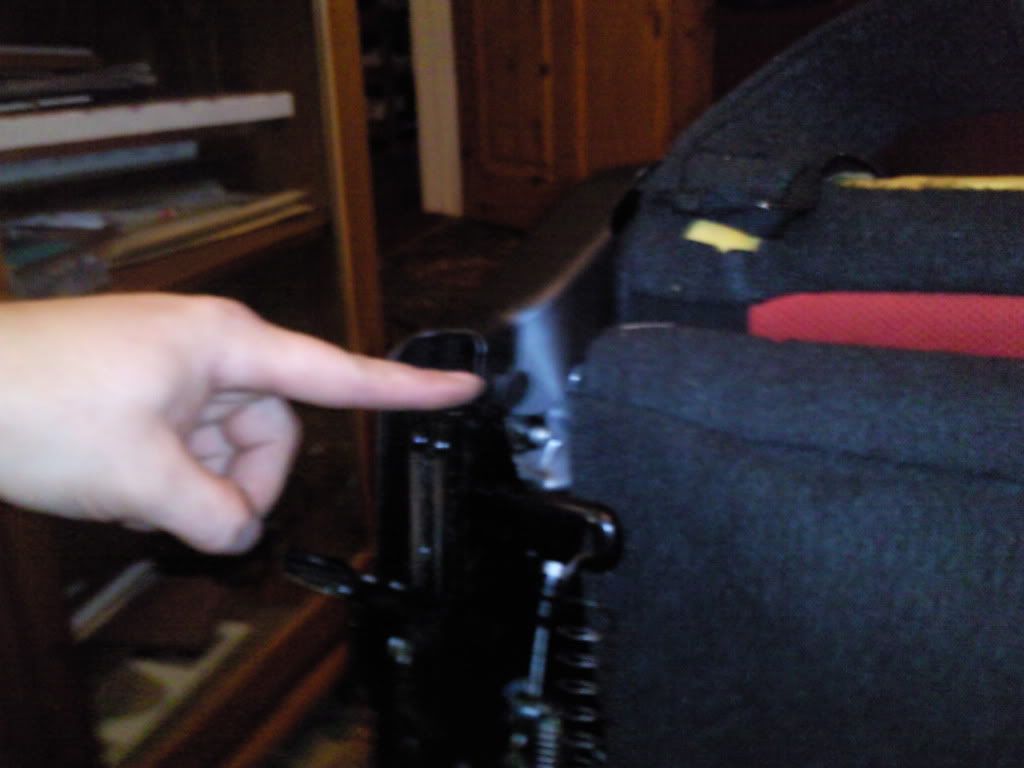
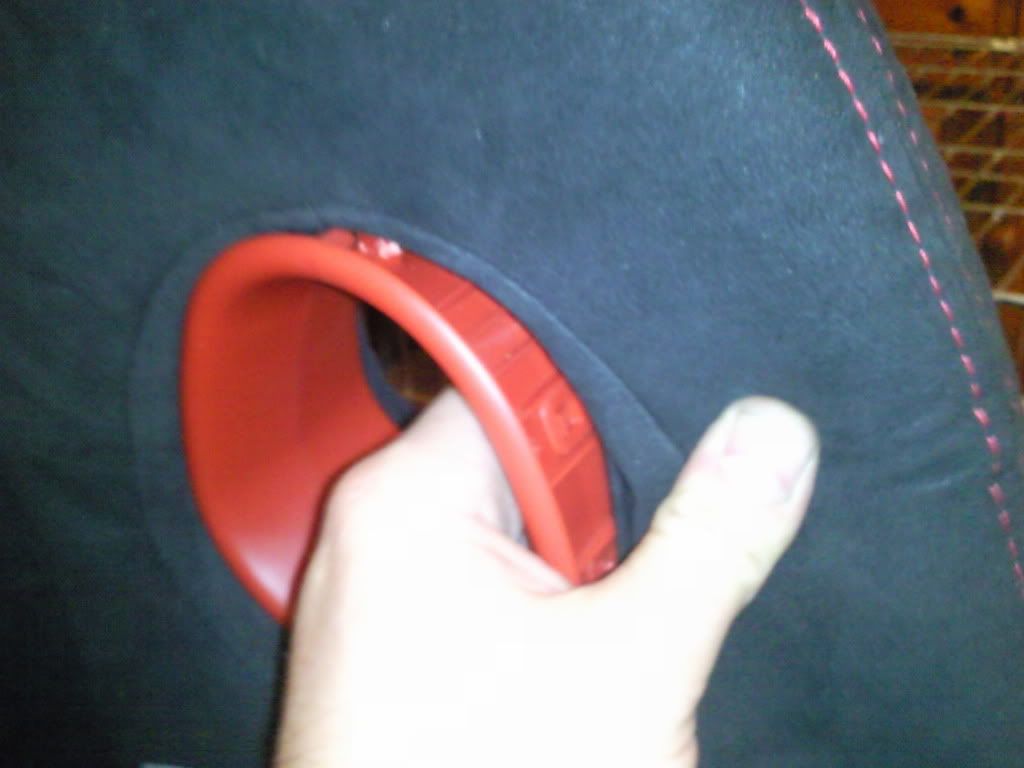
remove the lever handle, it pulls off.
remove the 2x retaining plastic plugs from both base trim parts at the rear of the seat.
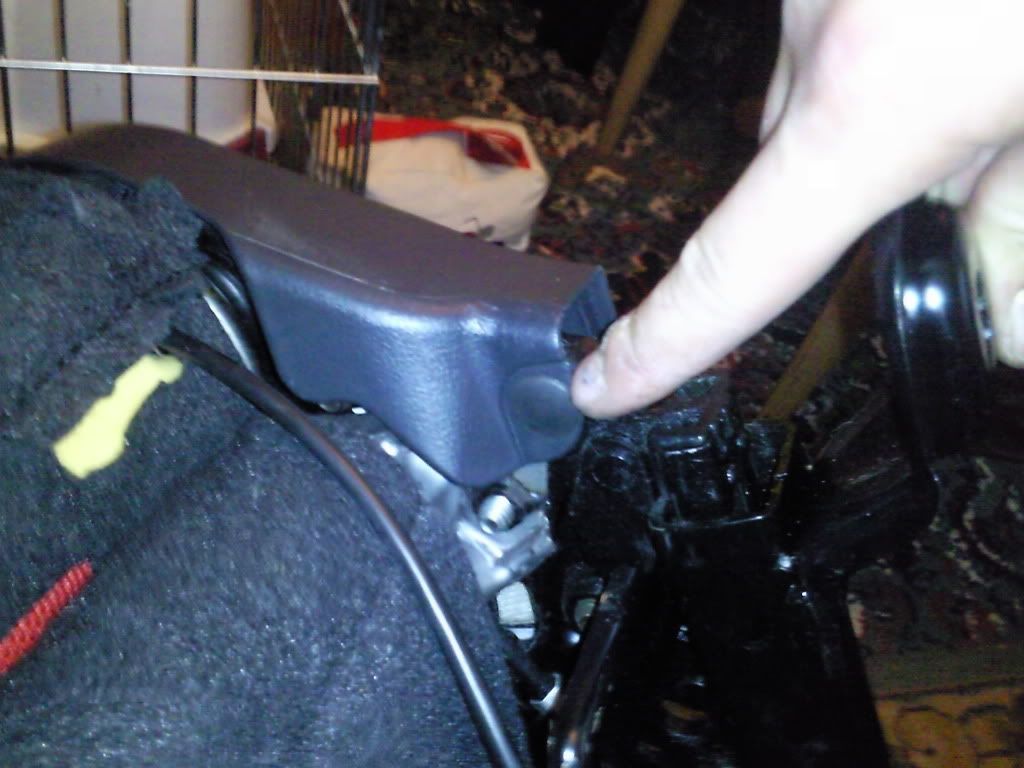
the plastic base trims are held in place with steel retaining clips (same as the dashboard clips) and are removed with a good tug.

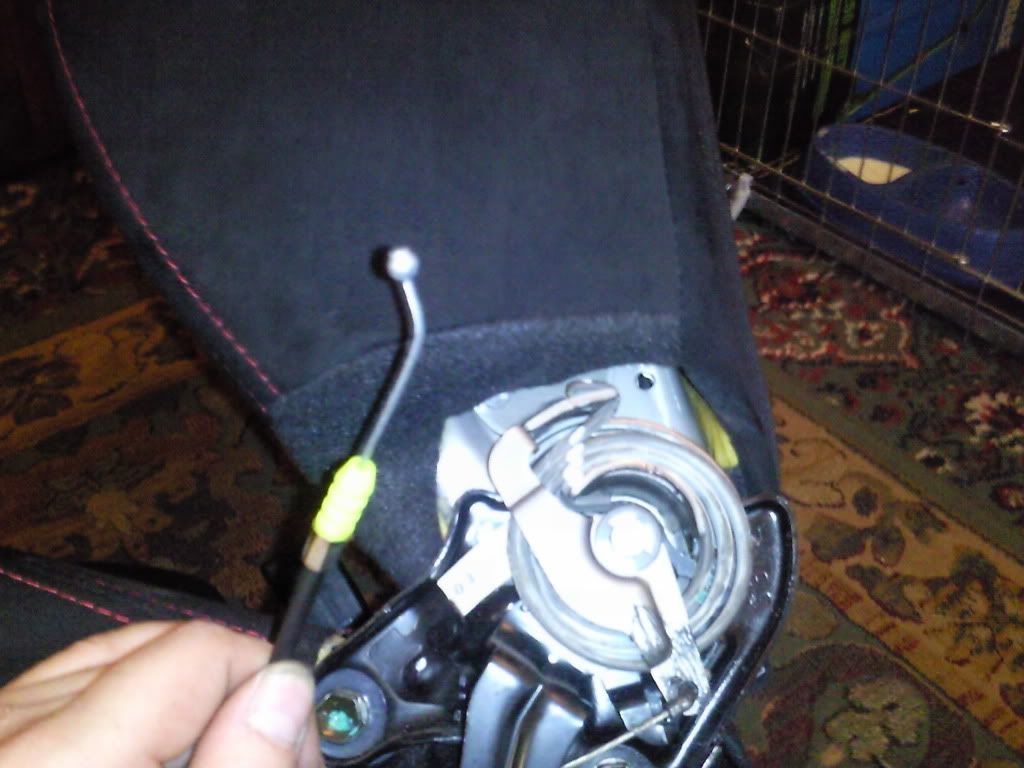
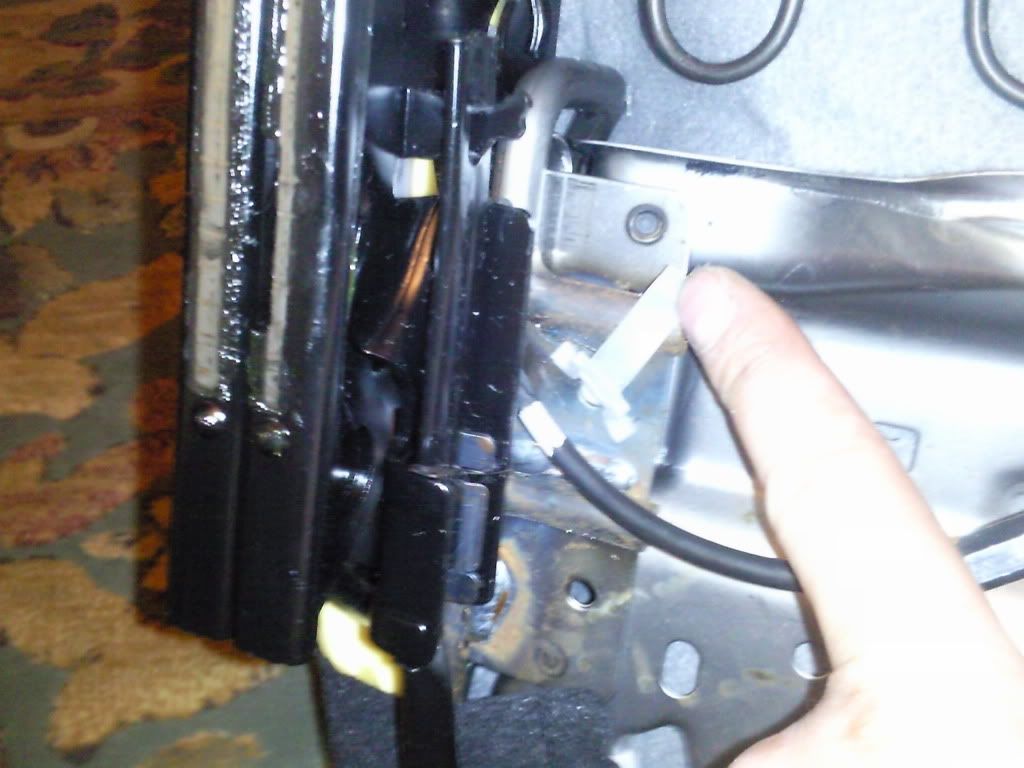
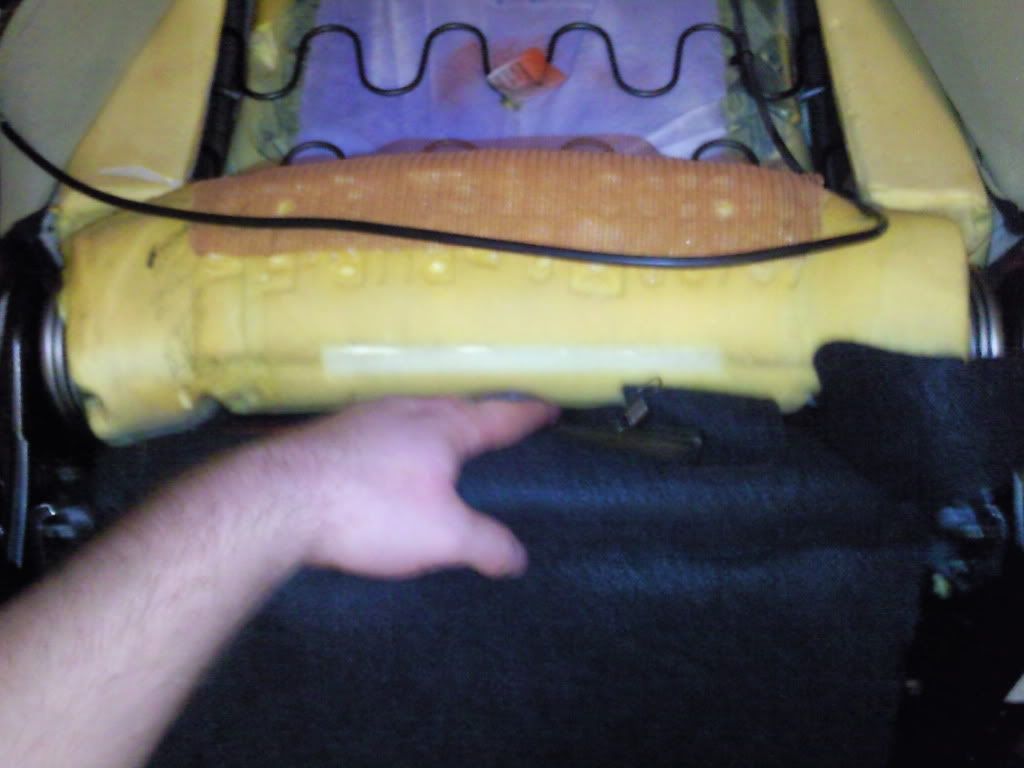
the cable with the luminous end needs to be unclipped from its holder, the barrel on the end is very fiddly. this can now be slipped from were it is fed through the upper seat cover.
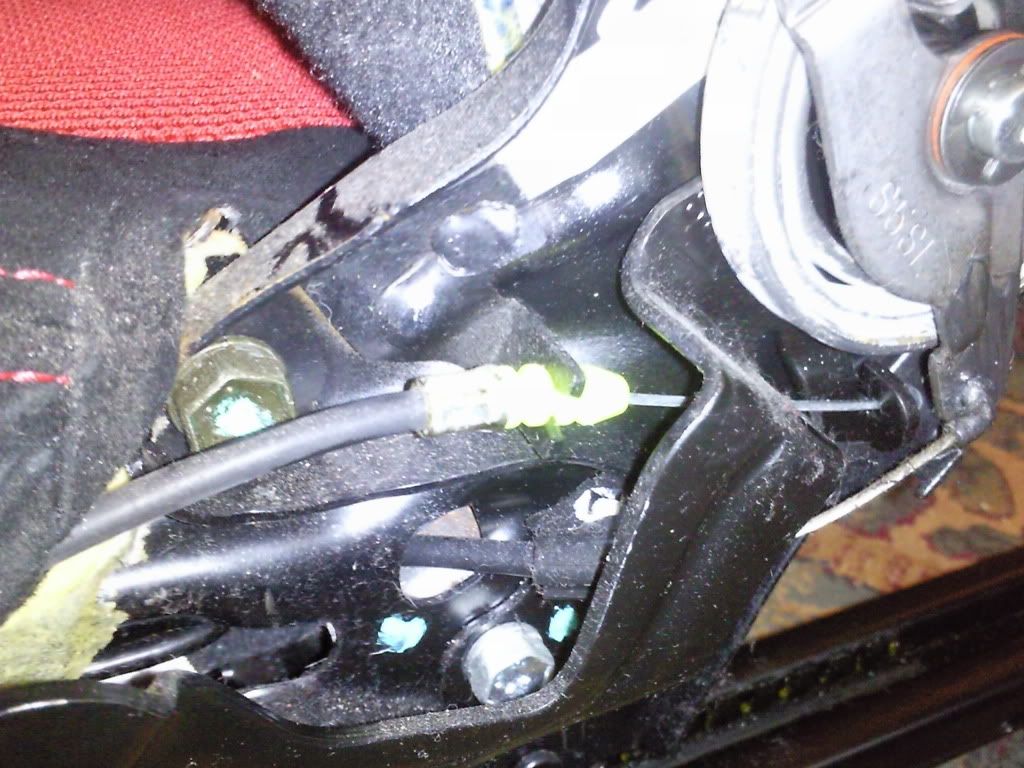
the cable tie will need removing, and the small white clip needs unclipping.
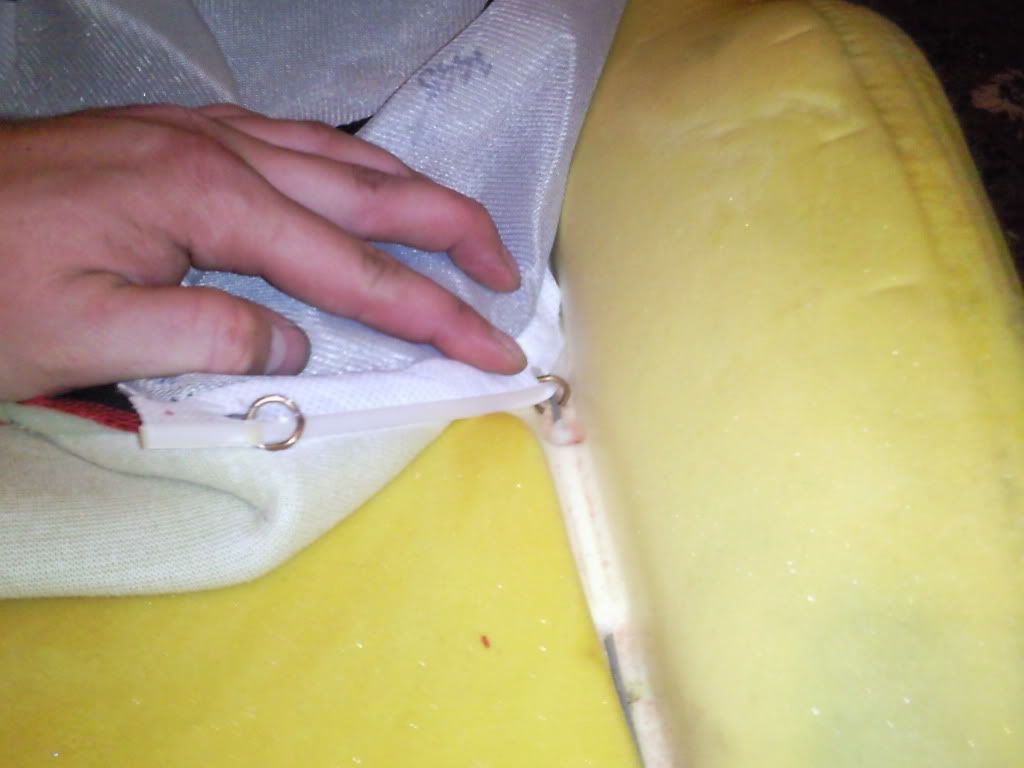
the top and bottom cover are attached to each other with u-shape plastic clips, these unhook from each other.
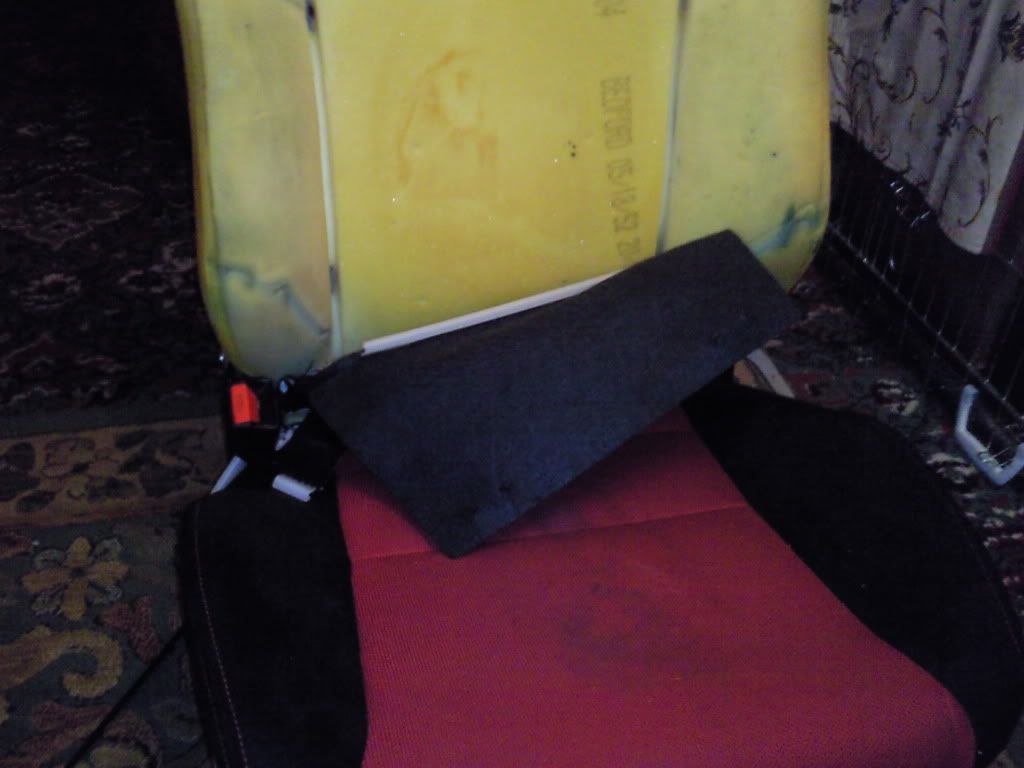
the 2x zips on the rear can be unzipped and the rear of the seat is exposed.
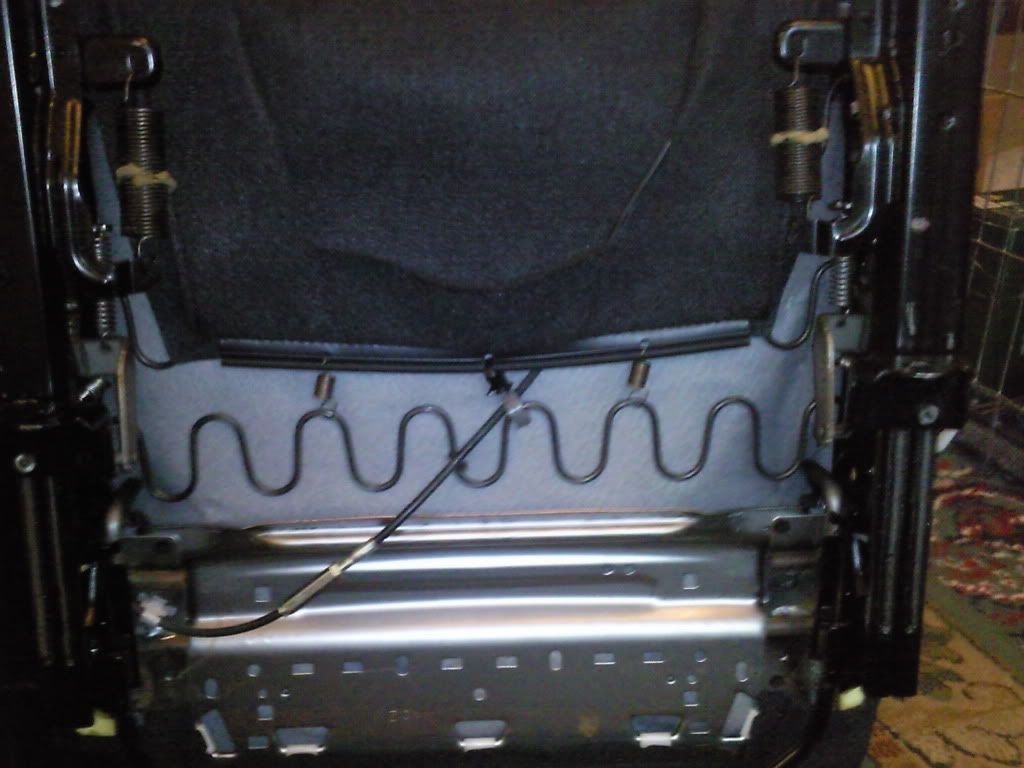
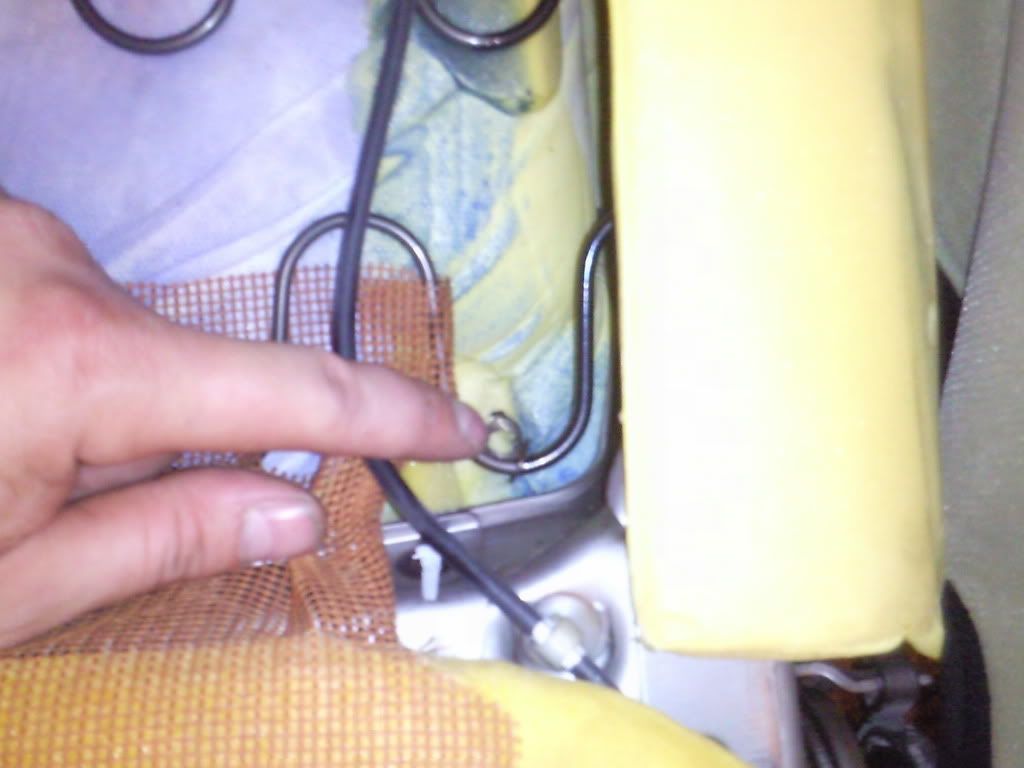
the 2x white clips need unhooking from the springs, all the loose material can now be stuffed through the base of the seat through to the front side.
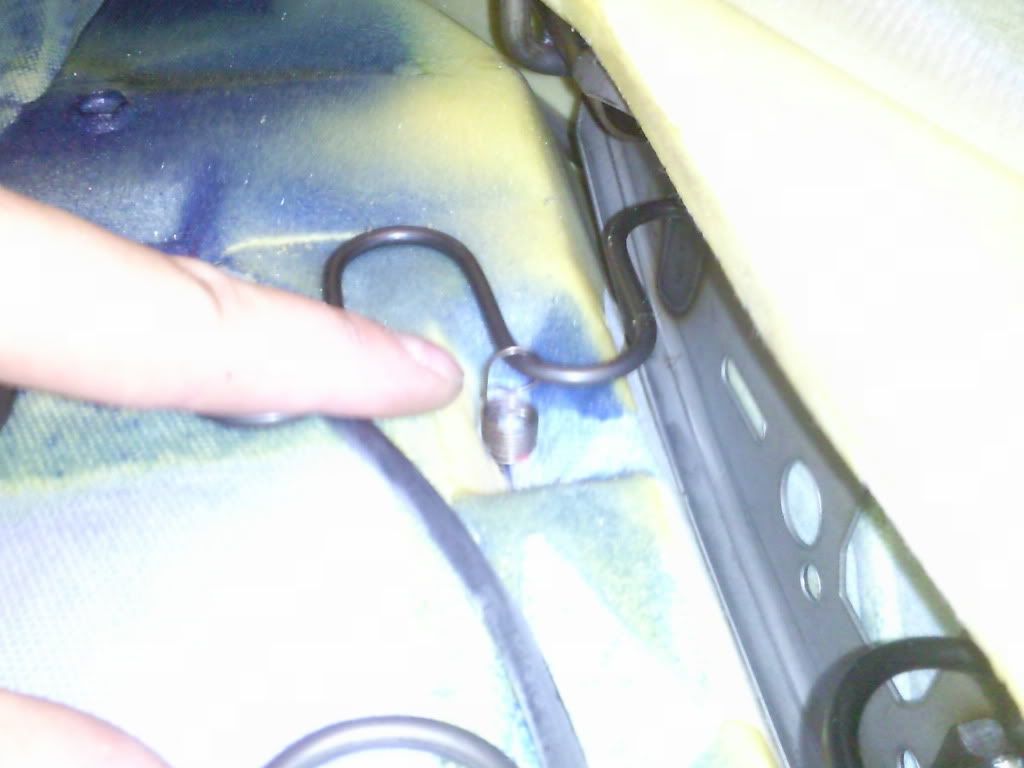
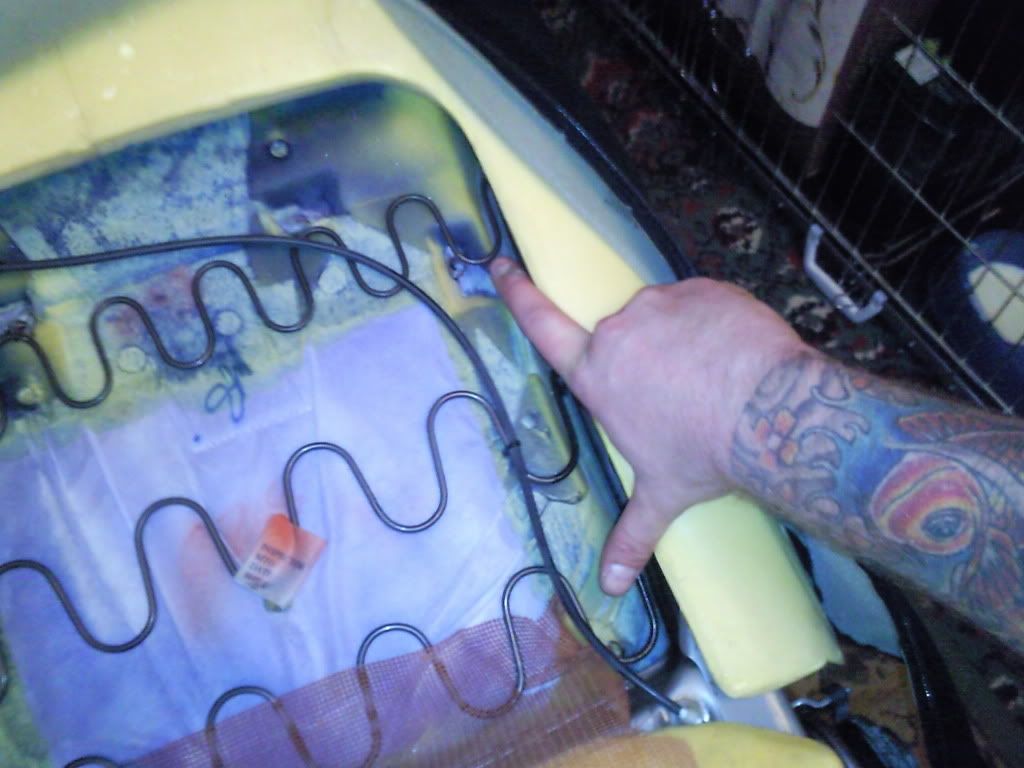
there are many springs that need removing located around the sewing seams that go through the foam and attach to the springs at the rear, be careful not to stress these to much.
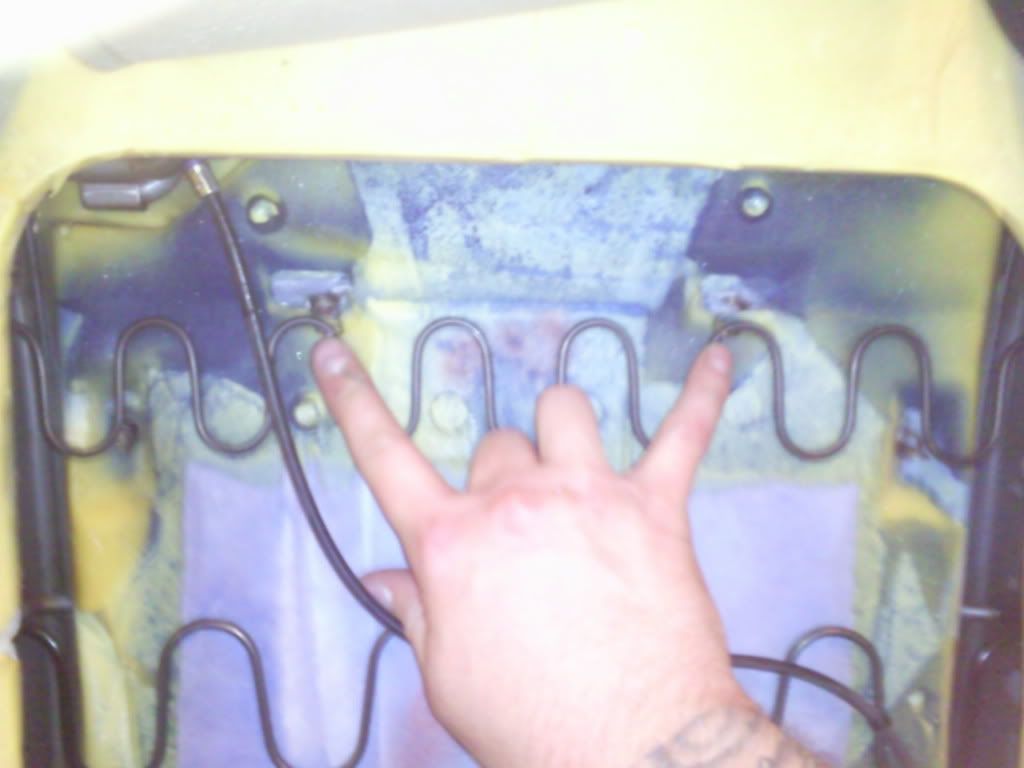
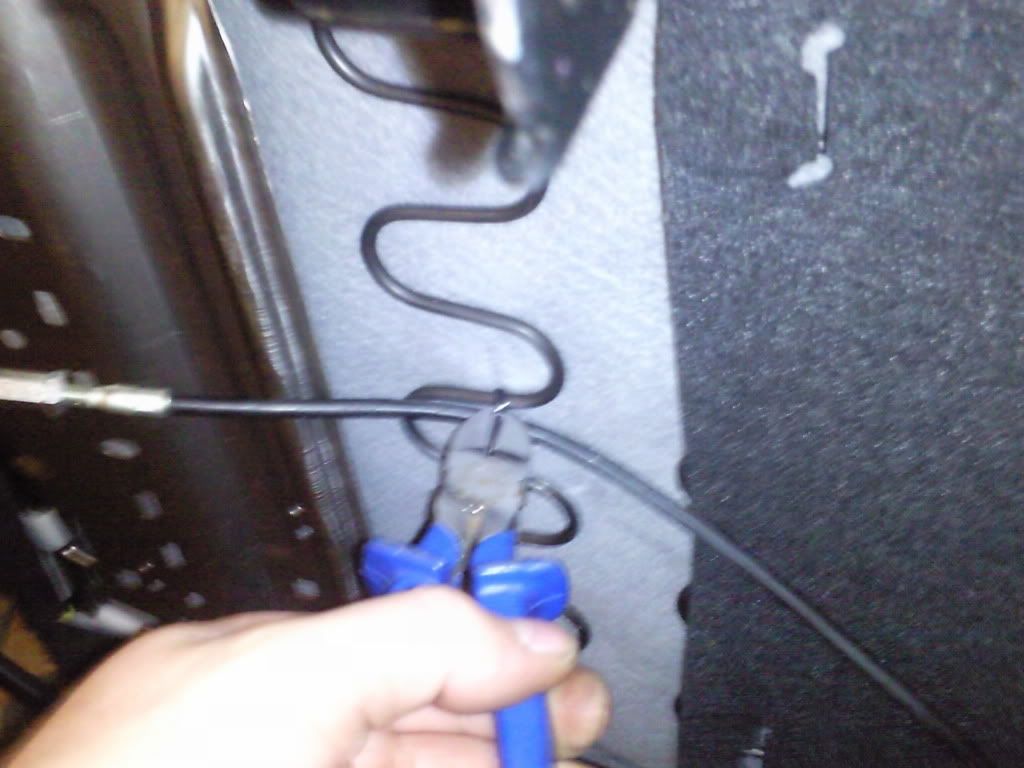
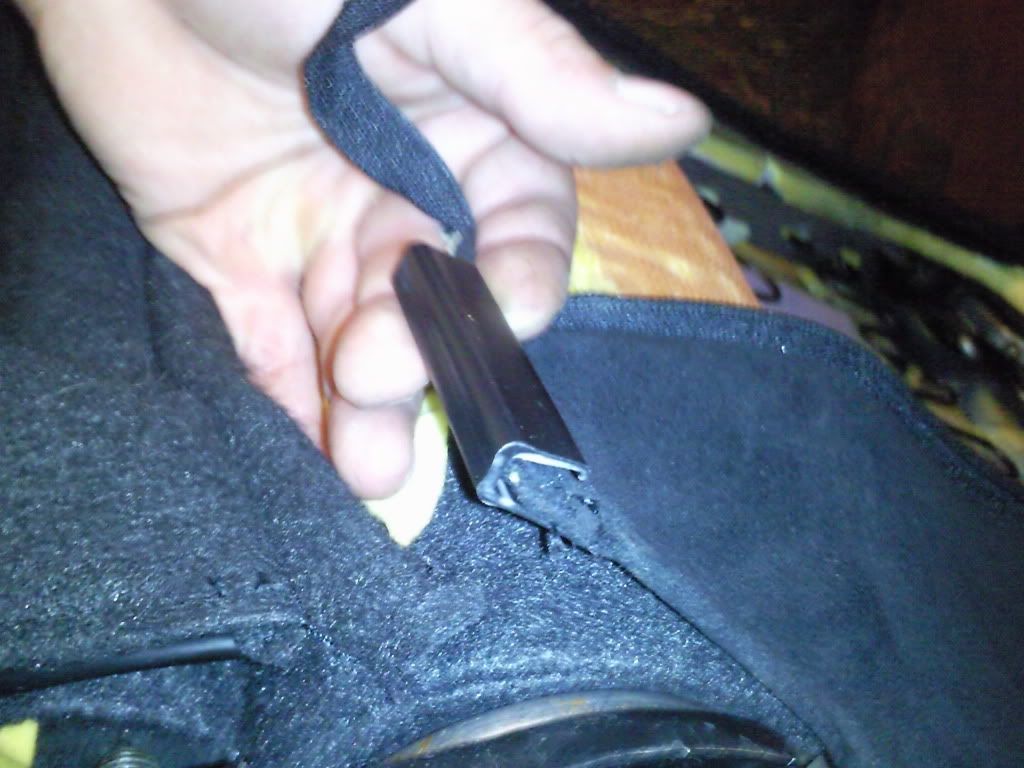
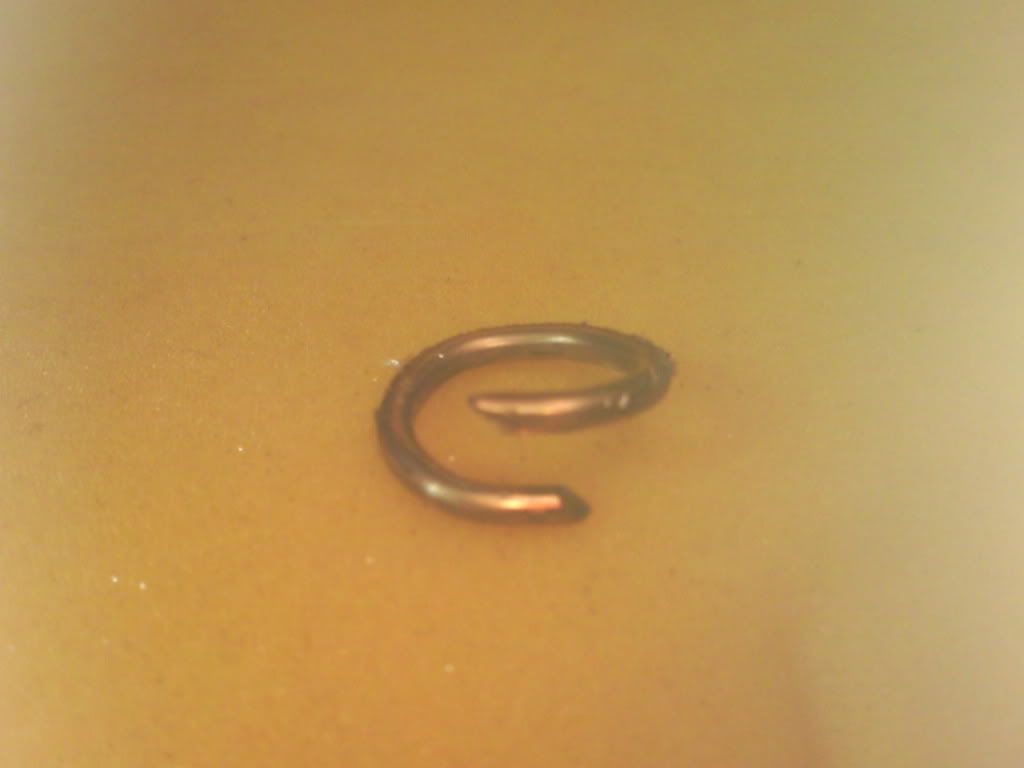
there are also copper retaining hoops attaching the cover to the foam, long nose pliers are a must for removing these.
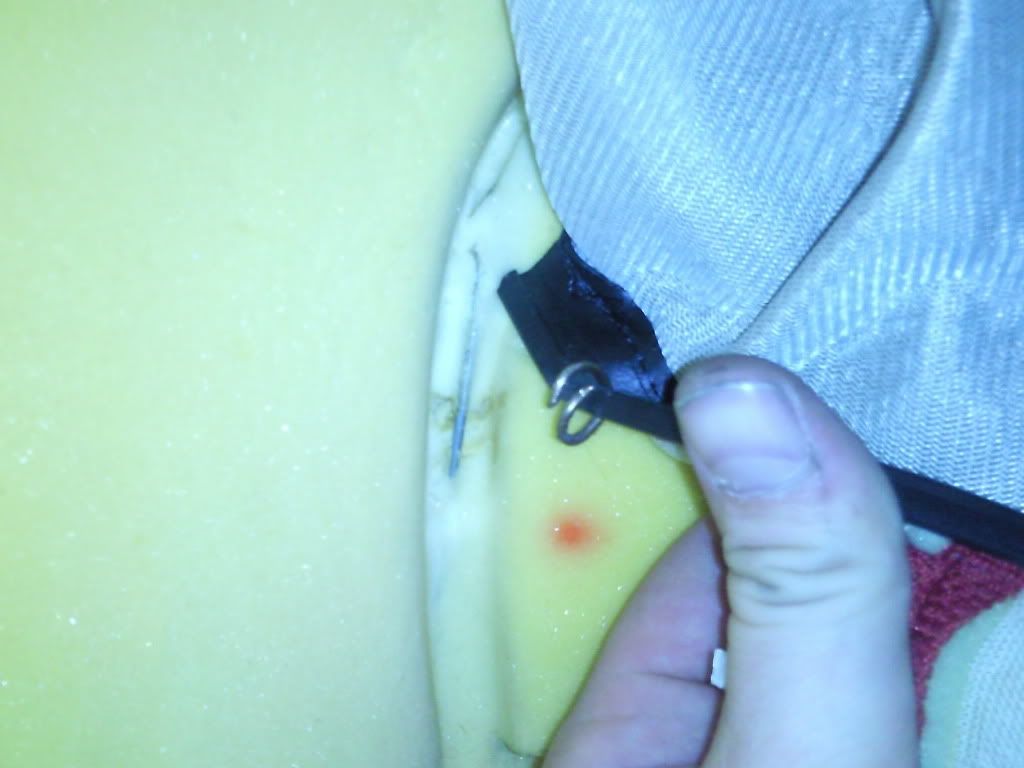
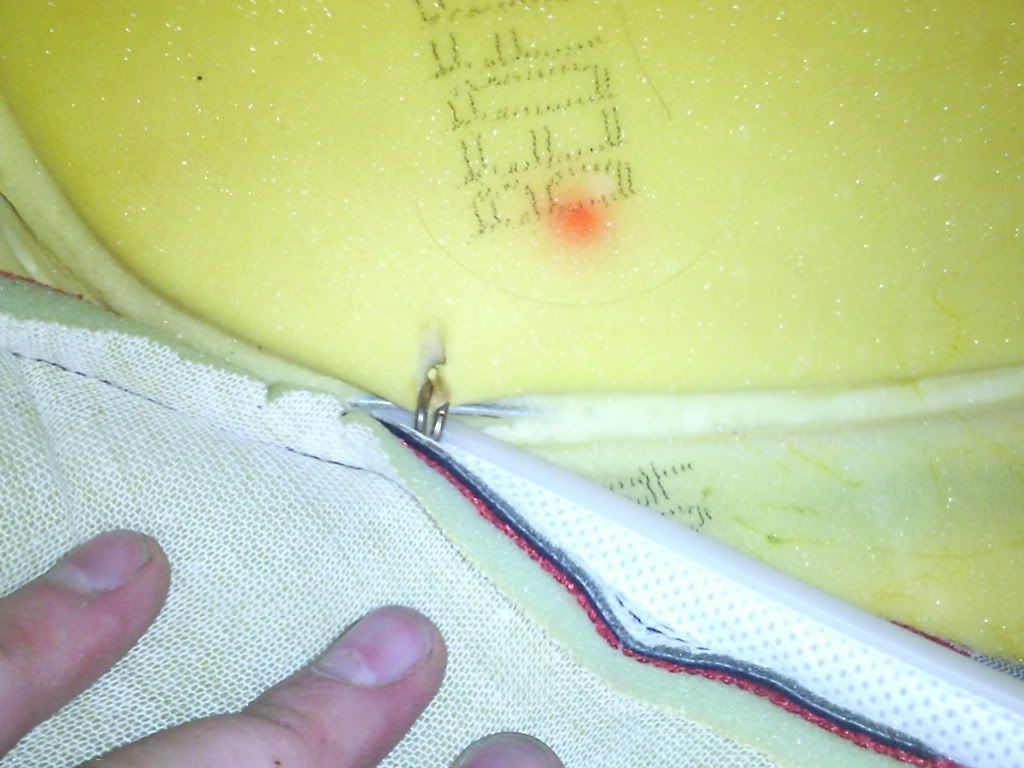
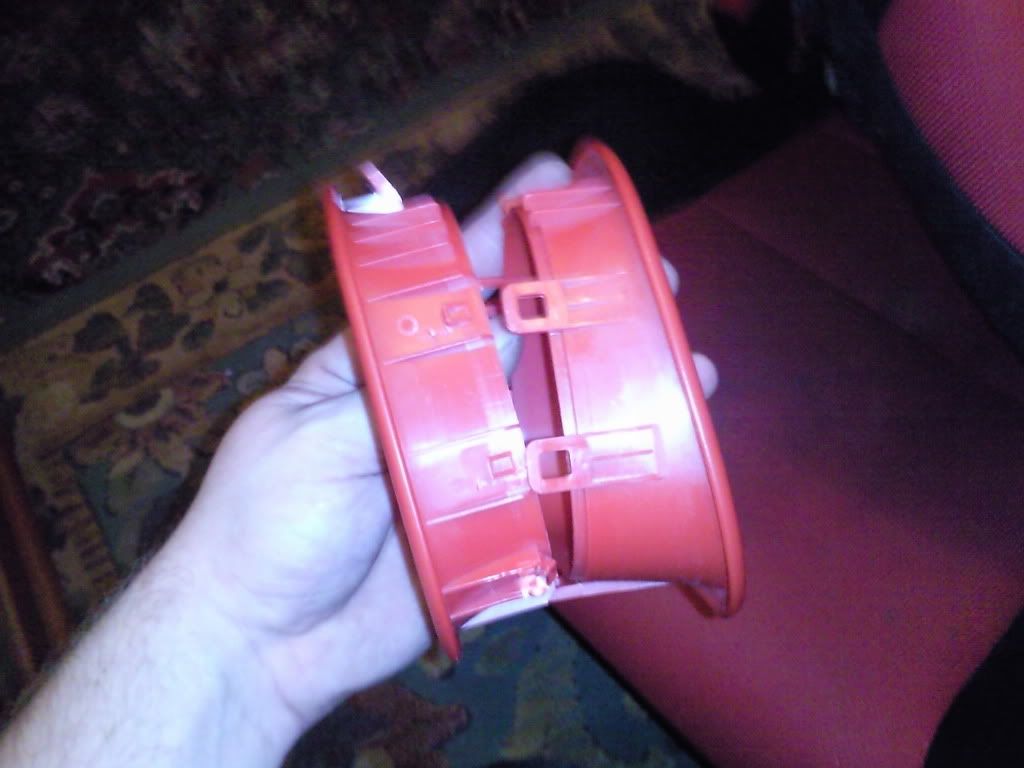
The red hoop at the top of the seat have clips that clip them together, a flat head screwdriver is needed to pry the clips apart, this can now be removed.
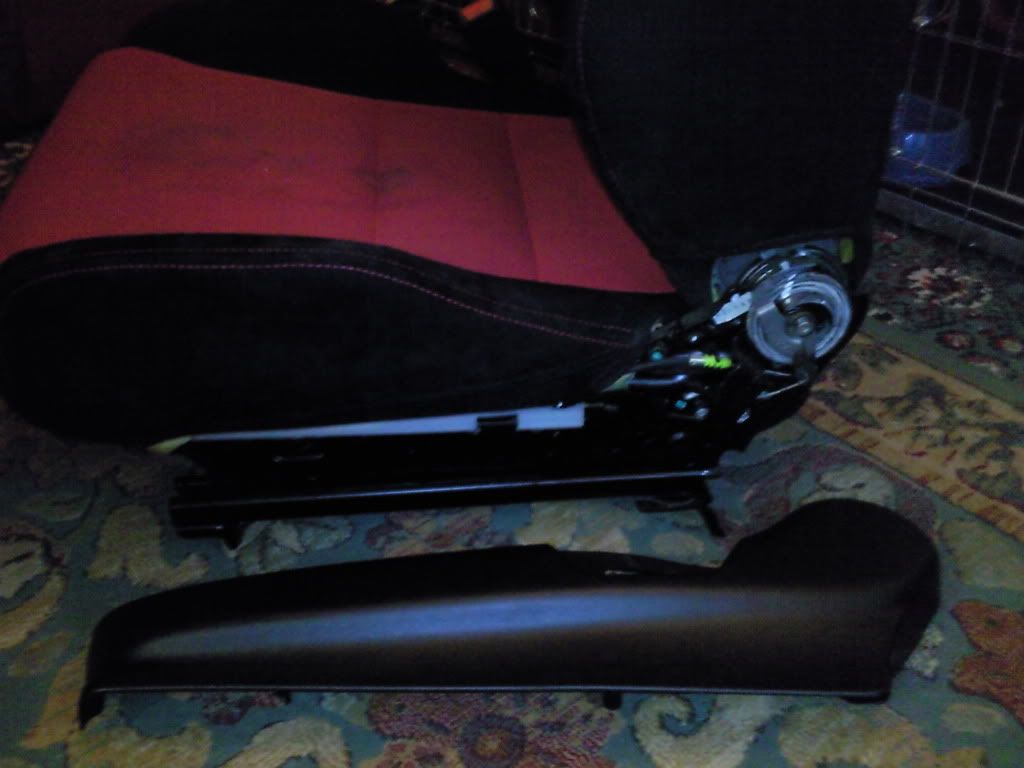
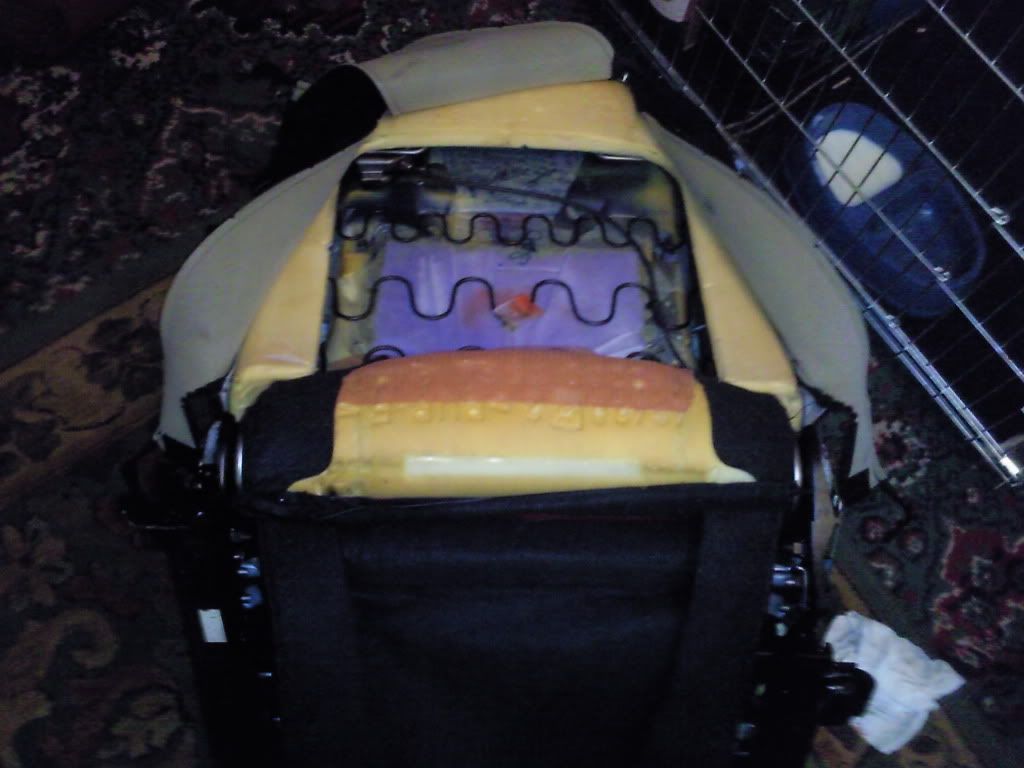
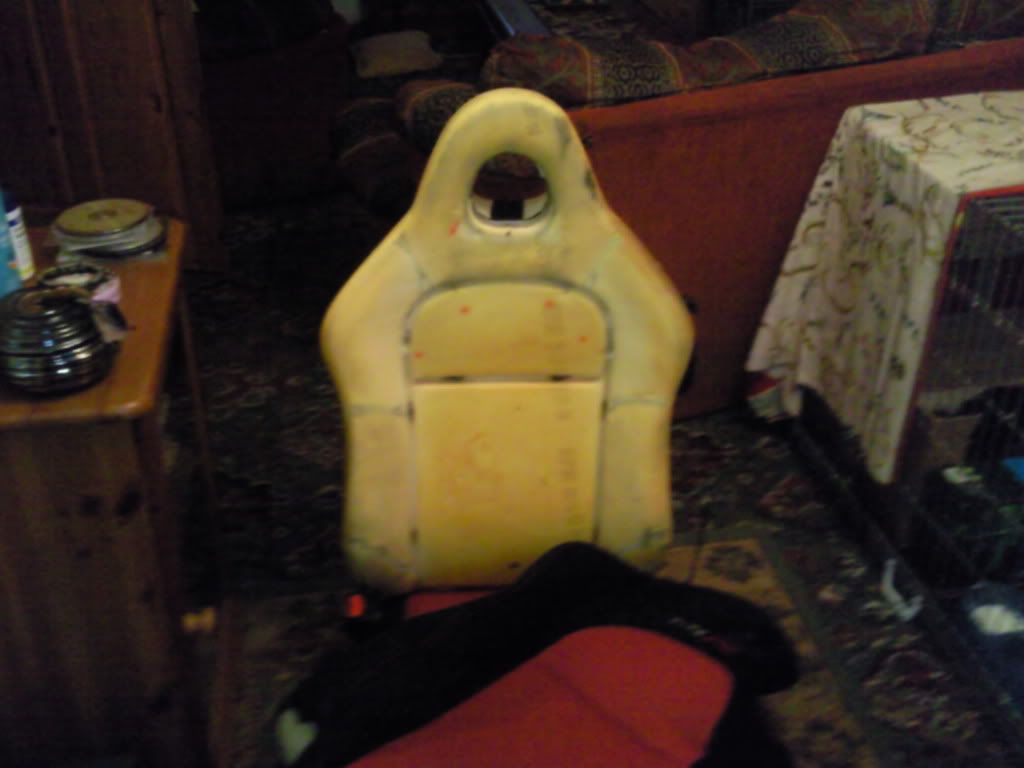
the top cover can now be removed.
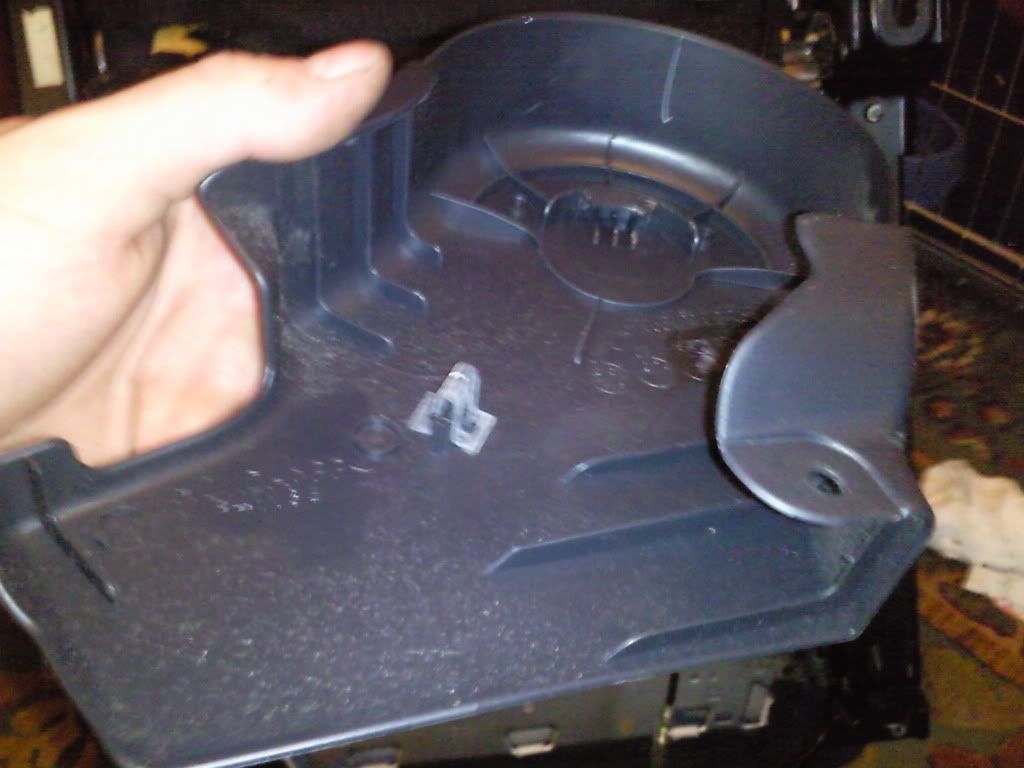
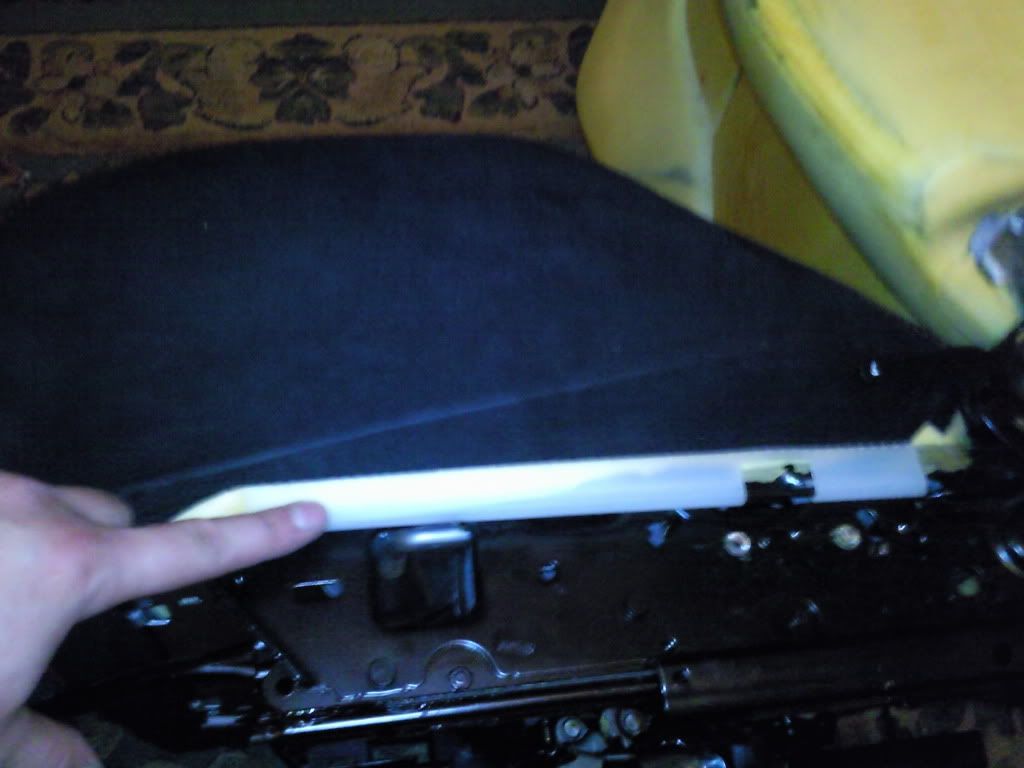
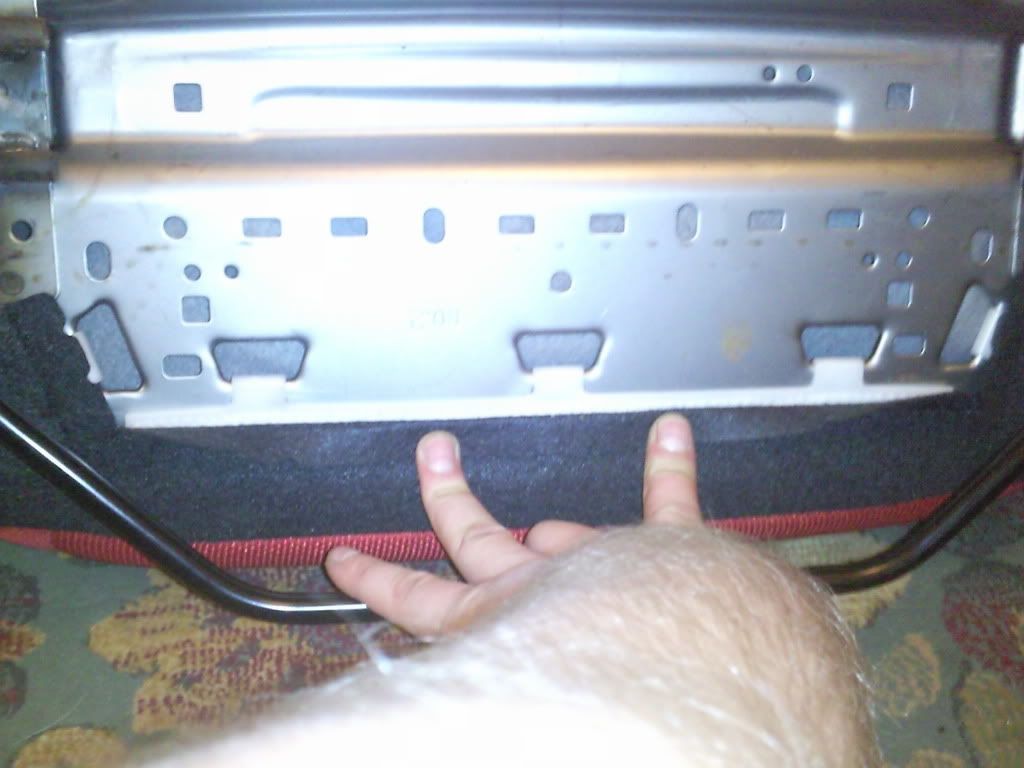
the bottom cover has 10x plastic clips around its perimeter that need removing.

same as before the loose material at the rear can be stuffed through the gap to the front side.
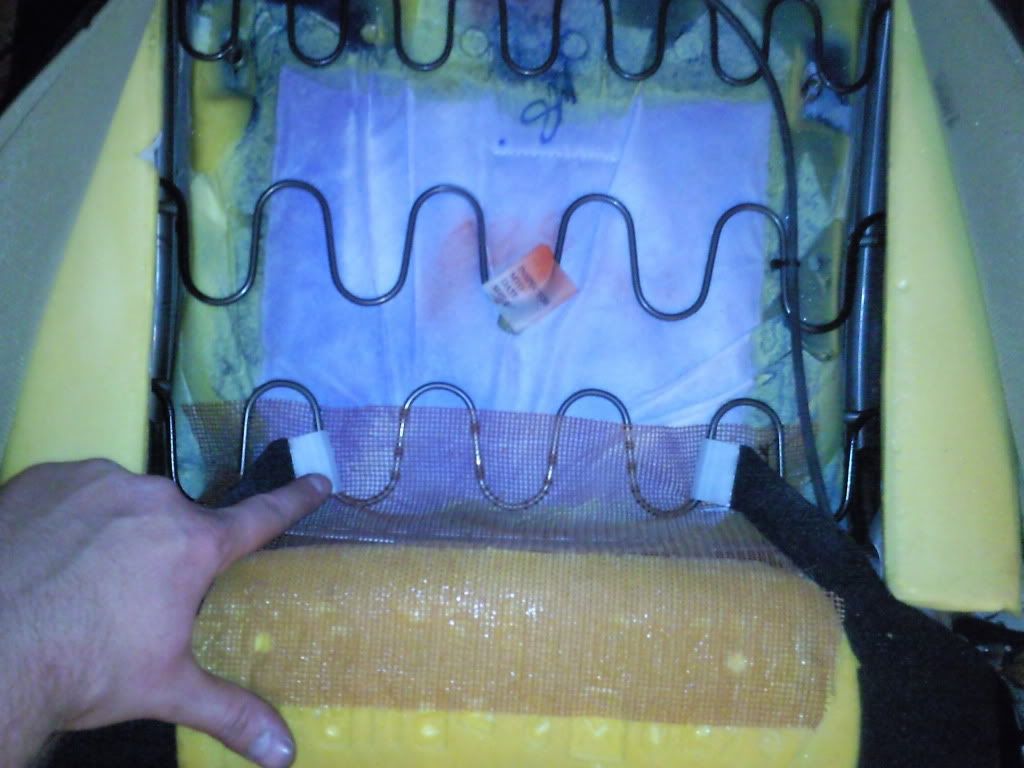
There are a dozen or so copper hoops that need removing from the bottom cover.
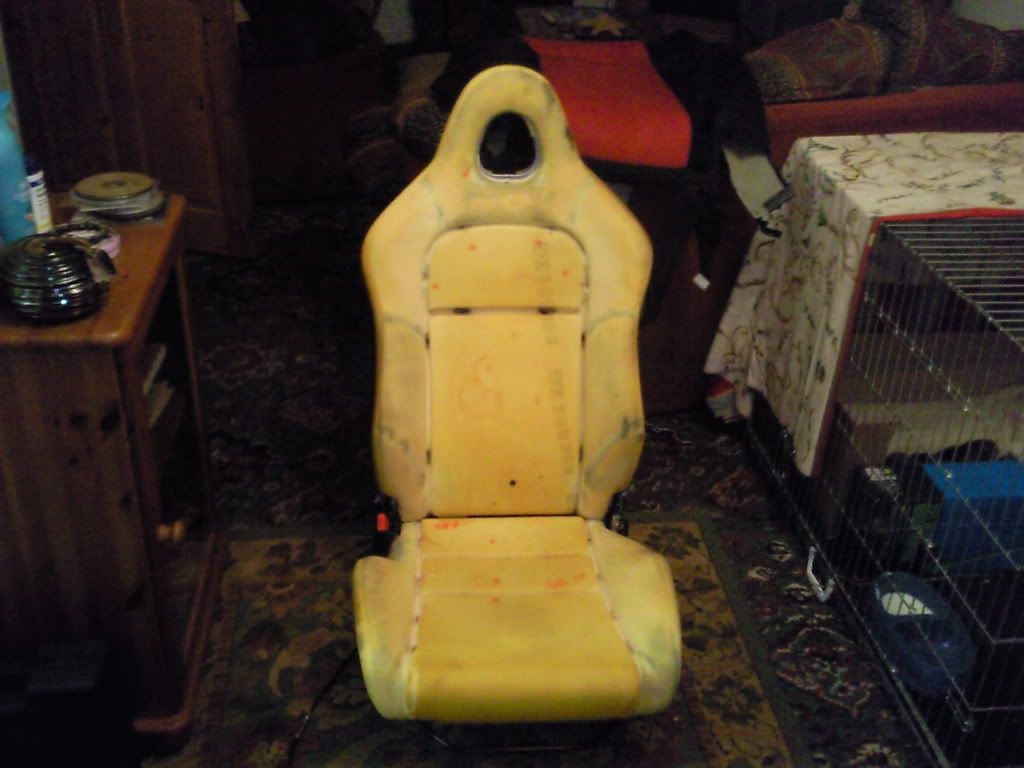
The bottom cover can now be removed and washed")
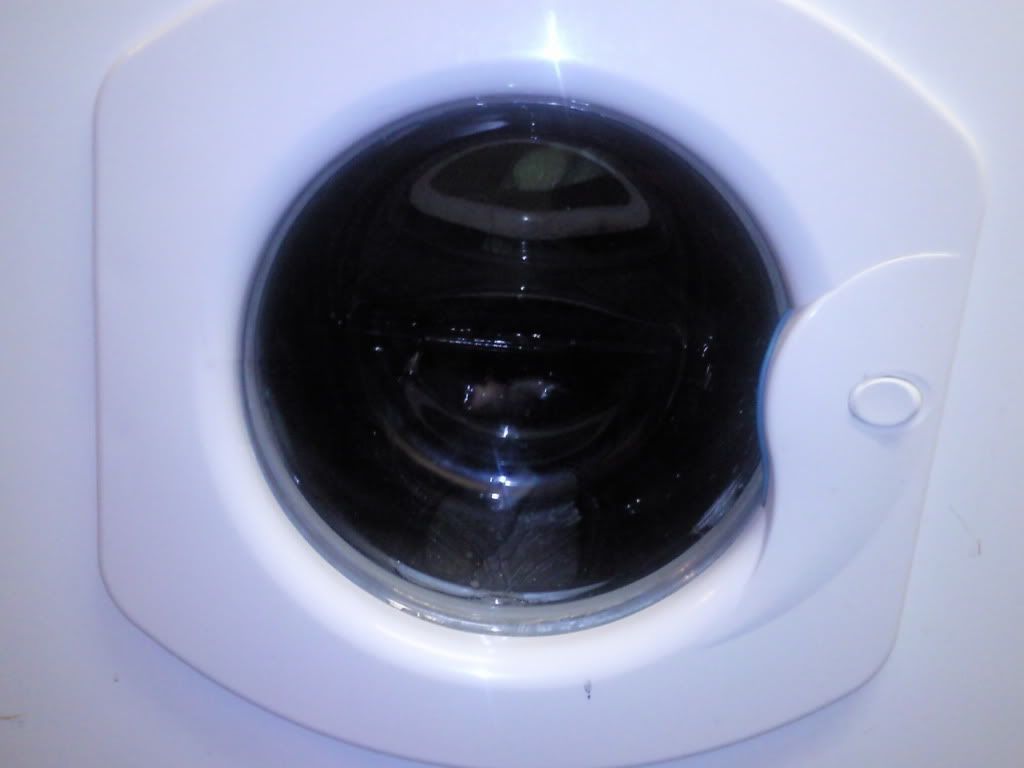
reinstall in reverse order to removal, i will update with clean covers as they are being spun at 1500rpm ATM :lol: sorry for some of the blurry pictures.
this is very picture heavy thread as there are so many steps to remove the covers :evil:.
so here goes.
locate and remove 4x bolts that attach the seat rails to the floor.
remove seat from car, get yourself comfortable.
remove the lever handle, it pulls off.
remove the 2x retaining plastic plugs from both base trim parts at the rear of the seat.
the plastic base trims are held in place with steel retaining clips (same as the dashboard clips) and are removed with a good tug.
the cable with the luminous end needs to be unclipped from its holder, the barrel on the end is very fiddly. this can now be slipped from were it is fed through the upper seat cover.
the cable tie will need removing, and the small white clip needs unclipping.
the top and bottom cover are attached to each other with u-shape plastic clips, these unhook from each other.
the 2x zips on the rear can be unzipped and the rear of the seat is exposed.
the 2x white clips need unhooking from the springs, all the loose material can now be stuffed through the base of the seat through to the front side.
there are many springs that need removing located around the sewing seams that go through the foam and attach to the springs at the rear, be careful not to stress these to much.
there are also copper retaining hoops attaching the cover to the foam, long nose pliers are a must for removing these.
The red hoop at the top of the seat have clips that clip them together, a flat head screwdriver is needed to pry the clips apart, this can now be removed.
the top cover can now be removed.
the bottom cover has 10x plastic clips around its perimeter that need removing.
same as before the loose material at the rear can be stuffed through the gap to the front side.
There are a dozen or so copper hoops that need removing from the bottom cover.
The bottom cover can now be removed and washed
reinstall in reverse order to removal, i will update with clean covers as they are being spun at 1500rpm ATM :lol: sorry for some of the blurry pictures.