
You are using an out of date browser. It may not display this or other websites correctly.
You should upgrade or use an alternative browser.
You should upgrade or use an alternative browser.
- Messages
- 75
Nice work there Tony! 
I am loving the pictures too.
I was going to suggest trying a clay bar on them too, but had already been mentioned!
Ross
P.S nice shopping list there Edy! :twisted::twisted:
I am loving the pictures too.
I was going to suggest trying a clay bar on them too, but had already been mentioned!
Ross
P.S nice shopping list there Edy! :twisted::twisted:
- Messages
- 25,724
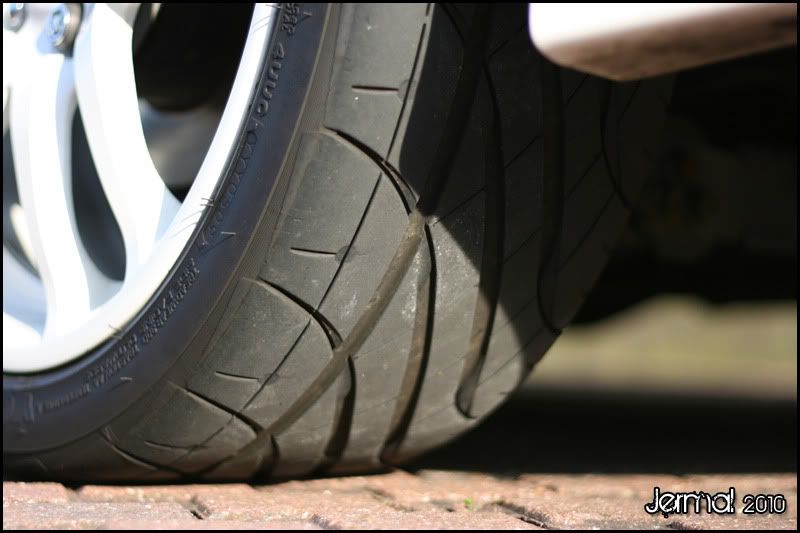
I would have thought your wheels would have come up a bit better TBH, but I forget the age of these DC5's sometimes as they still look awesome.
yeah. If it wasn't for the grooves they would have come up a treat. Still when the wheel is on the car, the focus is on the face, so the fact that the insides aren't perfect isn't essential. Saying that it's suprising how a clean inside of the wheel adds a lot of depth in perspective anyway to the wheels.
- Messages
- 629
Bilberry wheel cleaner is awesome. You only really need to leave it to dwell if your wheels are super dirty. Other than that, you can just apply it with a soft brush and the dirt will come straight off. I also clean the brake callipers and tyres with it.
What happen if you accidently spill the bilberry cleaner on to the brake disc? is this going to ok?
- Messages
- 3,423
It is absolutely fine. Just wash off with lots of water.
I use Bilberry when normal washing leaves stubborn marks. I work on a 1:10 dilution from a garden spray bottle.
I use Bilberry when normal washing leaves stubborn marks. I work on a 1:10 dilution from a garden spray bottle.
- Messages
- 6
I finally read and seen all the pictures ....
congratulations for the work to the car
congratulations for the work to the car
- Messages
- 25,724
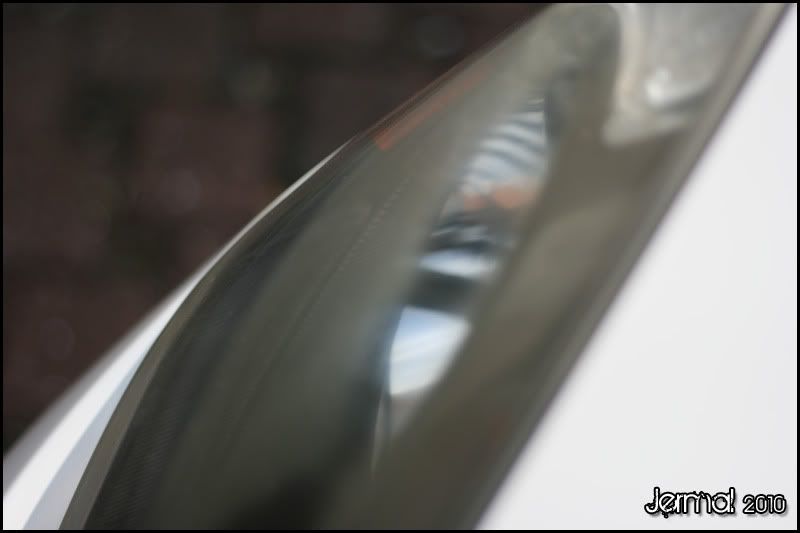
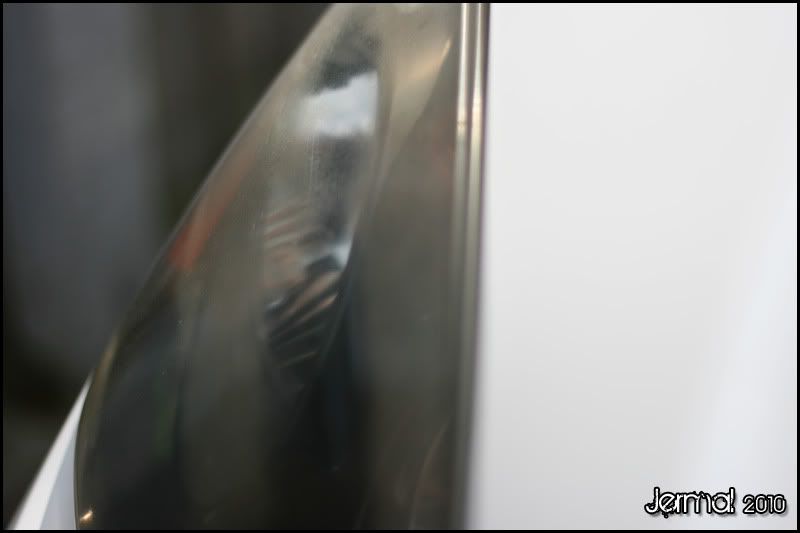
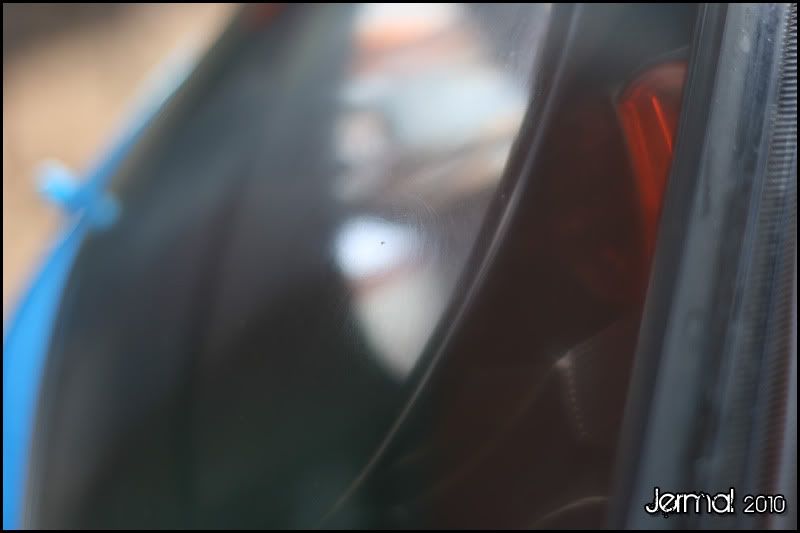
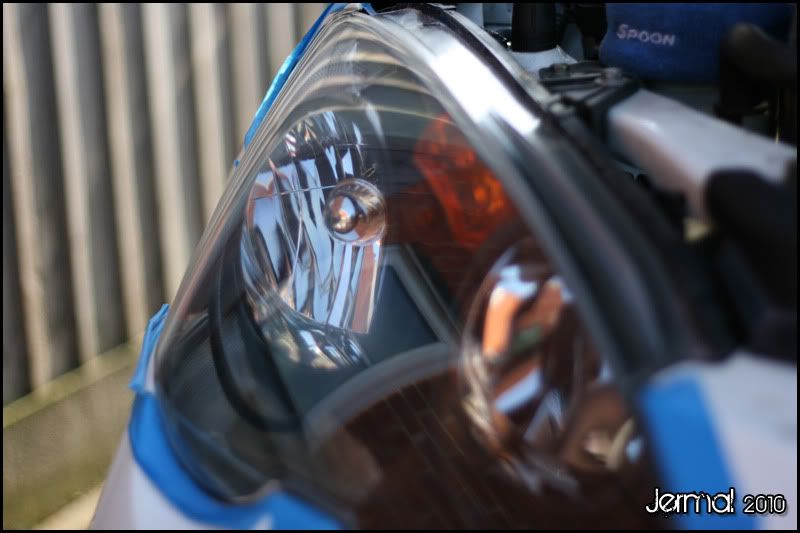
Yesterday I decided to give my headlights a bit of TLC. Baring in mind I've got a 9 year old car, the headlights were starting to look a little worn. The Offside headlight was particularly bad and was starting to get quite cloudy and it had a greenish tinge to it, as illustrated in the following pictures:

First job was to apply a bit of eye shadow to protect the paint work from the next step
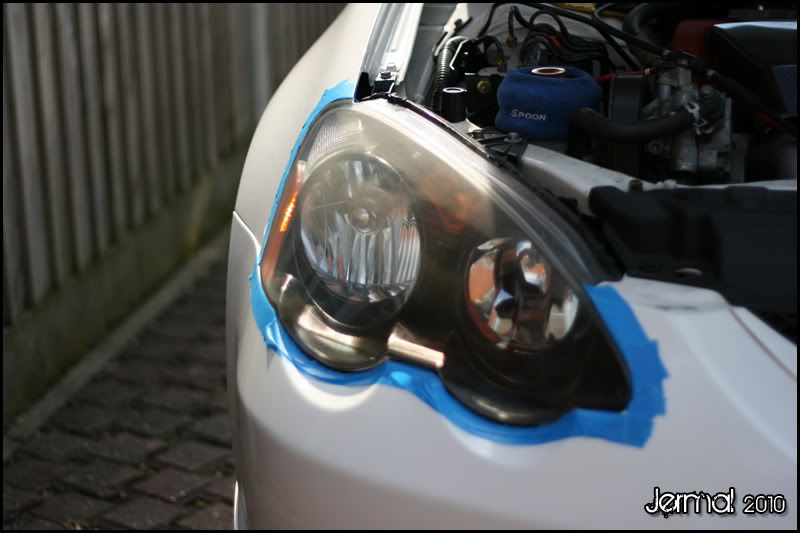
Then I went over the headlight with some soaked 1500 wet and dry paper. I decided to go with a very fine grit as this was my first time doing this, so I didn't want to hash it up too much. After a couple of passes with the wet and dry, the headlight had seen better days.
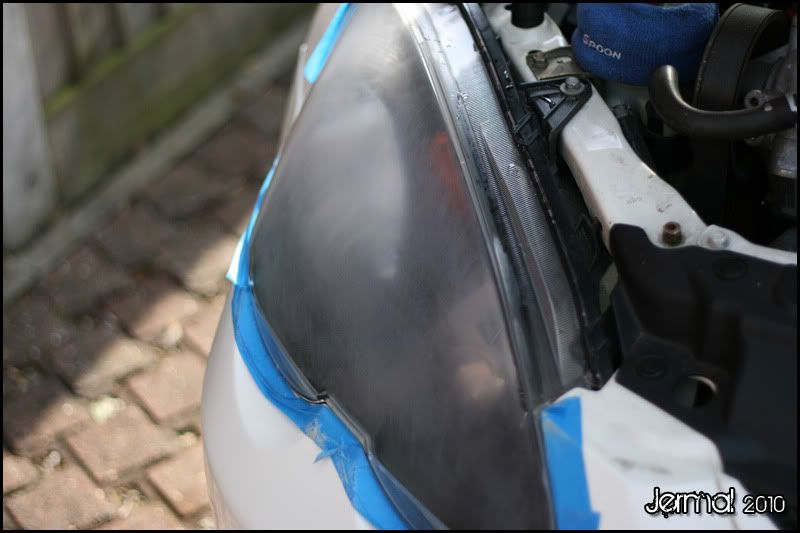
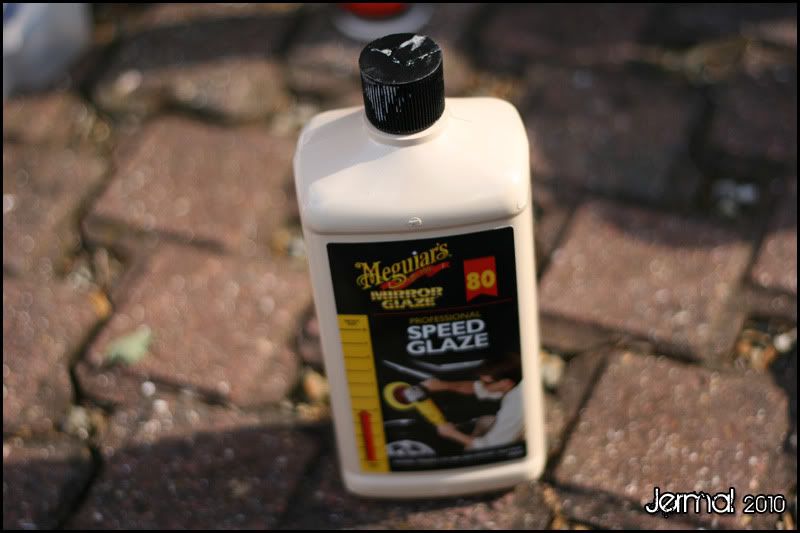
I then used the G220 and did a couple of passes with a Megs polishing pad and the No.80 speed glaze:
This didn't do anything to the surface, so I didn't bother taking any after photo's.
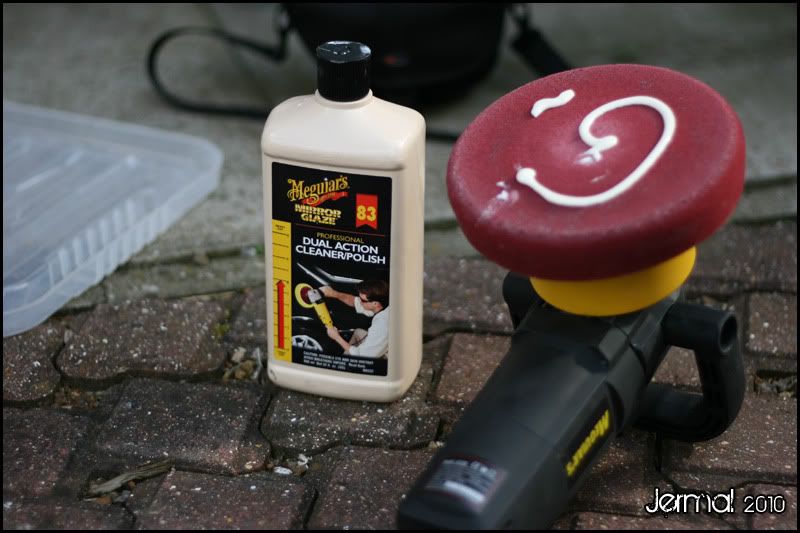
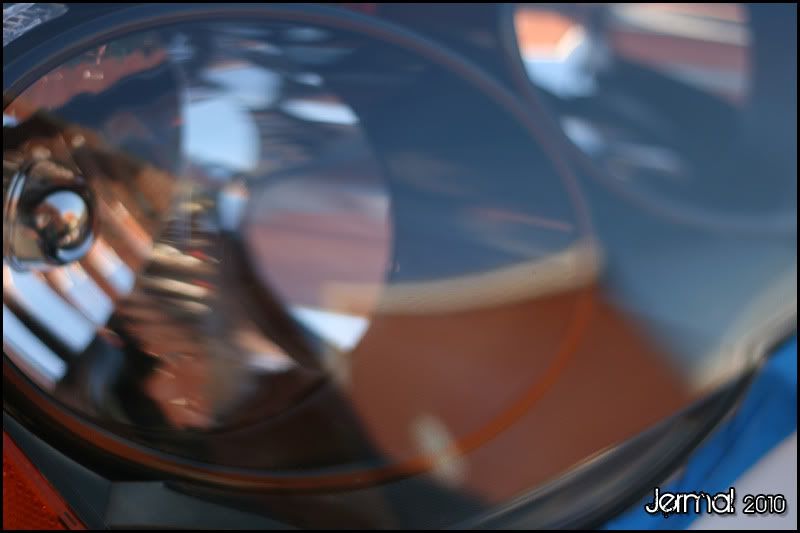
I then did a couple of passes using a cutting pad and Megs No.83 This is my most aggressive set up (or so I thought).
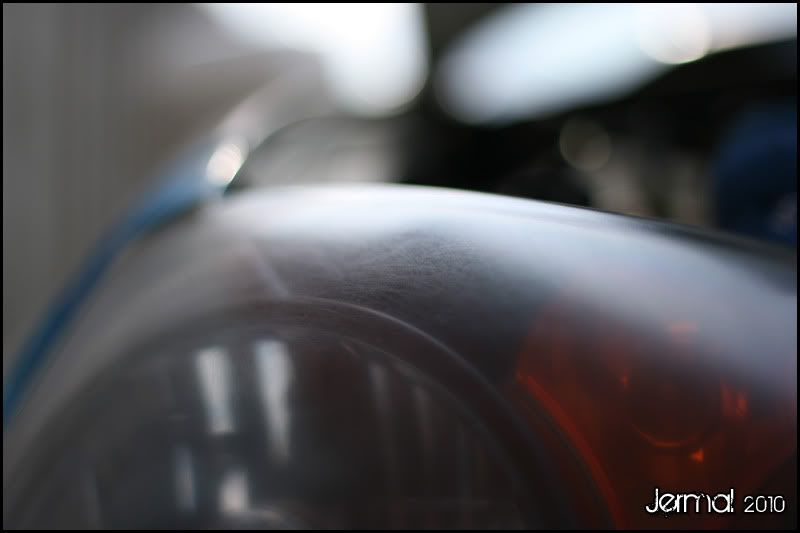
This was the results after 2-3 passes
I could envisage this taking a hell of a long time, so out of desperation and remembering TypeGRRR's thread on DIY paint correction I gave the Autoglym SRP a go on the cutting pad.
After a couple of passes, I was quite surprised with the results. The SRP is a lot more aggresive cut than I had imagined.
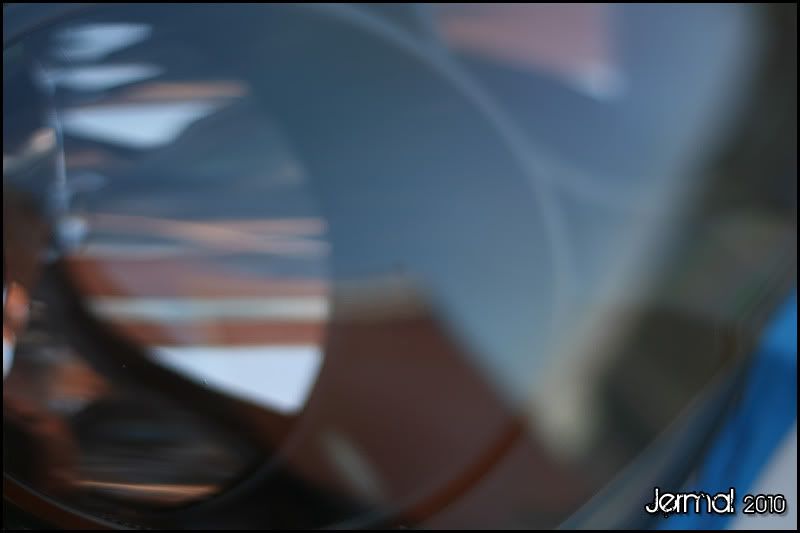
Overall, I was very pleased with the results.

Having looked at he lights again in direct sunlight, there is still some light swirling on the surface. This will buff out quite nicely with some Megs No.80 on a polishing pad I should imagine though, so I will do this when I have some spare time.
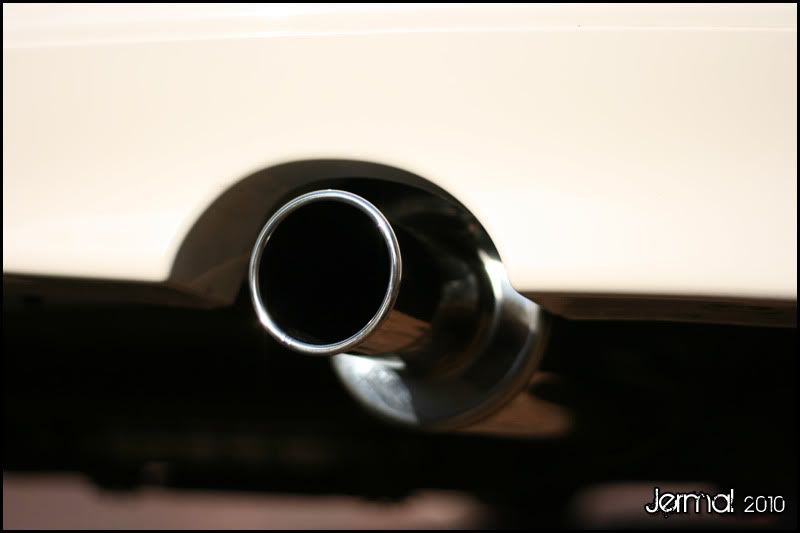
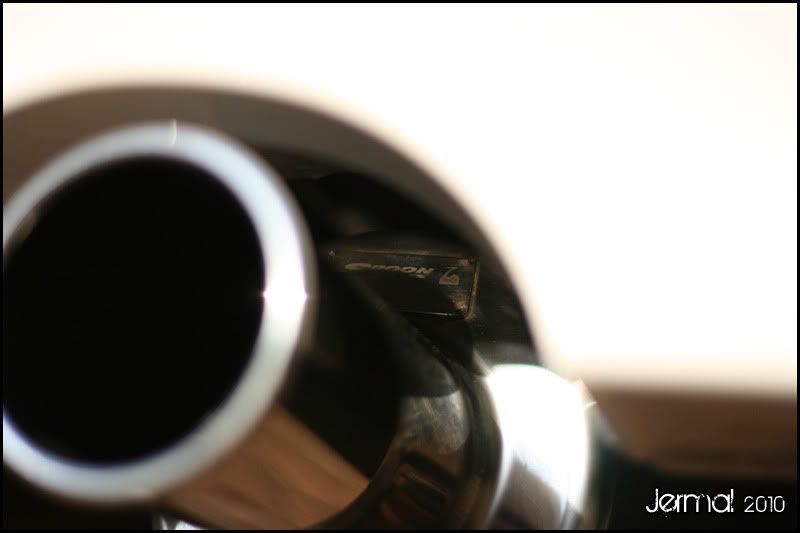
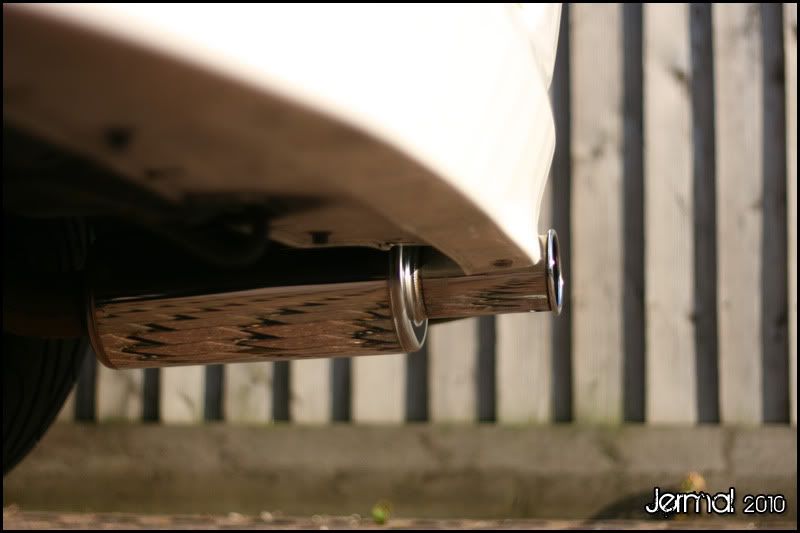
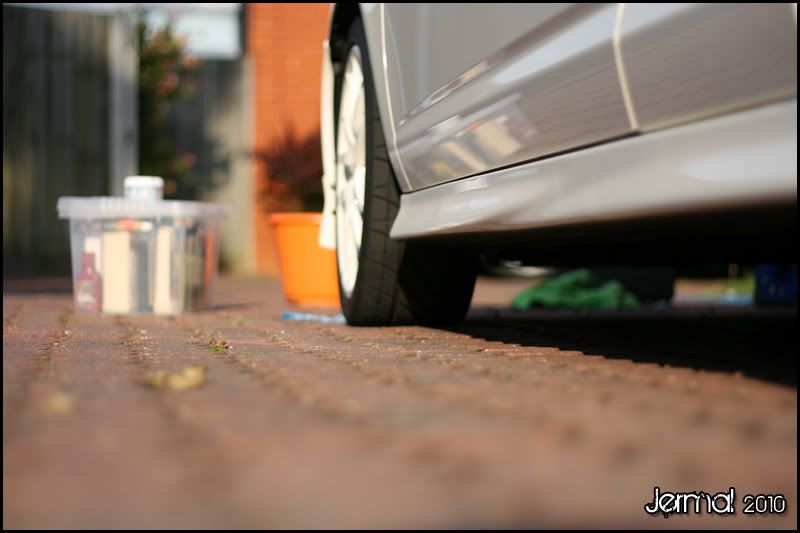
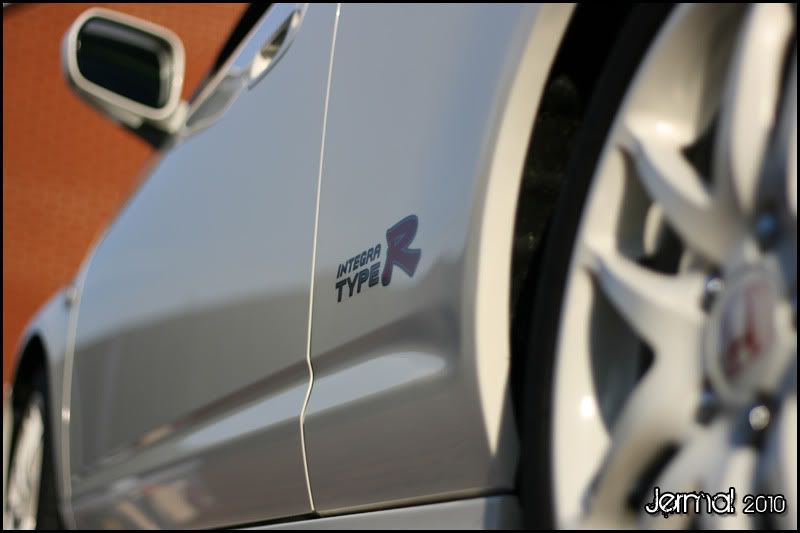
I also gave the N1 a quick clean up with some autosol metal polish, so of course I took some obligatory pictures:
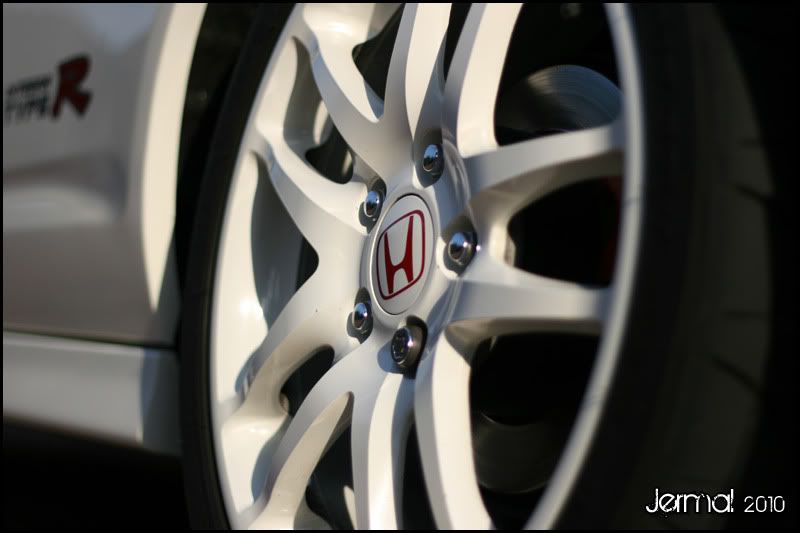
and finally, some randoms...
Thanks for looking.
First job was to apply a bit of eye shadow to protect the paint work from the next step
Then I went over the headlight with some soaked 1500 wet and dry paper. I decided to go with a very fine grit as this was my first time doing this, so I didn't want to hash it up too much. After a couple of passes with the wet and dry, the headlight had seen better days.
I then used the G220 and did a couple of passes with a Megs polishing pad and the No.80 speed glaze:
This didn't do anything to the surface, so I didn't bother taking any after photo's.
I then did a couple of passes using a cutting pad and Megs No.83 This is my most aggressive set up (or so I thought).
This was the results after 2-3 passes
I could envisage this taking a hell of a long time, so out of desperation and remembering TypeGRRR's thread on DIY paint correction I gave the Autoglym SRP a go on the cutting pad.
After a couple of passes, I was quite surprised with the results. The SRP is a lot more aggresive cut than I had imagined.
Overall, I was very pleased with the results.
Having looked at he lights again in direct sunlight, there is still some light swirling on the surface. This will buff out quite nicely with some Megs No.80 on a polishing pad I should imagine though, so I will do this when I have some spare time.
I also gave the N1 a quick clean up with some autosol metal polish, so of course I took some obligatory pictures:
and finally, some randoms...
Thanks for looking.
- Messages
- 25,724
Great job there
You can buy the autosol from Halfords and it was the only thing I used on the exhaust. Slap it on with a rag and work it in, then just wipe it off with a clean bit of the rag.
- Messages
- 25,724
Brave man attacking the headlights like that, though they turned out really well though.
I had done a fair bit of research first chap. didn't just jump in at the deep end. This seems to be a common issue with DC5's/RSX's and there is quite a substantial thread about the topic on clubrsx.com.
I've done wet sanding on paintwork before, but the plastic is obviously quite a bit harder than car paint, so it took some more elbow grease/more aggressive products. Word to the wise, be careful if you're using Autoglym SRP and a machine polisher on your paintwork. I should imagine strike through could be quite easy if you're not paying attention.
I had done a fair bit of research first chap. didn't just jump in at the deep end.
I didnt mean it like that mate, i just dont have the nerve to try stuff like that myself incase i bodge it up.
- Messages
- 25,724
I didnt mean it like that mate, i just dont have the nerve to try stuff like that myself incase i bodge it up.
I know what you mean. It's a fairly scary prospect, and every fibre of your body cringes at the thought of sanding your car. Some of the people over the pond in the states start with a 800 grit wet and dry paper and work their way up to 1500. I had contemplated this too, but my nerve got the better of me and I thought I would start off with the finest grit paper I could get so it would be easier to reverse any wrong doings.
Next time I might man up and go for something a little more aggressive.
- Messages
- 12,019
Nice work. RE: Headlights, you could get some 2000 and 2500 paper, then work the 2000 > 2500, this will leave almost clear lights, then machine with either #83, or some plastX. This should result in a perfect lens if you can be arsed another time.
also, if you use #83 alot, I have a 75% full tub, I never use it, I use 3m. You can have it for £7.50 posted if you want
N1 looks good and so do the photo's. What lens is it
also, if you use #83 alot, I have a 75% full tub, I never use it, I use 3m. You can have it for £7.50 posted if you want
N1 looks good and so do the photo's. What lens is it
- Messages
- 25,724
Nice work. RE: Headlights, you could get some 2000 and 2500 paper, then work the 2000 > 2500, this will leave almost clear lights, then machine with either #83, or some plastX. This should result in a perfect lens if you can be arsed another time.
also, if you use #83 alot, I have a 75% full tub, I never use it, I use 3m. You can have it for £7.50 posted if you want
N1 looks good and so do the photo's. What lens is it
I might take you up on that offer for the No.83.
Is the PlastX a plastic polish then? I've seen people talk about it, but have no personal experience of it. Also, where would you source the200/2500 grit paper? 1500 was the finest I could find. I'll have to do this I think as I'm still not 100% happy with the finish, although the horrid clouding is gone which was my main concern.
The lens is my nifty fifty. Aperture set at 1.8.