- Messages
- 64
PG1 - intro, with before and after of cosmetic refurbs incl: wheels, gearknob, and the Megs 3 step
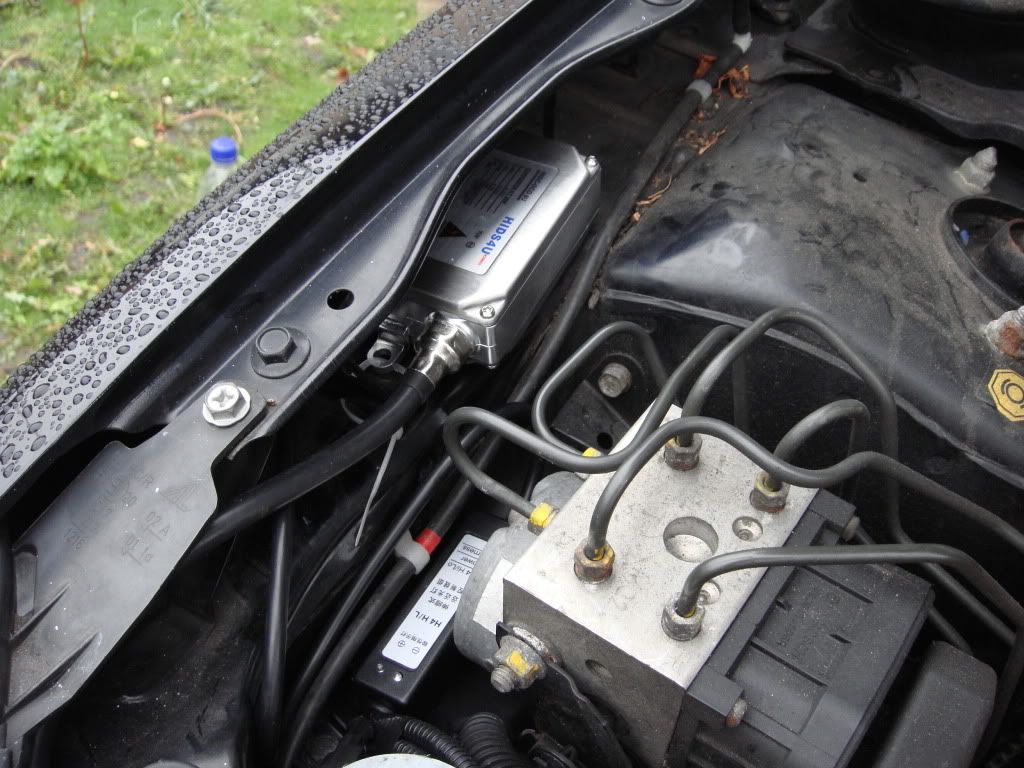
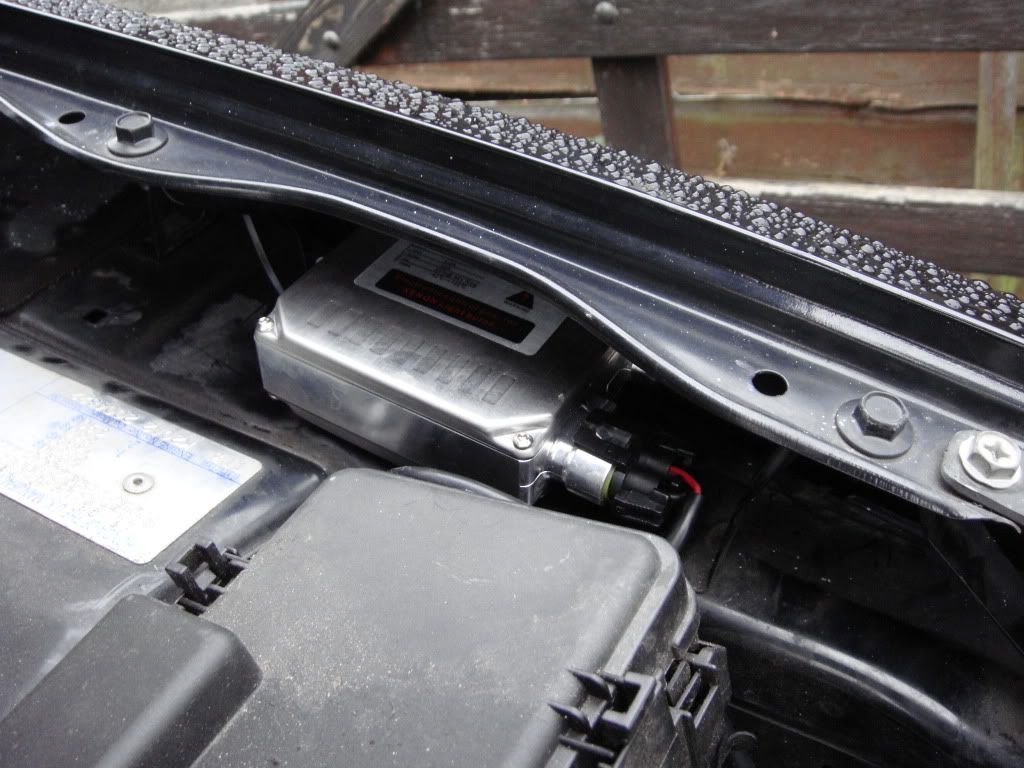
PG2 - HIDs 6k kit - Ballast location + quick brief
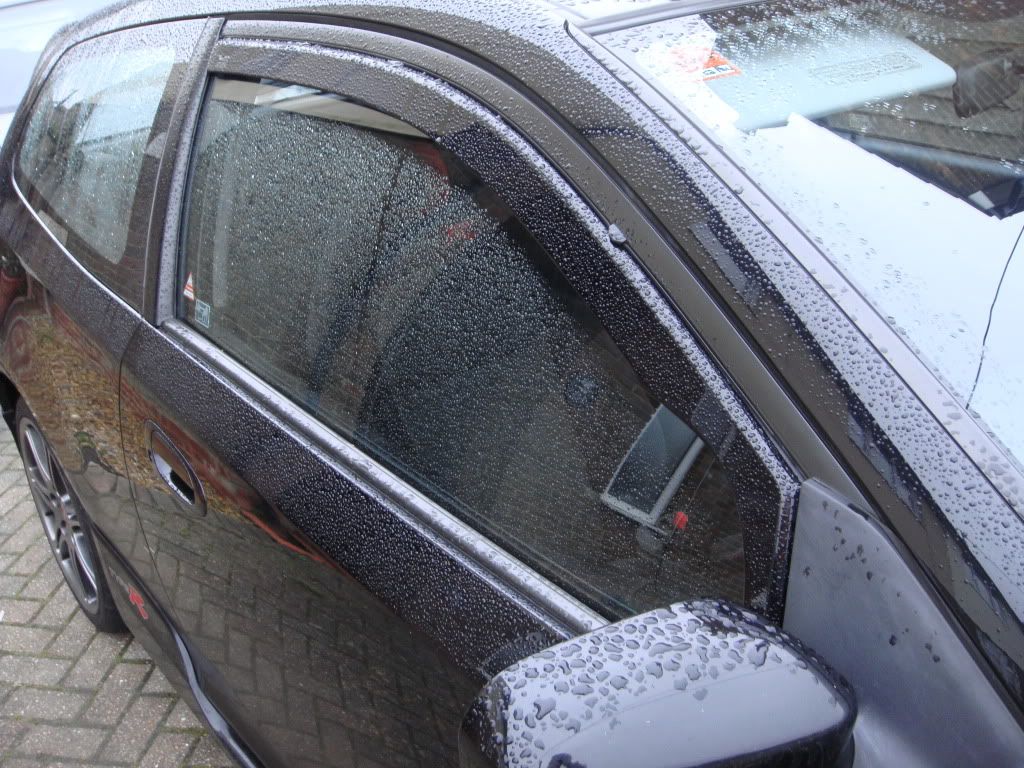
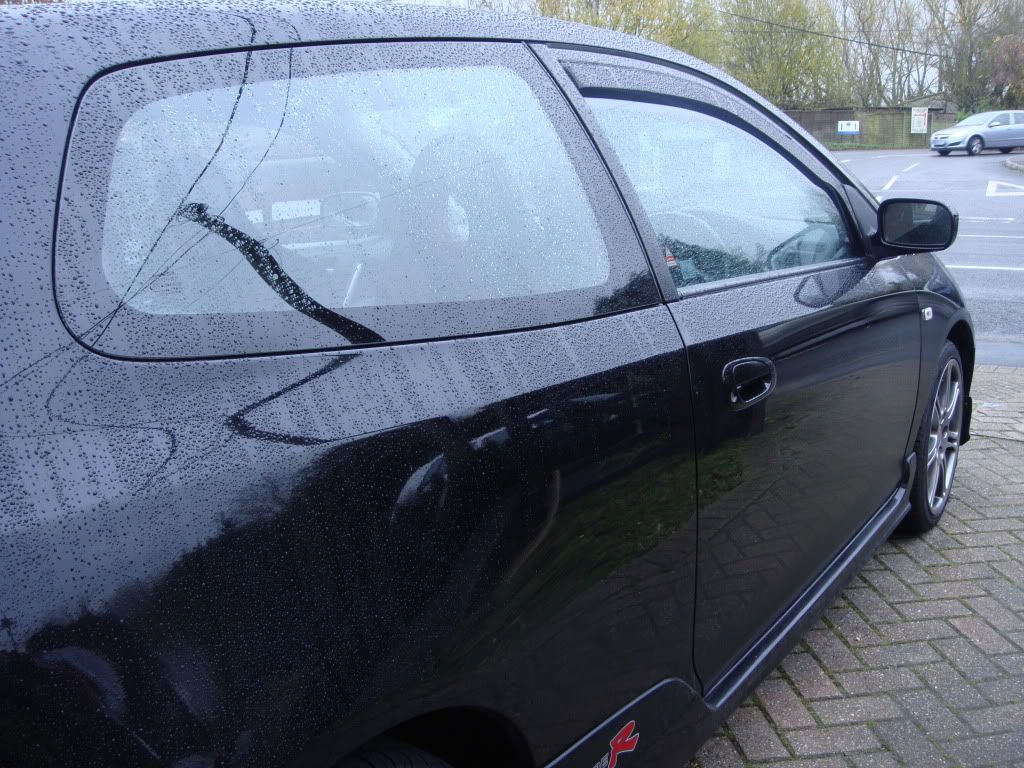
PG2 - TeamHeko Wind deflectors
PG3 - Custom Cover
PG4 - Graffiti tunnel pics & Rocker Refurb
PG5 - Eibachs, Spoon & Tie bar
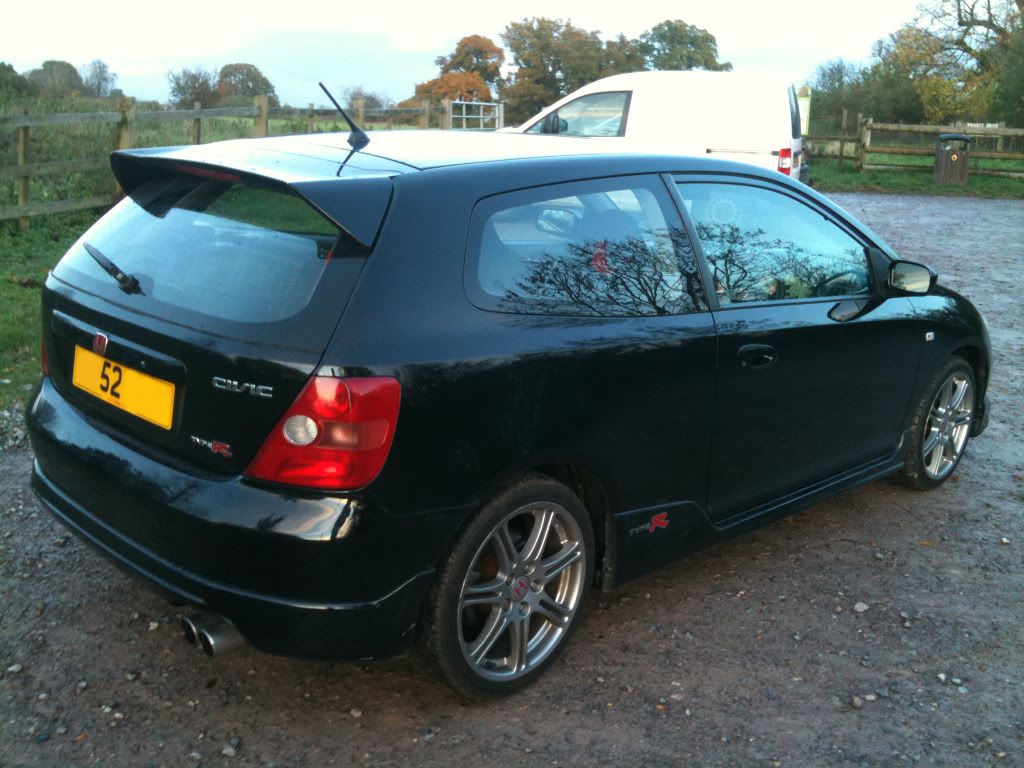
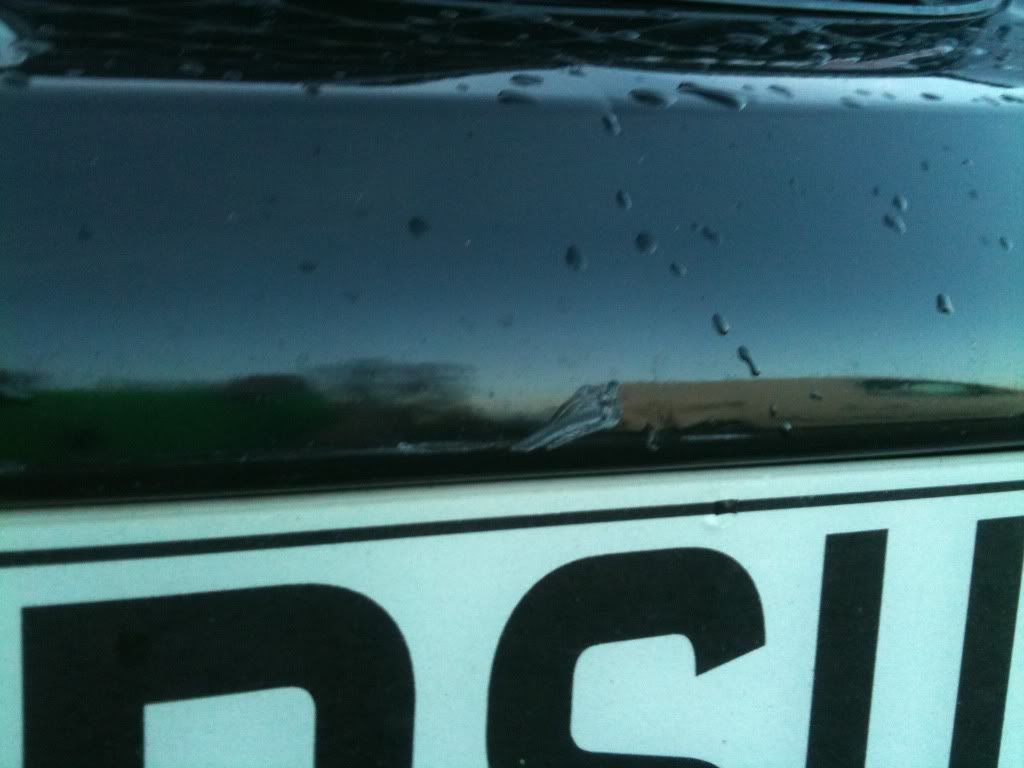
When i bought my lady it was a bit tattered on the front end and the paint needs some bringing back to life. Also the wheels needed a mega refurb. other than all that it was a bargain price and with a mint engine at below avg miles, of course i couldn't resist!
so here are some pics as she was when i bought her...
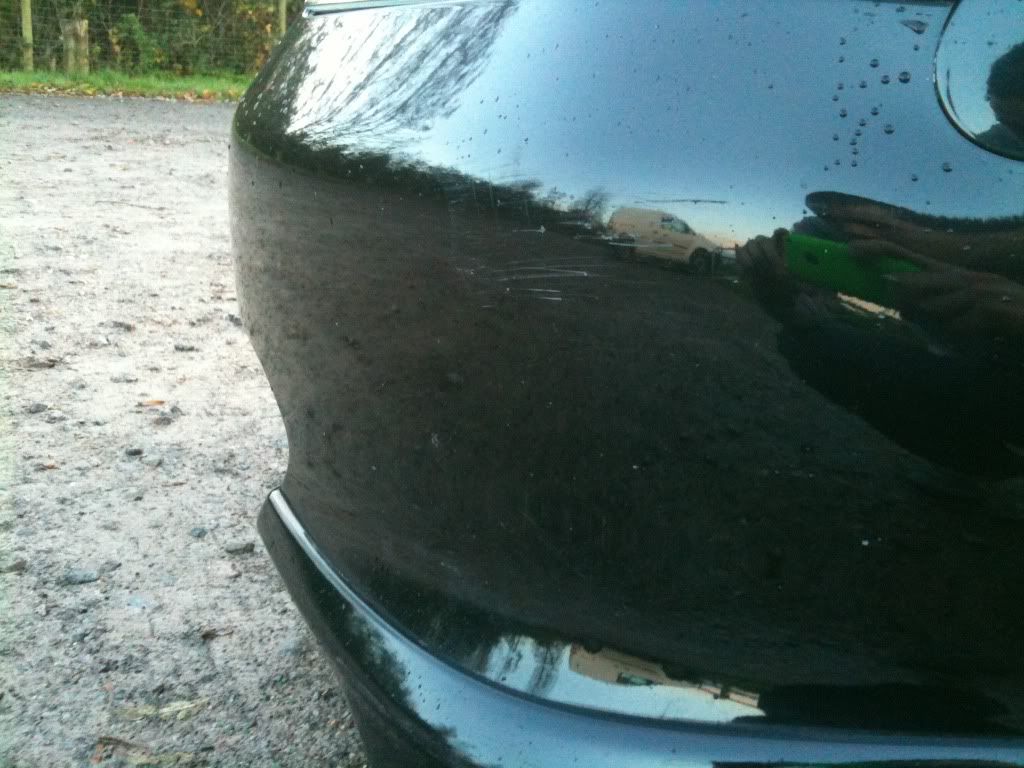
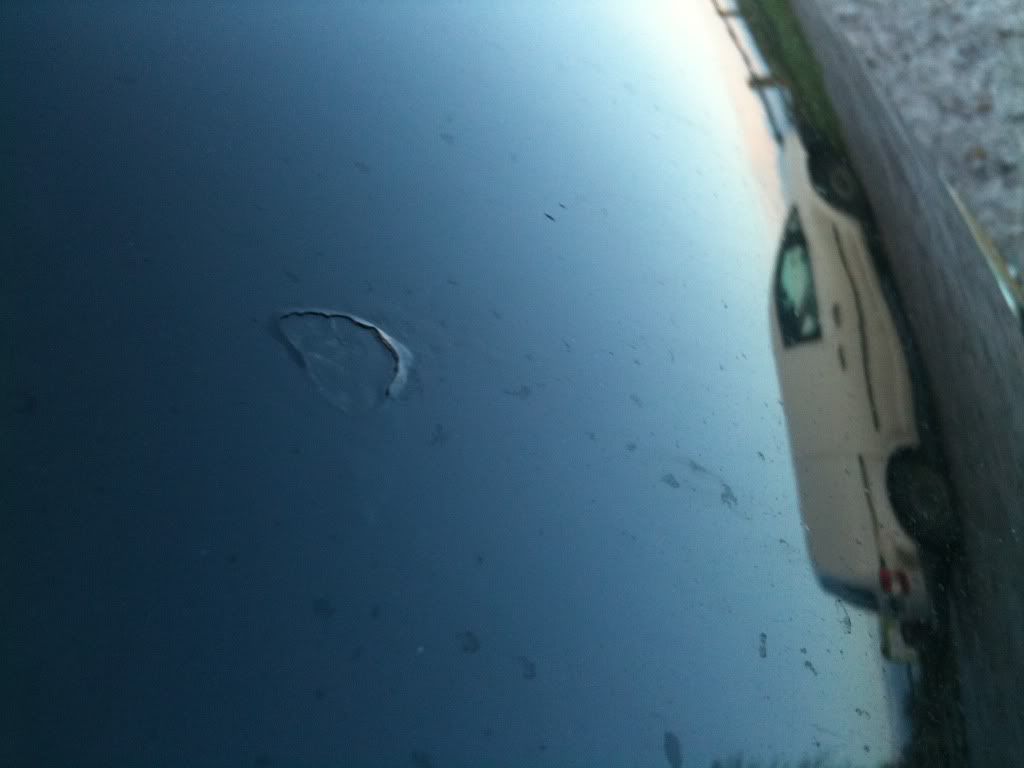
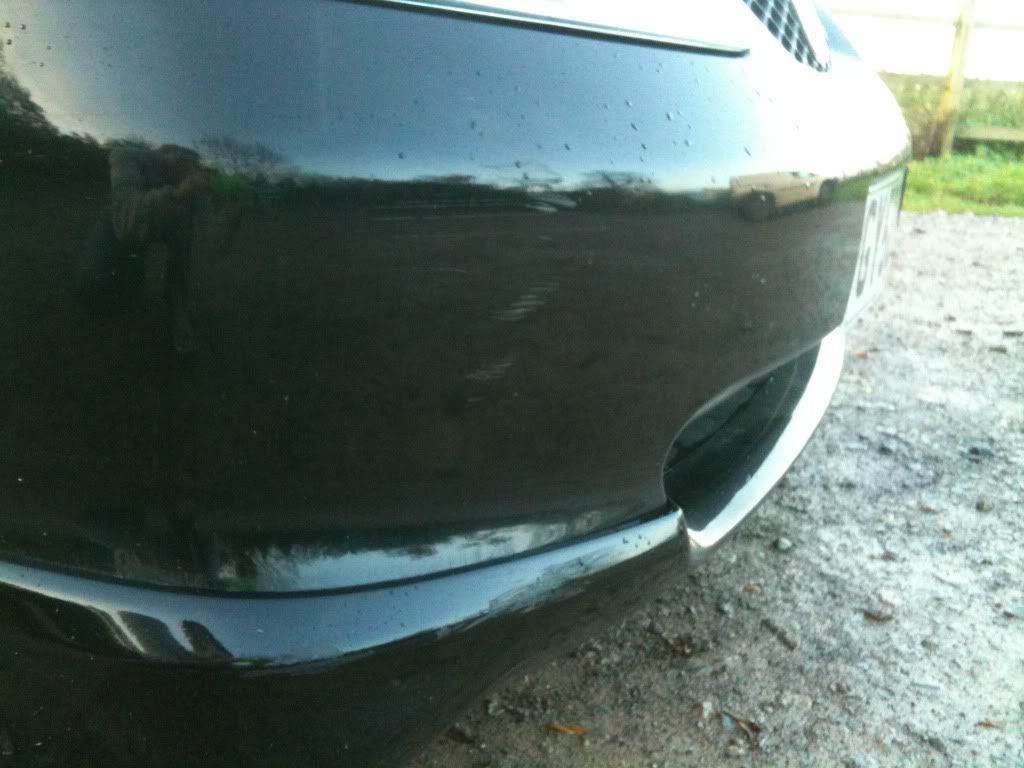
here is the defects from previous owner...
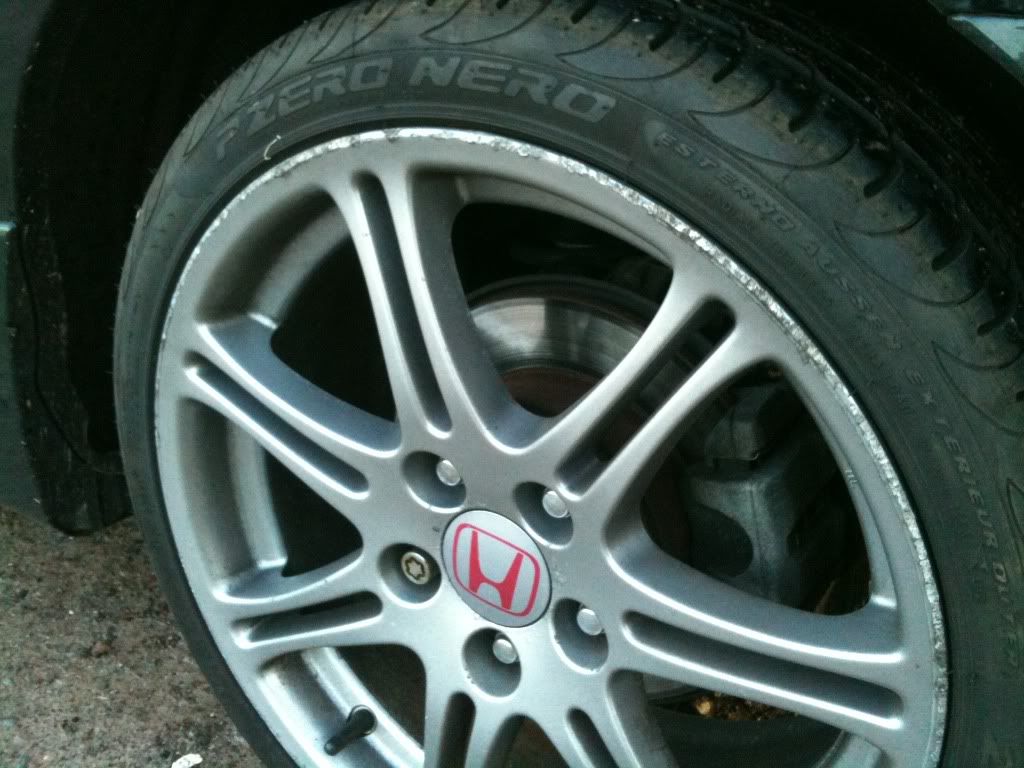
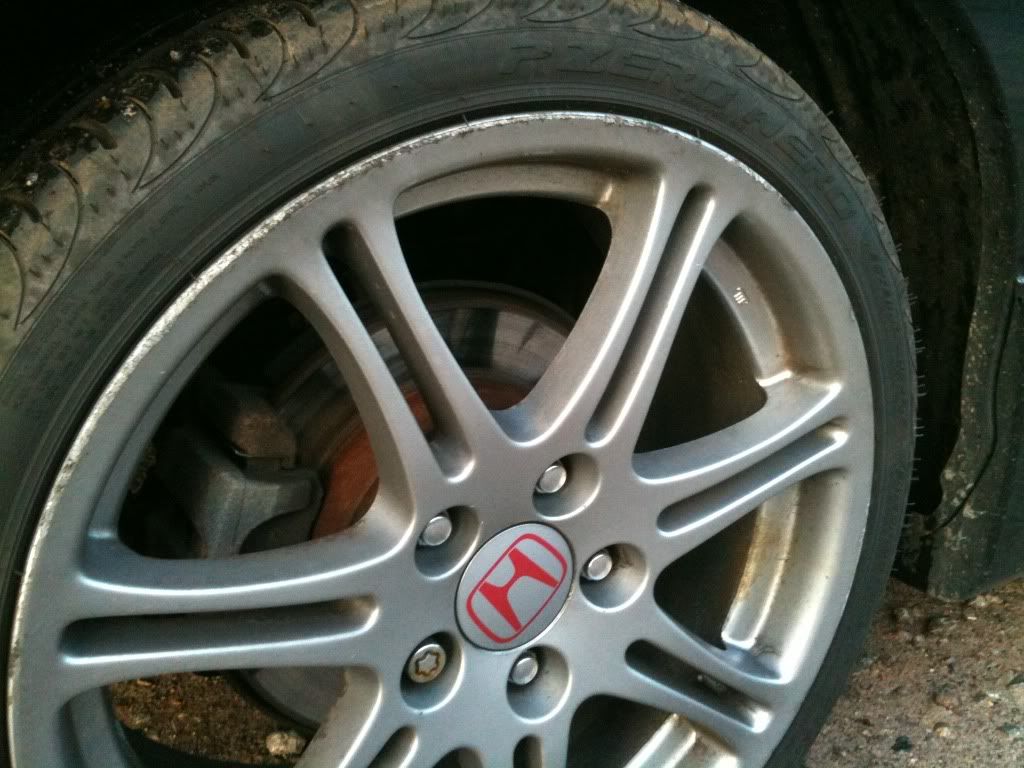
here are the two rear wheels, all four are just as bad if not worse:
also the gear knob was horrible...chipped up from what looked like a hand full of rings! These defects may not seem like much but they are annoying and im really anal about things like that and things looking perfect
so to start off some of the bringing back to life stage i started with my knob. ok before i go any further please you dirty buggers the comments have all been said haha.:smt047 anyways....I checked out a how-to over CTRO on polishing your knob, and WOW what a result totally drool worthy self refurb that took only 30mins.
heres the pics:
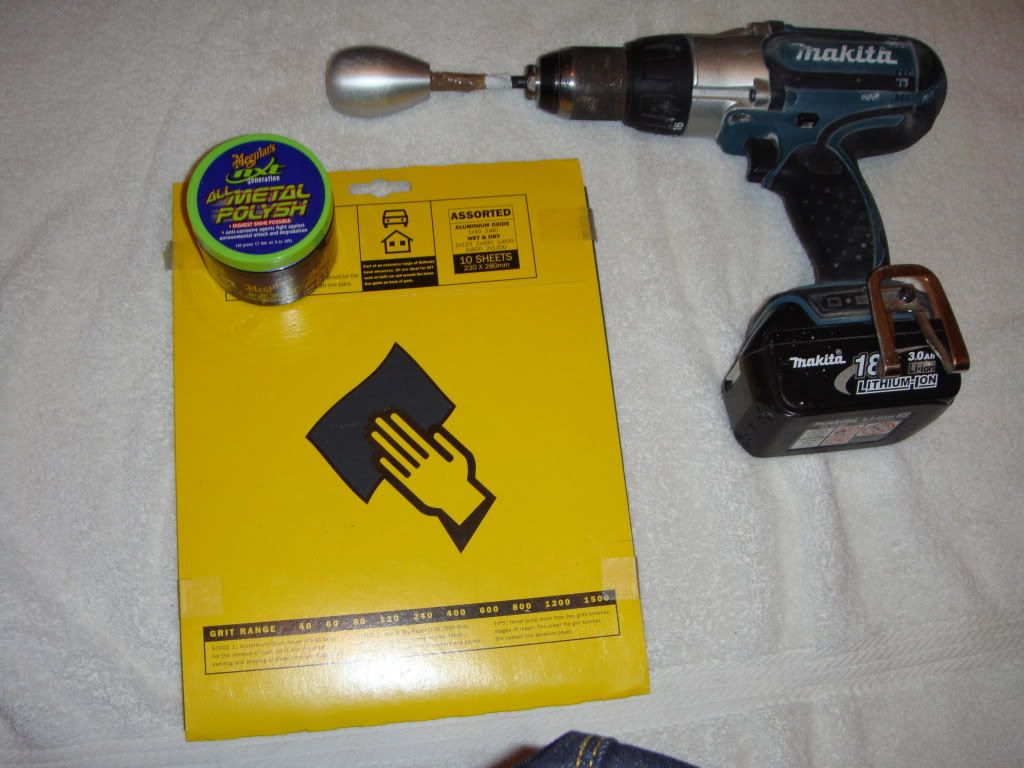
Tools required..
Before:
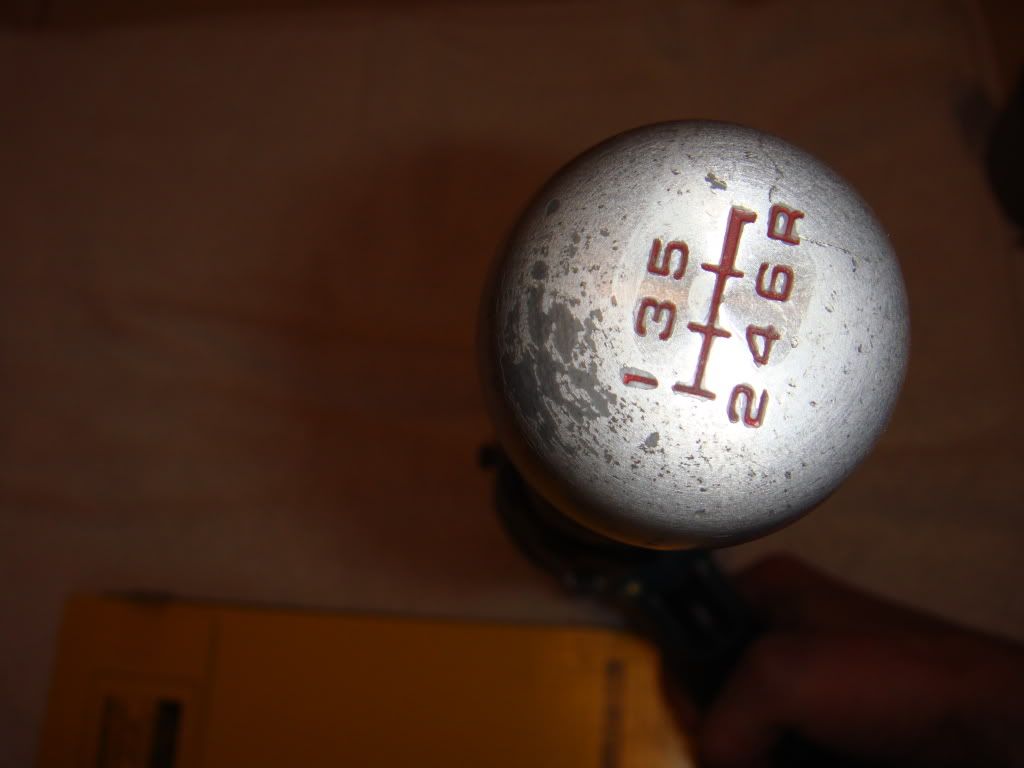
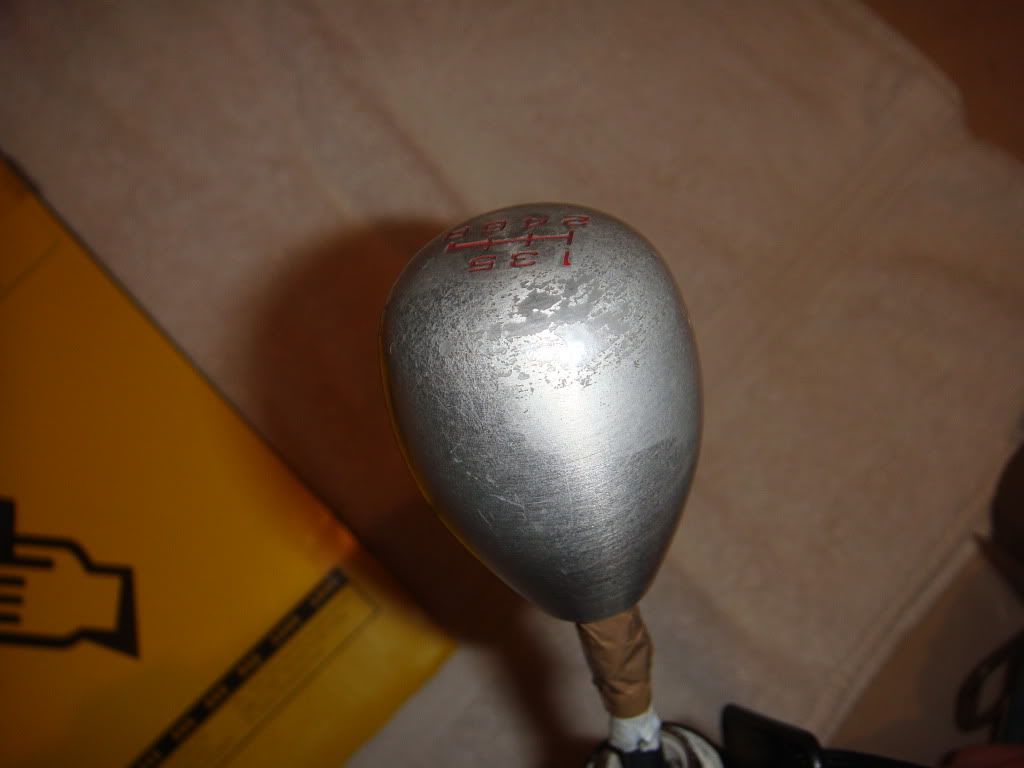
:evil: definately not a good look
After:
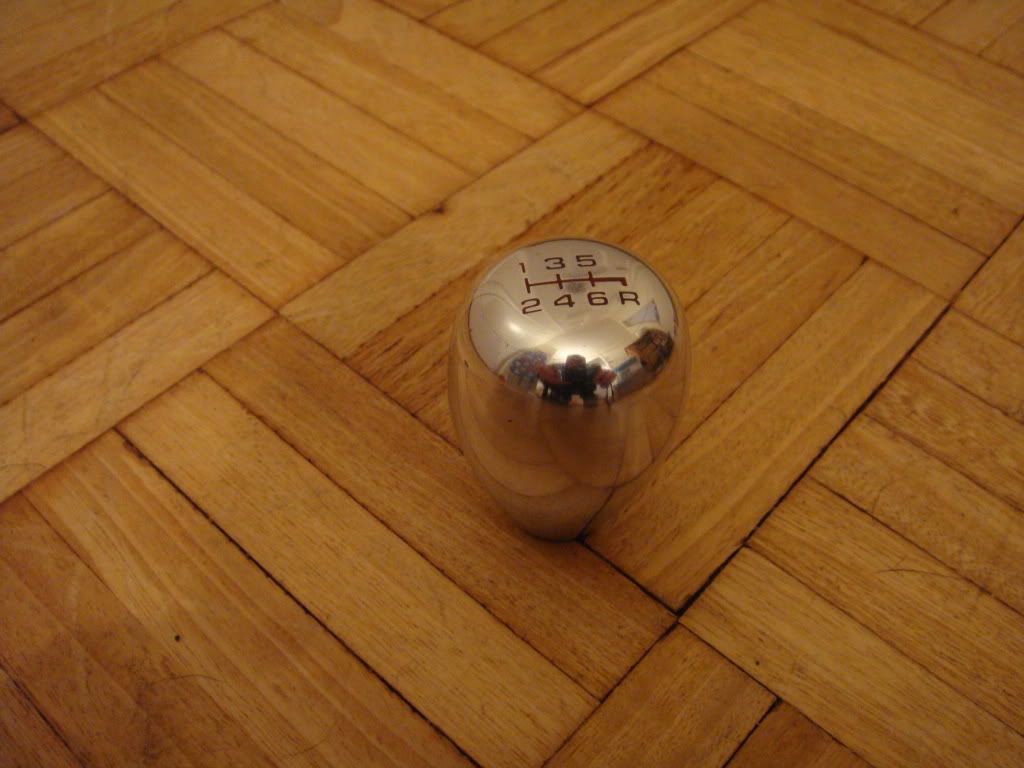
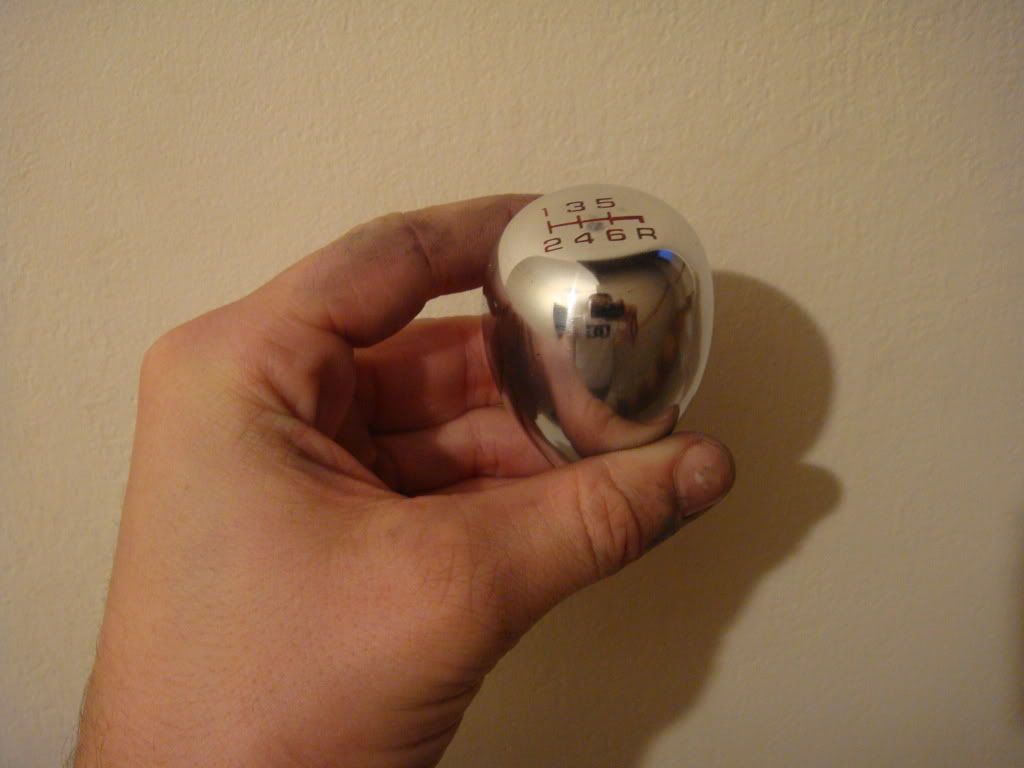
PIMP, much better! i did try and look around on ebay to find a second hand knob but it wasnt successful. Either too expensive, or not right. so i took to the self refurb method and it is easy as pie. some people use an M10 bolt and hack saw the end off so it would fit in a drill(screw other end into the knob) but i didnt have a bolt so i bodged it tight with some tissue and tape hmm. It was just a case of holding some wet and dry, starting with a very low number(rougher grade) and spin it in your hand until the laquer is off, once this is off go up to a higher more finer grade of W&D until it looks almost good enough to use as it is. then to finish it of get a clean cloth and apply some metal polish in the same method of spinning the knob with the drill. the knob will go very deep gun metal color at that point you could flip the rag over and use a clean side to buff it up using the drill again. HEY PRESTO a very polished knob! certainly beats paying between 50-80 quid for a brand new oem one!
I then had the CTR dropped over at WickedWheels in Guildford for the refurb. fortunately for me the jap wheel paint is rubbish so he was able to get it stripped and re painted in a day which didn't cause any hassle being car-less.
A few probs - it seemed there is more than one standard wheel color so he had two sent over a lighter more flakey one, and a darker one. i opted for a slightly darker one as thought it would suit.
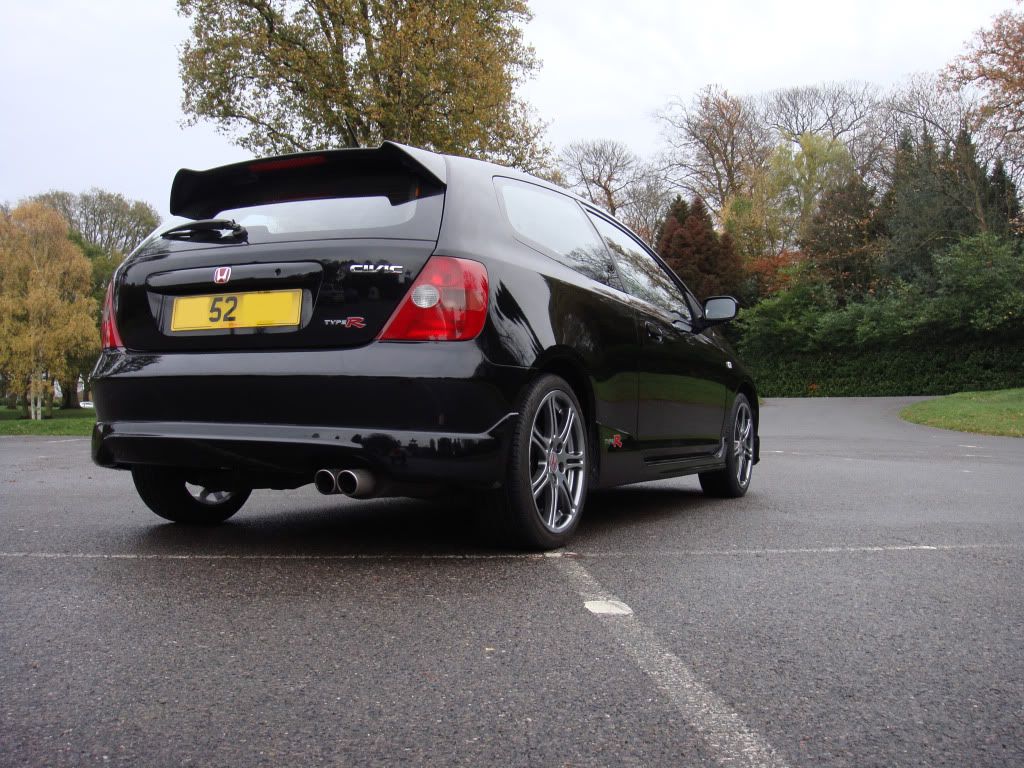
After Refurb:
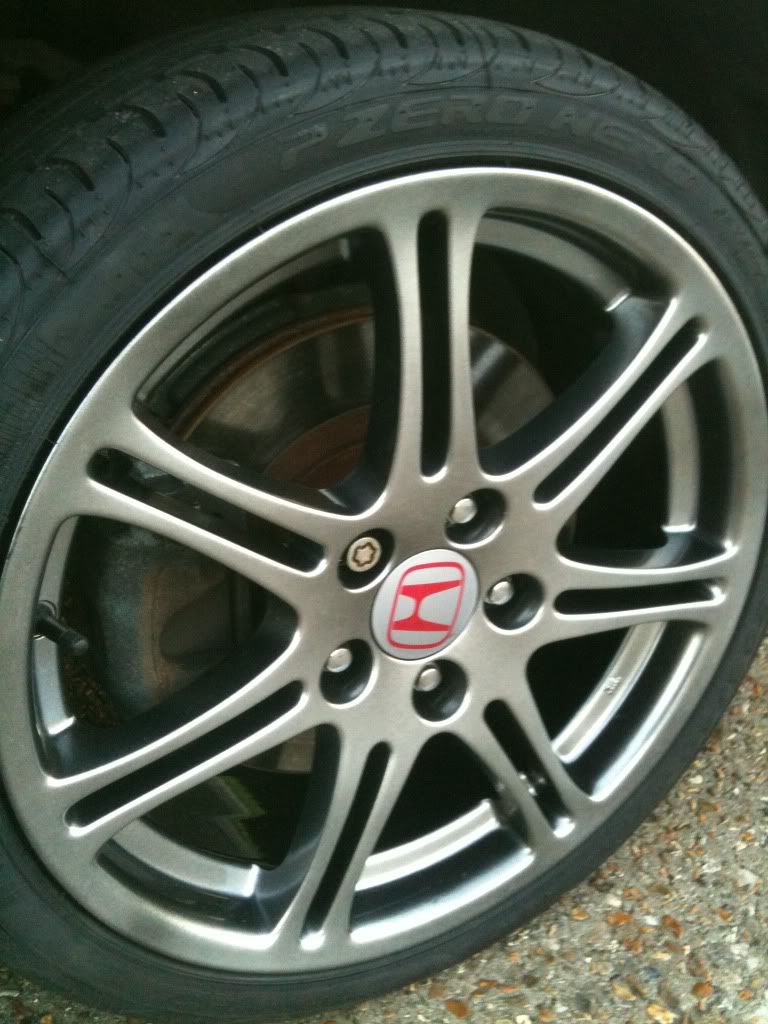
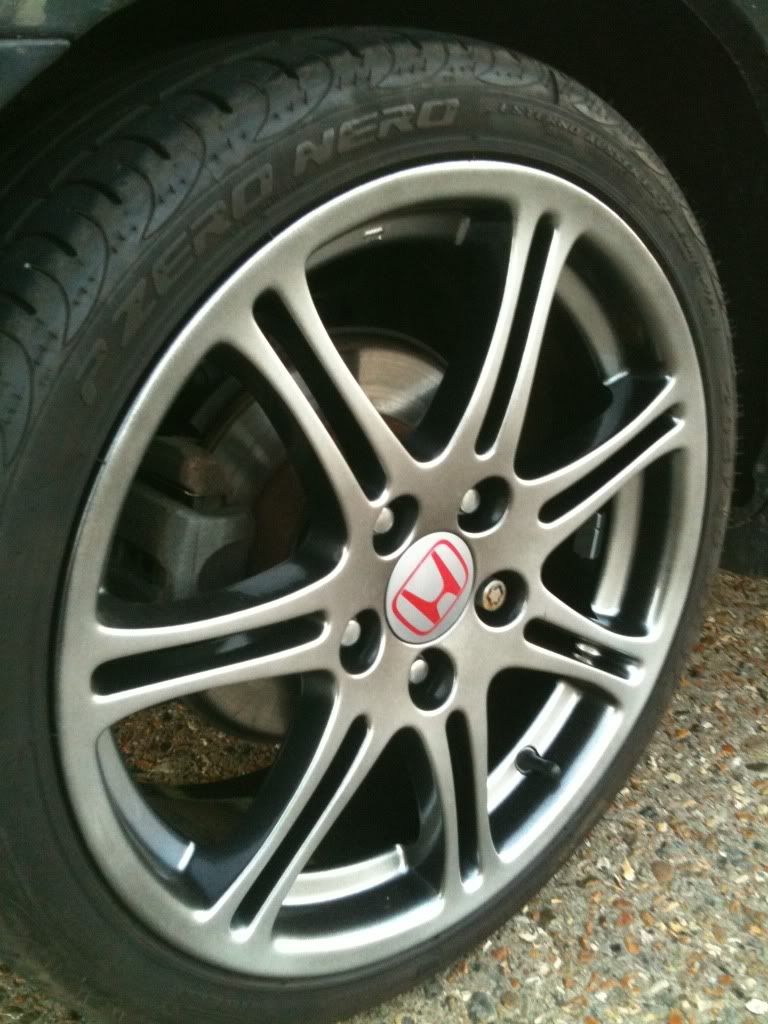
its crazy how new a refurb makes them! i couldn't have been happier the car is starting too look more A1 condition....
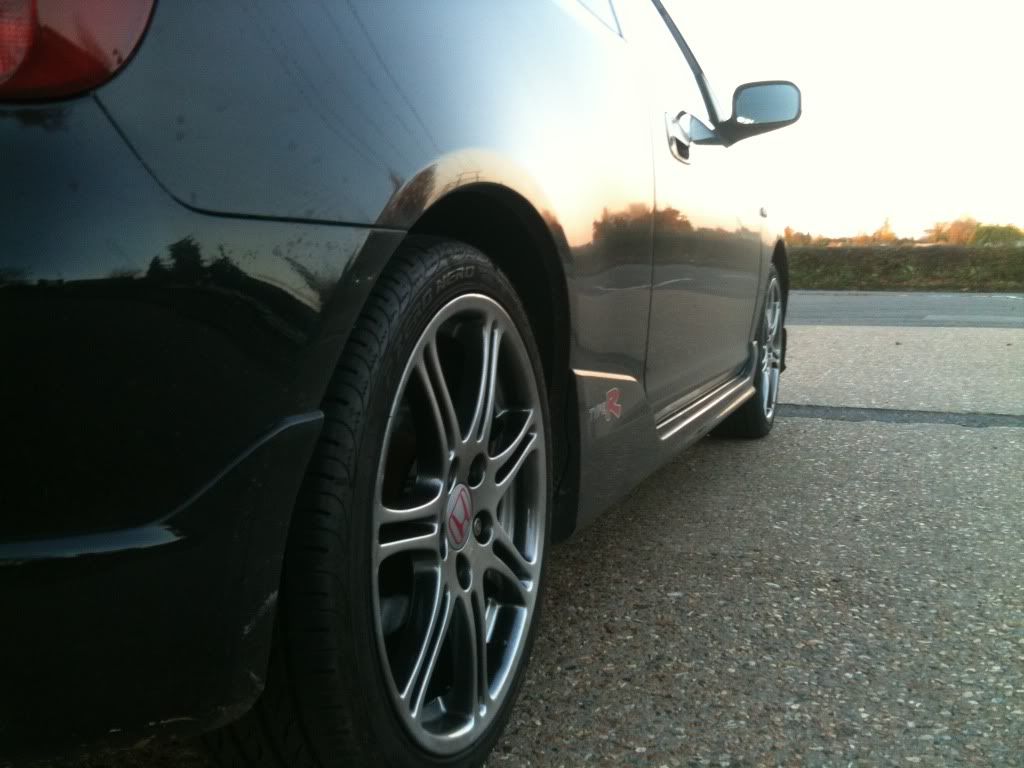
the next stap i took was another bit of elbow grease and a trip to halfords to buy the megs 3 step...as hope to restore the paint shine on the majority of the car before the front gets a respray. Another shocked outcome, looked far better than i expected and had a great ''like new'' look too it.
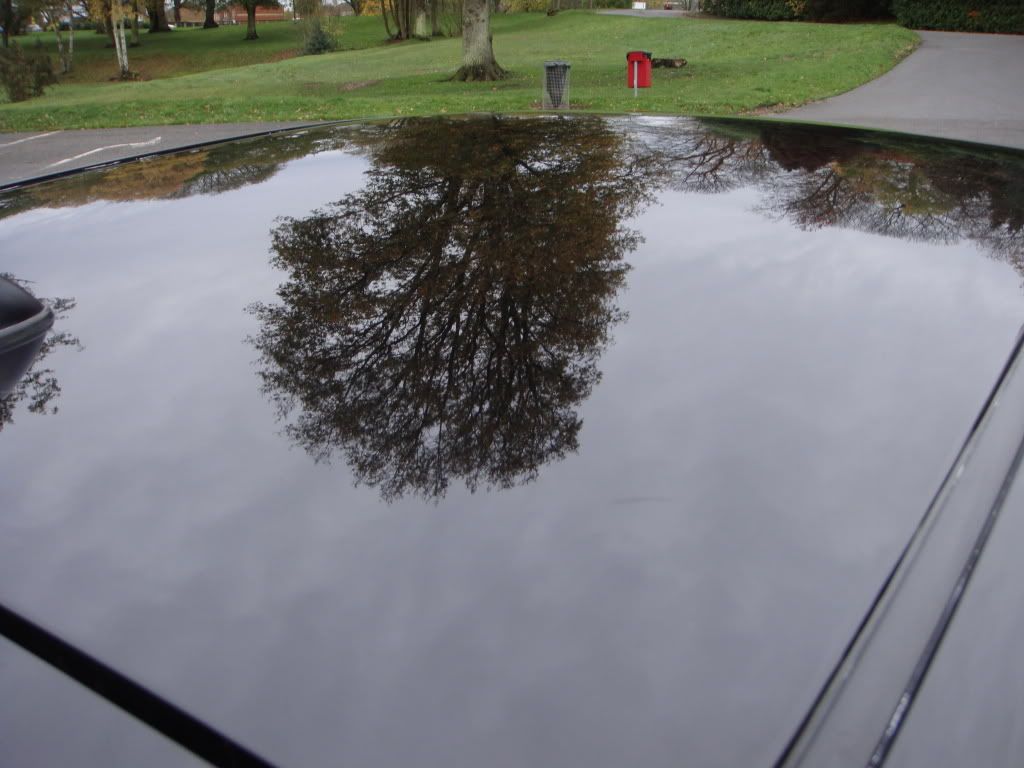
Megs 3 step:
Reflections
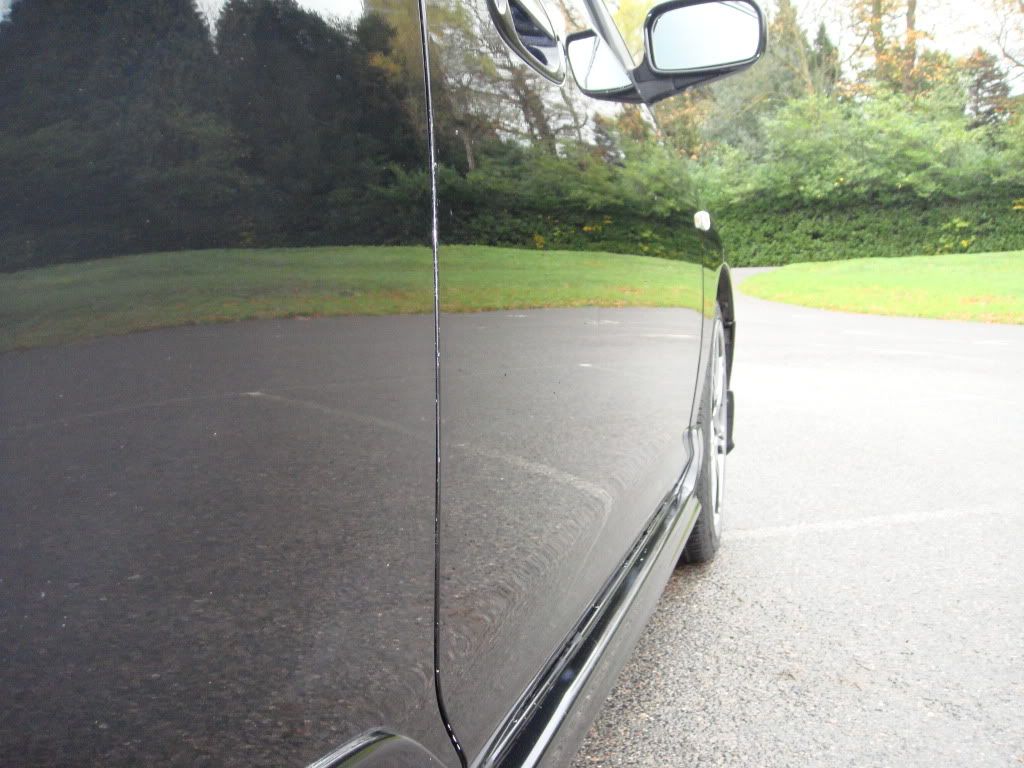
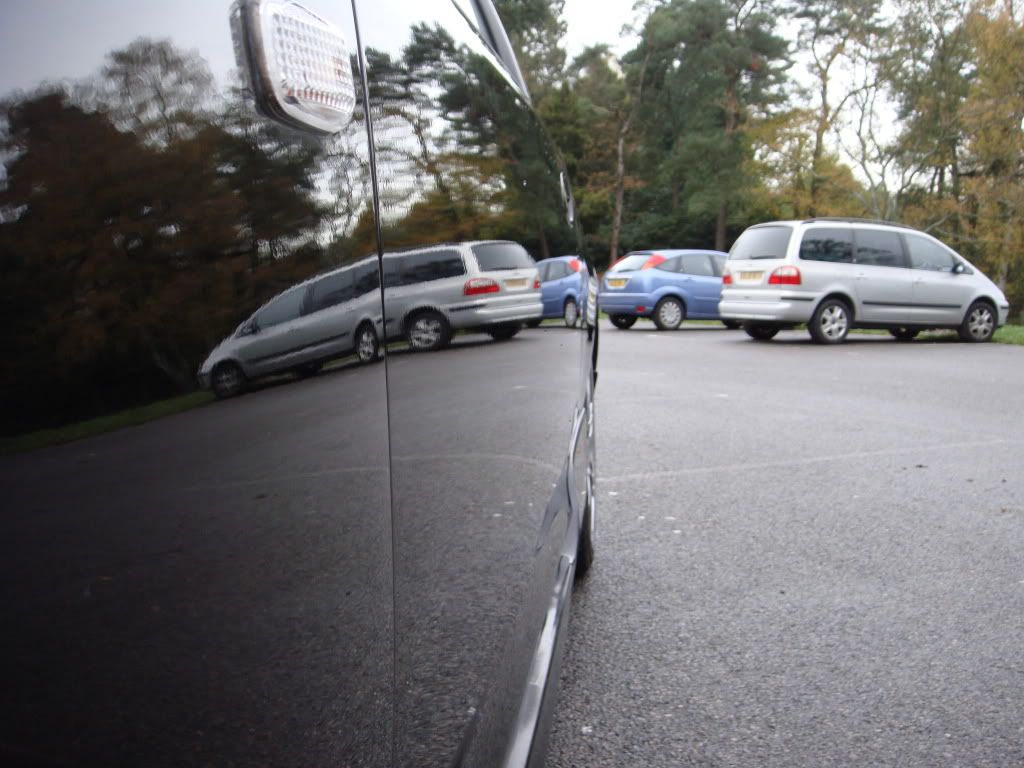
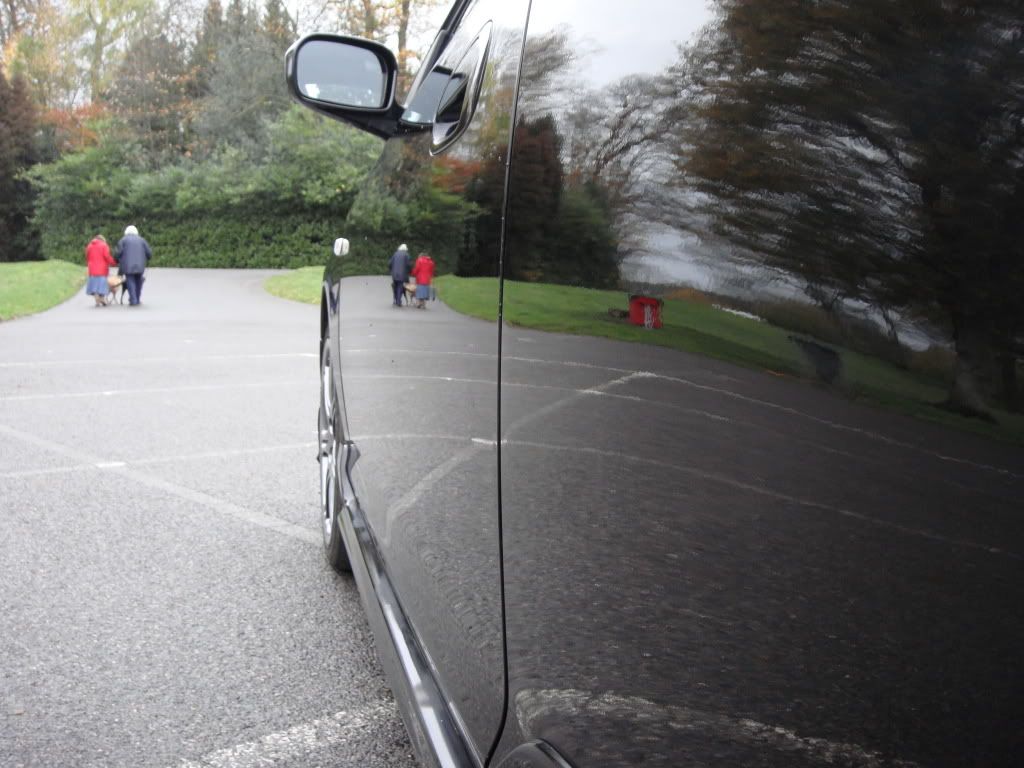
Full view

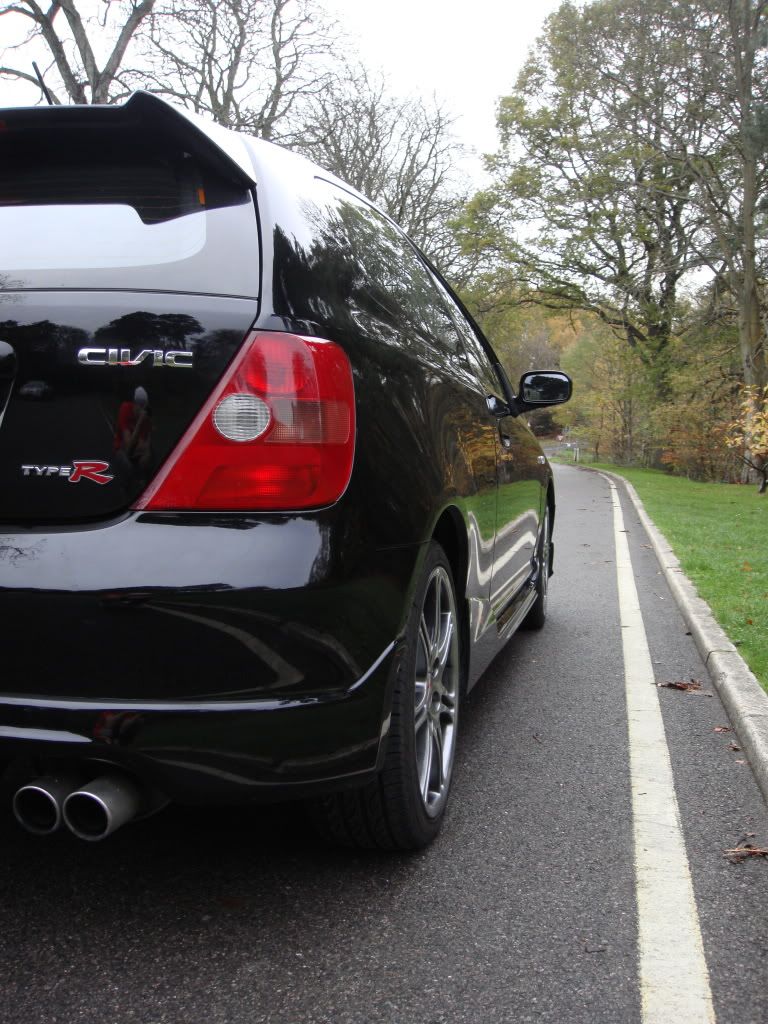

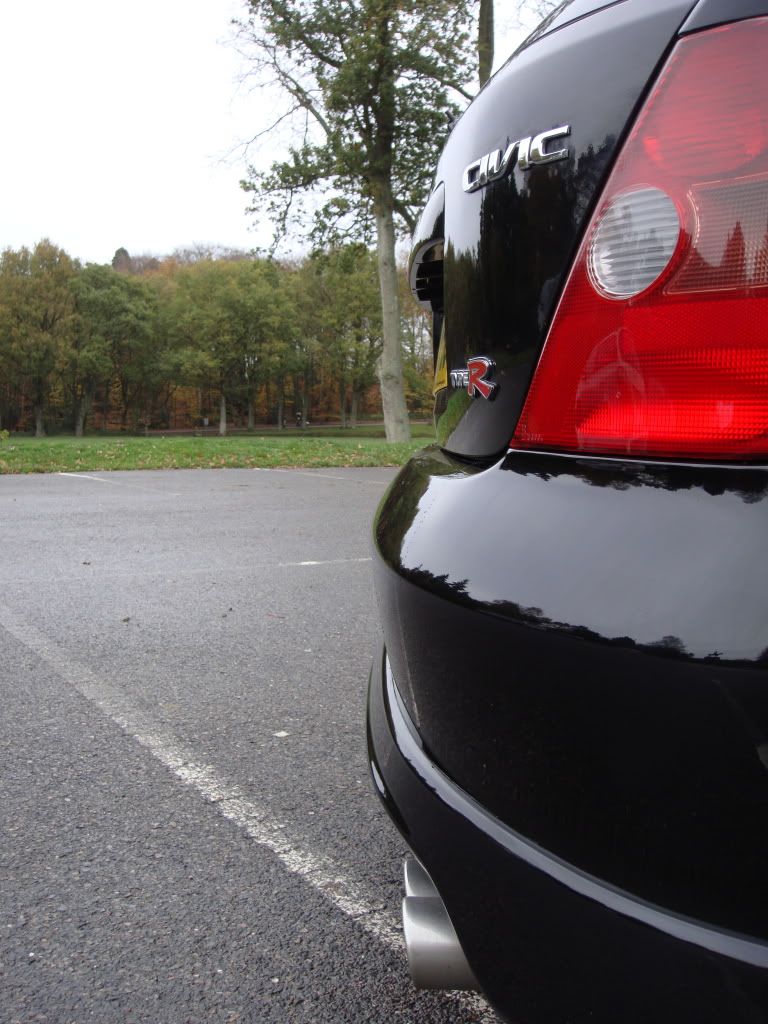
I did this 3step after the basic two bucket method....i had to rush it as started late and was running out of light but either way it was just to get an idea of how affective the megs 3 step was and i must say i really recommend it for the money!
a member elsewhere recommended using Zaino, a little more expensive at £25 a bottle as £25 for the three megs! but supposedly a lot easier as its all spray on.
well there you have it a rather long intro into my car as current although it does have some team heko deflectors on it now they arrived today so fitted them this eve. will get a pic up soon.
Its booked in at TGM in fleet on monday next week for a bonnet respray...replacement center bumper...and splitter respray. so thats another step forwards
hope you enjoy what looks like many restoration work/mods to come, feel free to shout out some comments or suggestions
Cheers.
Andy
to come:
Kpro
Engine clean up...tis very slaggish under there
PG2 - HIDs 6k kit - Ballast location + quick brief
PG2 - TeamHeko Wind deflectors
PG3 - Custom Cover
PG4 - Graffiti tunnel pics & Rocker Refurb
PG5 - Eibachs, Spoon & Tie bar
When i bought my lady it was a bit tattered on the front end and the paint needs some bringing back to life. Also the wheels needed a mega refurb. other than all that it was a bargain price and with a mint engine at below avg miles, of course i couldn't resist!
so here are some pics as she was when i bought her...
here is the defects from previous owner...
here are the two rear wheels, all four are just as bad if not worse:
also the gear knob was horrible...chipped up from what looked like a hand full of rings! These defects may not seem like much but they are annoying and im really anal about things like that and things looking perfect
so to start off some of the bringing back to life stage i started with my knob. ok before i go any further please you dirty buggers the comments have all been said haha.:smt047 anyways....I checked out a how-to over CTRO on polishing your knob, and WOW what a result totally drool worthy self refurb that took only 30mins.
heres the pics:
Tools required..
Before:
:evil: definately not a good look
After:
PIMP, much better! i did try and look around on ebay to find a second hand knob but it wasnt successful. Either too expensive, or not right. so i took to the self refurb method and it is easy as pie. some people use an M10 bolt and hack saw the end off so it would fit in a drill(screw other end into the knob) but i didnt have a bolt so i bodged it tight with some tissue and tape hmm. It was just a case of holding some wet and dry, starting with a very low number(rougher grade) and spin it in your hand until the laquer is off, once this is off go up to a higher more finer grade of W&D until it looks almost good enough to use as it is. then to finish it of get a clean cloth and apply some metal polish in the same method of spinning the knob with the drill. the knob will go very deep gun metal color at that point you could flip the rag over and use a clean side to buff it up using the drill again. HEY PRESTO a very polished knob! certainly beats paying between 50-80 quid for a brand new oem one!I then had the CTR dropped over at WickedWheels in Guildford for the refurb. fortunately for me the jap wheel paint is rubbish so he was able to get it stripped and re painted in a day which didn't cause any hassle being car-less.
A few probs - it seemed there is more than one standard wheel color so he had two sent over a lighter more flakey one, and a darker one. i opted for a slightly darker one as thought it would suit.
After Refurb:
its crazy how new a refurb makes them! i couldn't have been happier the car is starting too look more A1 condition....
the next stap i took was another bit of elbow grease and a trip to halfords to buy the megs 3 step...as hope to restore the paint shine on the majority of the car before the front gets a respray. Another shocked outcome, looked far better than i expected and had a great ''like new'' look too it.
Megs 3 step:
Reflections
Full view
I did this 3step after the basic two bucket method....i had to rush it as started late and was running out of light but either way it was just to get an idea of how affective the megs 3 step was and i must say i really recommend it for the money!
a member elsewhere recommended using Zaino, a little more expensive at £25 a bottle as £25 for the three megs! but supposedly a lot easier as its all spray on.
well there you have it a rather long intro into my car as current although it does have some team heko deflectors on it now they arrived today so fitted them this eve. will get a pic up soon.
Its booked in at TGM in fleet on monday next week for a bonnet respray...replacement center bumper...and splitter respray. so thats another step forwards
hope you enjoy what looks like many restoration work/mods to come, feel free to shout out some comments or suggestions
Cheers.
Andy
to come:
Kpro
Engine clean up...tis very slaggish under there
Last edited by a moderator: