• Registered users are encouraged to enable MFA/2FA to add an aditional layer of security to their account. More information can be found here: https://www.ncsc.gov.uk/collection/top-tips-for-staying-secure-online/activate-2-step-verification-on-your-email

The MG-TF K20a V-TEC Project Thread (very pic heavy)

Adam any further developments on this project ?


indeed! my laptop is broke, i've just nicked my mums PC for a week to do uni work so i can offer up some updates! ive got about 250 pics on my camera for updates to this thread and my Turbo ZR thread lol

btw guys the whole 'patient' debate... i have lots of 'patients'... i'm a student Nurse!!!!

here comes update one... there are a few things on it like spare wires in the loom/ecu area you might be able to help me with, also if you can see anything obviously werid can you please offer your knowalge and wisdom... remember, i have never worked on a Type R... so im very much flying blind, any 'oh look thats been changed' comments will help my knowlage bank big style!
 
Right! Update! 31 May 2011

Well last week I had 2 days off and as the ZR Tubby was laid up waiting a drive shaft seal I figured why not have a play with the TF! I've been through a bit of a rollercoaster with the MGs after all my woes with the ZR (see project thread) and I was considering selling the lot...

Considered thinking (and a slap from a good mate - Kane-ZR) made me decide I should stop being a girl lol... my only problem will be further demonstrated later in the thread... this is a VERY bad conversion and is dangerous, I'm worried it's going to be un-economical to sort :(, although I have been talking to a man who might help me out ;) details to follow.

Few notes for y'all... as you might have noticed this thread is a bit more than a 'project thread' it's detailing every step of what I do for 3 rasones A: To make putting it back together easier for me B: to help anyone wanting to do the same conversion and C: because im used to reading and sometimes writing 'How-Tos' so it's how i think lol anyway, hope you all like the detail!

Now on with the update! This post pics up where we left off with the interior out and some of the back end of the car stripped ready to drop the engine out. I'd like to say a MASSIVE thank you to TF Guru CJJ at this point, his Engine/Rear Subframe removal guide helped allot here as i could use it to prompt me on what to disconnect/remove. Basically i had to separate everything that was attached to both the shell and the subframe/engine so the two could be removed.

In time honoured tradition I'll start with something pointless!

The expansion tank overflow pipe
100_0597-1.jpg


easily removed even though the car started the evening in usual form by removing some skin as the pipe popped off the tank! gotta love tight bays

now that was off i decided to remove the expansion tank completely (not necessary but gets us some room) 2 bolts saw to that

100_0598-1.jpg


which let me remove the main coolant pipe from the bottom of the bottle

100_0599.jpg


with the bottle out the way i figured this was a good time to make as much room as possible, so off came the CDA enclosed cone (will probs be reaplced with mugan or if i can fit them in the bay ITBs)

100_0600-1.jpg


Easy done, however removing it revealed something a bit worrying....

100_0601.jpg


that bottom green pipe is a fuel return line.... its not hooked up to anything! I dont know if the K20a has a return feed but i assume it does? but that explains why the car stank of fuel!!!! anyway... nil desperandum it didnt set on fire even a little bit so on we go...
the Fuel line went next

100_0602.jpg


I wasn't very impressed by the girly little clip holding it on, I'll have something a bit stronger on there when shes goes back together!

Fuel lines, Tick!

Next, throttle cable, this was quite easy actually, all be it a bit puzzling to find as the engine is backwards and i wondered why i couldnt see it from the back of the car! lol durrhhhh

100_0603.jpg


hard to get a pic but as you can see it is held in place with a black sqare retaining clip/thingamee bob like a K series cable, and then...

100_0604.jpg


runs across the inlet manifold and into the cars interior

next job - the remove oil filter jobbie, no idea why its where it is but it makes changing the filter easy i guess

100_0605.jpg


held in place by 2 crappy bolts through a hole drilled in the boot/engine bay wall that hadn't been painted so was rusting... more wire bush and hammerite mayhem needed!
well thats the easy stuff out the way

now its time for (stiff drinks on standby) the wiring loom... sorry did i say wiring loom? i meant that colossal cluster f*ck masquerading as a loom

I took a long time over this, i wasnt aiming to sort the wiring out today just figure out exactly what i had to disconnect to get the subframe out
here are some 'before' pics

100_0607.jpg


thats the wad of wiring... a great deal of which is pointless as i discovered

100_0608.jpg


and thats a pic of the rear of the ECU where the USB for the laptop hook-up plugs into, below where you can see scratches is an earth point

and the next picture shows the main plug-in points on the K-Pro, there are a few 'random box things'. Sadly I can't be more specific. I'm hoping I can find a mechanical sparky who can help me sort all this out! lol if not I'll learn by doing :)

100_0610.jpg


there is a good example of a box that seems to be there for no reason. Admittedly this could be my lack of electrical knowledge.

one last pic of all the wires in place

100_0611.jpg


The next few pics show me slowly and systematically removing all the tape and tie wraps from the loom(s) and trying to trace wires back... I didn't try to narrow down what wire did what (thats beyond my knowledge and skills atm) I just tried to figure out which part of the loom the wires went to when they passed through the hole from the boot to the engine bay

100_0613.jpg


This pic shows a random plug thats not plugged into anything (grr to the excess weight!)

100_0615.jpg


First Tie wraps, then

100_0616.jpg


Tape all got chopped away. To begin to reveal...

100_0617.jpg


A total...

100_0618.jpg


and complete

100_0619.jpg


Mess!!!

more worryingly as you can see lots of these wires do not connect to anything!
I dont know if this is because they are spare input wires to the ECU for sensors or if it's just because, like that plug in an earlier pic it was easier just to leave the wires in place... I shall try to find out and report back :)

Sadly I can't post pics of what was around 5 hours careful study, where little happened but I managed to figure out a careful sequence to get the wires sorted. I hope to produce a loom a bit more 'factory' when I'm finished which wont require cutting of wires to take the engine out!

anyway when I was done I was left with this

100_0625.jpg


Holy Generic Deity!!!!

anywhoo all that fed through the hole and meant I "think" most of the loom is free for the drop. If I have missed any they will snag when the car is jacked off the frame and I'll post pics

I continued with the wiring loom type jobbies by removing the Emissions sensor from the flexi pipe... now these normally are a total $H!+ to get out as the heat welds them in place...

100_0633.jpg


but worryingly this one came out VERY easily... this would lead me to believe the car has run very few miles since its conversion

Nevermind!

that was most of the wires sorted so now to finish the coolant system

100_0634.jpg


These rubber pipes had to come off the two underfloor coolant pipes. These pipes run the length of the car from the engine bay to the front where the radiator is. They are in pretty good nick but I will be replacing them with stainless steel pipes, the rusty clips will be going as well (even though they came off easily I HATE rust!)

100_0635.jpg


Bucephalus had a little wee... between my TF peeing coolant, fuel and such all over and my ZR peeing gearbox oil everywhere I really need to house train my cars!

100_0636.jpg


total mess!

and thats it for today!!! I cracked on again yesterday but the thread will have to wait i need some kip!
 
thanks bud, more updates are comeing i promise, it's just time, the engine will be out as soon as the wind drops!
 
UPDATE! 1st June (ish)!
Onward we plough then! to a day where things went pretty much according to plan (this was disconcerting)
First job was to disconnect the breaks. The break lines needed to be disconnected from the calliper, this was a easy job which first required the break lines to be crimped with my break line crimpers (well what else would I use them for).
Then the bolts that hold the lines onto the calipers needed to be removed... this beautifully pointless picture shows the line crimped and the spanner on the break line ready to unscrew it
100_0643.jpg

This even more pointless picture shows the bolt coming out the calliper... little note for me later, the washer goes on-top of the line. Naturally when she goes back together she will have braided break lines from goodridge or hel
100_0645.jpg

Once the break line was removed it was time for my all time least favorite job on a F or TF, removing the hand break cable retaining pin.
For reasons known only to the addled minds of mowberry pie scoffing MG/Rover engineers the pin goes through the cable and the calliper and then has a securing hair-pin on the far side...
The problem with this is that in a classic and unique tradition known only to british cars the pin then rusts in place in about 35 seconds... to make things worse the calliper heats up allot welding the already rusty pin in place....
So naturally the pins never want to come out!... You know I said things were going well?...
Well to make things worse you can't nock them out with a hammer and punch because the calliper stops you from getting in with a punch grr... if only MG/R had put the pin in the other way!
most people who have ever taken these blasted pins out replace them with a tiny nut and bolt that can be removed with a pair of 8 or 6mm spanners in 10 seconds...
Not the person who put this engine back in though, so after much swearing out came the angle grinder! which cut the head off the pin and heated the metal up so that with a punch and a lump hammer I could get the pin out...
This pic sums up the aftermath ** :)
100_0644.jpg

lather rinse and repeat on the passenger side calliper :)
Next job was to uncouple the rather rusty clutch slave cylinder feed pipe (what a mouth full)!
This is it
100_0646.jpg

And this is it disconnected
100_0647.jpg

lovely eh?
Next jobbie was to remove the ARB, I did this to make accessing the rear sub frame bolts easier... sadly and rather inevitably this happened
100_0648.jpg

oops, sheered bolt... never mind i think i will be needing a new sub frame anyway
ARB removed
100_0649.jpg

One of the last jobs left to do was the gear linkages, they look pretty decently manufactured to me, obviously one of the few jobs Mike Satur got to finish on Golden Wheels.
They were also very easy to remove compared to a Rover K series set up. I would love to see pictures of a Civic Type Rs gear linkage set up if anyone can show me some just to compare the two.
100_0652.jpg

Where they link to the box:
100_0651.jpg

One disconnected
100_0653.jpg

Two disconnected
100_0654.jpg

simple job of two securing bolts and one nut holding it onto the gearboxs selector :)
The last serious job was to disconnect the main positive feed to the starter motor. Easy you would think?
Except I couldn't find the starter motor! and I still can't! I can only assume that either it's internal to the gearbox? Or I just can't see it because it's hidden behind something...
In the end I disconnected the wire which normally attaches to the Rover Starter motor... its not been modified it's just plugged into this rather odd box... here are some pictures, if anyone can shed some light on my mystery (im guessing the boys at type-R-owners.co.uk will be able to help here) please pipe up
100_0655.jpg

You can see the red wire which is the same wire that connects to the Rover Starter motor and 2 other wires which I have no idea what they do!
It's attached to this plate which is interesting (to someone I'm sure)
100_0657.jpg

Andddd... This is it disconnected
100_0658.jpg

As far as I'm aware there is nothing left to disconnect now apart from the 10 bolts that hold the subframe to the shell. Apart from this
100_0659.jpg

An ABS sensor wire... and on that fantastically pointless note! - Update over, tune in next time viewers for more "Tales of Interest"


** What the pic doesn't show is what happened when the sparks from the angle grinder set some 'stuff' on fire... I pelted full speed down my drive and into my garage to get my fire extingisher... sadly I had goggles on and headphones and as a result I ran full pelt into a half closed garage door... this was quite uncomfortable
 
good update, the gear linkage on a type r are rubber mounted, push on with split link to hold in place, yours look bolted on ?
 
thanks rf55... yeh mine are bolted in, i will have to examine the cables when the subframe is out like and see if that mod will work, there is something very similar from mike satur for the TF standard cables... i dont think my gearchange could get much better thanks to mike saturs designs but still anything to get rid of rubber that will perish!
 
UPDATE! 3rd June

Blistering sun and only 10/12 bolts between me and my engine out... what could possibly go wrong?

God where should I start!

First of all thanks to low profile tires and lowering springs the front bumper was too close to the ground to jack the back of the car up to drop the subframe out. Doh!

100_0662.jpg


So the front bumper had to come off... 4 self tapping screws on top and then the wheel arch liners had to come off. What a pain in the sewage end!

Most of the screws looked like this

100_0664.jpg


Plastic totally rounded :(

So i had to physically rip the lining off :( never mind

This screw was a fair bit easier thankfully

100_0666.jpg


This left the fog light plugs and 2 bolts that should have gone through the bumper and into the car but as you can see in this picture these bolts had been replaced with smaller bolts with a nut on the end which was the very devil himself to get too

100_0667.jpg


Anyway as you can see they should have bolted in here

100_0668.jpg


lord knows why the right size bolts weren't put in here but never mind. Bumper off

100_0669.jpg


100_0670.jpg


So that left the 10/12 bolts that hold in the subframe... the rear 6 are normally pretty easy, although these buggers were in VERY tight, I really thought they were all going to sheer

100_0672.jpg


but luckily with a large breaker bar they came off

100_0673.jpg


random note for you all this is the first car i've seen with 4 bolts in here, all the other TFs i've worked on have had 3 each side.. anyway

all that stood between me (and you) seeing the K20a sat on a TF rear subframe for the first time now was 4 bolts

which did NOT want to budge, getting pics of these bolts is very very difficult but here is one of the 2 i managed to get out of the passenger side

100_0674.jpg


the drivers side did not go so well... in spite of been cap head bolts that i assume should not have been in the car long, they were so tight they both rounded almost straight away :(

and after trying a few things i had to give up... 2 bolts are holding up the whole project and until i figure something out thats that :(

oh and to top things off i dropped my pry bar on my boot while packing up and did this :(

100_0678.jpg


not good! lol

next update should have the engine out peeps so stay tuned!
 
Finally! UPDATE!!!! 27 June 2011

Well today was the big day!

I have been stuck on 2 bolts that just would not come out... apart from being rounded before I stuck a socket anywhere near them they were also (it later turned out) the wrong thread for the captive nut!

Figures with this mess of a car!

Anyway with some help from two people I owe allot to - Bob and Paul Swan*, 2 local mechanics who have helped me massively over the years, these guys know their stuff, don't take short-cuts and have generally kept me right and shared expertise with me for years asking nothing in return! Can't thank em enough! Two of the many great people I've met thanks to cars! anyway, enough bleating on and being all girly the point is... we cracked on!

First of all I had to start the lengthy (and in my own unique way - dangerous) process of dropping the subframe off the ramps needed to access the rounded bolts with a captive tool... at the same time I had to jack up the body of the car without breaking anything attached, to the car, the subframe or my body... err maybe not in that order of priority!


100_0813.jpg


Oh dear!

100_0814.jpg


Thankfully it began to drop clear pretty easily... a few things got missed or snagged, a main earth from the engine to the rear bulkhead was one I missed on pics but a few others I got pics of

This fuel pipe was one

100_0816.jpg


I can only assume this random thing is something to do with fuel return? can anyone help me out here (remember im a nurse not a mechanic! :D)

I had another issue with the hand break cables... on a K series fired TF these sort of lie over the gearbox in 2 clips iirc. On here they were inexplicably snaked through half the coolant hoses!

I tried to point them out in this pic but the screwdriver sort of morphs into the picture... freaky

100_0817.jpg


So I had to undo some more coolant rails to feed them through, this was annoying but not the end of the world!

This next one shows a coolant pipe I had to move with a sensor in it (I assume this is for the water temp guage beloved of and feared by all MG Drivers?)

100_0818.jpg


But inexplicably it had been earthed...

100_0819.jpg


even though the rubber hoses isolate the metal of the pipe... any ideas mechanically knowledgeable people? is it part of the way the sensor works?

It wouldn't be an update without a pointless pic!

100_0820.jpg


this was ment to show me and paul wrestling with a coolant hose... instead it shows a lovely pic of our manly forearms... isnt that nice? aww

anyway moving on before we get dangerously homo-erotic

The engine began to descend!

100_0815.jpg


The front coolant pipes had to be undone... thankfully the crappy push-button jobbies MG/R used near the PRThermostat were gone and replaced by jubilee clips (finally something good on the car!) so that was easy

So the tub could be slowly lifted off the subframe!

100_0821.jpg


now here for some action shots!

IMG_0007.jpg


:D I love this bit

My latest project....

IMG_0006.jpg


The Monster-Tec!!! Geddit? like Monster-Truck, only - only like its a -Tec! Haha!... only me laughing? ok :(


this meant that!...

100_0824.jpg


IT was out!

100_0822.jpg


Freakin' sweet!

Ooooshh!

Mmmmm Vee-Techhawwwahhhhh

and other TV character type phrazes!

as you can see the thing is an absolute mess! the subframe is bent in several places, is rusty as hell and the engine is in serious need of a tidy up!

the rough plan atm is to get this bad boy down to mike satur and ask him to make me a subframe that will sit the engine on safely

then plug it back into the car asap (yes in a bit of a state still)

this will let me shake down the parts that failed and nearly killed me before whipping it off the road again during the winter for a serious re-build with proper wiring and coolant hoses and rust-proofing galore!


Comments very welcome!


* This is the Swan AVO website http://swanavo.com/index.html apart from running their own garage repairing cars (mechanically as well as crash damage) they have restored classic cars and built rally cars... true old school petrol heads!
 
anyone want me to keep updating this? i realize its probably a bit boring for most of you so might just post a link to the MG thread im updating if everyone wants?
 
oh go on then... lets see what i can dig up for you... I saw her mentioned in Banzai mag this month (letter of the week no less!) and i've got a really bug up my ass to get this car running in the next couple of weeks now!

slight note... the cars direction has changed a bit

out goes track day toy idea

now it's bring built as a Grant Tourer - Raceing ... "MG-TF GT-R" and will feature (eventually!) forced induction (turbo) and leather interior etc to start having continental fun!

also i've spent the past few months replacing every single wareable part (all bushes, Track Rod ends, bearings etc AND i've had every suspension component sand blasted and wither PPC Powdercoated or painted... the idea being to build it better than new in every respect and to future proof it

i also have replaced every bush with a polybush and bought a glass rear screen for good measure!
 
Update! 1st July 2011!... and probably the most important update of the project ;)


last night at 10pm I was feeling a bit... erm 'restless' as you might say... the mrs had a headache so there was only one thing to do!


no you sick fools!


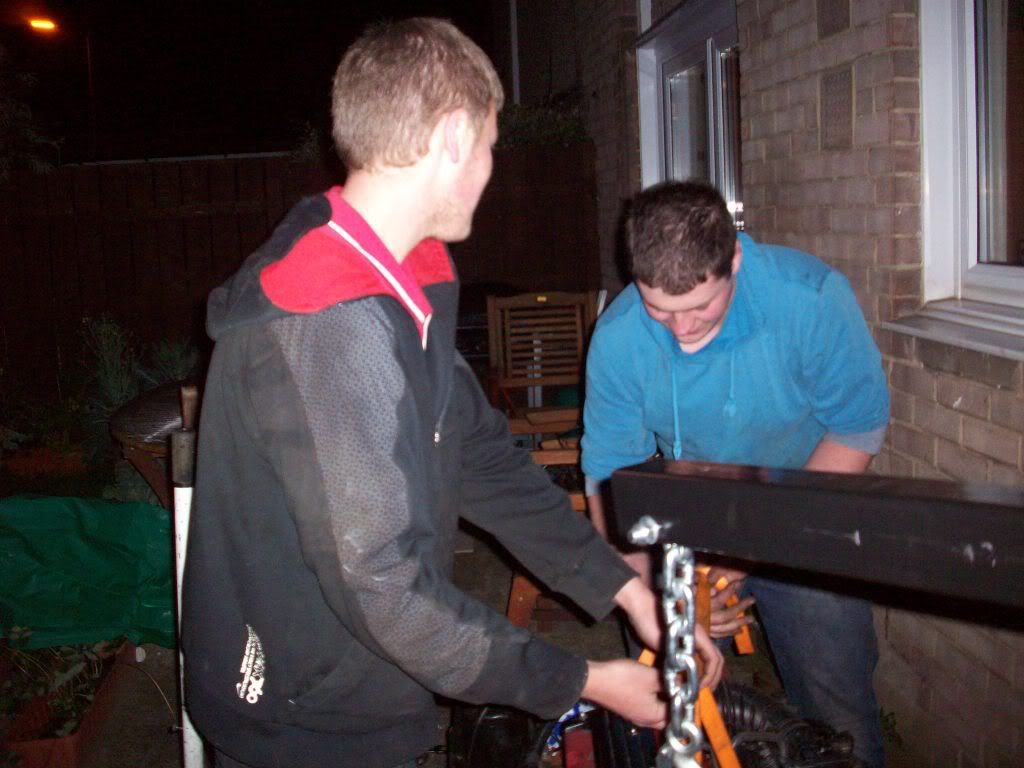
I went out to the garage to tinker! :D


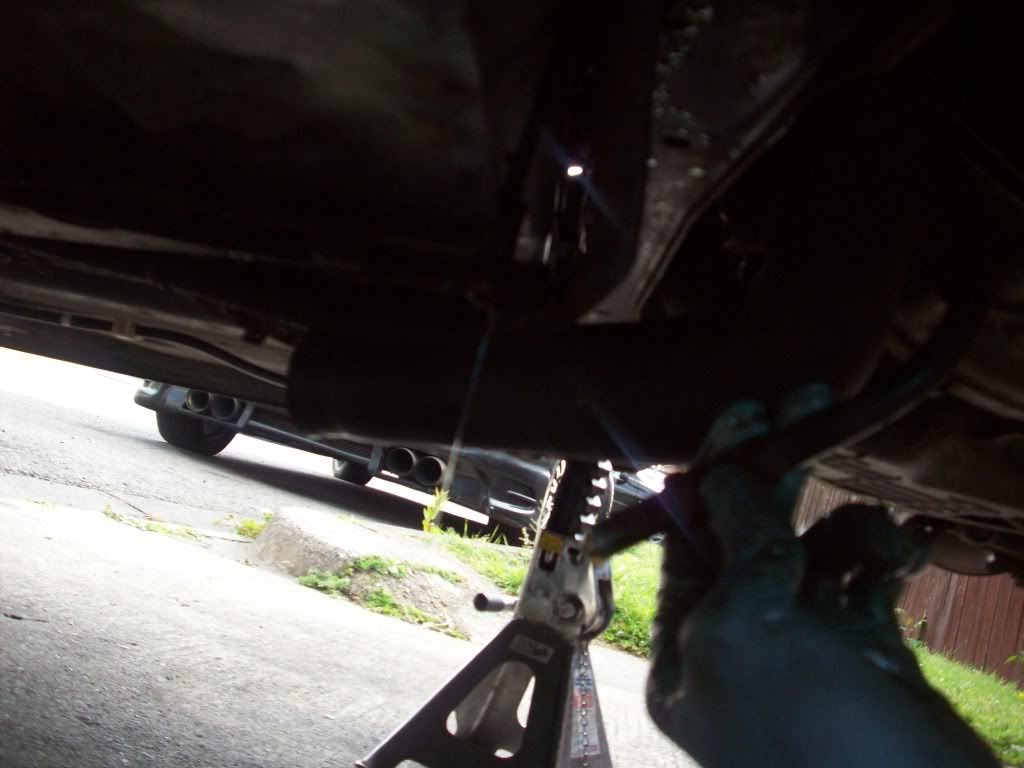
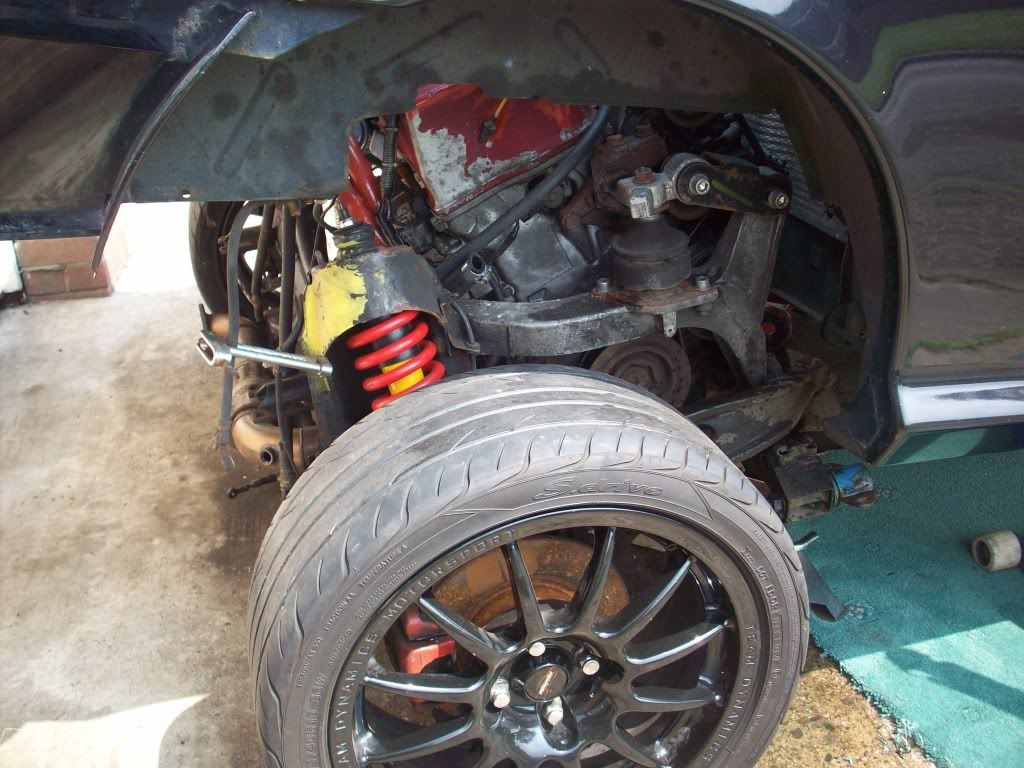
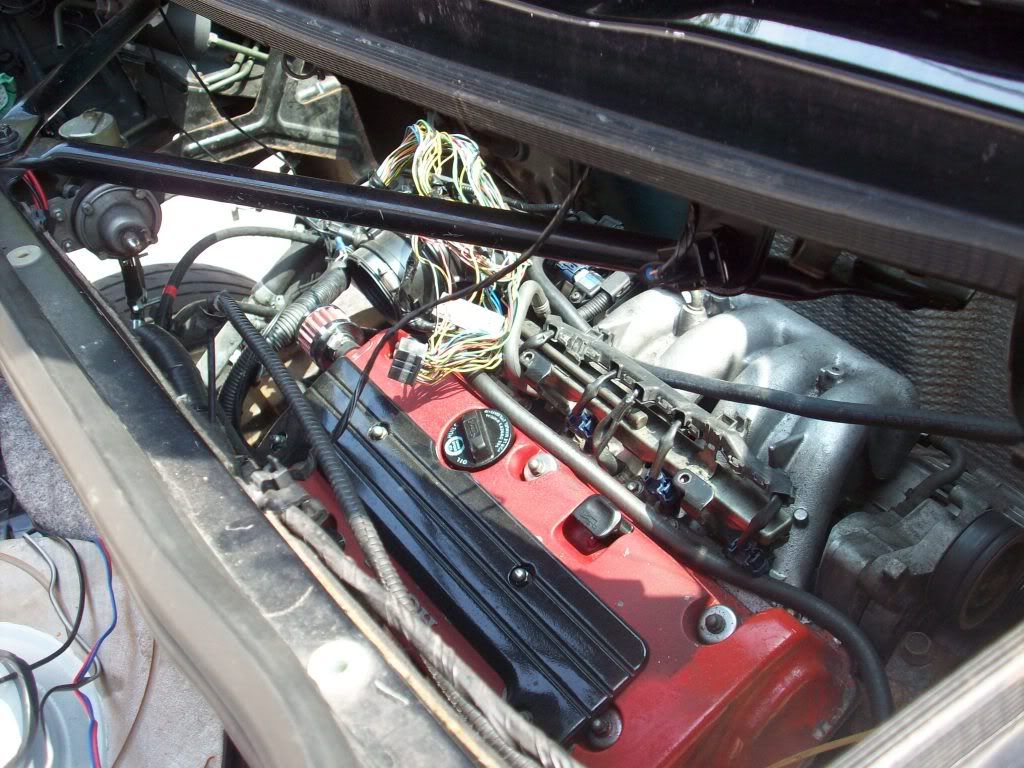
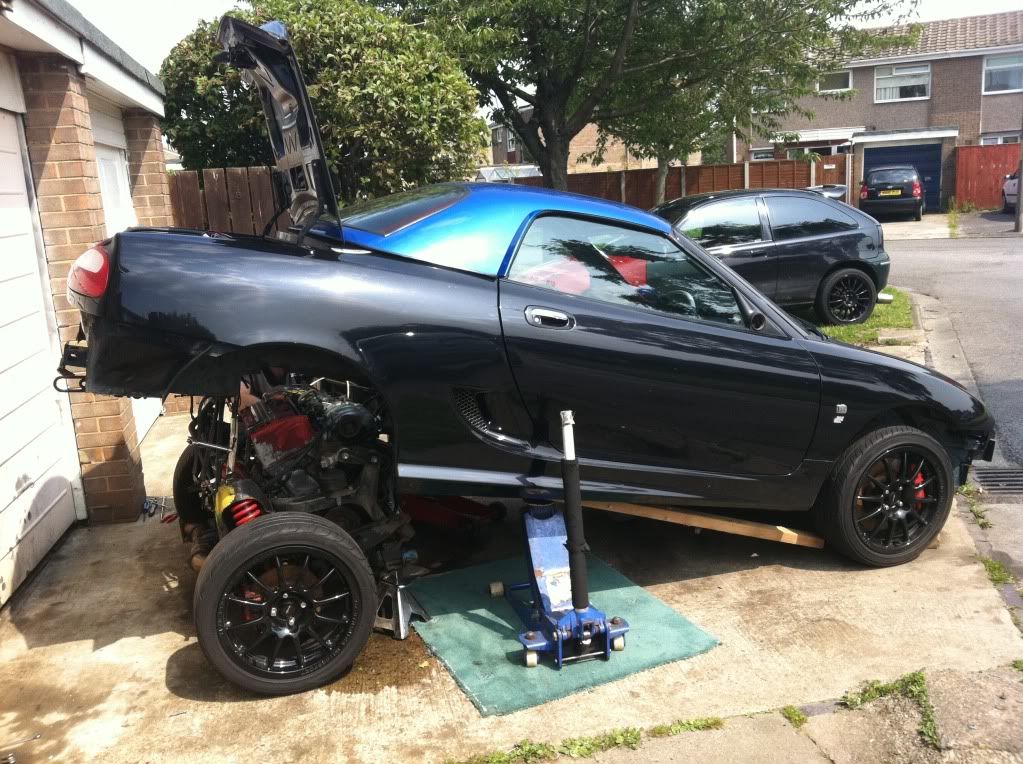
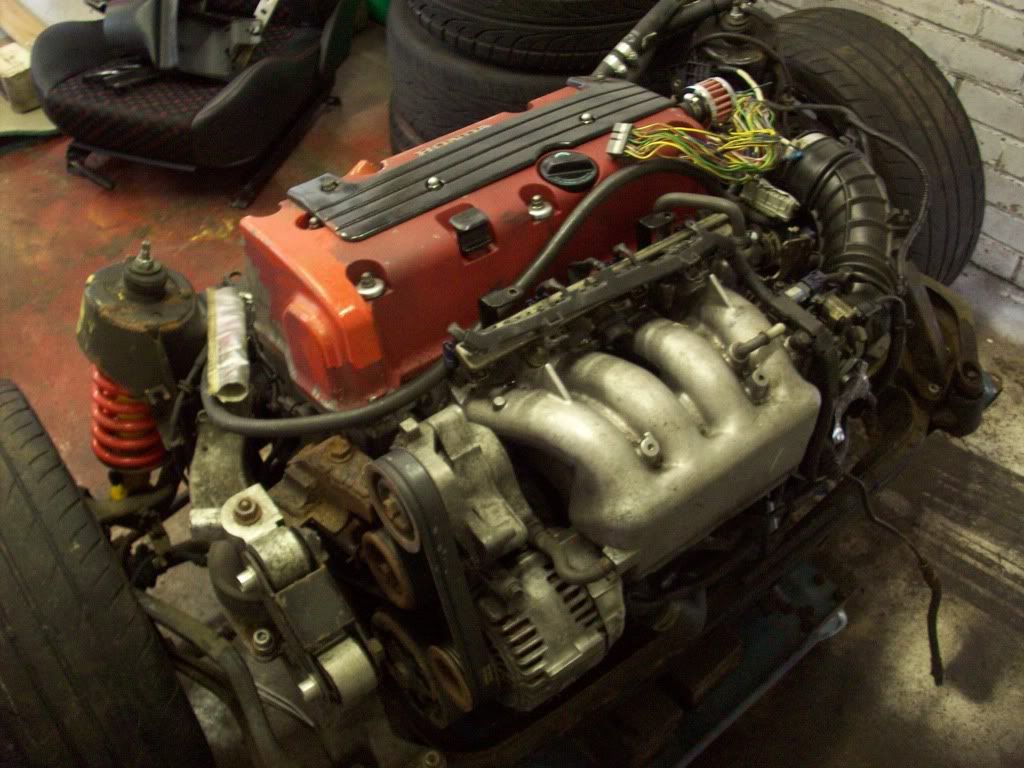
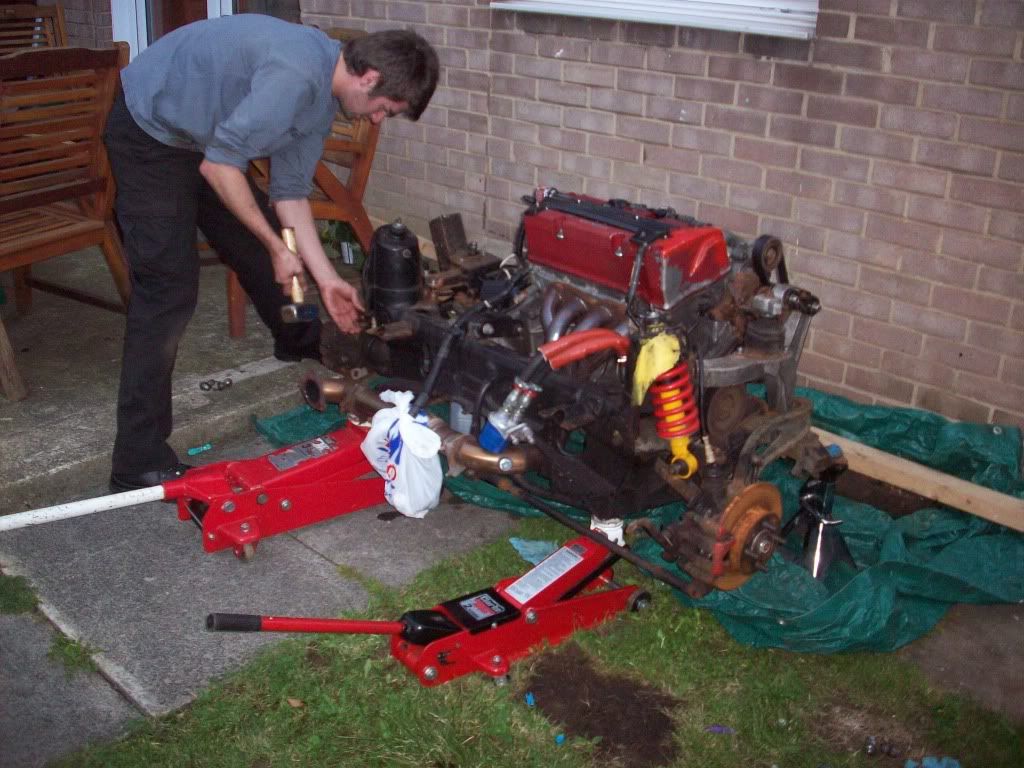
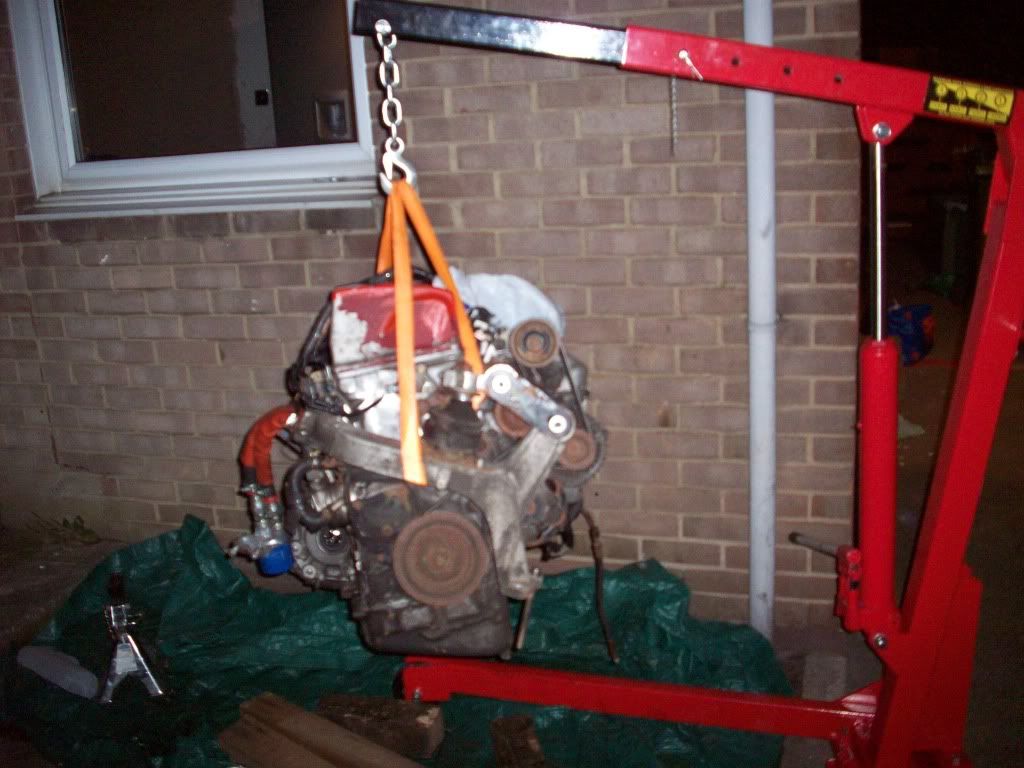
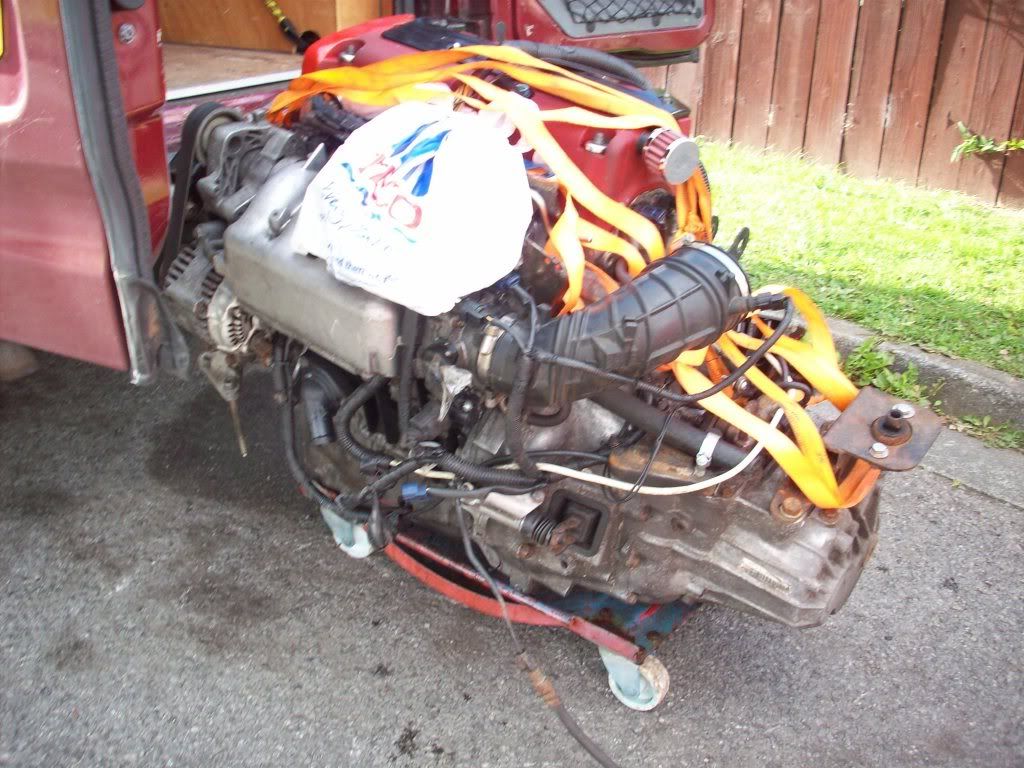
After a good clear-out of the garage the previous day, which had been stocked up with various TF/ZR parts for the past few weeks I had plenty of room to play with the engine as it sat on the subframe


I'd spent the past few nights (much to the Mrs Adams pleasure im sure) on various Lotus forums around the world looking up every morsel of info i could get my grubby mits on about K-Series to K20a conversions in S1 and S2 Lotus Elise's... must say thanks to Paul (Karmealeon) for his assistance here!


This plus lots of time sat staring at the subframe 'thinking' (and i use that word loosly) I "Think" I've figured out what caused the car to nearly kill me (more on that later)


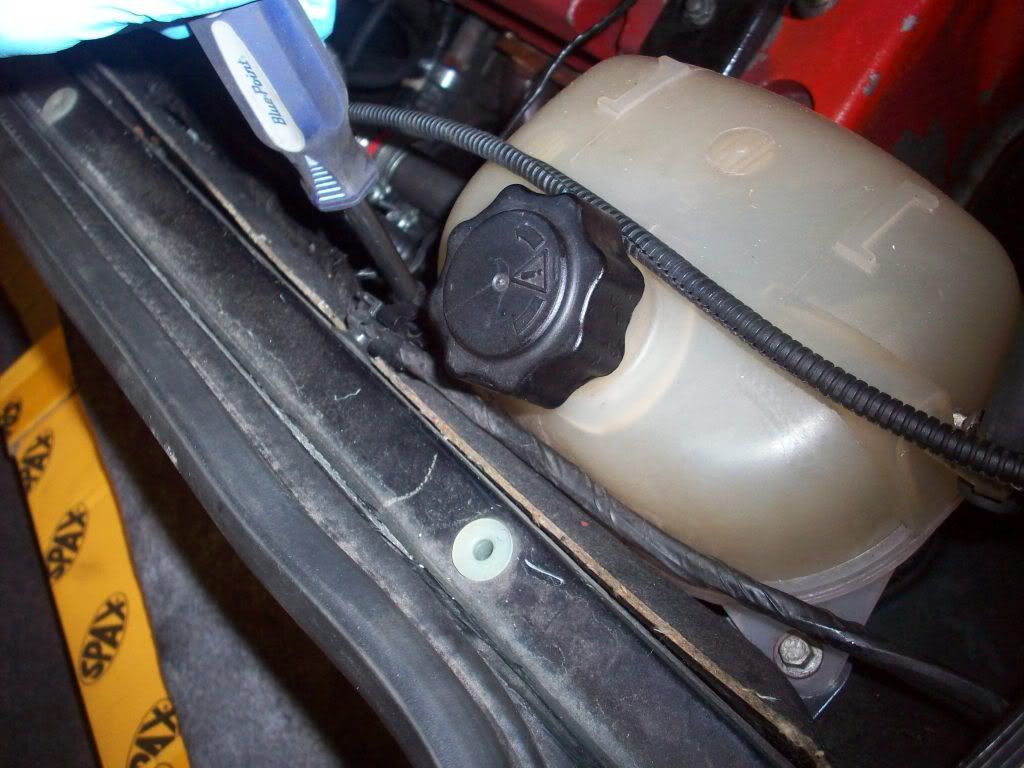
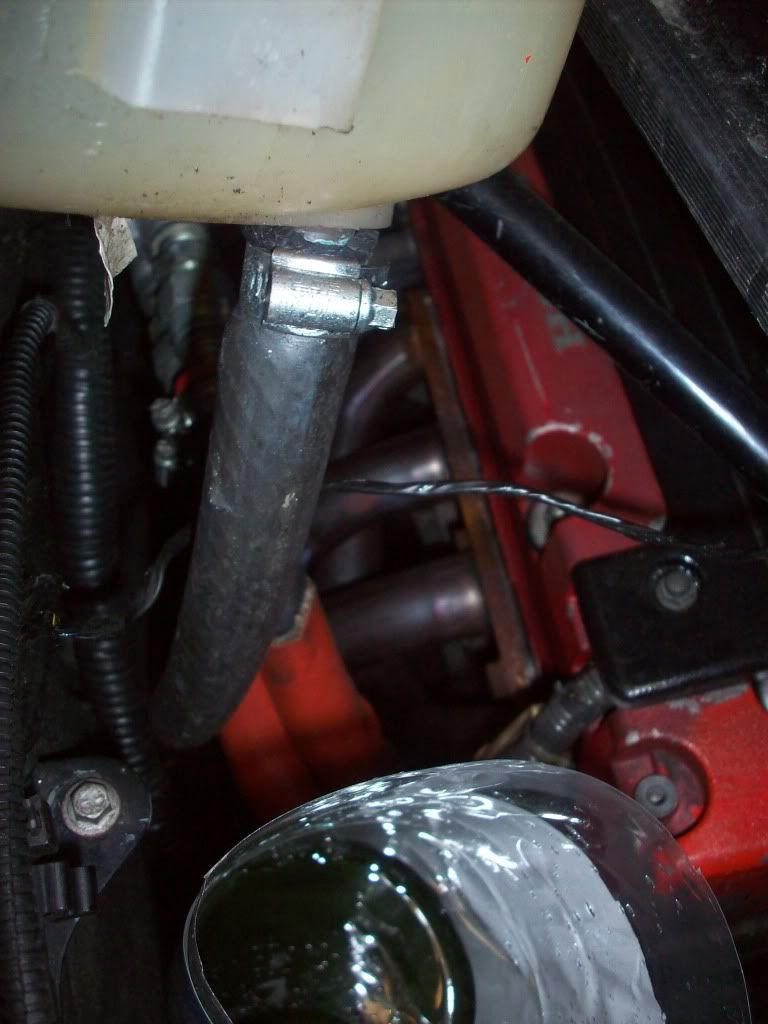
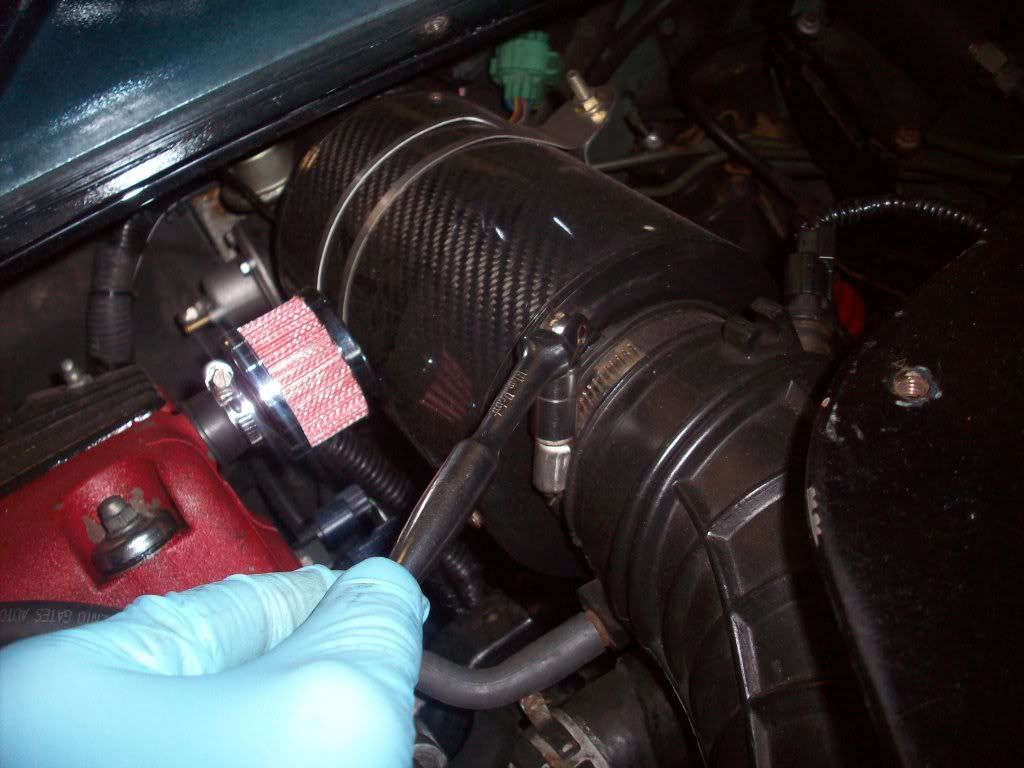
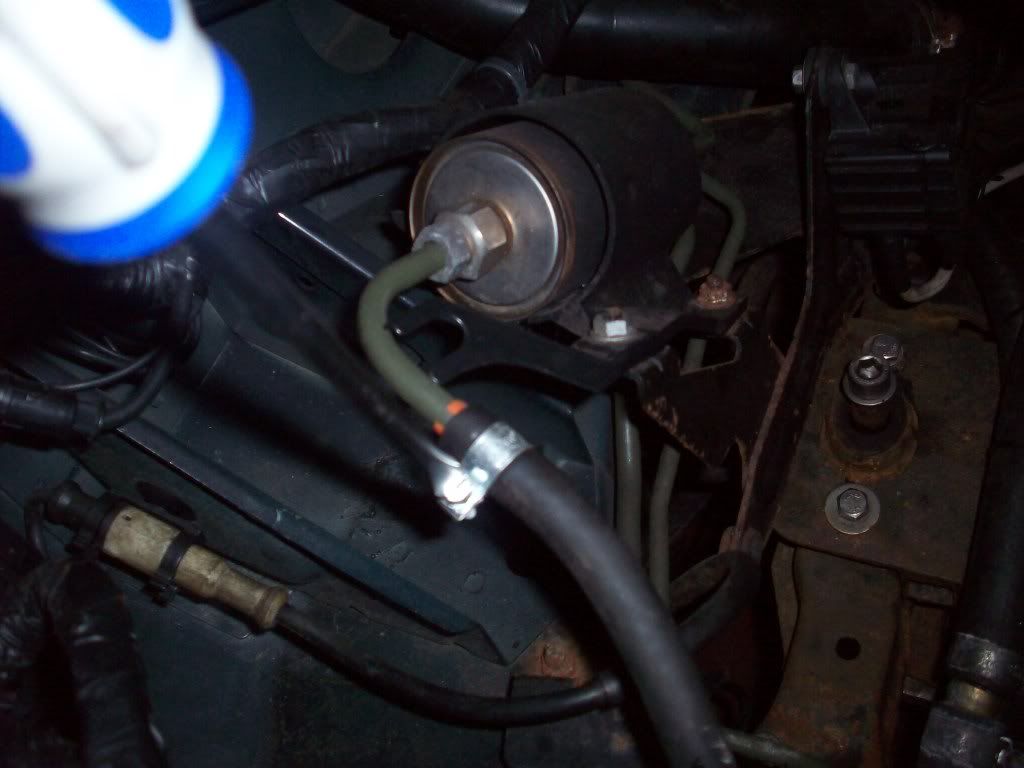
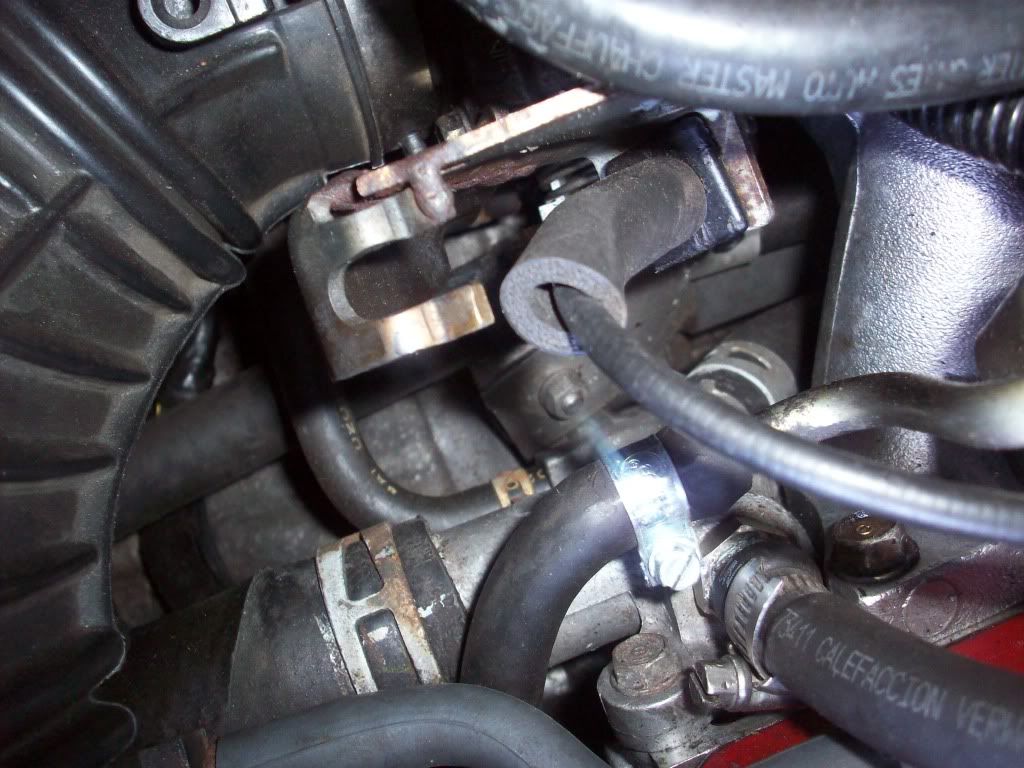
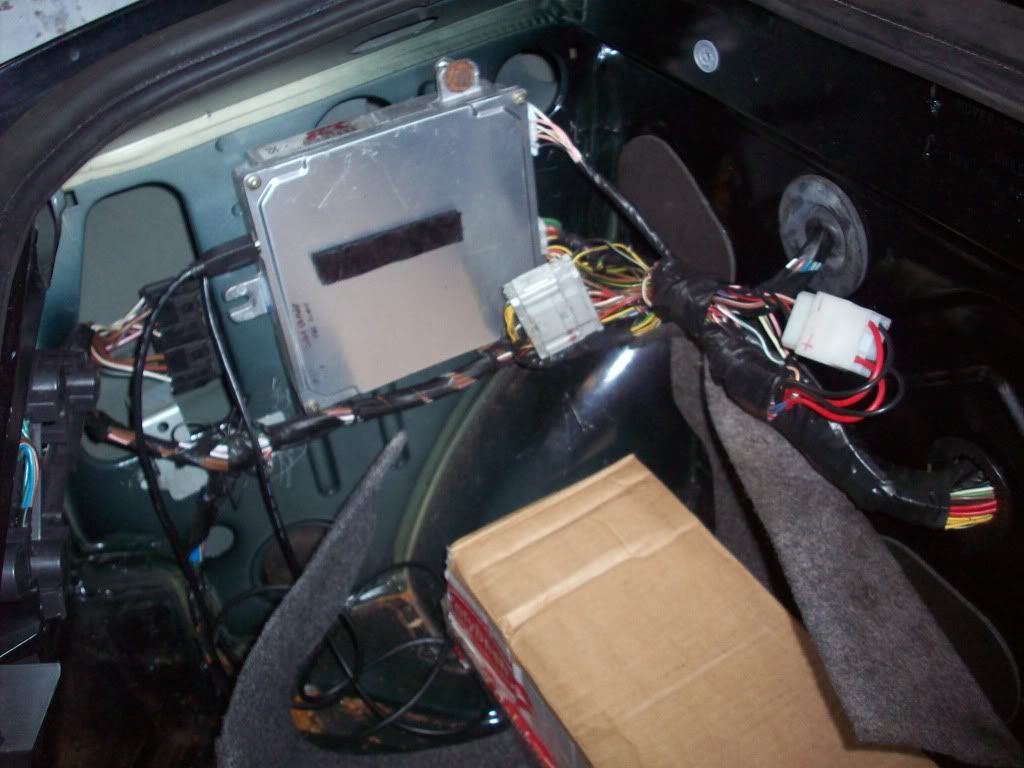
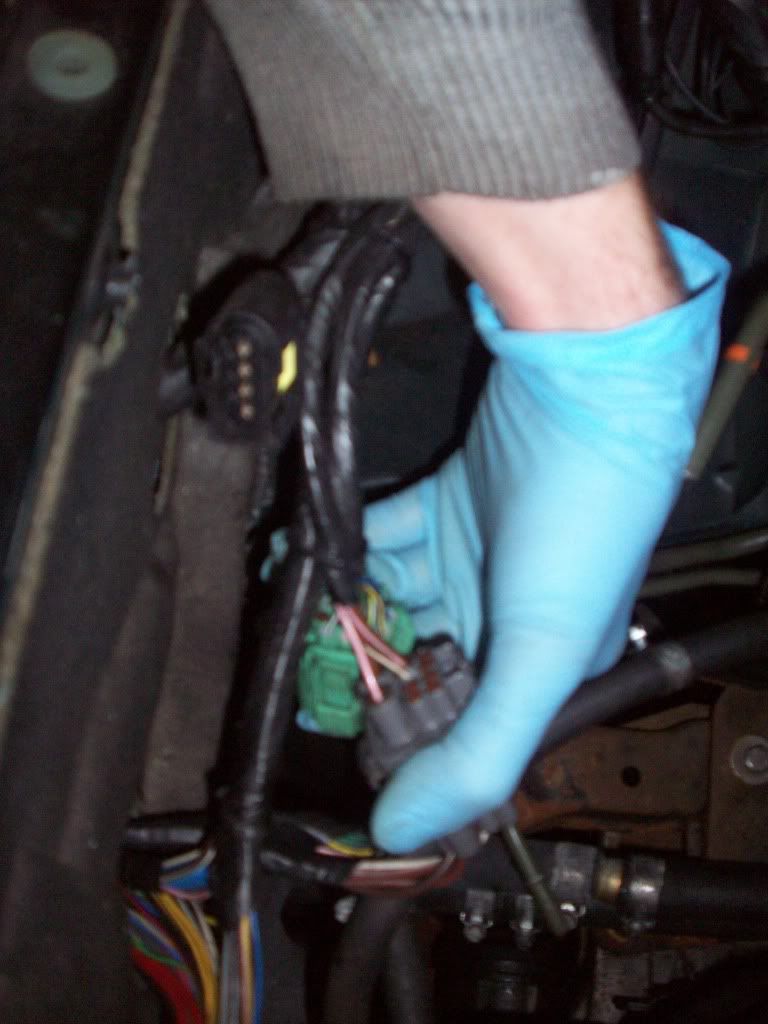
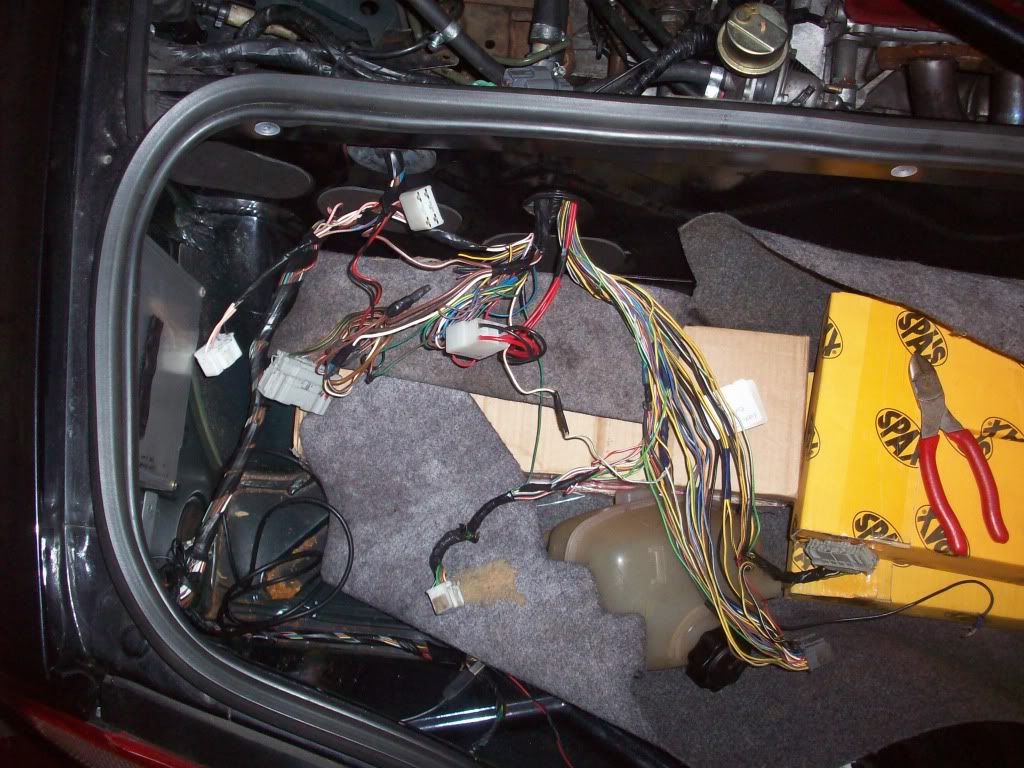
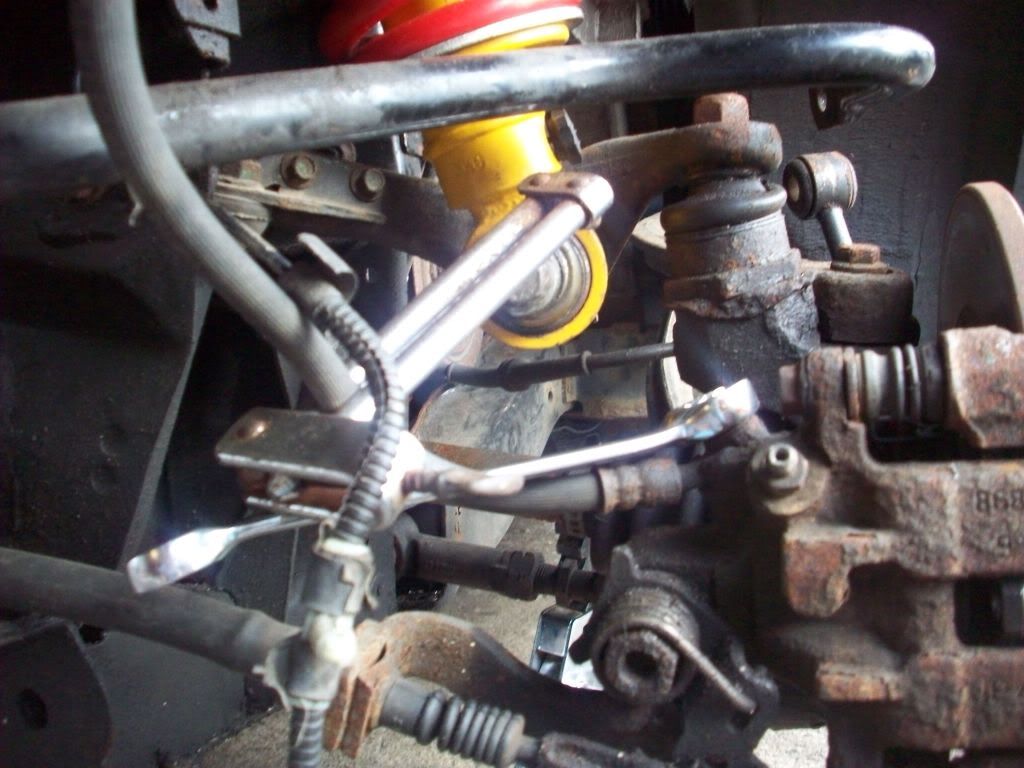
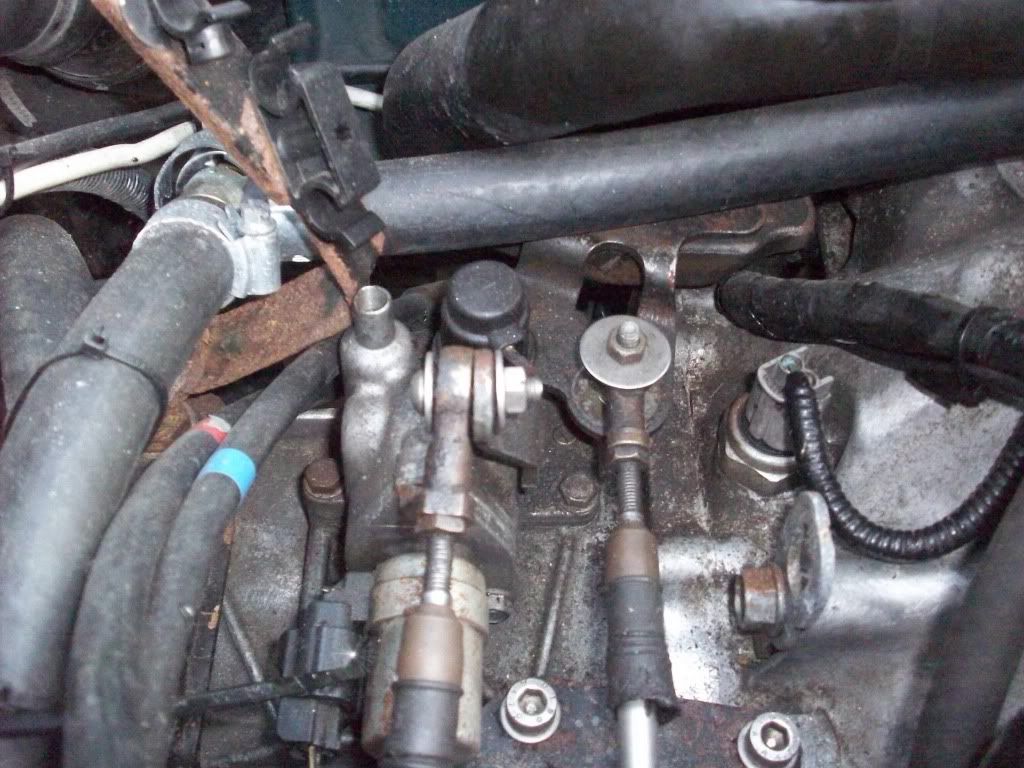
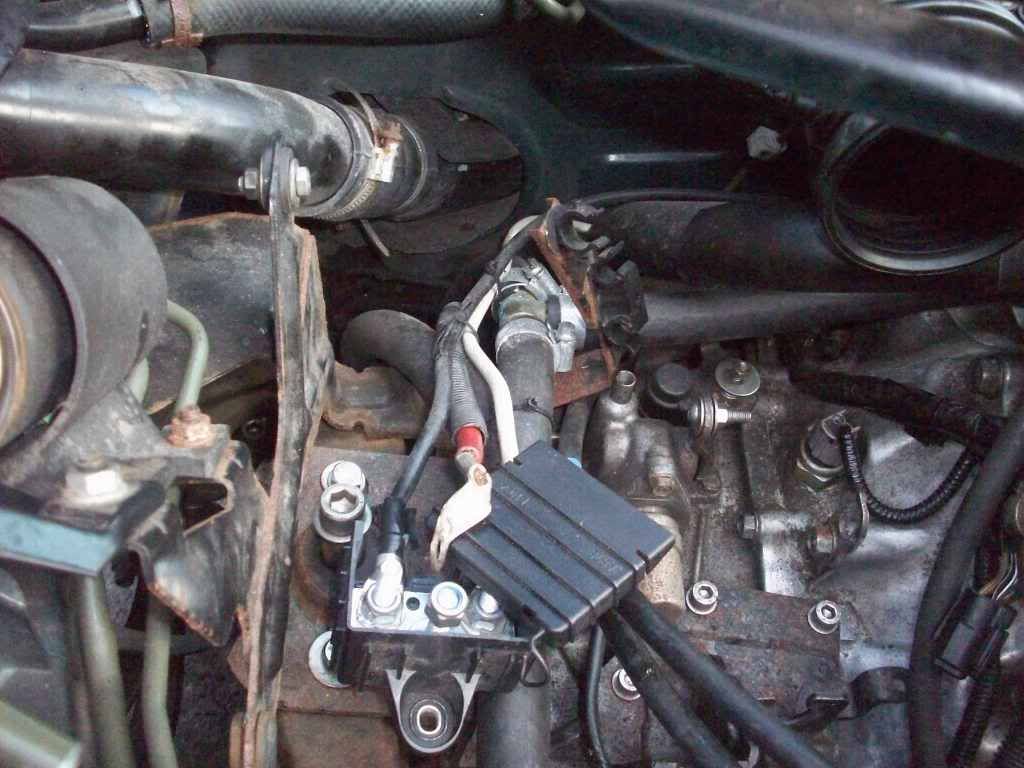
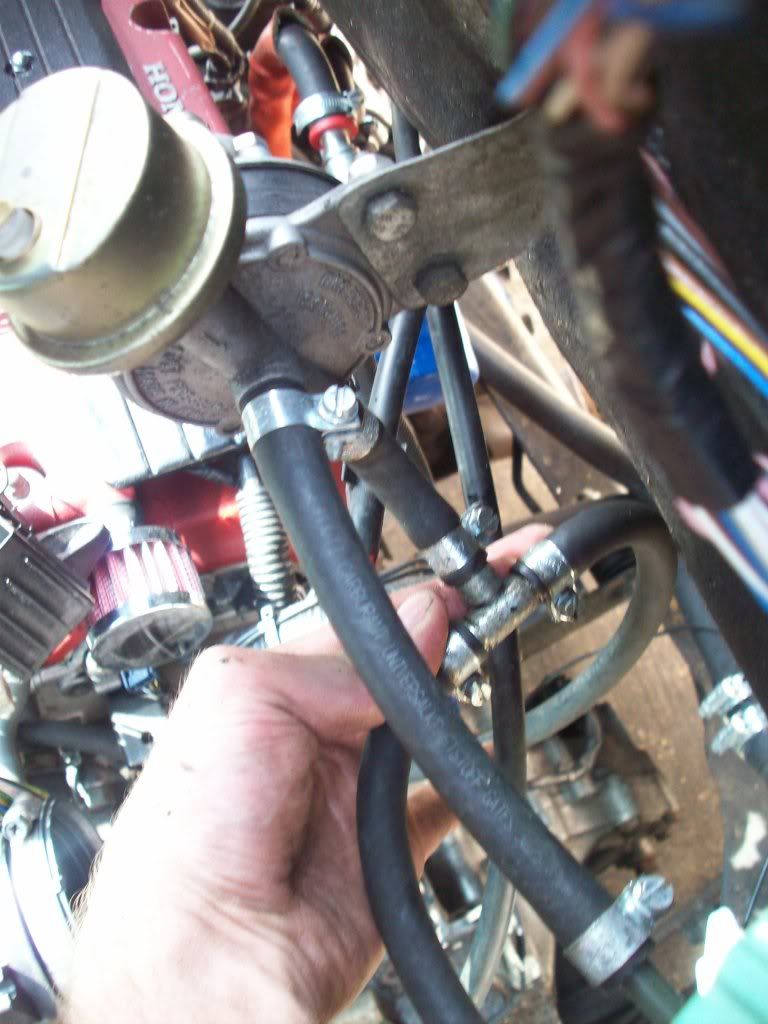
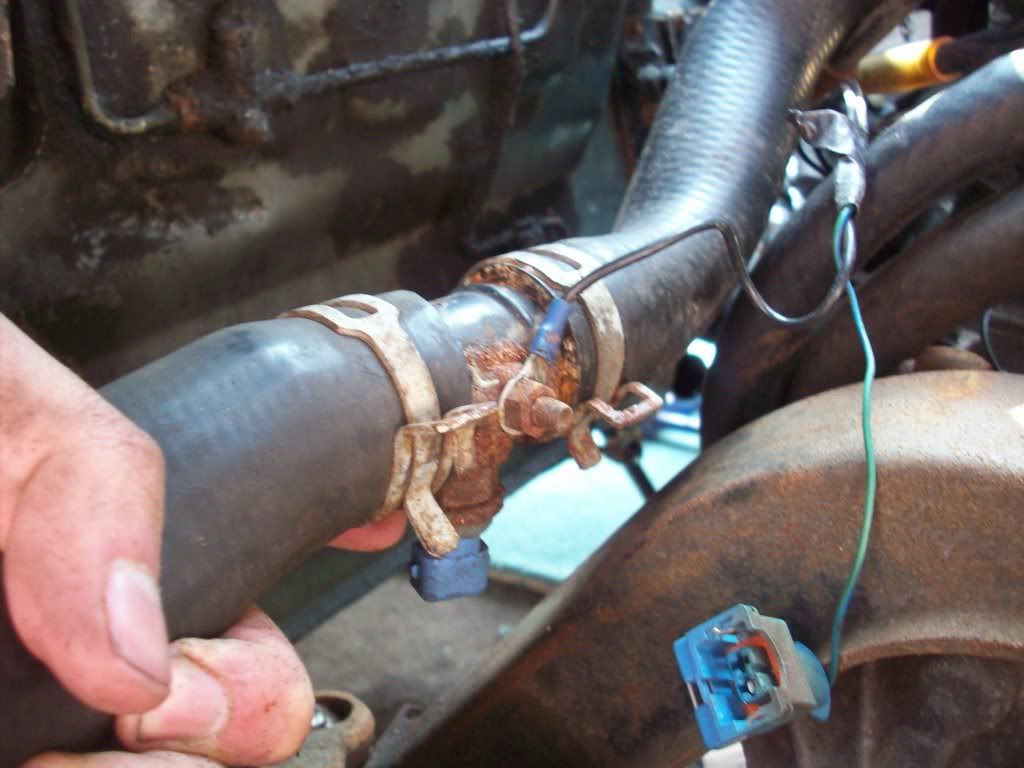
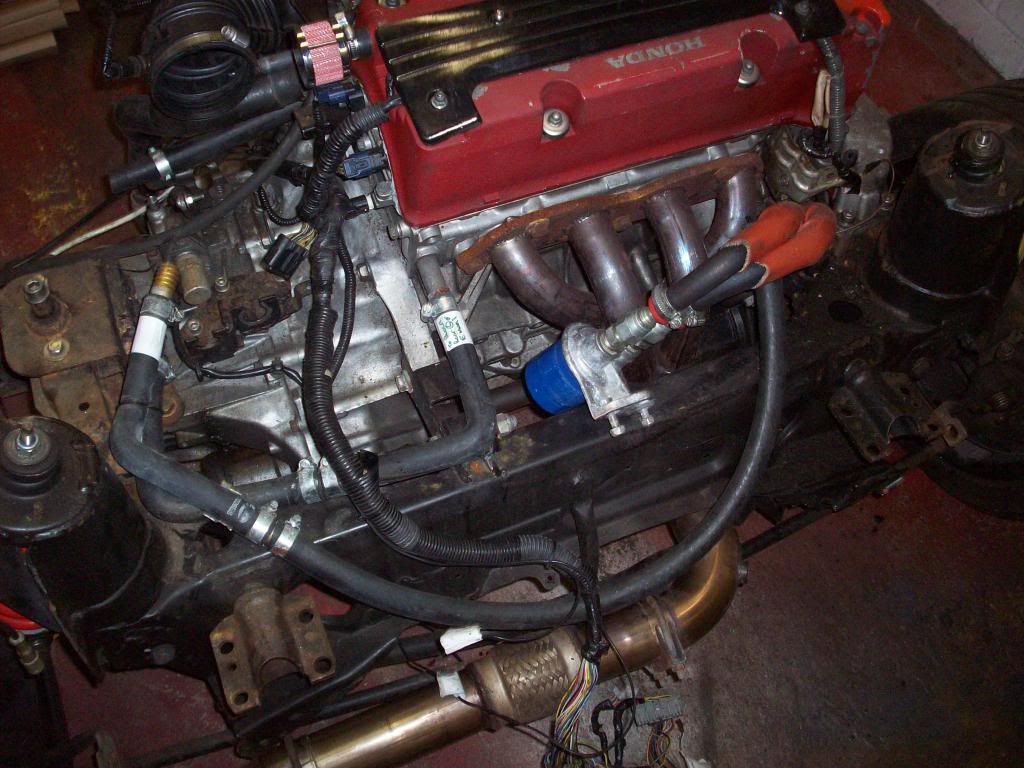
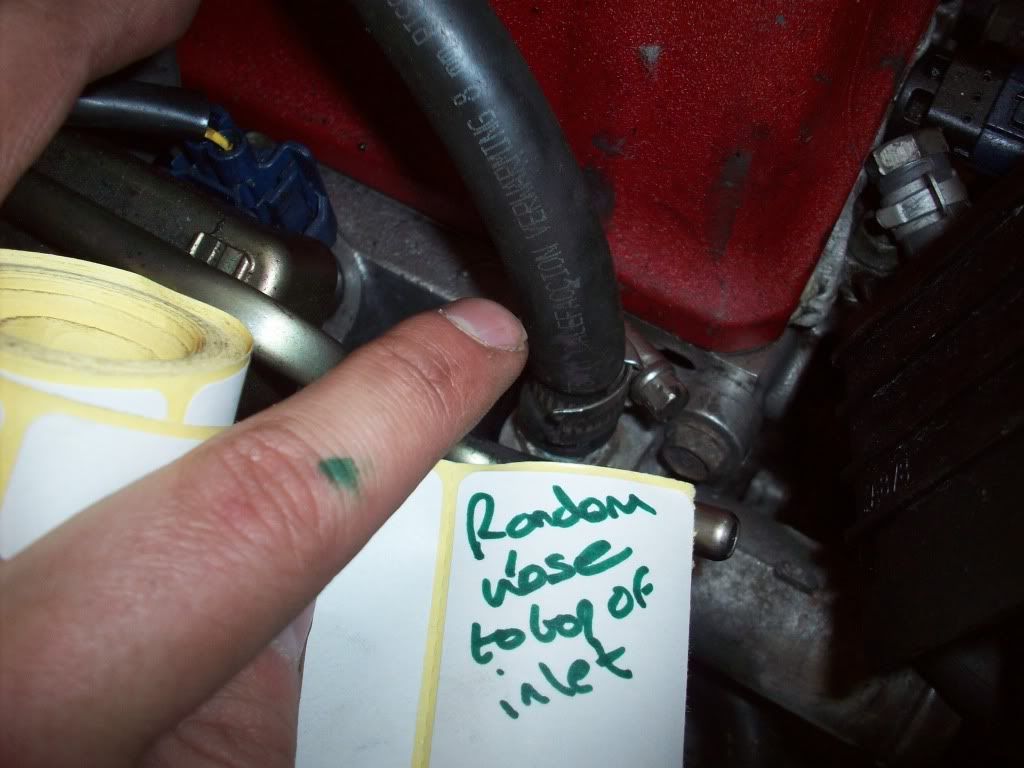
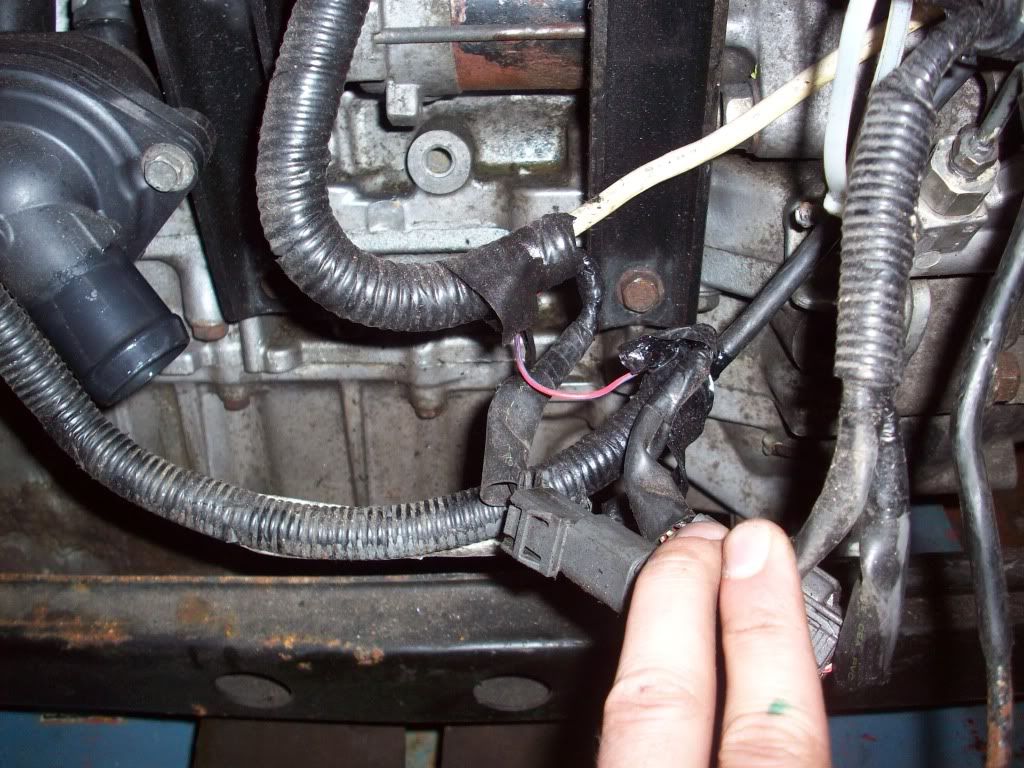
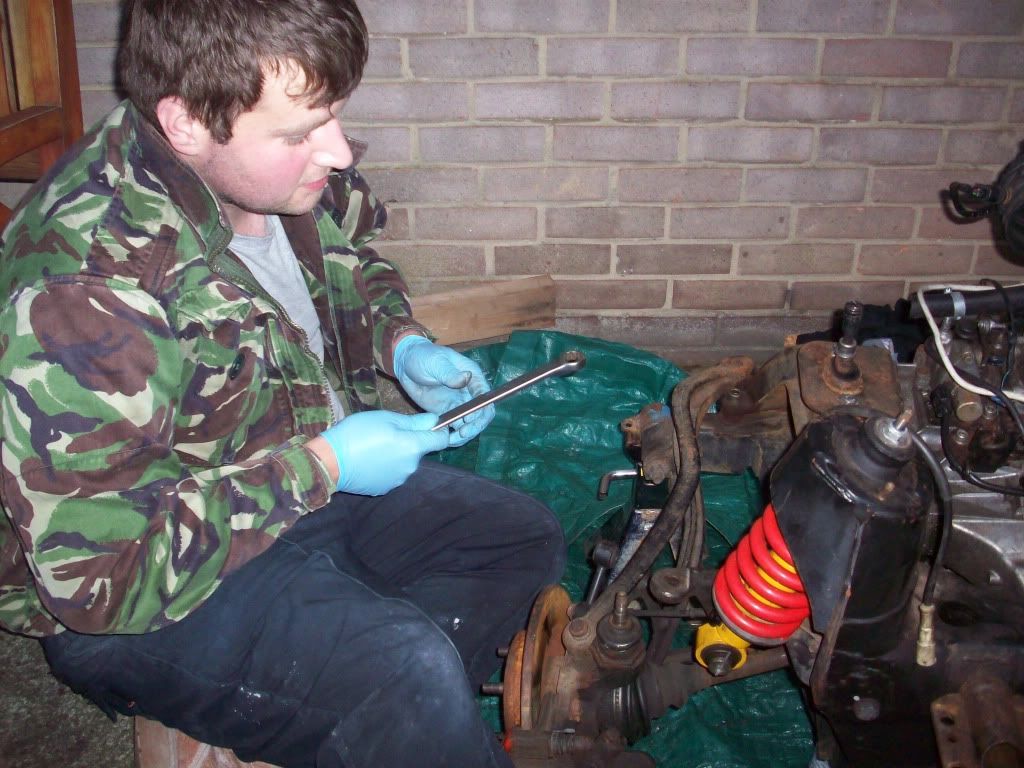
First I wanted to get all the gubbins I could easily remove out the way... I soon realized that taking the wiring loom off would be a nightmare so instead it was hoses that had to be taken off!


100_0842.jpg


This was going to be interesting to say the least! some of these hoses have been bodged together in a monumental way (and I don't mean that as a compliment!)


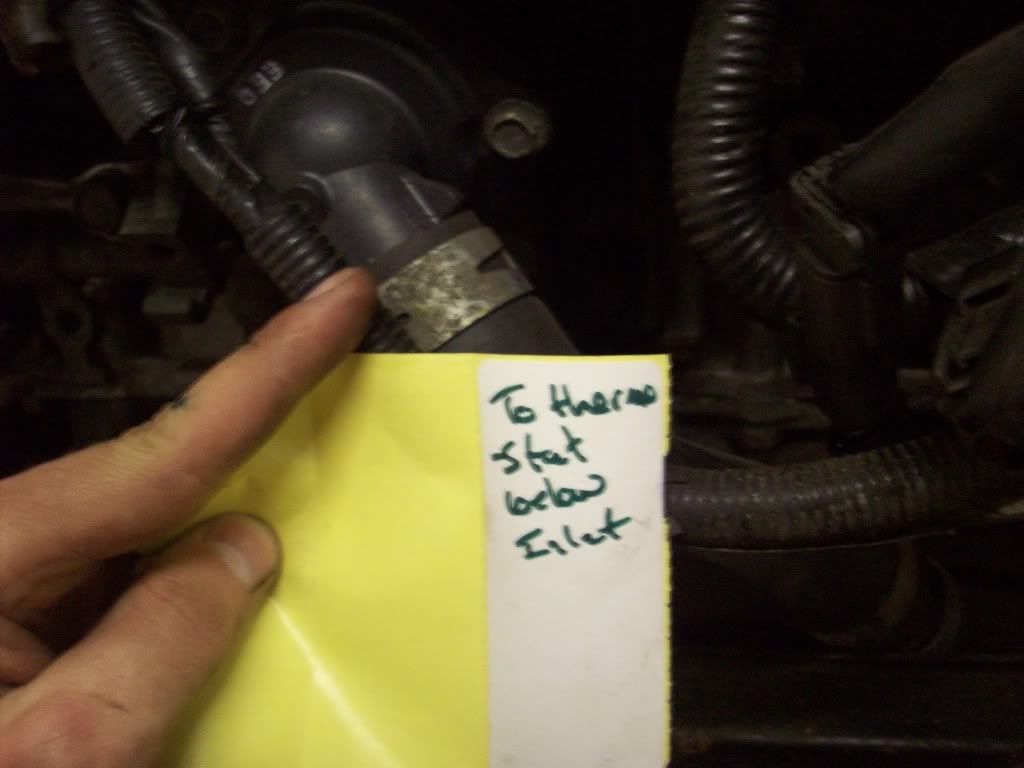
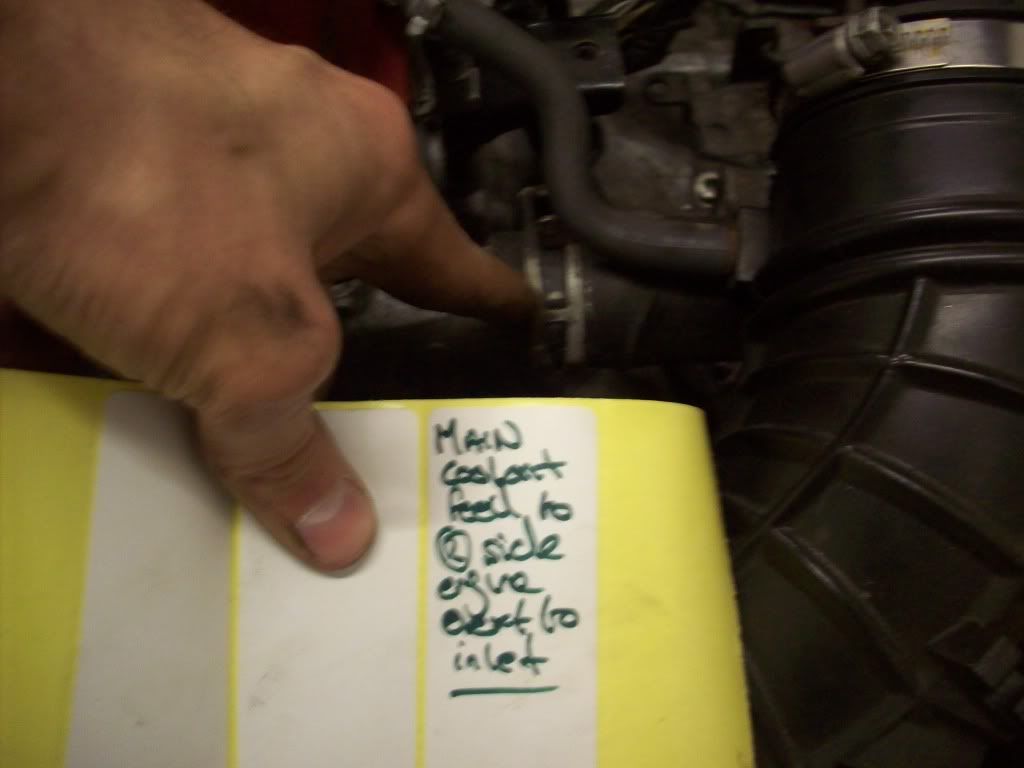
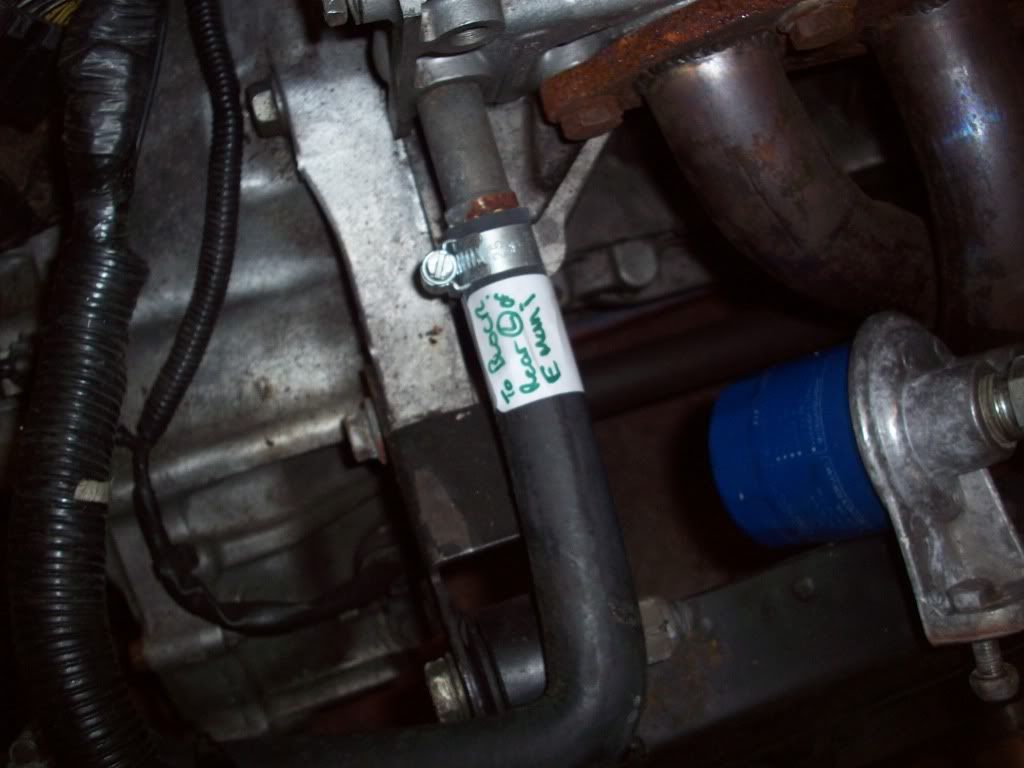
so lots of very detailed labeling was needed on my part


100_0852.jpg


I'm not convinced this was a good start! :shock:


100_0846.jpg


100_0845.jpg


all very boring


100_0841.jpg


you get the idea... the trick was to describe where the hoses plugged into the engine, in a way I would understand later when putting it back together... the sticky labels (predictably) weren't sticky enough, but I wrapped them in sticky tape as well so all are legible!


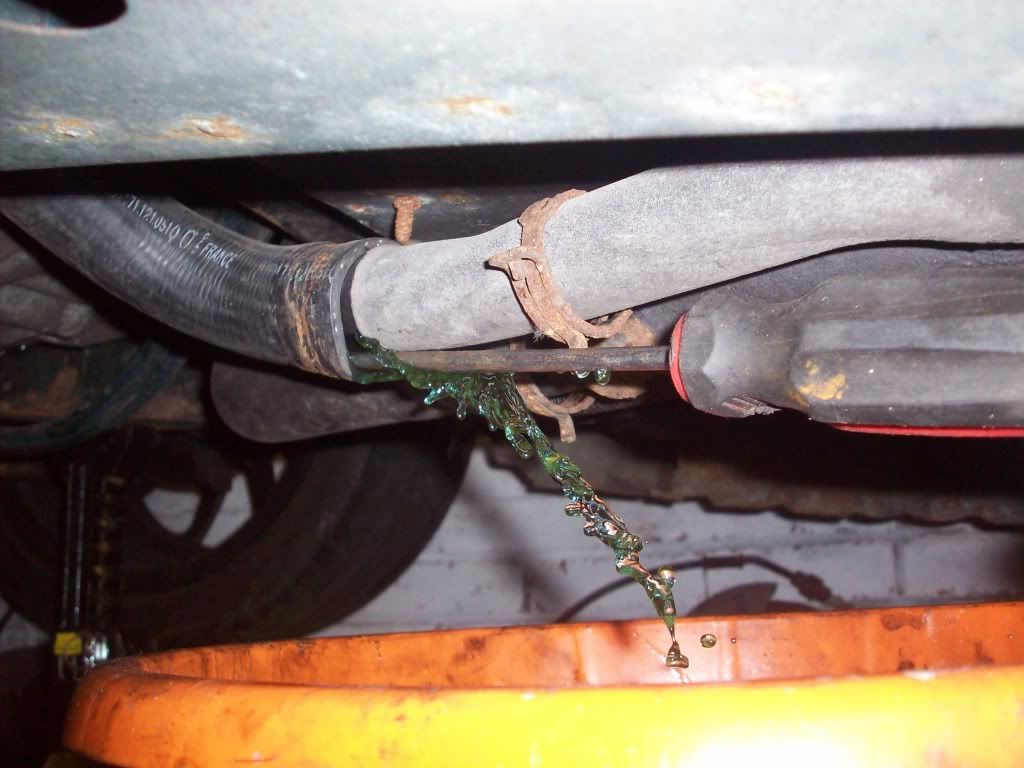
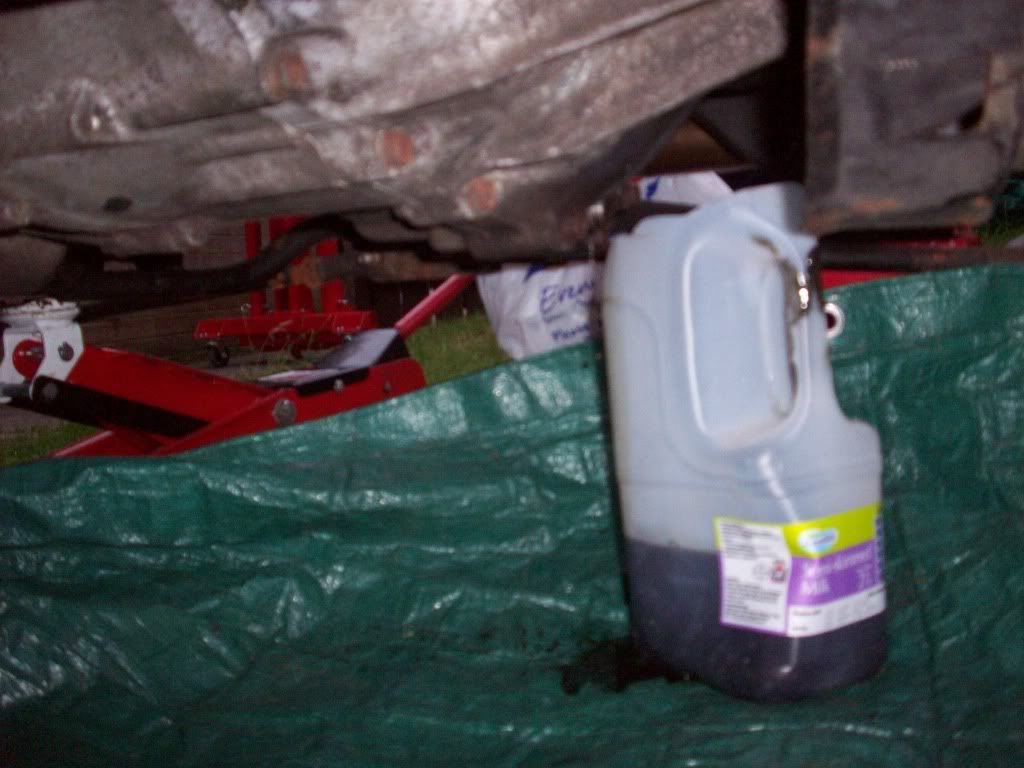
Anyway I managed to get all the hoses off, some were fuel hoses but most were coolent... much more room now :D job 1 - tick


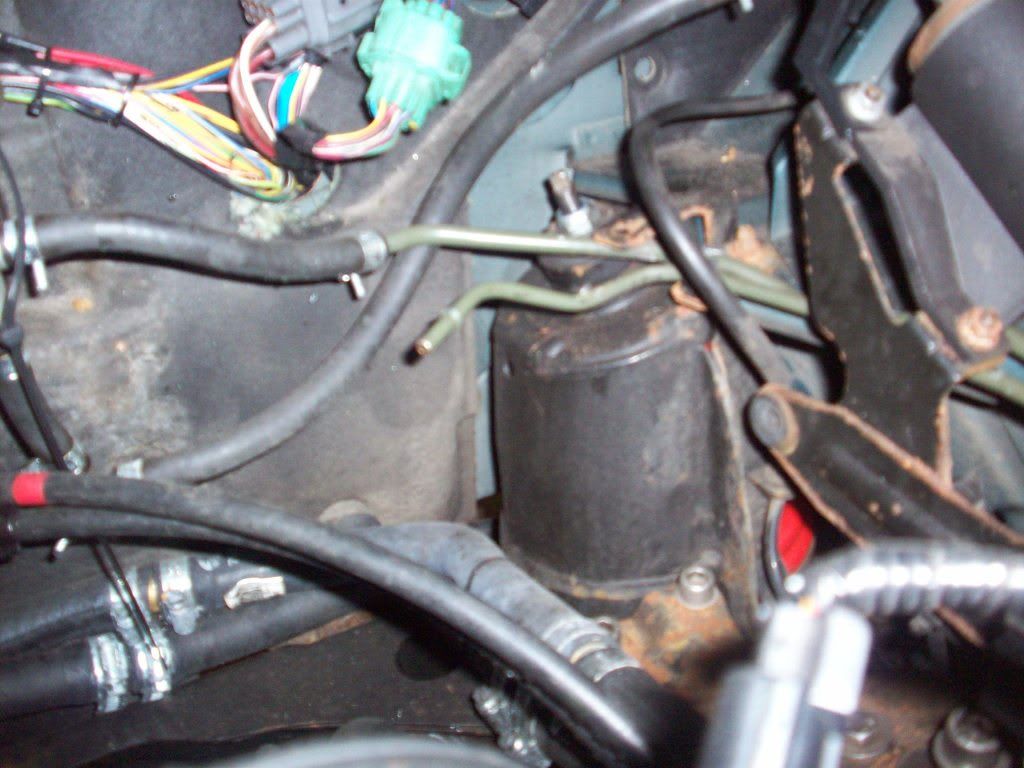
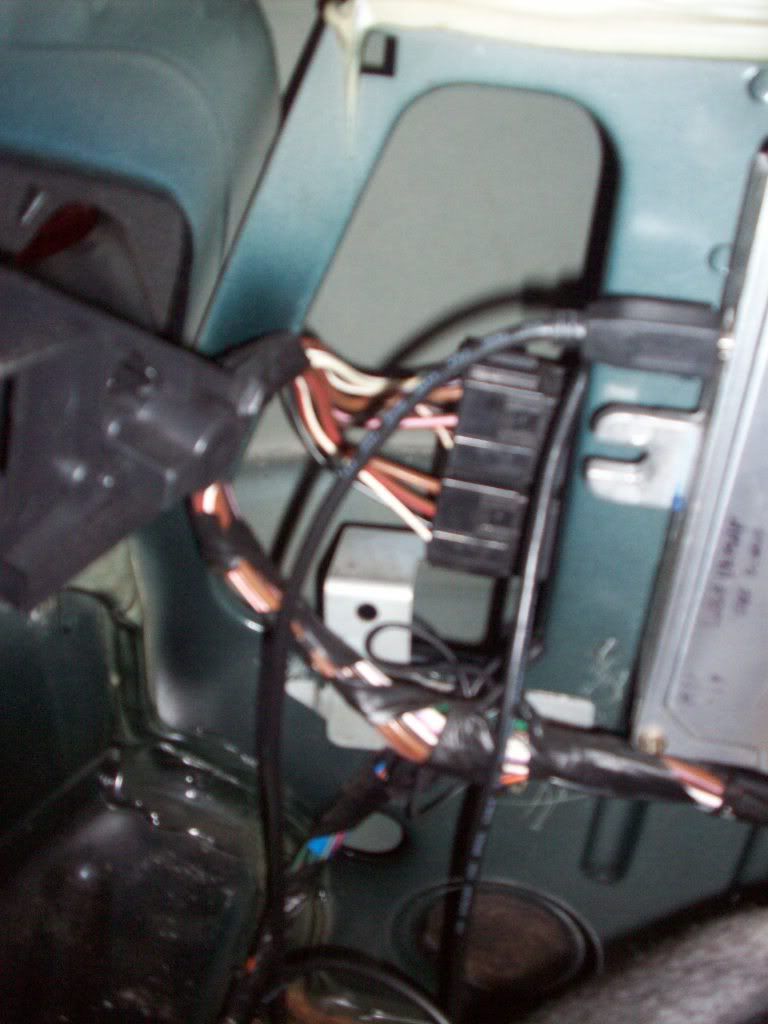
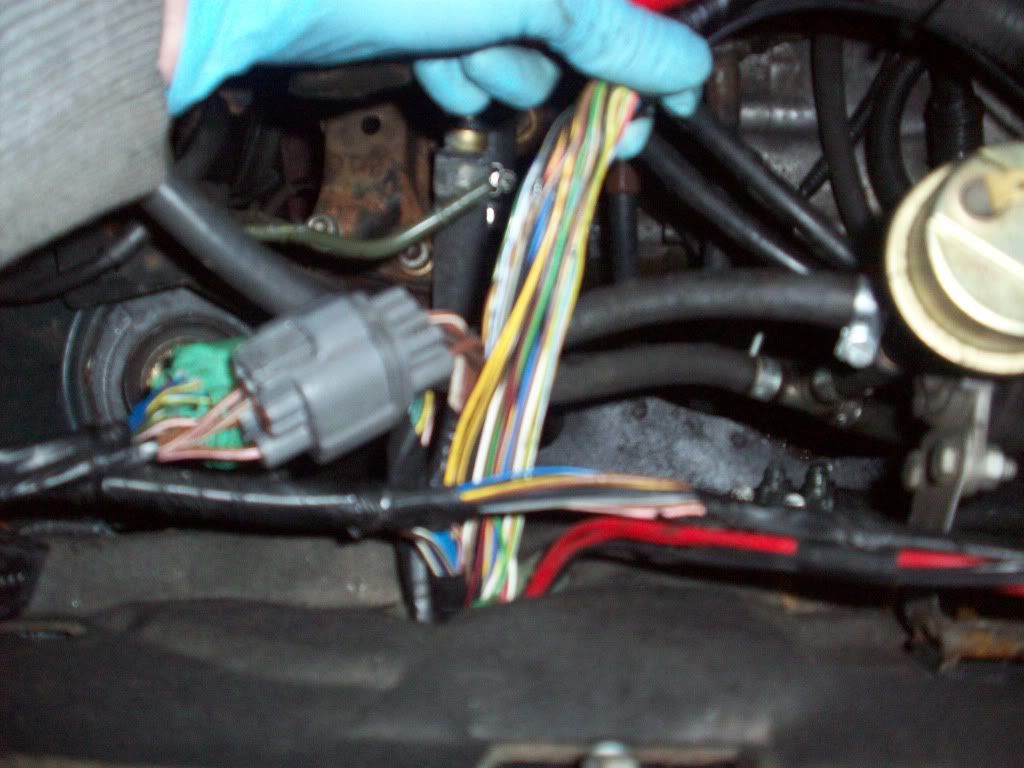
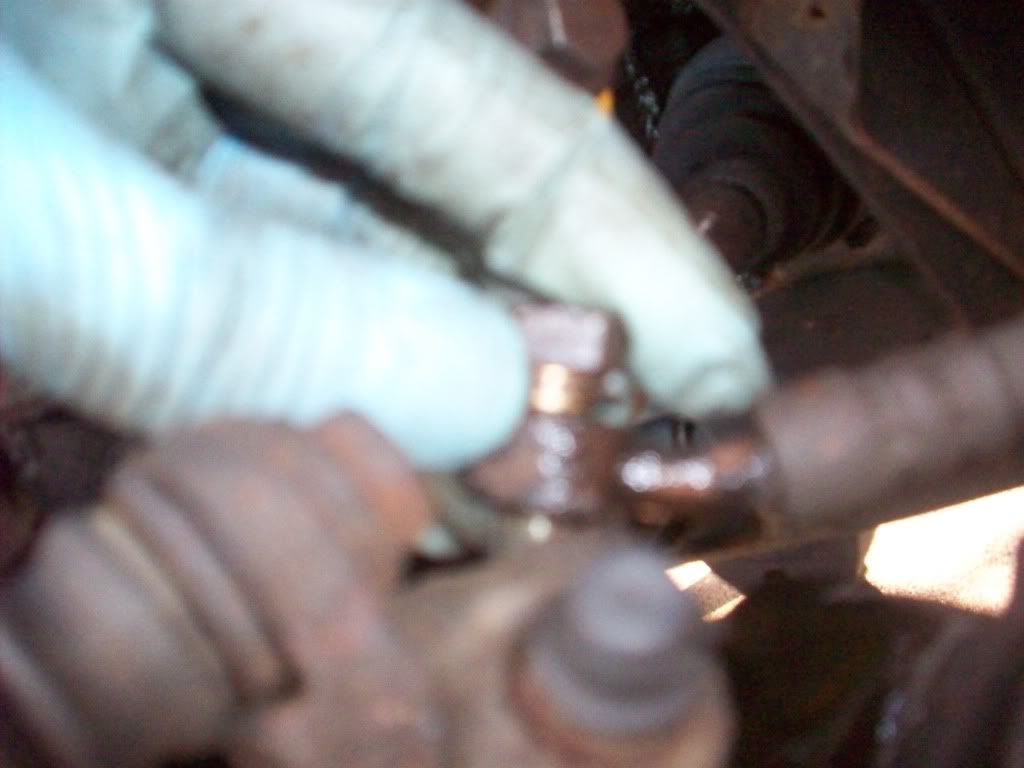
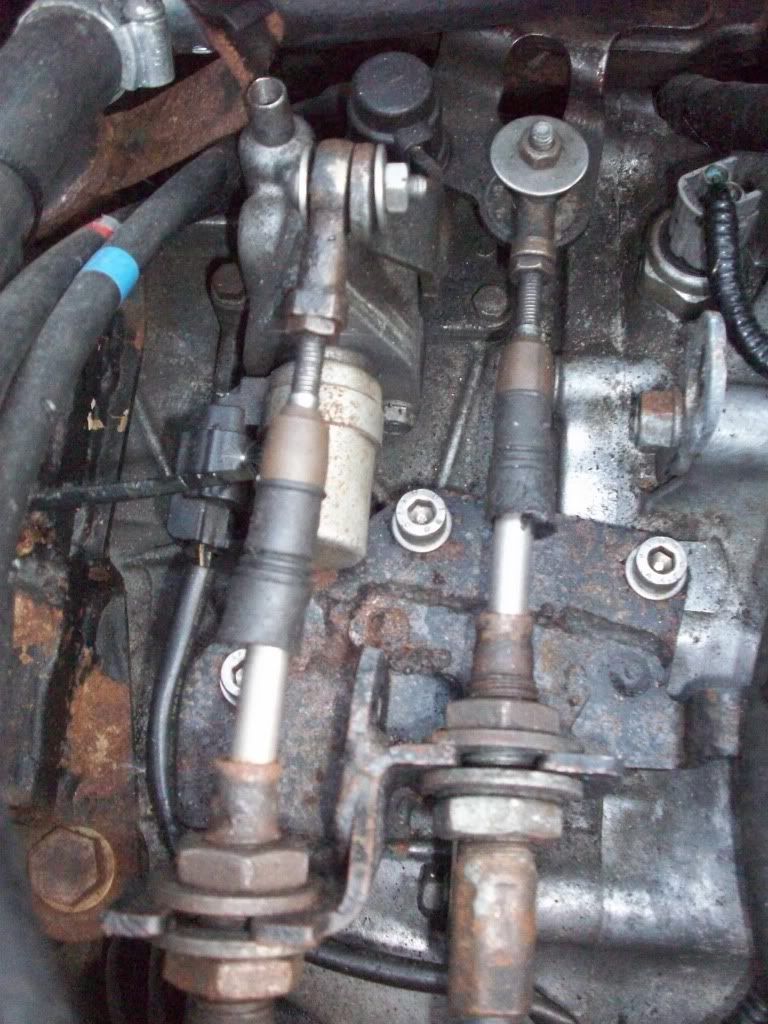
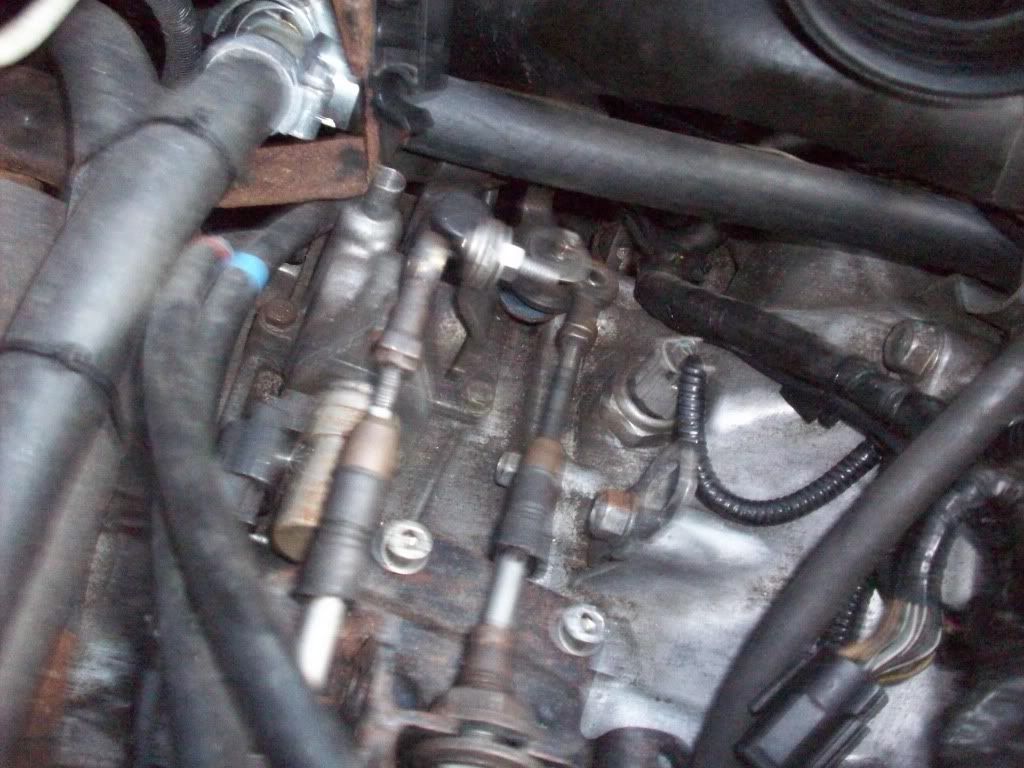
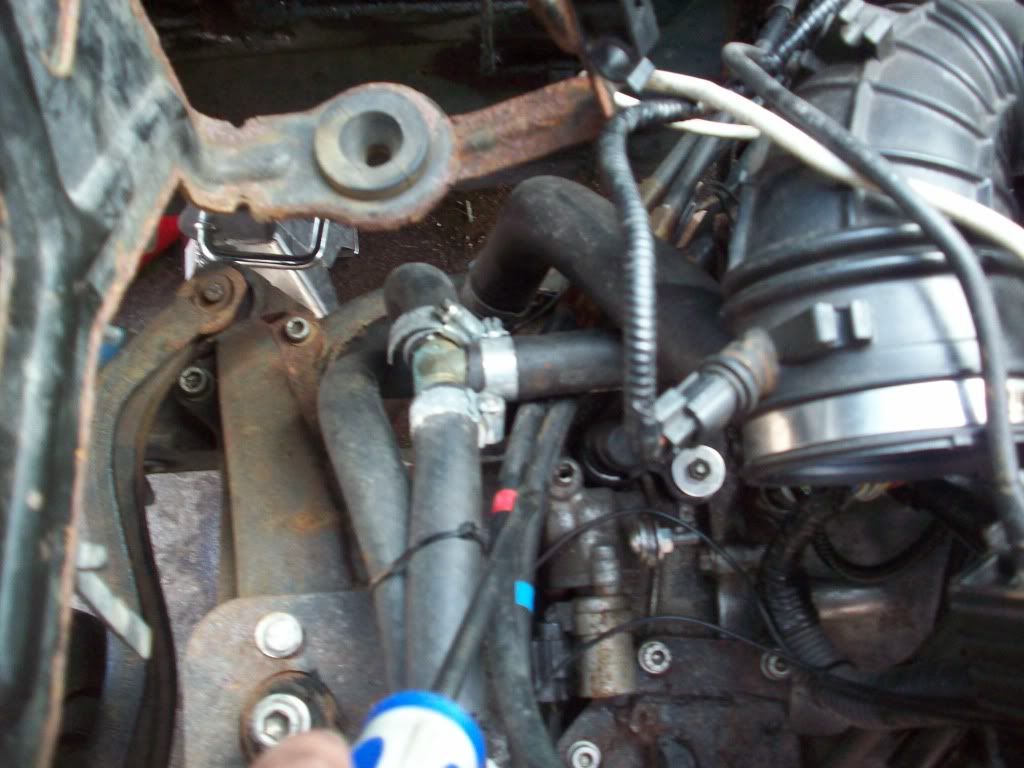
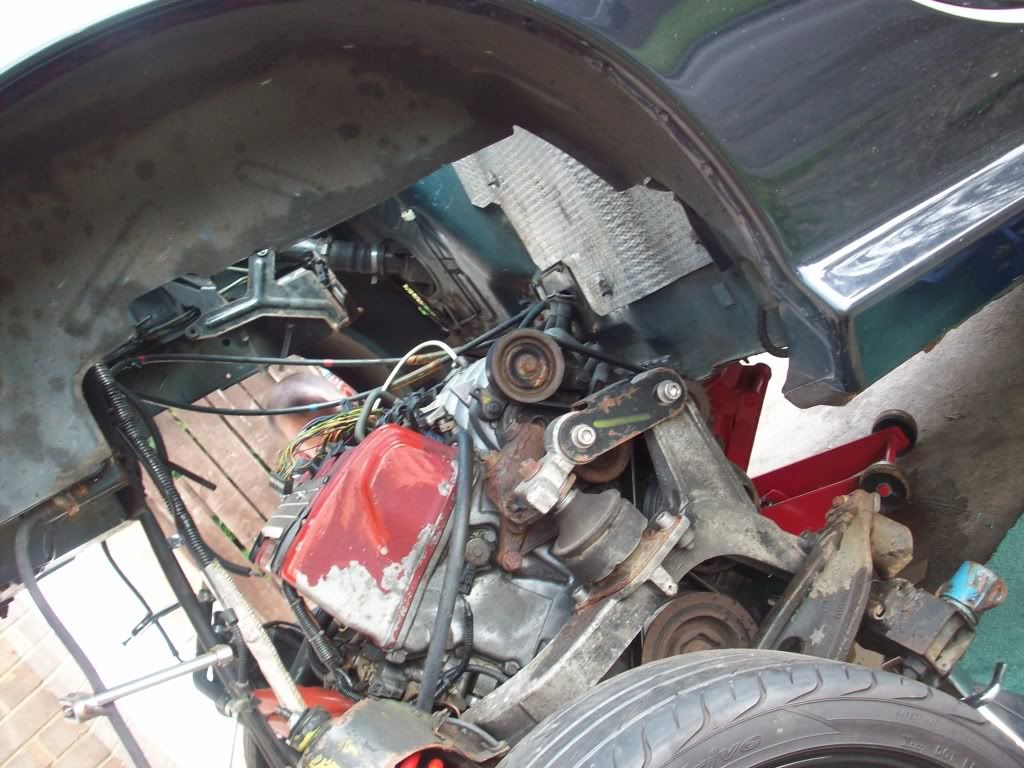
job 2 was to pick apart some of the erm 'catastrophes' lurking around the thing


this in particular mystified me


100_0848.jpg


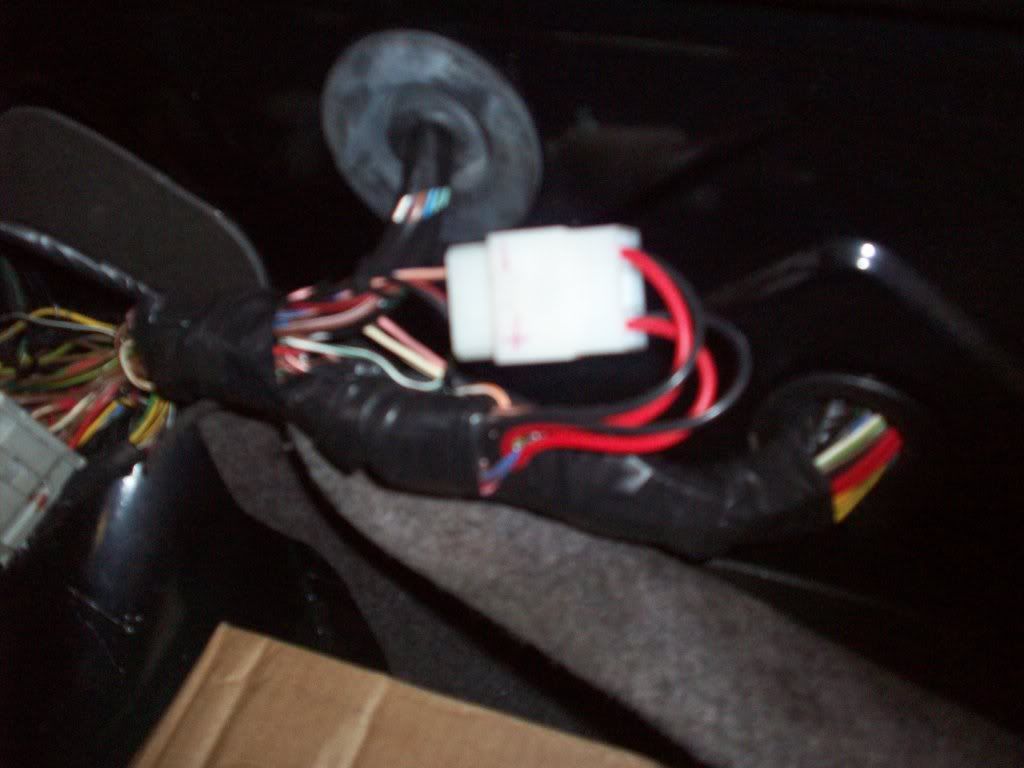
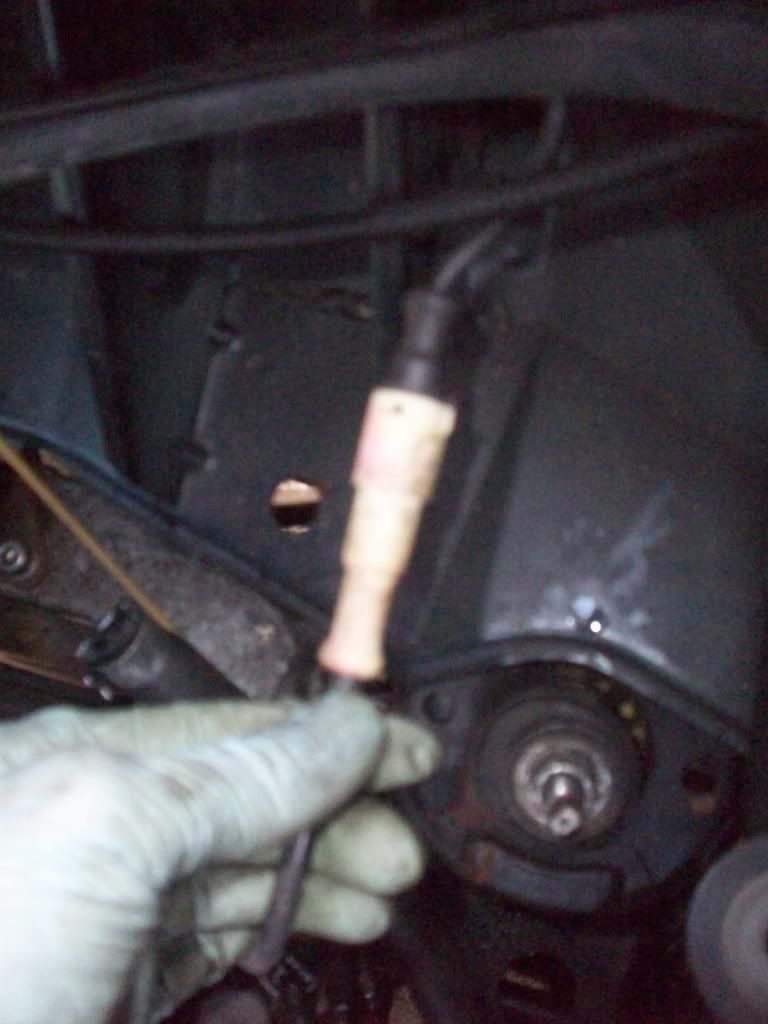
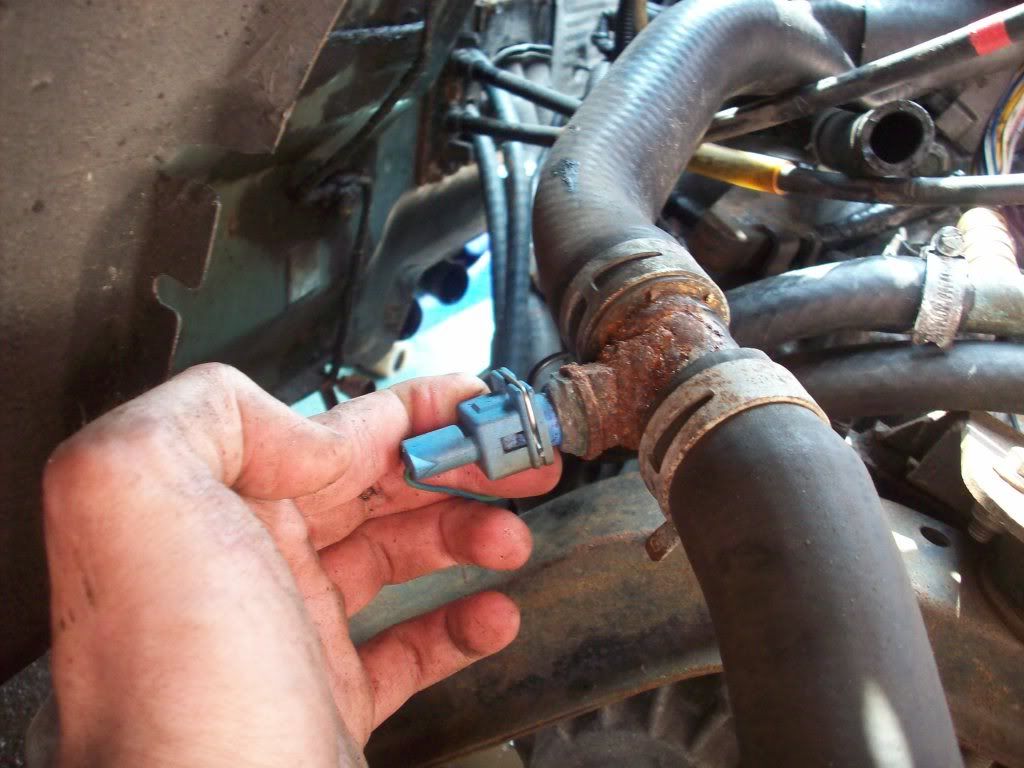
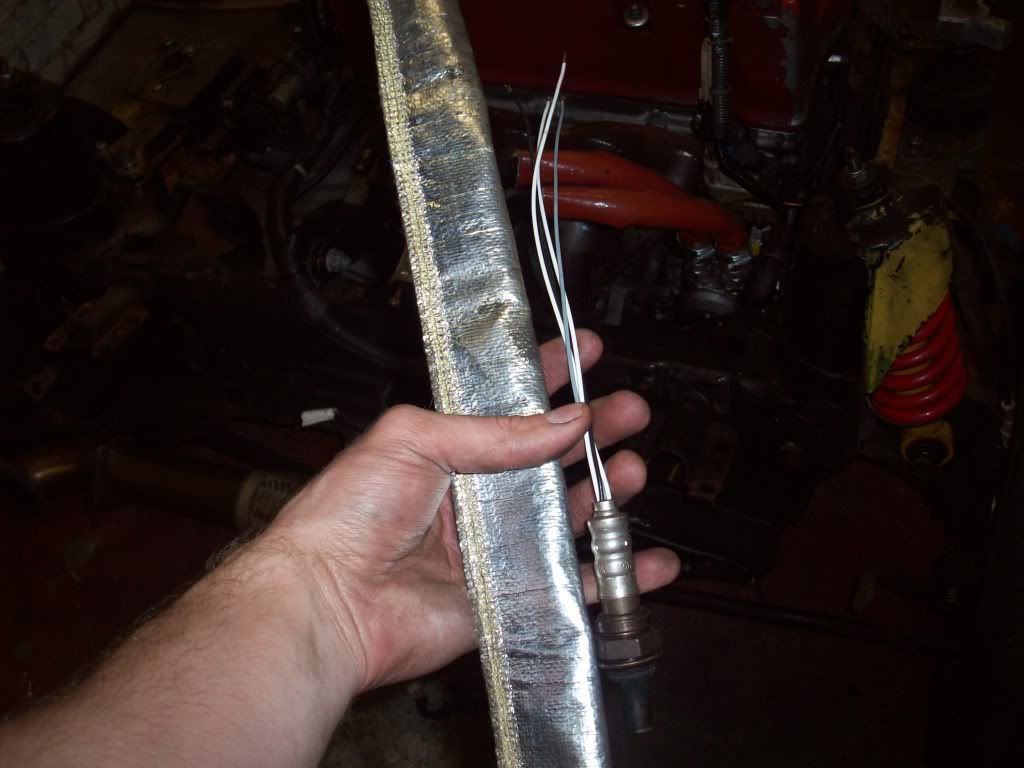
EG sensor... seems to have never been plugged into anything, just wrapped in heat proof sheet!
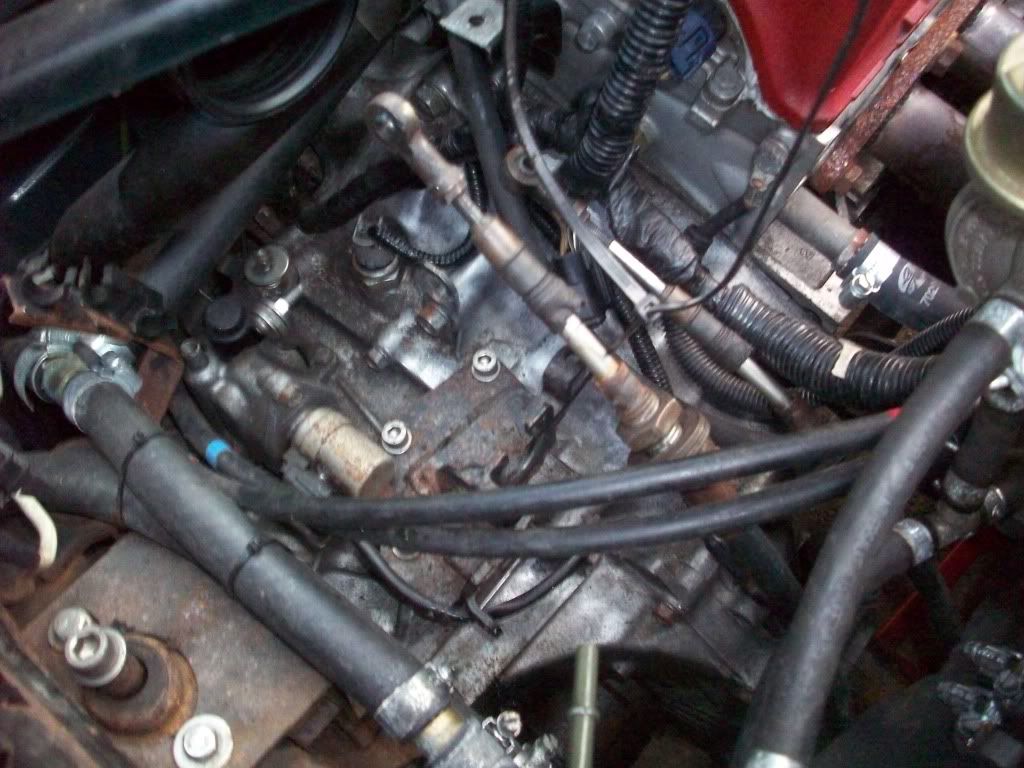
 :eek:mg:


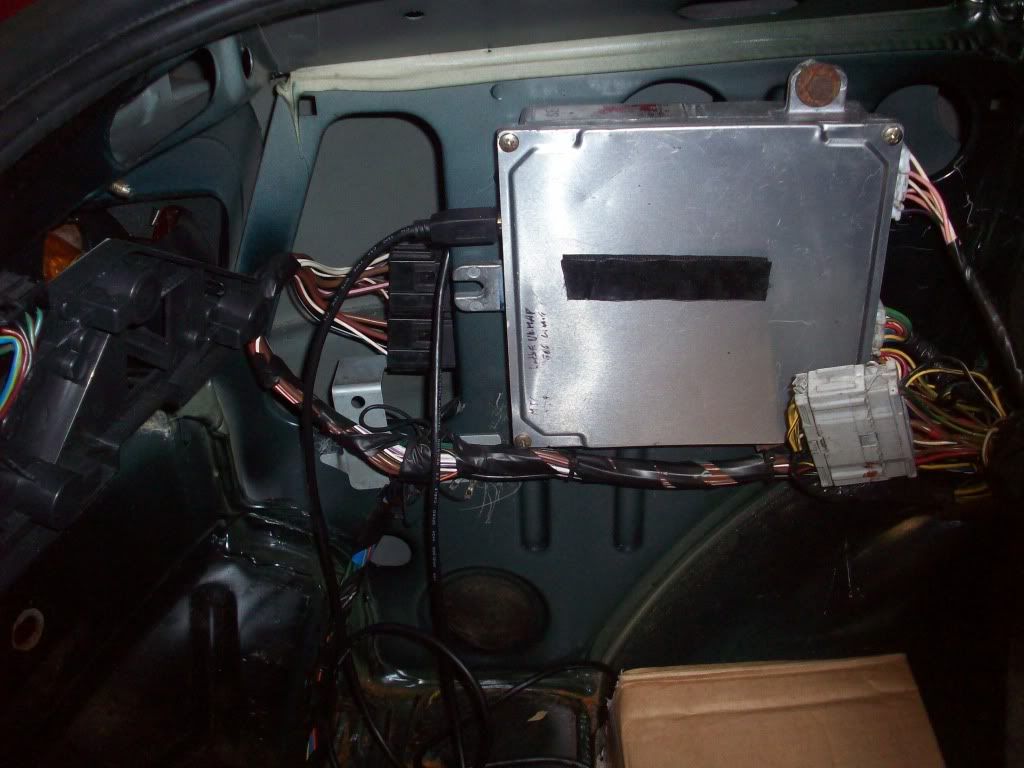
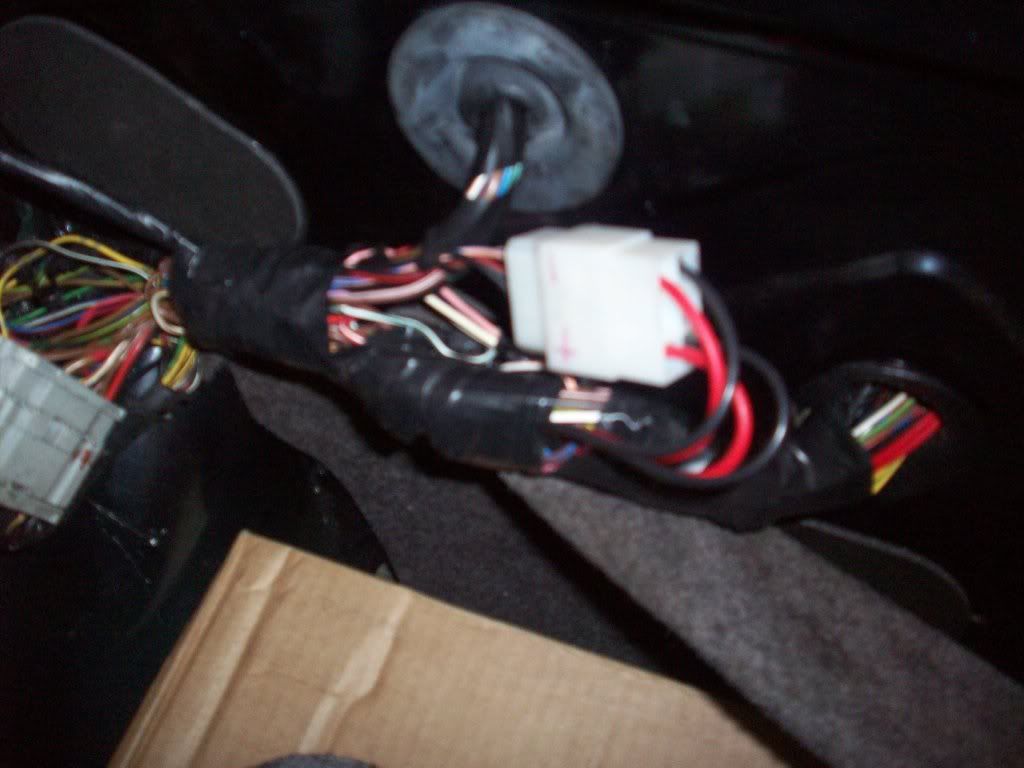
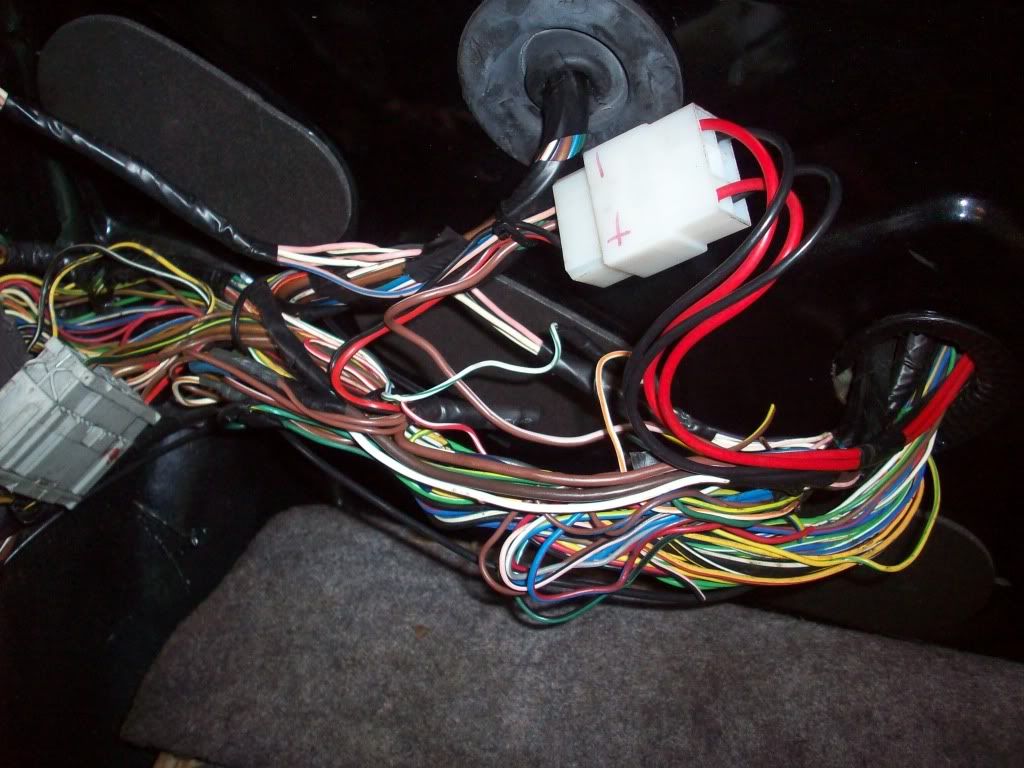
some of the excellent wiring on the car


100_0850.jpg


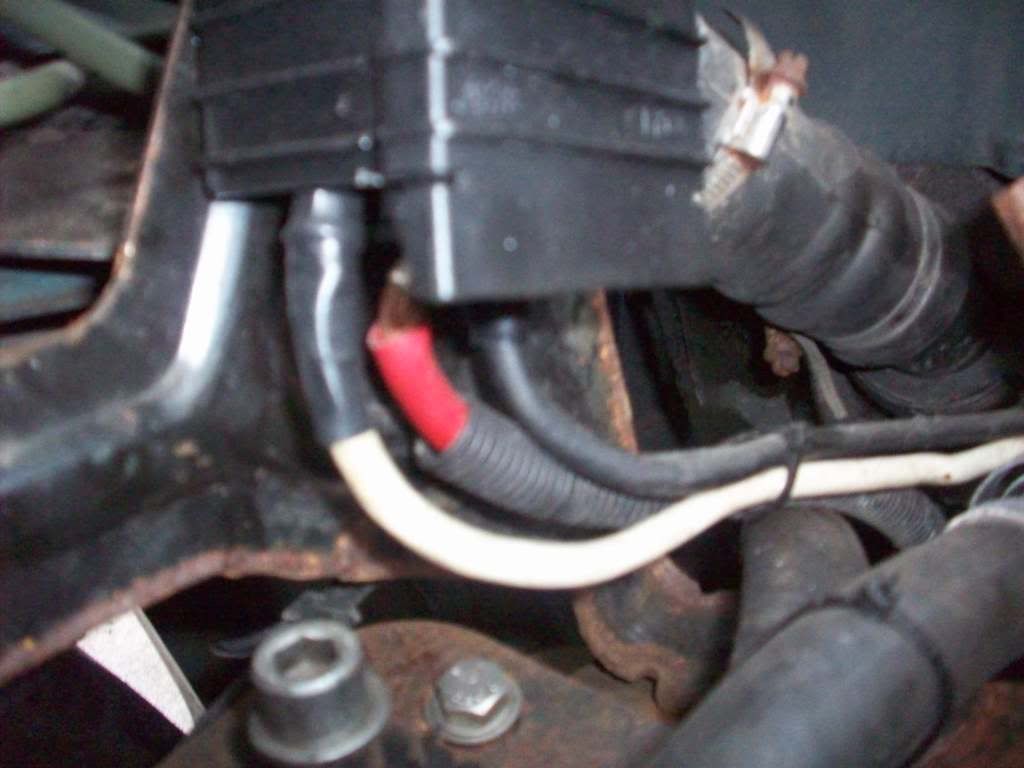
I found a better one than this but I dont seem to have taken a picture so thats to follow


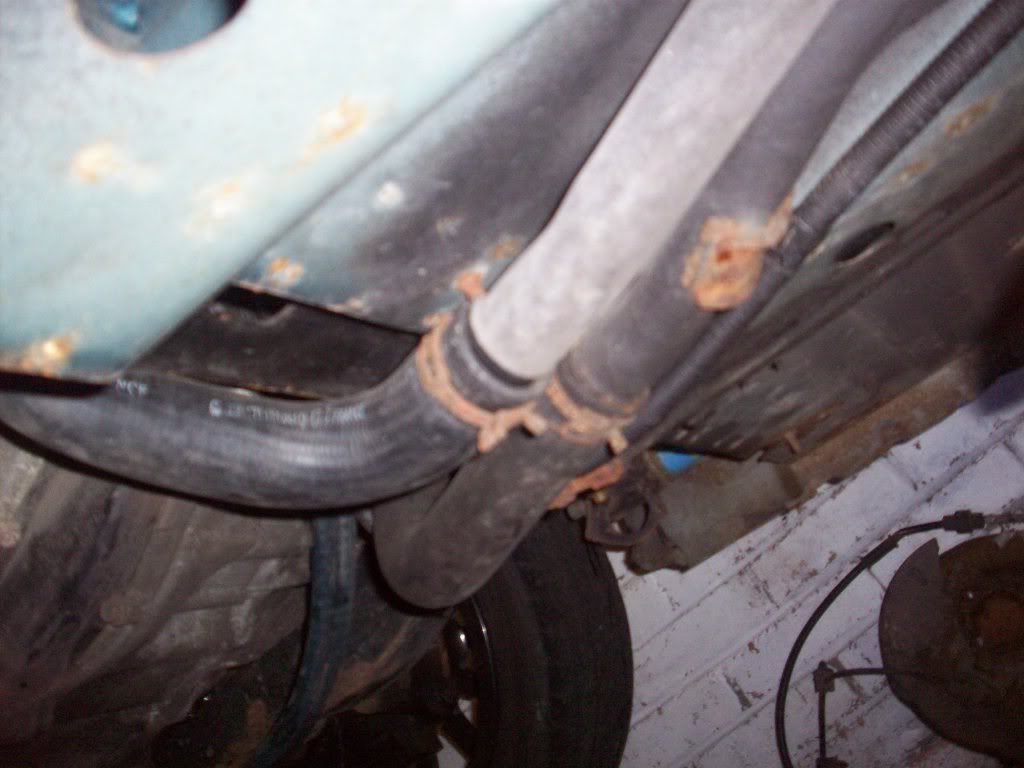
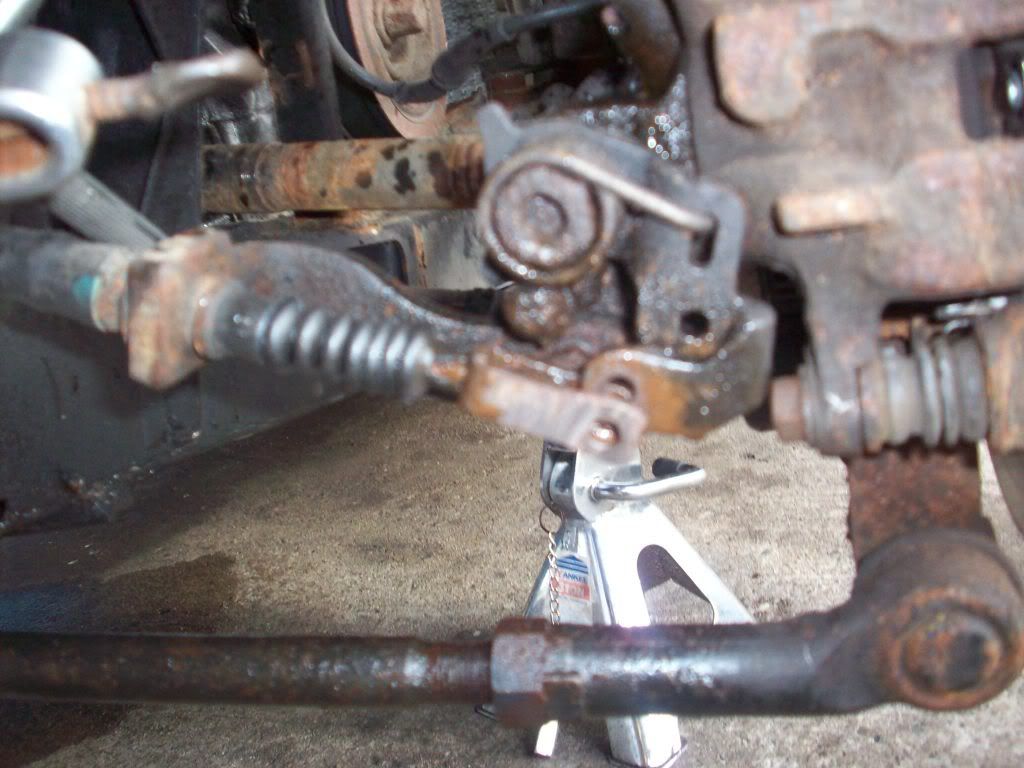
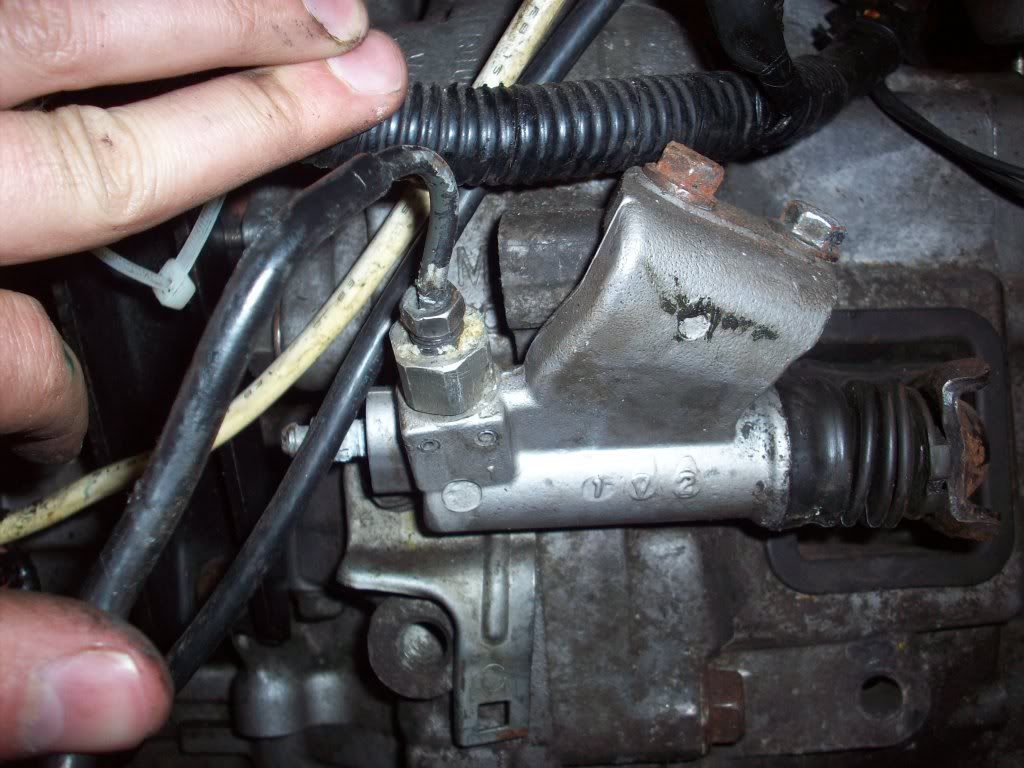
epic clutch line bodge


100_0851.jpg


and the most epic of fails (potential disaster to engine wise)


100_0863.jpg


100_0862.jpg


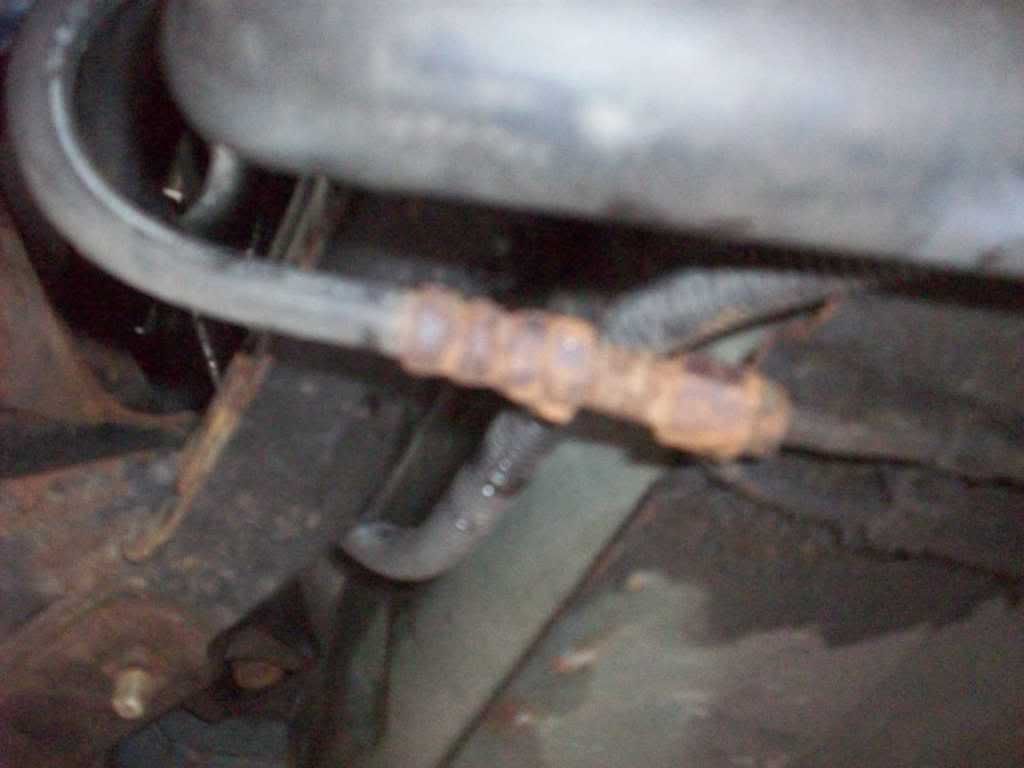
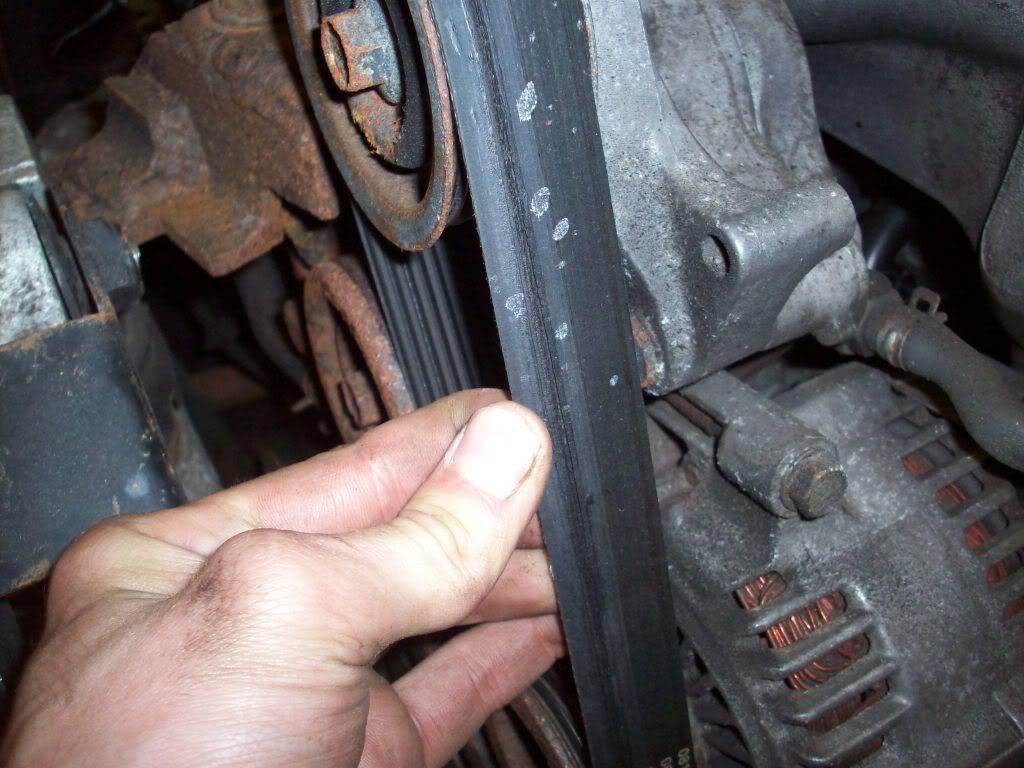
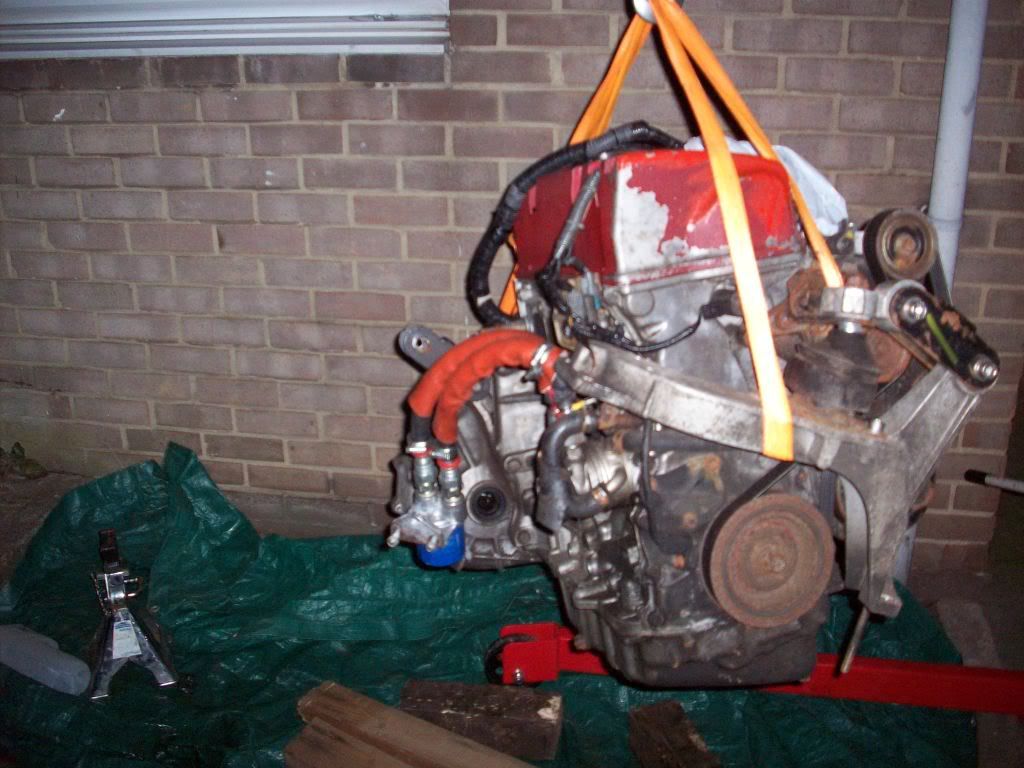
a bottom pully that has often became one with the subframe (I dont want to think what damage this may have allready done by stressing the fixing that holts the pully onto the crank)


the damage its done to a (presumably) new belt was worrying enough!


100_0861.jpg


nice thick score.... K20a engines retail at around 1-1.5k :lol: you have to laugh really don't you


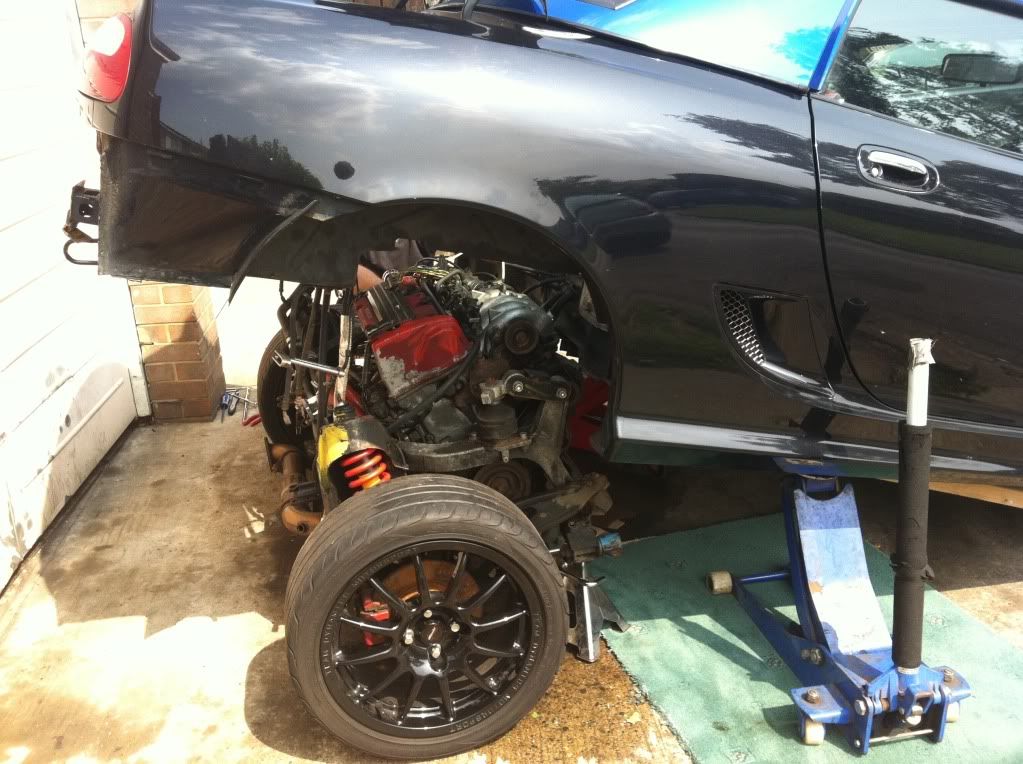
Right... now that I had some space around the engine to have a mooch I sat and thought some more (this required some Guinness... optional but recommended to the budding engine converter)


When I drove the car back from scotland the back end was all over the shop... and the first time I changed gear on tec I was promptly propelled across a duel carrigway (note across... not along, as one would generally prefer on a busy multi-lane road)


I assumed tracking was at fault


... jump in a time machine with me and re-wind to the start of this project


Picture227.jpg


this is the car sat getting a 4 wheel track and aline done... with the car up in the air the problem soon 'jumped out' at me...


100_0855.jpg


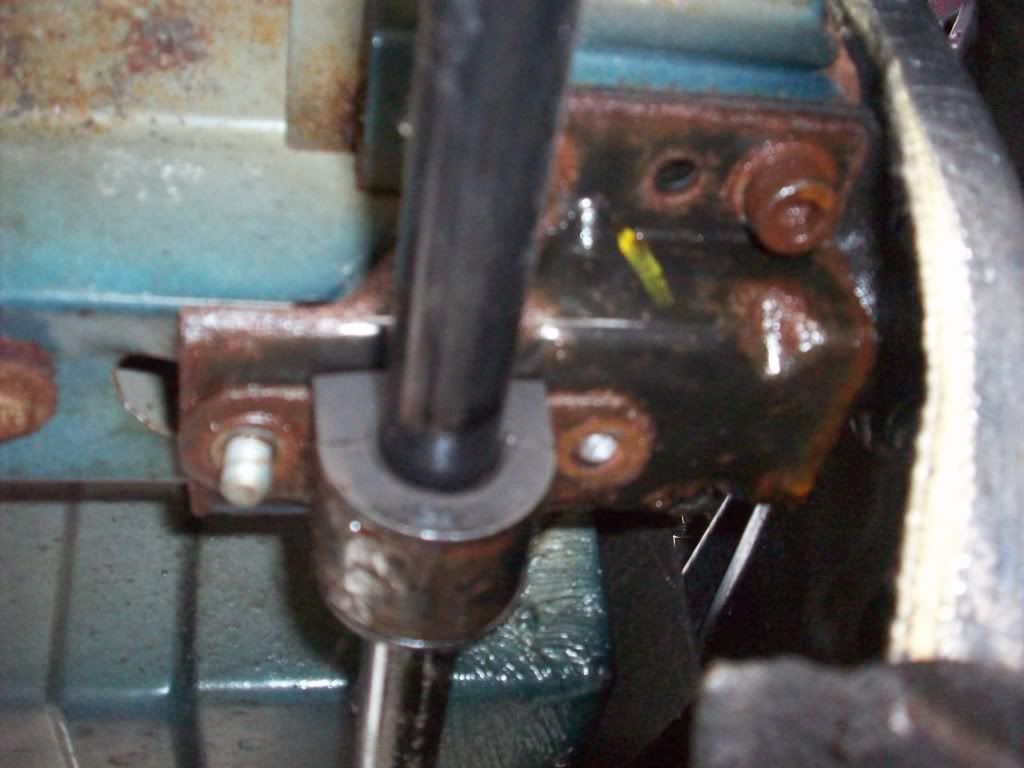
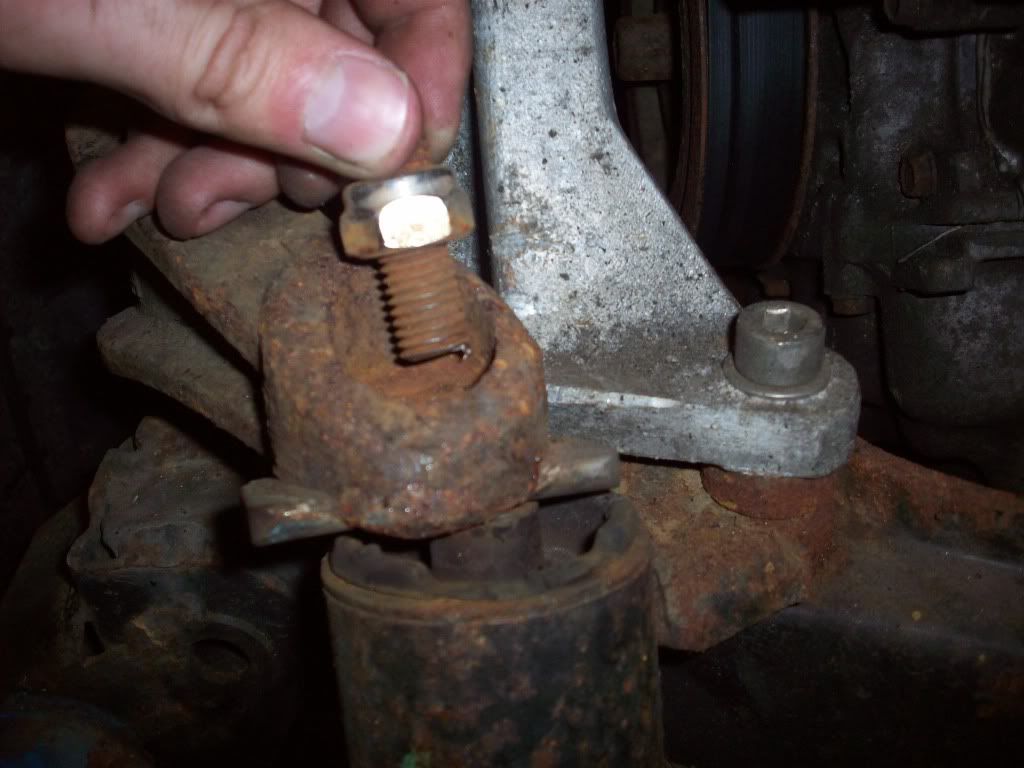
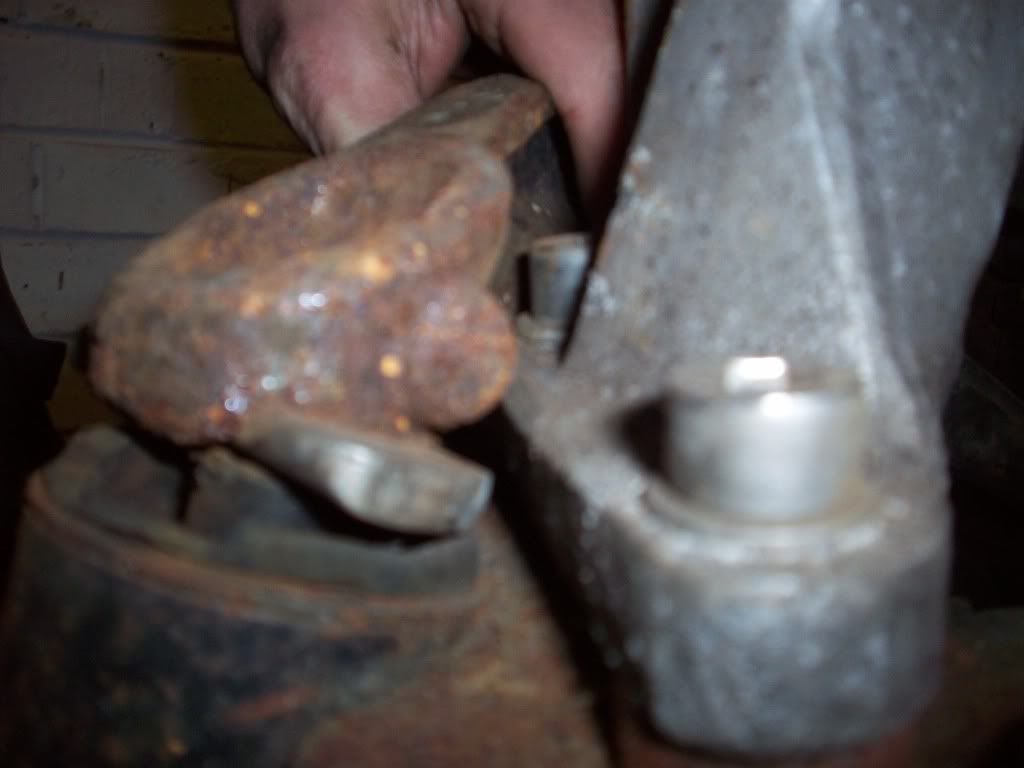
interesting... now I'm no expert but I do assume that bolts aren't ment to look like that?


naturally without the trailing arm (which is basically a very large pice of metal which holds the wheels where it should be) the wheels were moving all over the shop (oh yeh, the other side has gone too)


the reason the bolts sheered are in my theory 3 fold...


1 is that the engine mounts are basically a dogs dinner


2 one of the mounts is conspicuous...


100_0880.jpg


by it's absence!


oops!


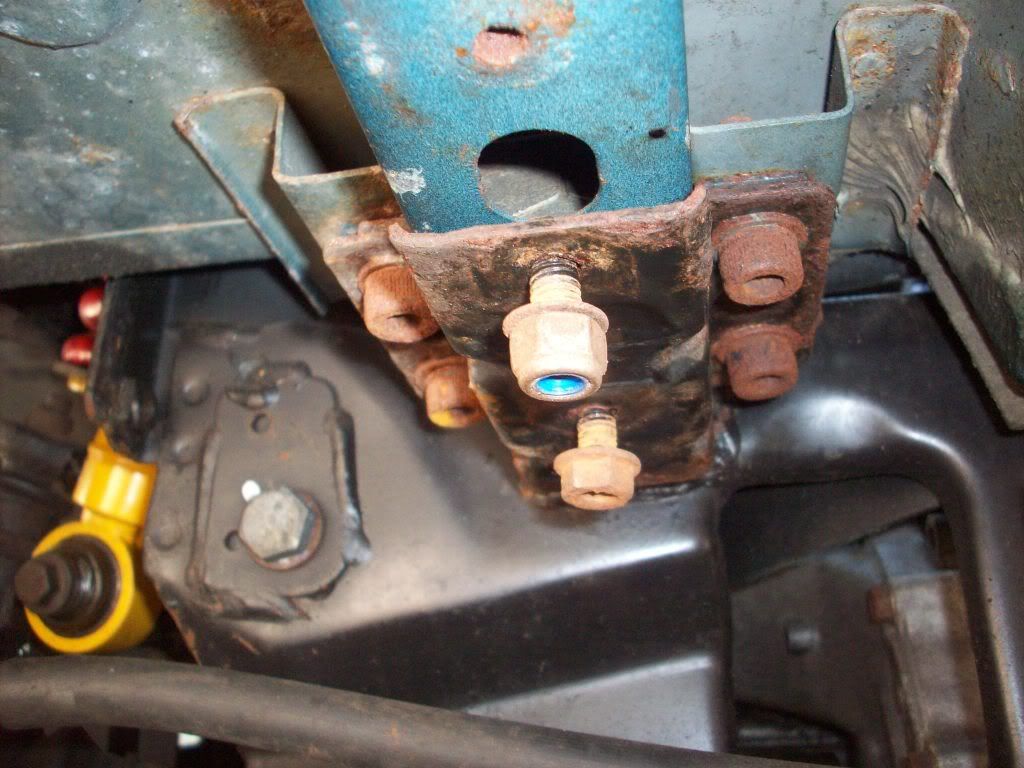
the thrid and probably most important factor is harder to explain


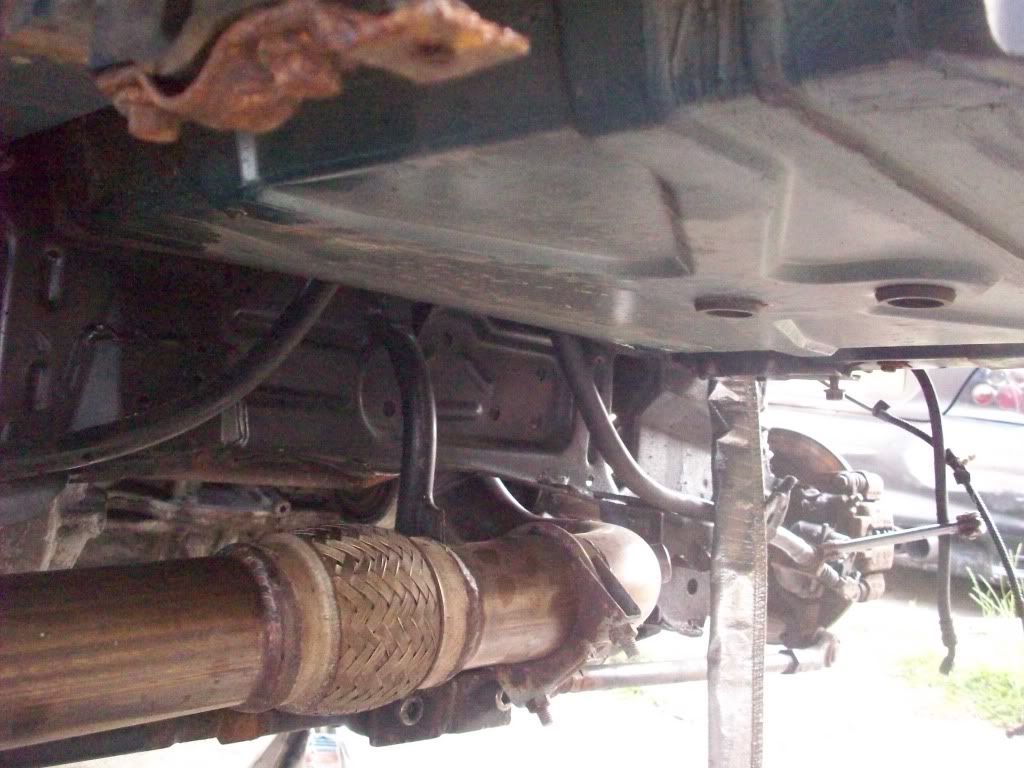
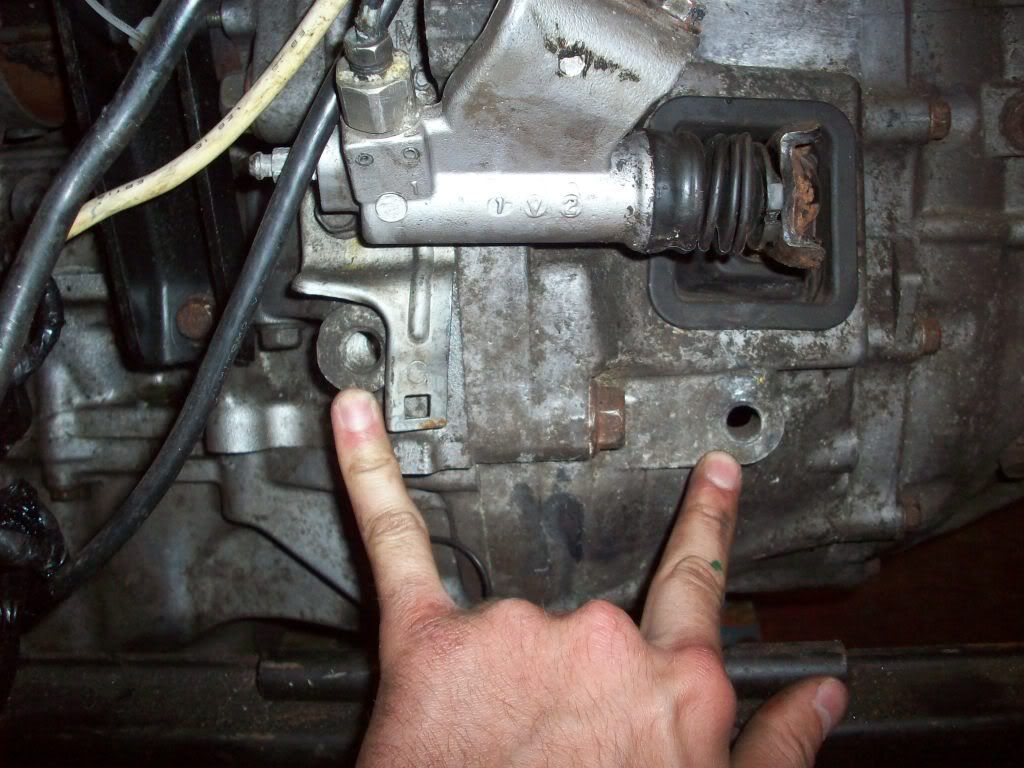
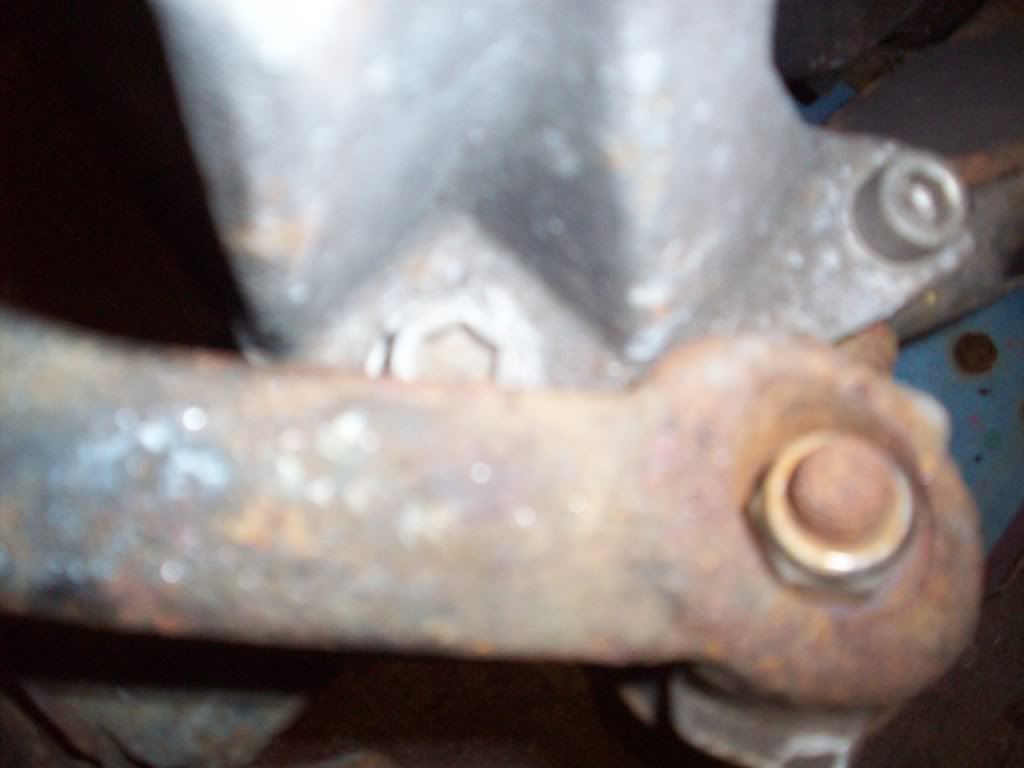
if you look at these pictures closely


100_0854.jpg


100_0857.jpg


100_0858.jpg


you can see that because of the thickness of the metal and the large cap head bolts holding the cam-belt side mount support (mouthful or what) to the subframe... (the mount support is the gray metal right side of last pic) that the trailing arm can't 'sit' where it was supposed to


now the obvious answer to me to that little problem is to shave off metal and get it to sit right


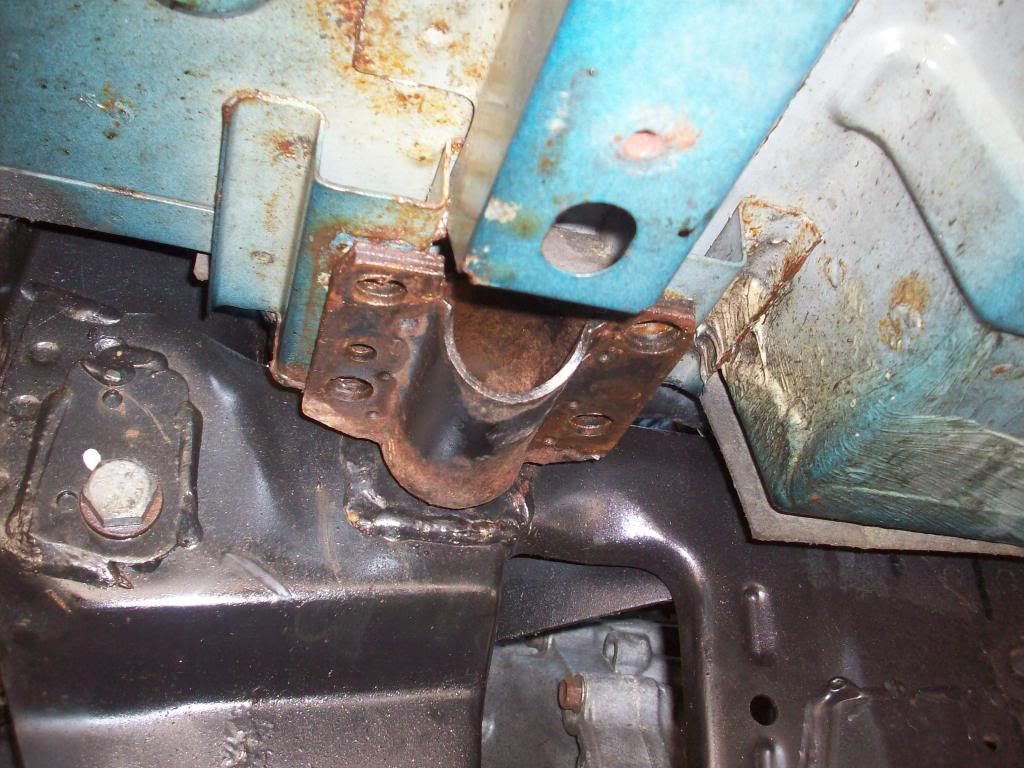
this picture shows how it should sit


100_0885.jpg


if just some of the metal seen in this pic was shaved away


100_0856.jpg


ahh yes we all think... that makes loads of sence


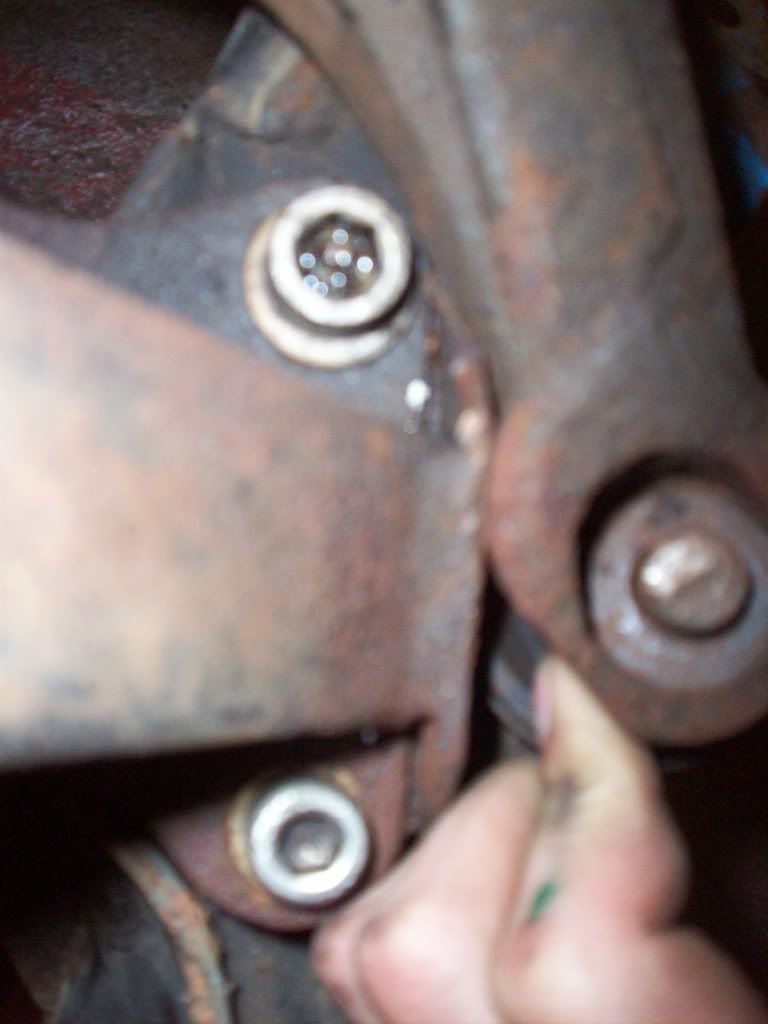
the person who built this however decided that was too much work


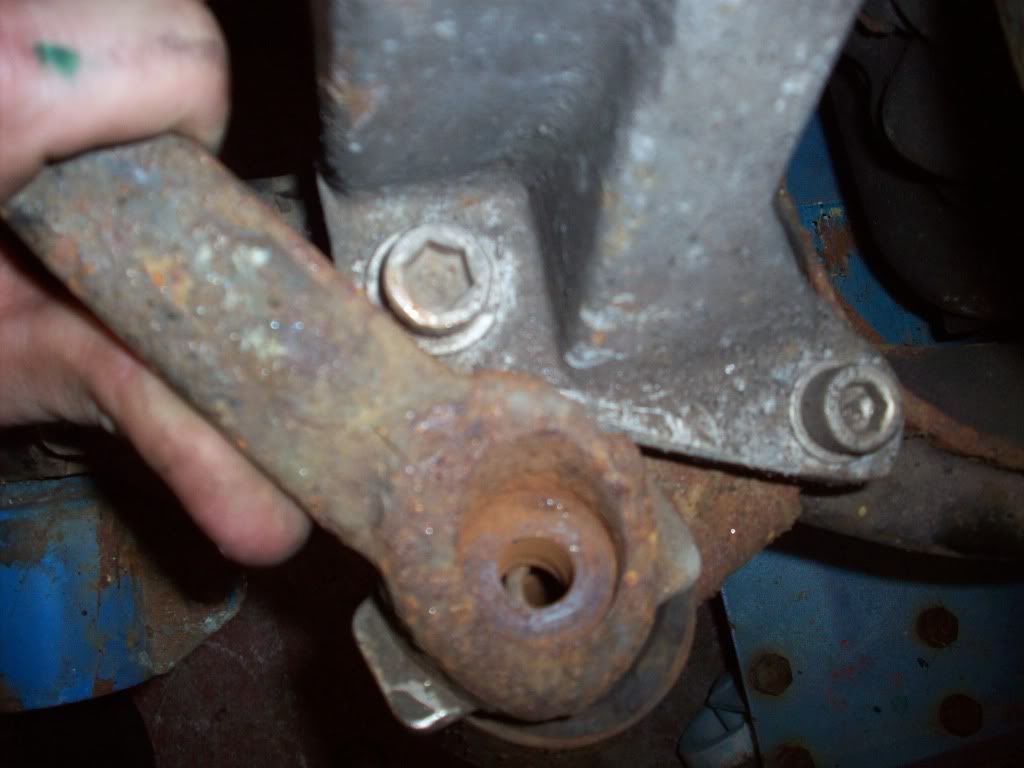
instead a large hollowed out metal spacer was made about an inch long and a longer bolt shoved through the hole (no s******ing)


this upset all the geometry and more importantly caused the bolt to sheer under the stress!


this had a detrimental effect on the drivers underwear at the time!


and once the drivers side one had gone


100_0860.jpg


the passenger side followed suit (my CK Briefs were beyond hope - nice image for you there)


so that I think that is basically that, mystery 90% solved... I could, mind you be totally wrong (lets face it I probebly am)


as a result I emailed Mike Satur (A renowned MG tuner) who has been an absolute star! he's very VERY busy atm but took the time to speak to me a few times and replied first thing this morning with an email basically confirming what I thought (I was as suprised as anyone!)


So I plan a 2 pronged attack at the issues


1 figure out how to make the 4th torque tamer mount which is missing (update to follow soon ;) ) which should stop the engine from moving as much as it is and damaging things


and 2 (and much more tricky)


shave off various pieces of metal to give the pulley more clearance, and most importantly allow the trailing arms to be fit in the correct place :)


Thoughts, comments, criticism and such are very welcome (especially from this post) if anyone has other thoughts on how the damage occurred then please shout up! I'm a nurse not an engineer and could have this all wrong
 
UPDATE 20th July 2011


Nothing dramatic on this one guys but some great news!... after a visit from Mindy and Ant we all came to the conclusion that a serious expert was needed to sort this mess out!


the electrics I can have a bash at and the coolant system will be a doddle to make right, at least in comparison to the engine mounts that tried hard to kill me!


about a month of digging around lotus forums and talking to people in general had the same name cropping up... i also found a project thread with some of their work on


the company was only 30 mins from my house as well


so the other day i gave Anthony a ring at Woodsport http://www.woodsport.org/joomla/ and was welcomed up that afternoon to a heck of a busy work shop!


half an hour of chatting to Paul and Anthony and i was convinced these guys were the only ones to talk to.


They specialize in putting big engines in small places so this is right up their street! and their work is not done to pay the bills but because they are genuine petrol heads and want to be the best, bar non... ever!


their work speaks for itself and 2 nicer blokes i have never met


they can probably sort my engine mounts out while half asleep, one eye closed and a hand tied behind there backs lol (although i hope they dont :p)


so whats the catch your asking?...here it is


they have a 6 month back log of work (thats how good they are!)


but on the upside as my subframe is out the car they may be able to squeeze me in earlier!


my aim is to have the engine running back in the car on a safe subframe (if they can squeeze me in) by christmas... then have the car back in pieces for a final time after i've validated the conversion properly (as opposed to driving it with kid gloves) so i can make it pretty :D and then just enjoy the car for the spring and summer before a re-spray winter 2012 :)


oh by the way, a lot of people want this engine in their car... nobody has cracked a kit yet and only 2 Fs i know of are actually used on the road with a K20 and NO TFs....


so the question you all want to ask, well the answer is yes. Paul and Anthony are planning on re-producing the mounts to order ;) I wont say anymore and naturally this will be months off, but I know interest is massive and wanted to share this with people as a beacon of hope!
 
UPDATE 28/09/2011


About time or what!!!


This is an update from about a month/6 weeks ago, thanks to internet troubles this is my first chance to upload


Having talked some more with Paul and Anthony at Woodsport I was convinced I had found my guys and could not wait to get my engine in with them!


Sadly they had a 3 month waiting list for work (true testament to their work). Eventually the day dawned when they could get me in and thankfully I had our very own MG Enthusiast Mikeknight on hand with his van to help me get the bits the 20miles to Woodsport, the temple of engine conversions!


First though I had to break the 1.6 K series engine off my donor subframe*


This was easy.


However getting the K20 engine off the bodged subframe was a bit trickyer


so with the help of some MG forum members (and my trusty kid brother) I got started!...


... with the tool of the gods


100_0971.jpg


a big hammer :smug_git:


draining the oil from the gearbox was needed to pop the diveshafts out........ and you know what that means!!!


Pointless picture time!


100_0972.jpg


Thats a milk bottle full of oil


not that I want to get too technical on you or anything....


anyway


next step was to unbolt all the suspention ready to pop the shafts out.... this was easy thanks to me being a total Snap-On tool geek!


It turned out I had just the spanner for the job...


100_0973.jpg


little brother reference or actual spanner? you decide..... :whistle:


anyway moving on, this is where the forum members came in handy... these guys are well known to anyone into MGs (especially Turbo ZRs) up here and two top guys, introducing smithy the younger and smithy the elder!... they actually came round to steal bits off our rally car donor! lol... and graciously stopped to help for an hour or two (or 4)... I can't thank them enough as I couldn't have done this on my own and my bro was off to bed (up for work at 4am), without them the engine wouldn't have got to Woodsport the next day!


however they are a little camera shy!


100_0977.jpg


I didn't have time to take many pics at this point but here is about 2 and a half grands worth of engine and box on some flimsy rope!


100_0978.jpg


100_0979.jpg


By this point the wolves were howling at the moon (again! late nights are the way forward for this car!) and it was time for bed!


The next day Mike Knight turned up with his van and did not 1, but 2 runs to Woodsport with me with the engine, 2 subframes and lots of suspension! (this after breaking the donor subframe with me!)


which leads me to show you this...


100_0980.jpg


a 230ish bhp trolly!!!! V-Tec yO! or what! lol


sadly the engine fell over in the van and cracked the thermostat housing :( but otherwise all was un-eventful


The engine has been sat at woodsport for about a fortnight now and I went to see it today! and so far the work carried out is excellent!!!! I wont bleat on too much about the way these guys work (their heads are big enough already :p)


For the people following this thread in MR2 circles, you already know how good their work is... for the MG guys and honda people I'll let the soon to follow pictures speak for themselves.


Anyway thats that!.... So for now people, sweet dreams and try to wait patiently, for soon, (very soon) you'll have updates live** and un-edited*** straight from the woodsport house of hellish modification! :D


tune in next time.....


*random note, this is the subframe and engine from my first ever MG! my old TF. And the 1.6 engine is destined for our ZR rally car!


**They wont be live - this is a forum


*** I'll edit them so I look better, probably......
 
Back
Top