Not sure if this is in the right section guys as I can't see a project section but as it's all about the engine really I've put it here for now, if the mods want it elsewhere then go for it ") ... Before I start I'd like to say a big thanks to the people who gave me tons of advice over a year ago when I started down this crazy road, and all the people who are bound to help me over the next year.
... Before I start I'd like to say a big thanks to the people who gave me tons of advice over a year ago when I started down this crazy road, and all the people who are bound to help me over the next year.
The car is a big project and likely as not the first few updates will be heavy on the boring stuff of stripping the car and such, however please keep bugging me with questions as I'm sure you guys will think of stuff the MG lot wont think of that will help me
Lastly a quick apology, the smilies might not work, I have this up on the three MG forums I'm part of and changing smileys for 4 forums would be a nightmare I don't have time for lol so anyway...
OK guys and Girls, here we go!!!
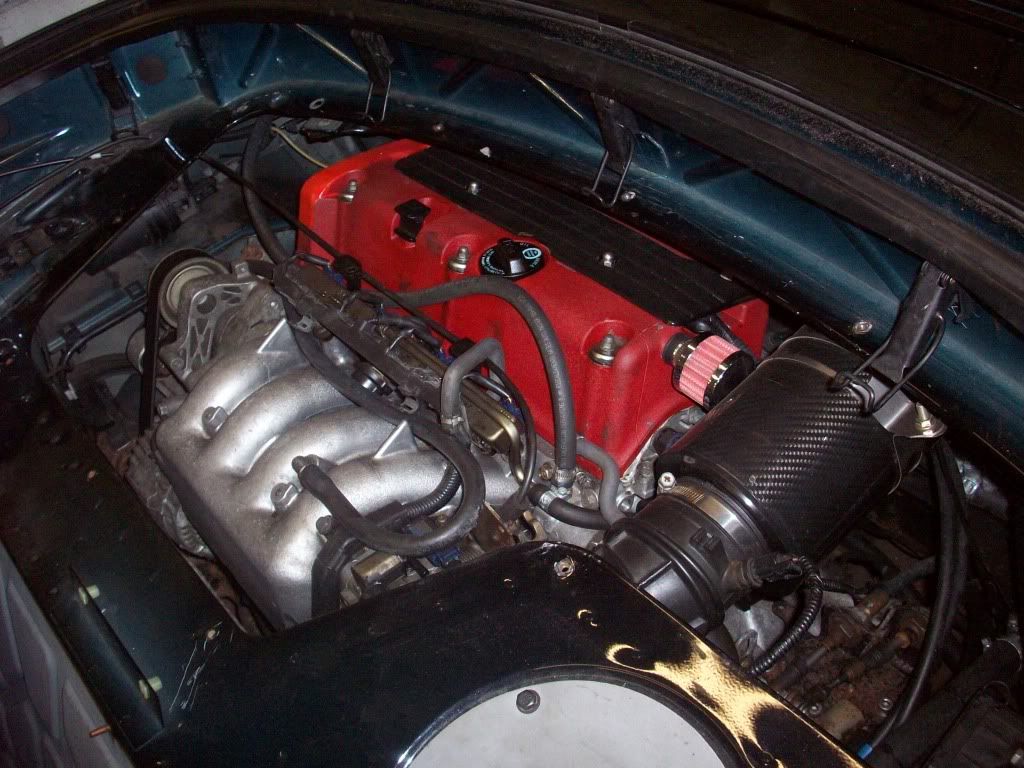
First of all some background. I bought the car a few weeks ago, it is as far as I know the only MG-TF with a K20 engine in. I wanted to do this conversion to my old car but when my engine blew up and this car came up for sale I decided to see if it could save me some chew on.
Unfortunately it turned out to be a bit of a.... erm 'shed' I think is the polite way of putting it. The conversion may have been a little rushed and requires allot of work. I hope to do a complete and comprehensive re-build over the next 12-? months. No expense spared.
This started this afternoon/evening as the ZR Turbo (see Project thread here:http://www.rovertech.net/forum/viewtopic.php?f=10&t=122282) will be home this week and thus giving me some extra room to do the TF.
The end result should be a significantly lightened car with massively up-rated suspension, big breaks, a roll cage (safety and to stiffen the tub) etc etc. I hope to end up with a fast road legal track car to put big smiles on my face powered by the best naturally aspirated transverse 4 pot ever made.
So here we go!
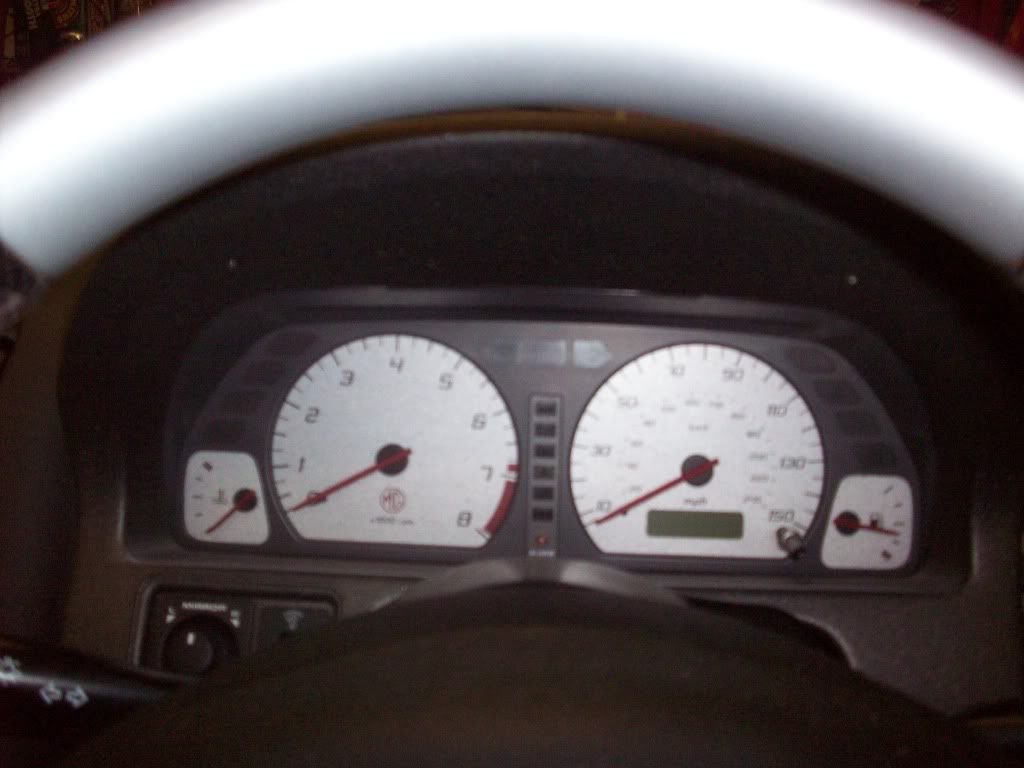
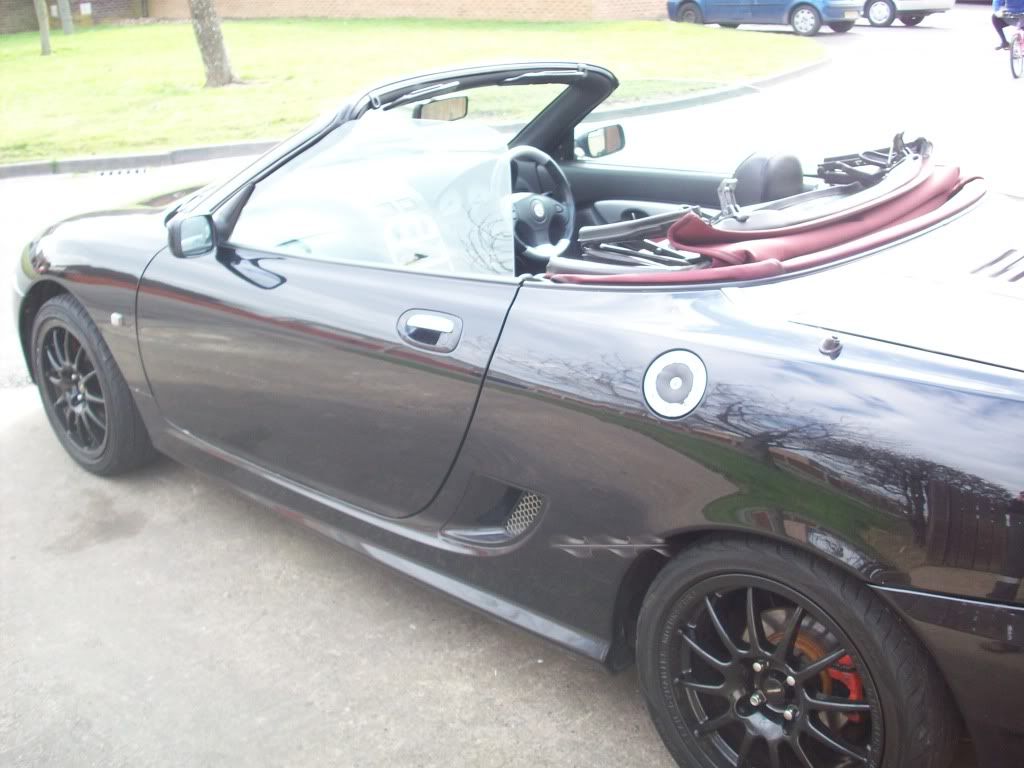
First of all a few pics before I started to strip the car. This is 80th Anniversary TF No. 1033 of 1600 now named Bucephalus in honor of my old TF. The name has a meaning if anyone is interested ask me.
First job was to get the exhaust off (to sell it) its completely the wrong bore for a K20 engine as it's designed for a Rover K series engine (pic on that to follow) so it wont be going back on the car.
To make that easier I decided to remove the rear bumper... I had to do this one way or another. So lets make the project thread to end all project threads start with.....
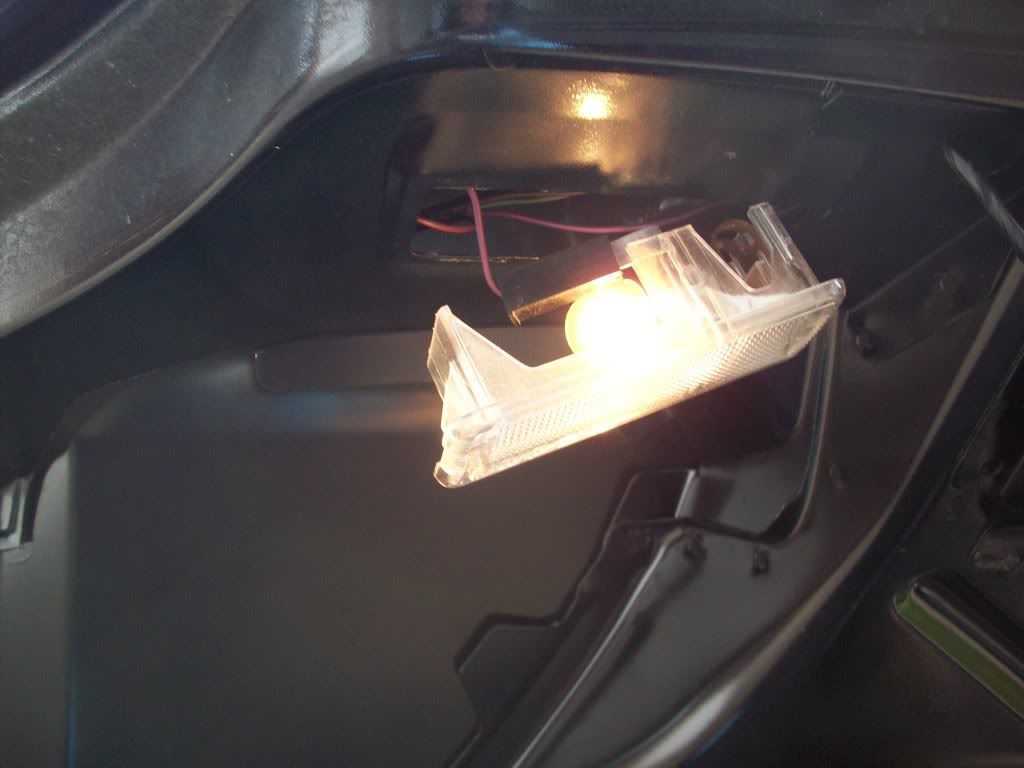
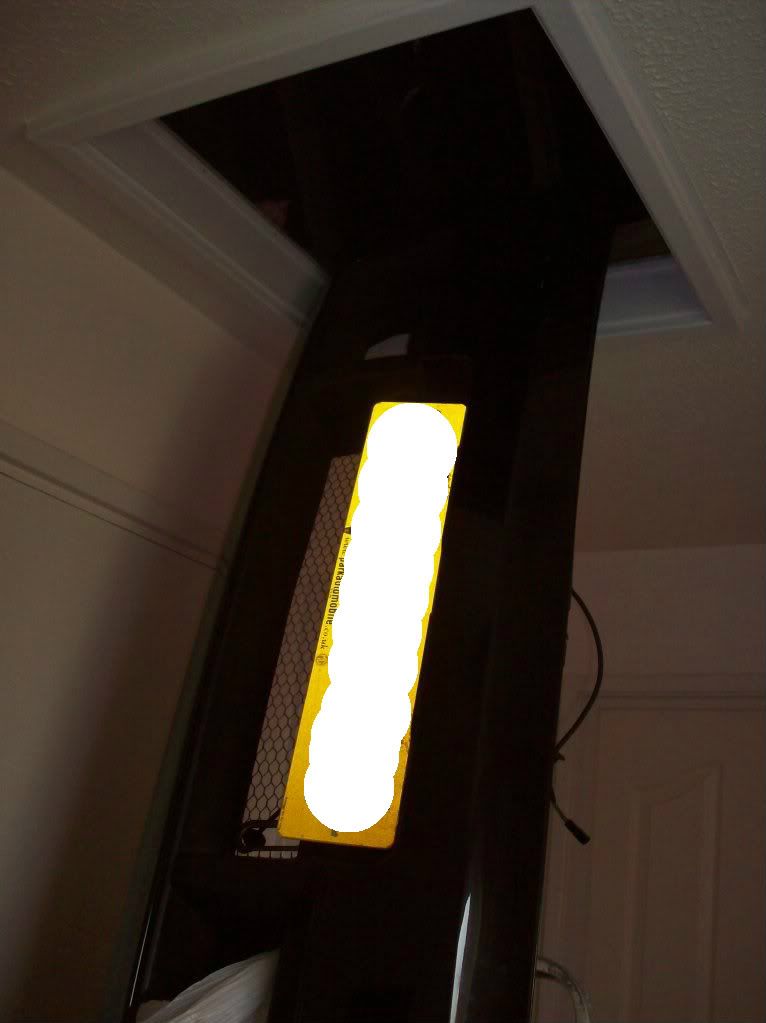
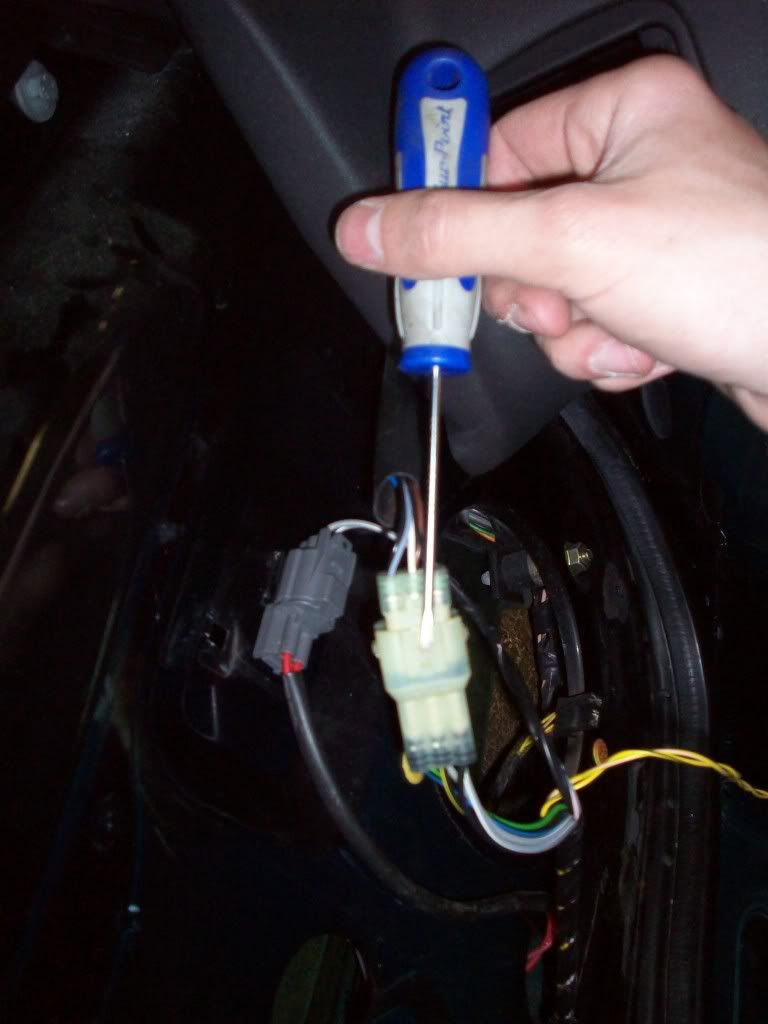
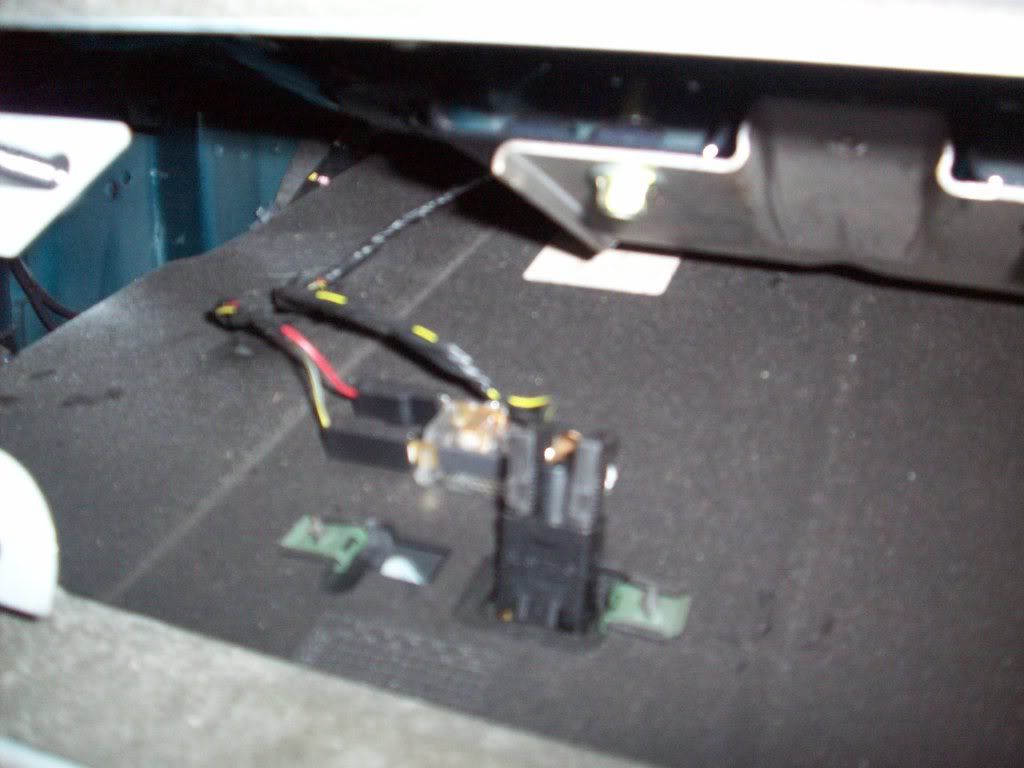
A picture of a light, the boot light to be precise... took it out to save running the battery down... it wont be any use to me. Removing those wires should prove fun later.
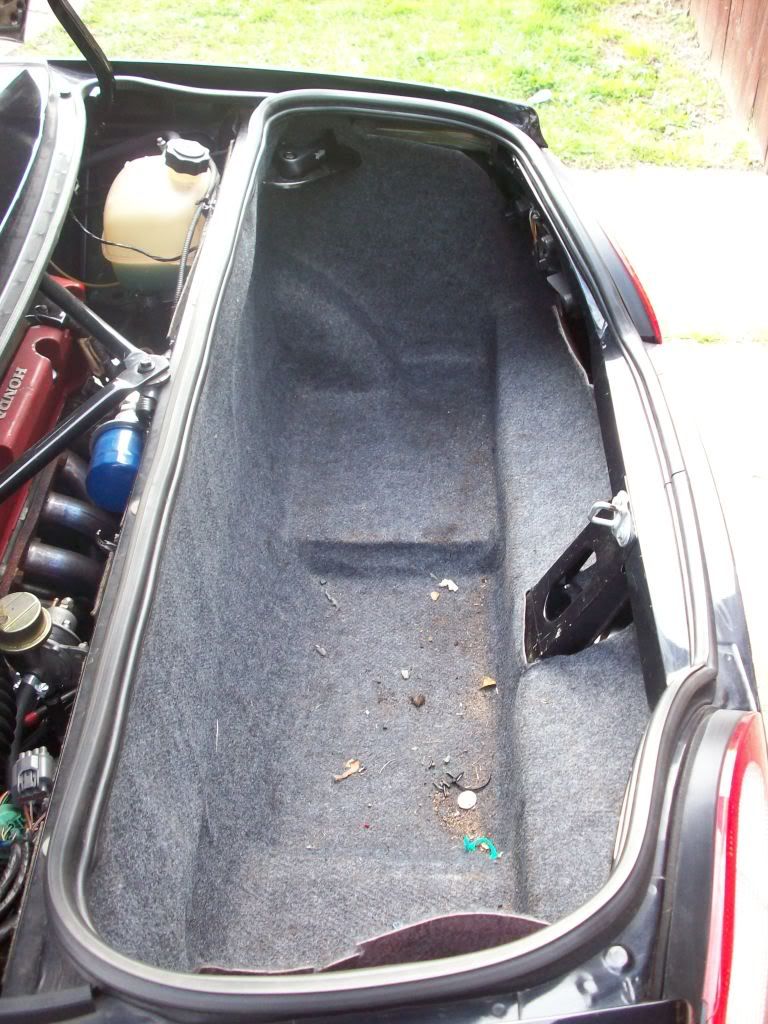
Next job was to remove the boot carpet lining.
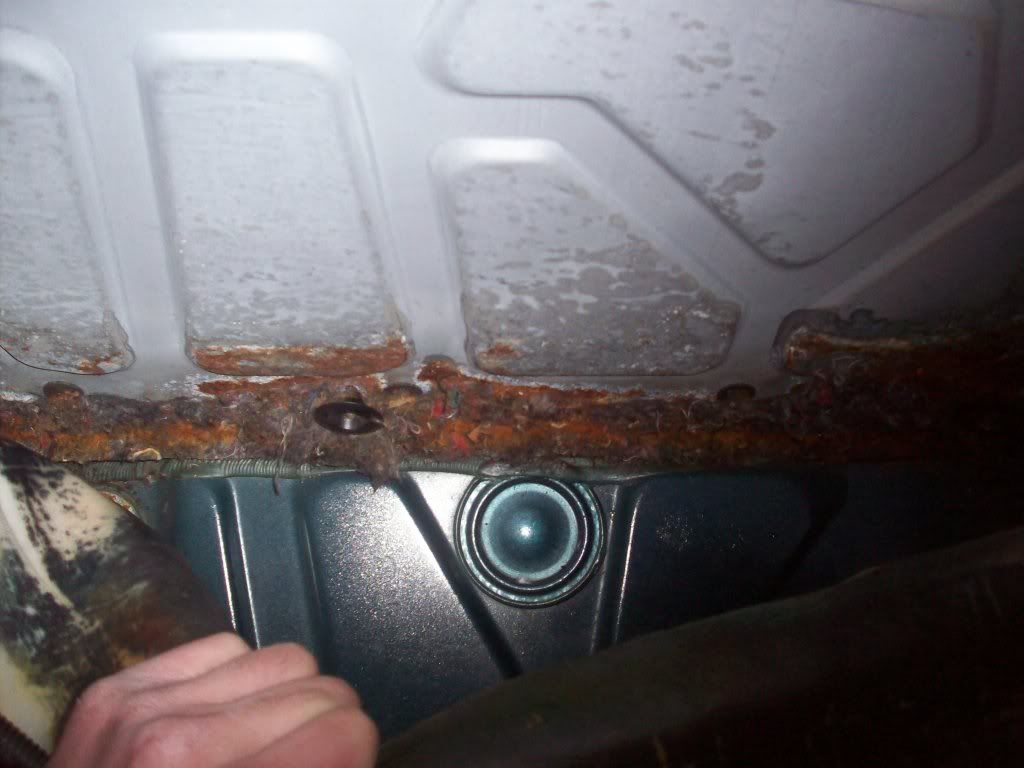
Easy enough, unfortunately I found a worrying amount of surface rust
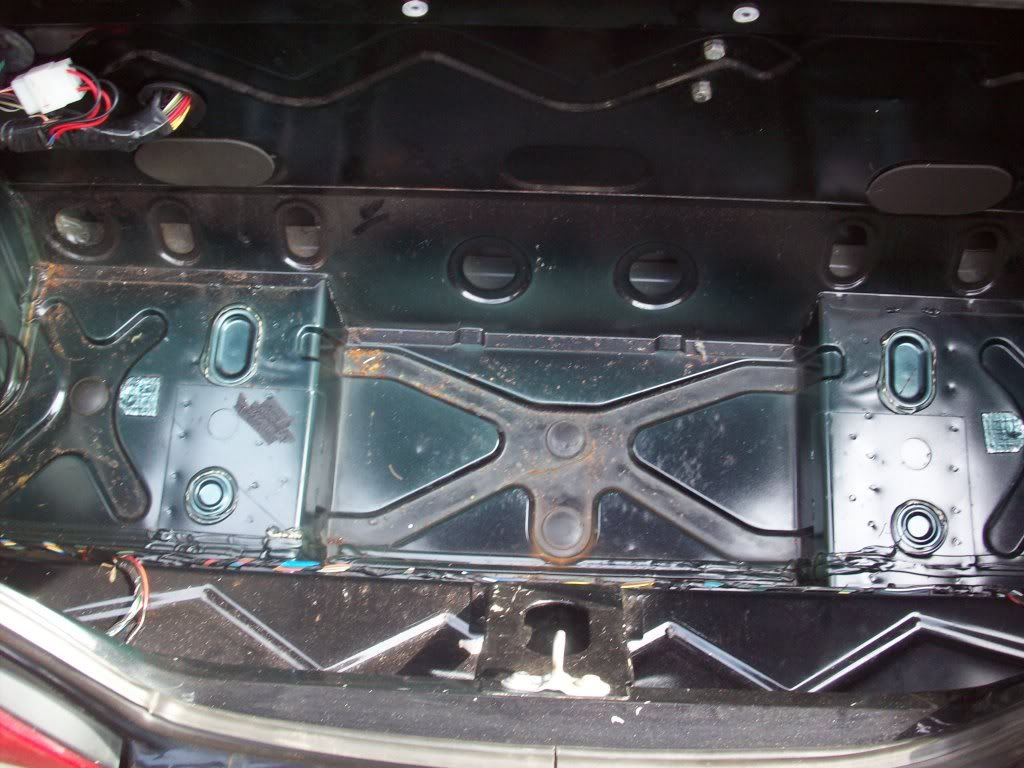
This would prove to be a trend for the day, classic Longbridge rust proofing. :wall:
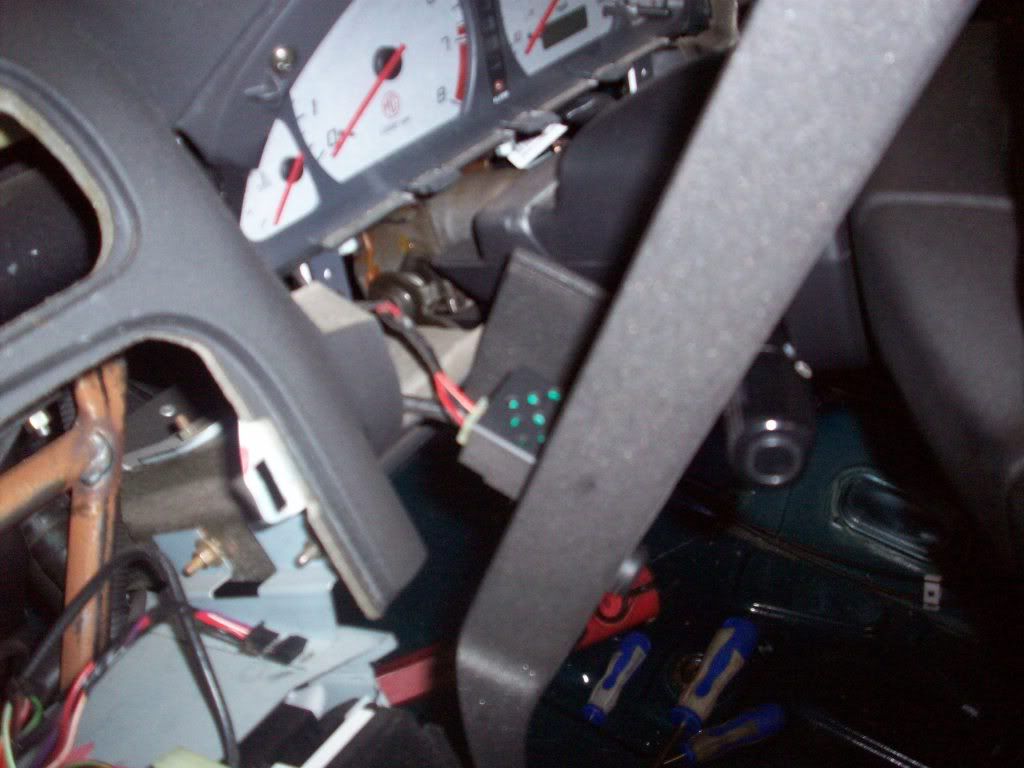
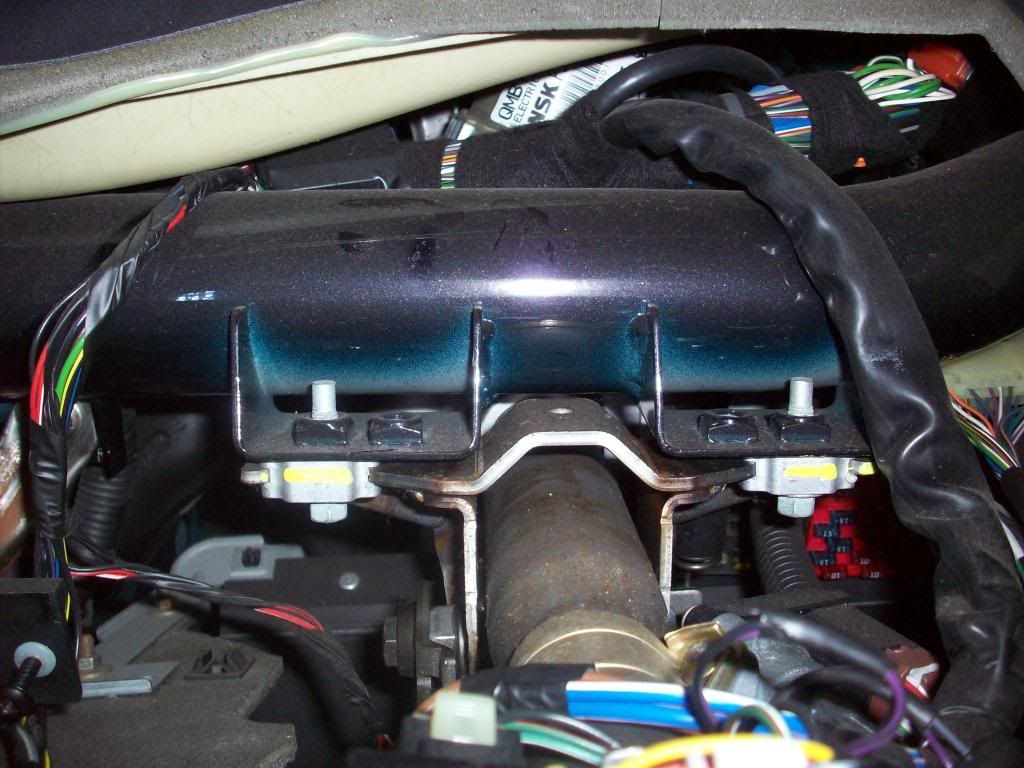
Taking the carpet out revealed all the wiring for the K-Pro ECU

Thats going to be fun to figure out!
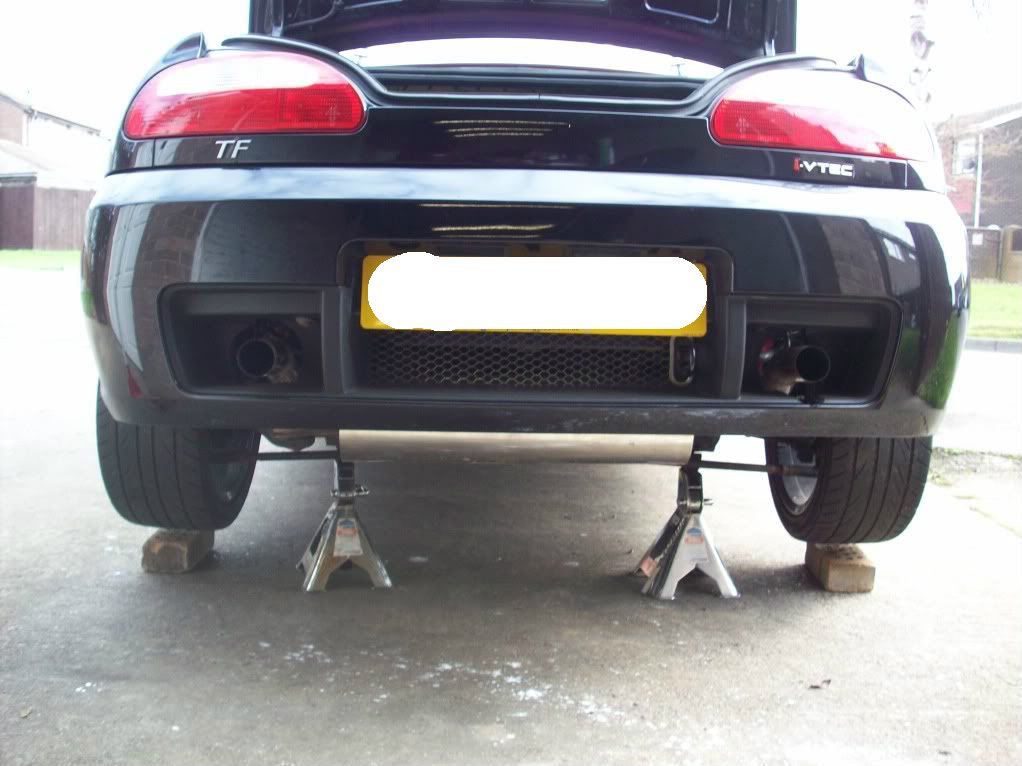
Getting the car up in the air was a bit of a nightmare as the suspension has basically collapsed on both sides :slap: so I had to get it up on bricks before i could evan jack it up (this was not a good start!).
Time to get the bumper off. First job was the rear mud guards
The screws were universally rounded :thumbsdo: (This was NOT going well)
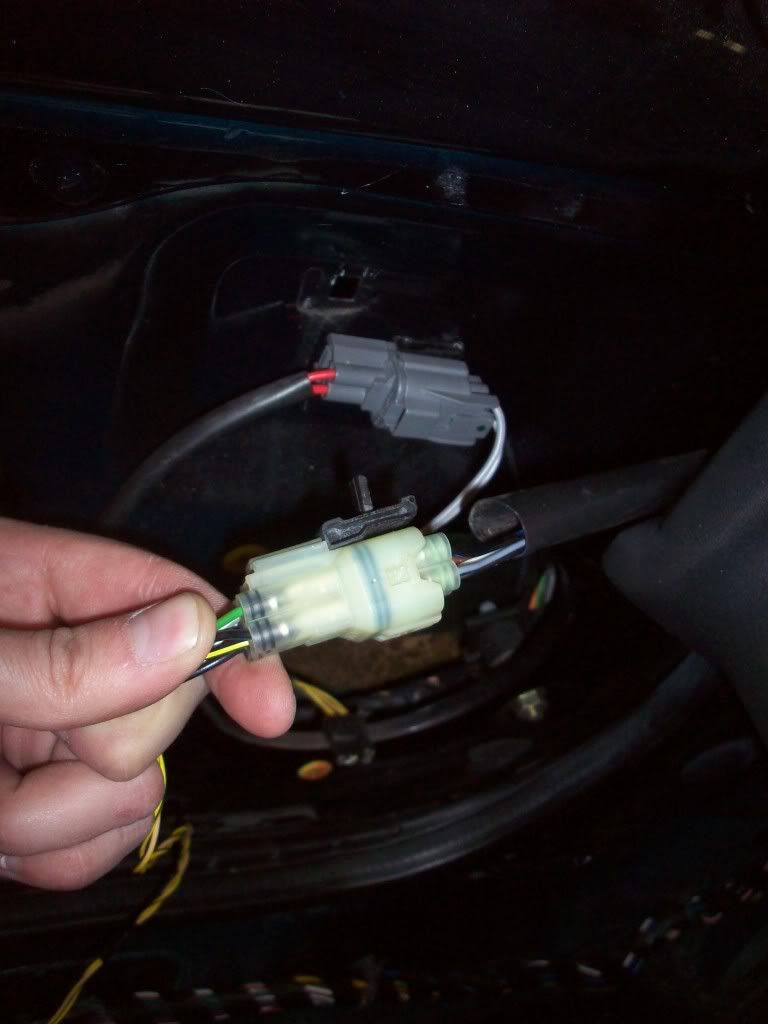
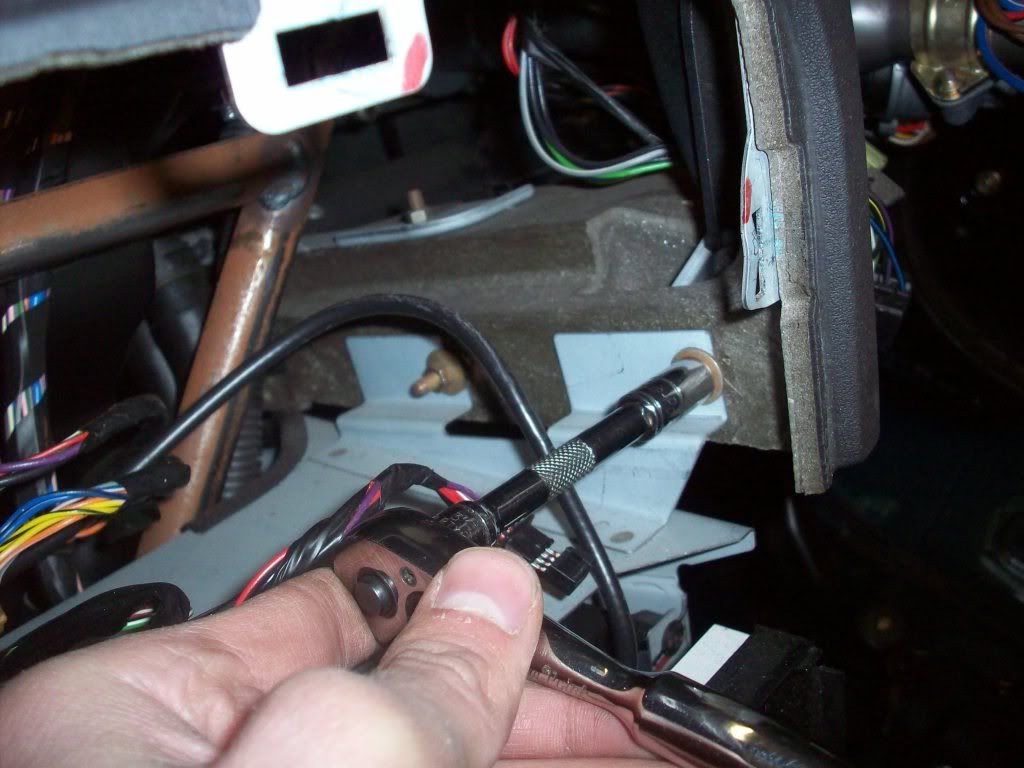
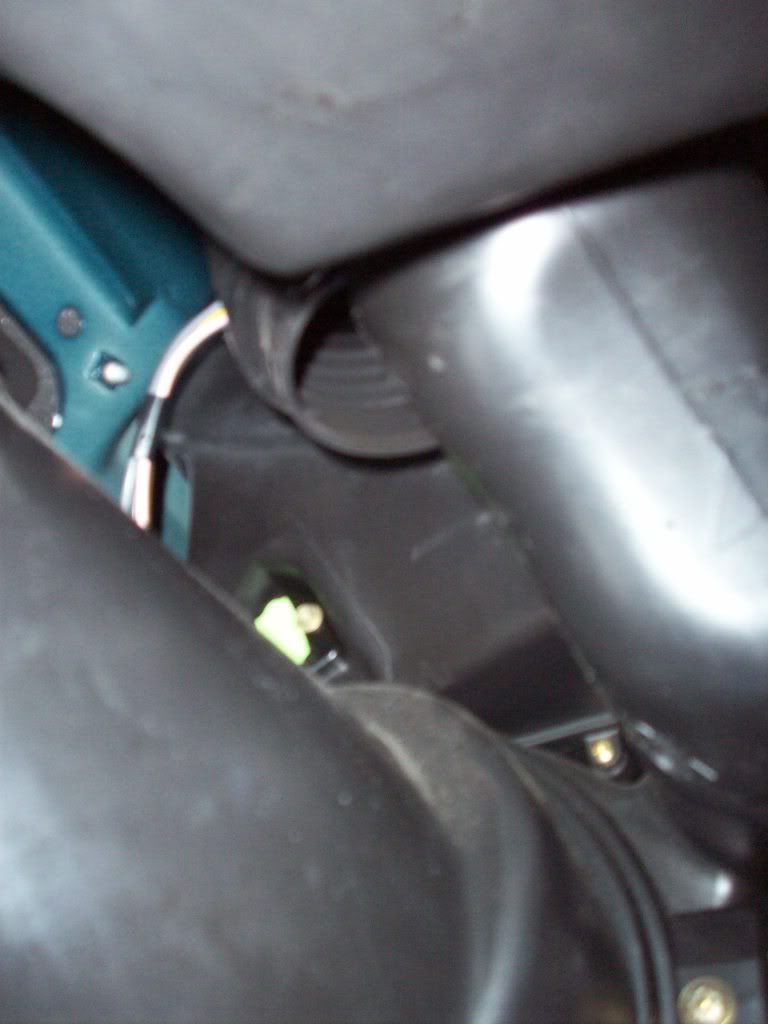
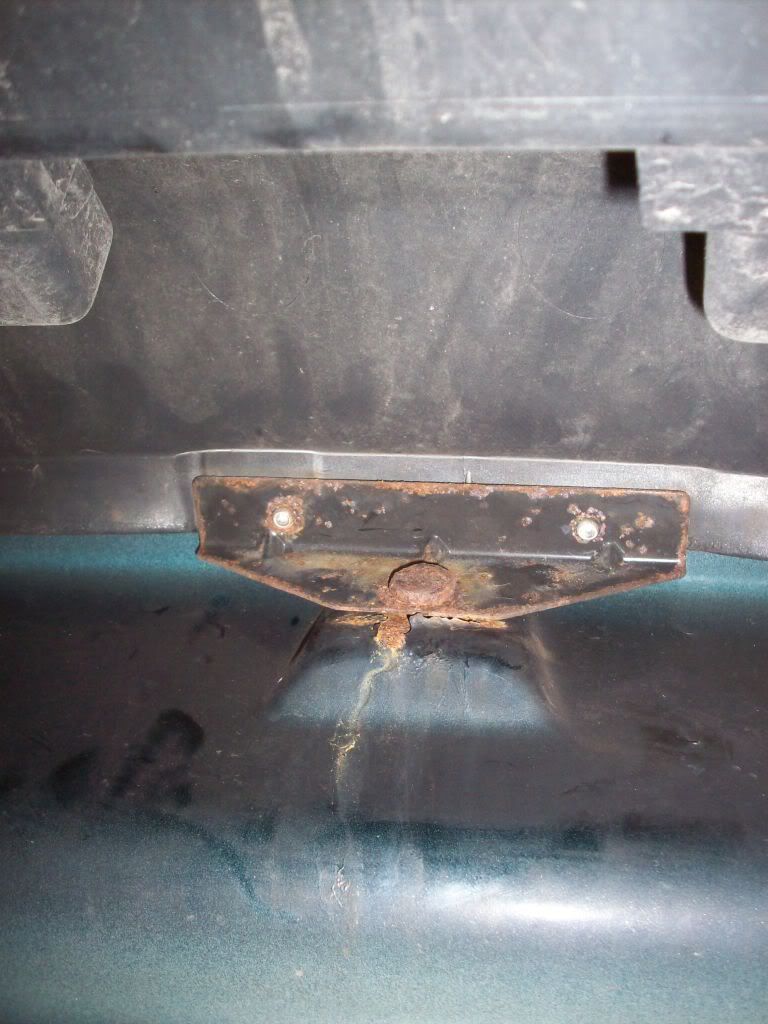
However I got them off... on the drivers side one I found this....
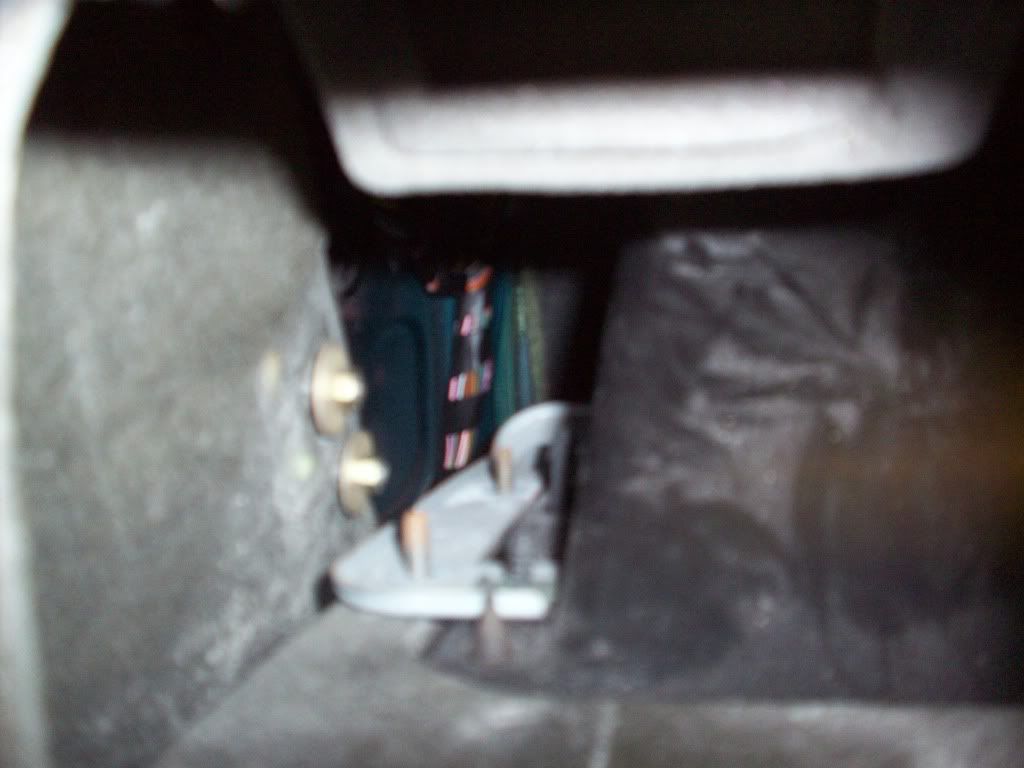
I think it's an ABS sensor wire, my old TF didn't have ABS so I'm not sure what it is but it wasn't attached to anything so any ideas?
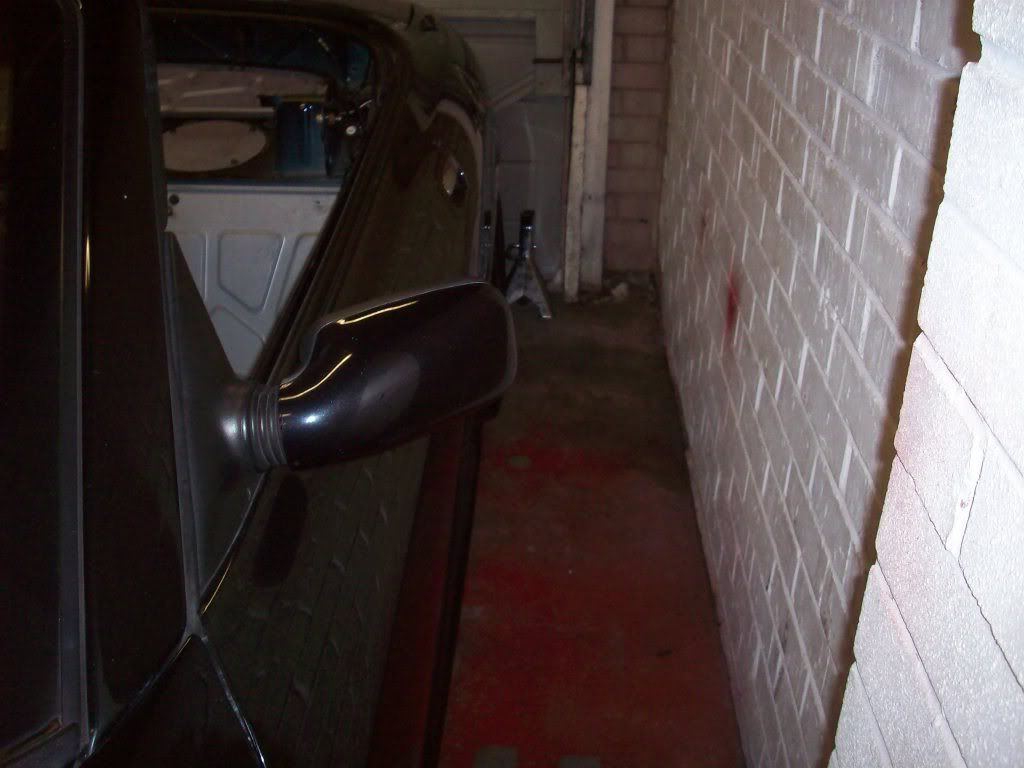
Next job was to get the bumper off. This should have been a walk in the park... It turned out to be more of a hop skip and a jump through a minefield.
This is one of the brackets the bottom bolts screw into...
nearly snapped :hit: and this is the other bottom bracket
actually snapped :rr:
This was not going well
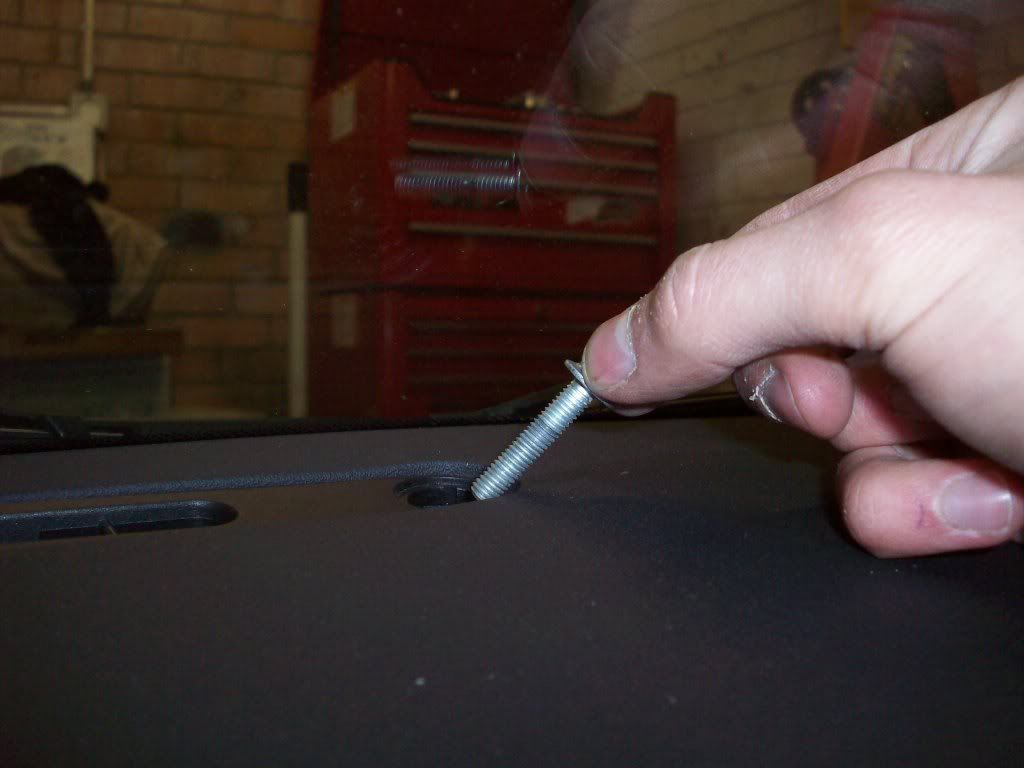
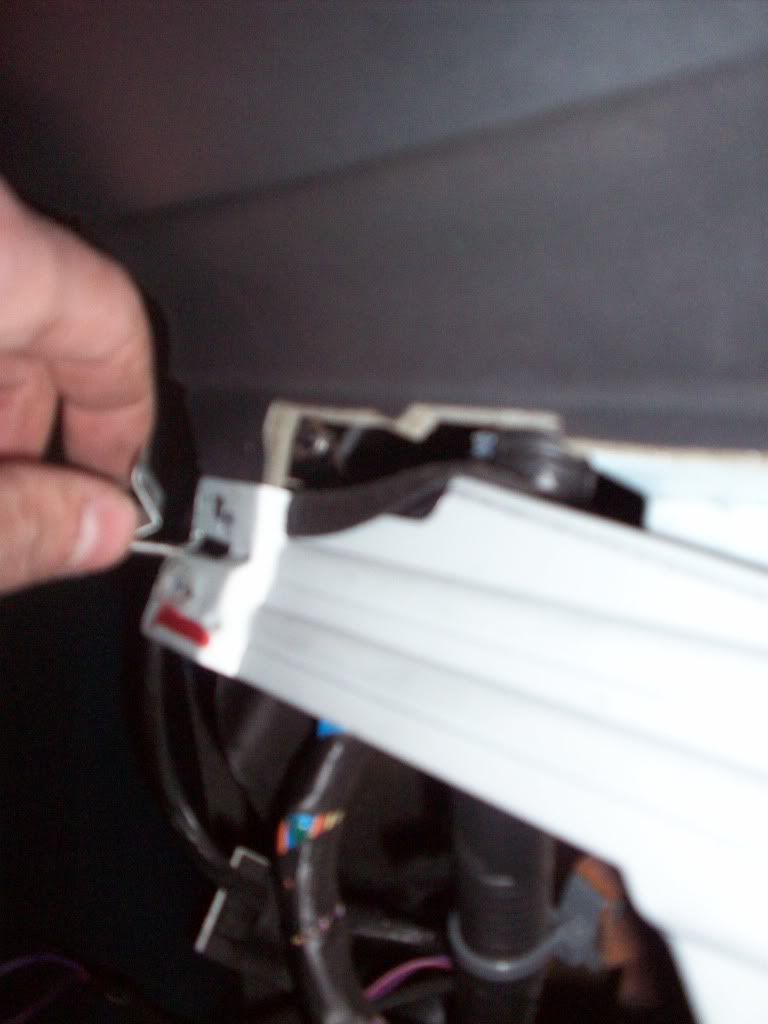
and that wasn't the worse of it. The top of the bumper has 3 bolts... Left and Right came out no problem... the middle one had all kinds of issues as can be seen here
The bolt head is welded onto the bracket attached to the bumper... however it was spinning freely when I turned the nut inside the boot.... so 40 minuets into working on my new car.... :clapping: out came the angle grinder! I had to hold up the bumper up with my knees and slot the cutting disk in between the car and the bumper to cut the bolt... I think the health and safety directorate would have had a consumption fit if they'd seen that but nm i didn't cut any vital body parts off so its all good!
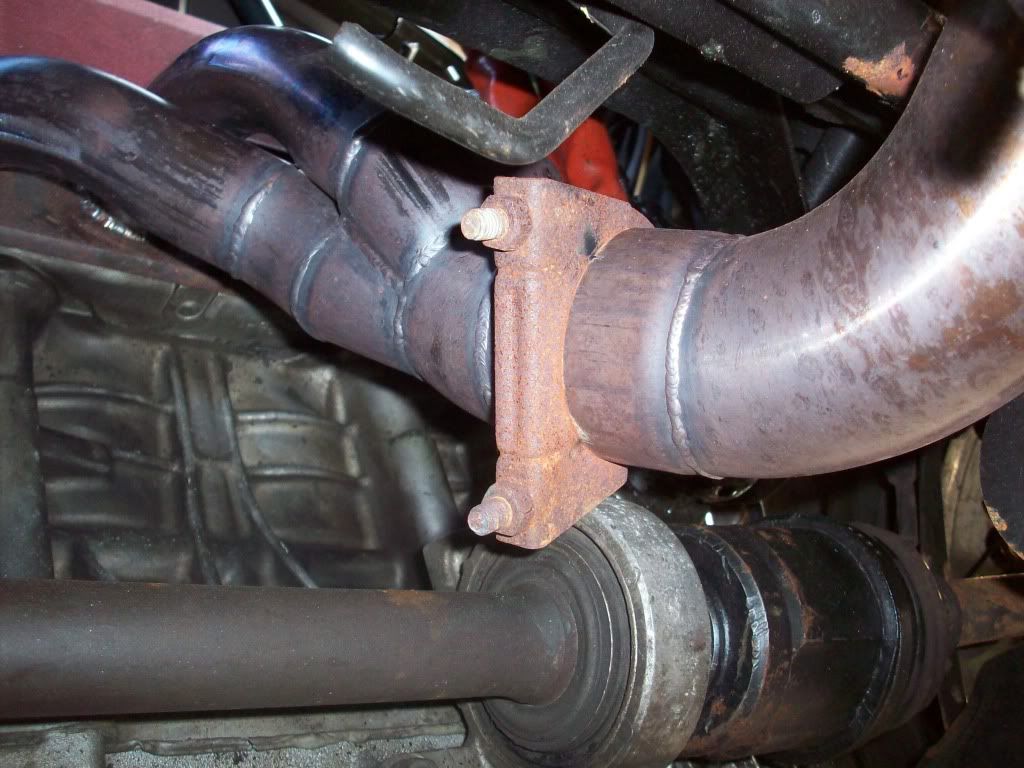
Next job was the zorst
As you can see from this picture
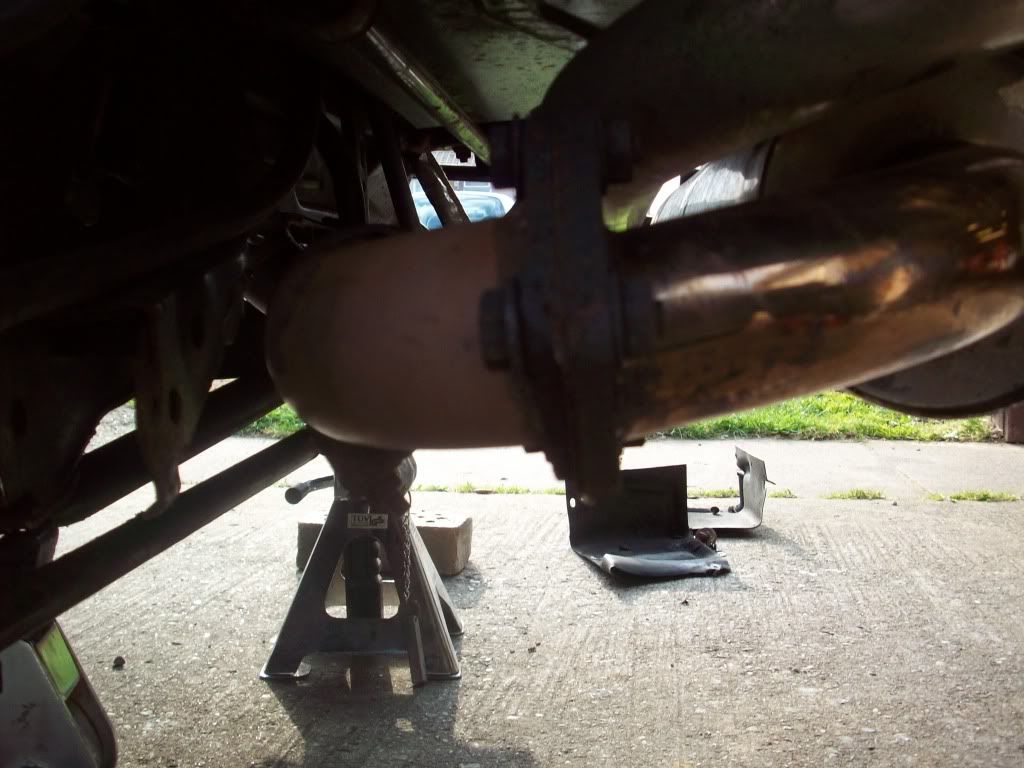
The K20 exhaust is a vastly bigger bore than what a Rover K-series engine needs, as a result this exhaust was almost certainly strangling power. I've also read that when a smaller than recommended bore is put on a car then it can cause oil seal problems (im guessing something to do with back pressure) but I still don't know enough about tuning to be sure on this). Why anyone would go to all the time and expense of doing a conversion and having a custom manifold made and then not have a custom exhaust made to match I don't know, I'm guessing the previous owner was attached to this back box but any can type baffle would have done. I'll be having something suitably sexy sounding added toward the end of the project.
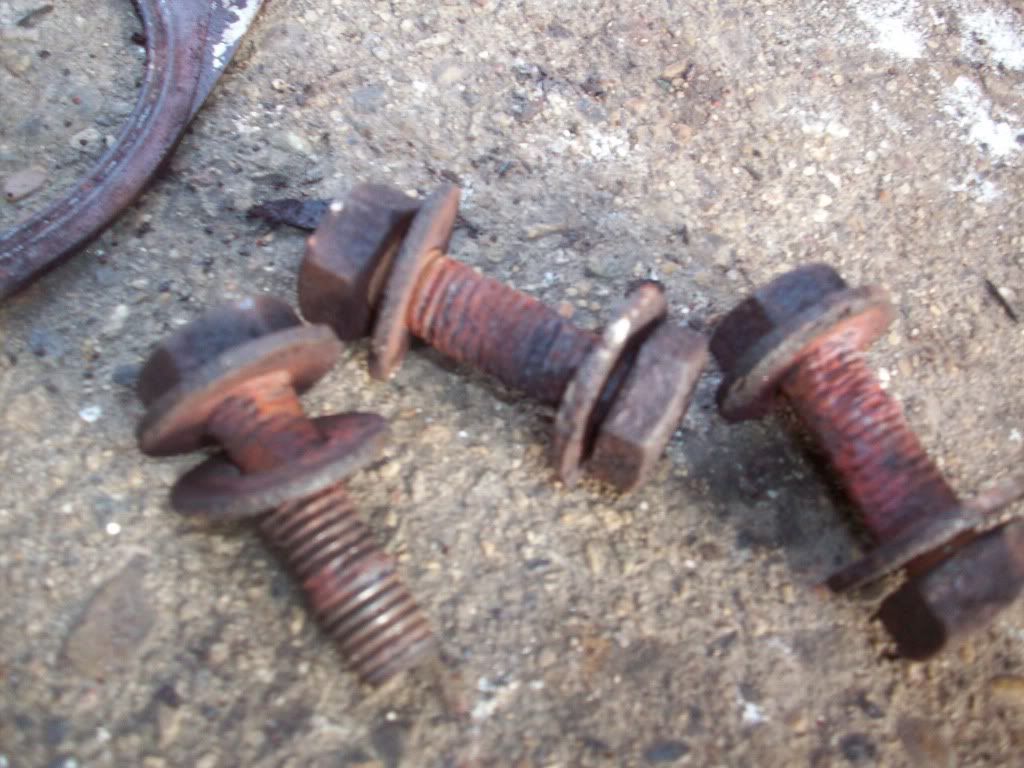
The bolts were an absolute nightmare (I'm sensing a trend with this car :svk as you can see they were in quite a state.
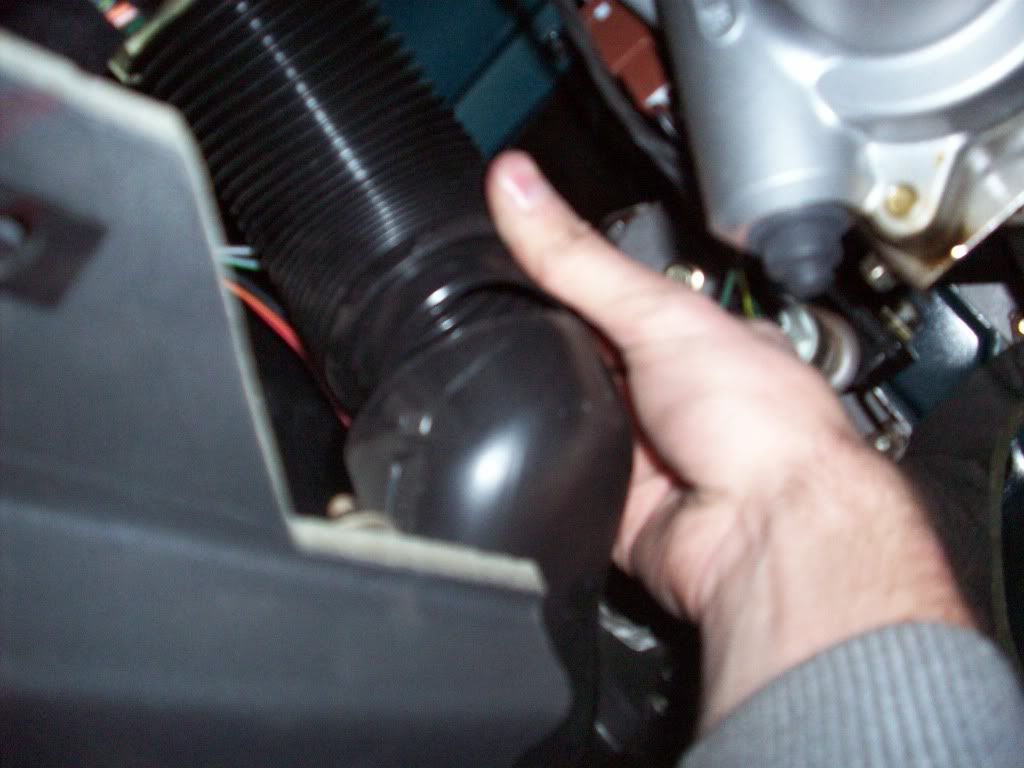
anyway another session of banging my head against a brick wall over I stopped for a cuppa and noticed the flexipipe was looking a bit... limp
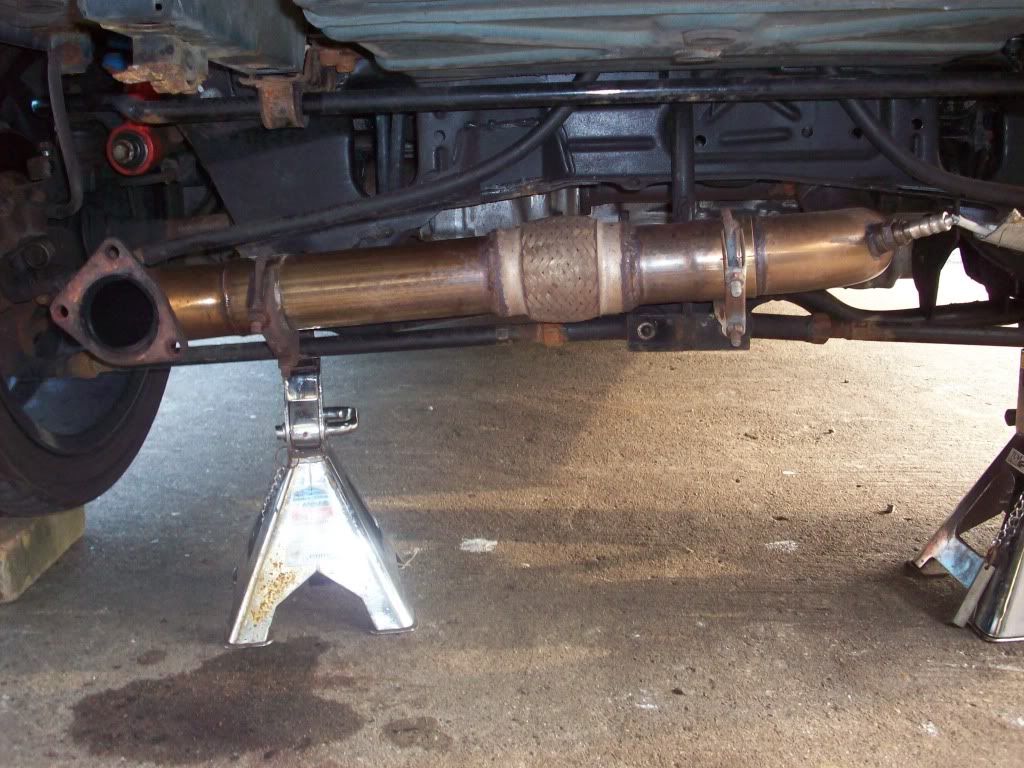
I poked my head under the car and noticed this.... which worried me
The flexipipe looks like its slid over the manifold and then clamped on... and not clamped on very well! I could pull it out by hand!
Anyway exhaust off and ready to be put up for sale!
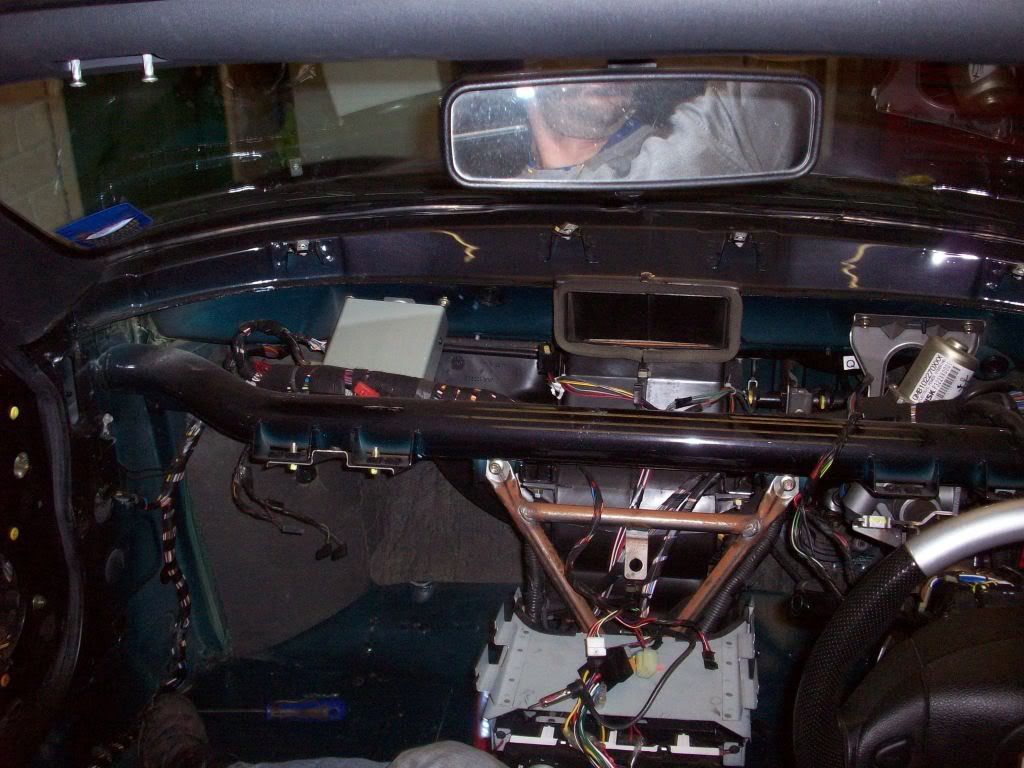
Time to get on with stripping the car. I decided to start with the interior, not as sexy as dropping subframes or engines out the car but I had my reasons.
First of all it's an easy job, sure it's complicated - but easy
Second getting the interior out will allow me to get the roll cage measured up and mean that I wont get oil and gunk all over it while working on the car. If I can get it to fit round the roll cage I might re-fit it for long journeys (like the continent or to the ring and back) later but thats way in the future.
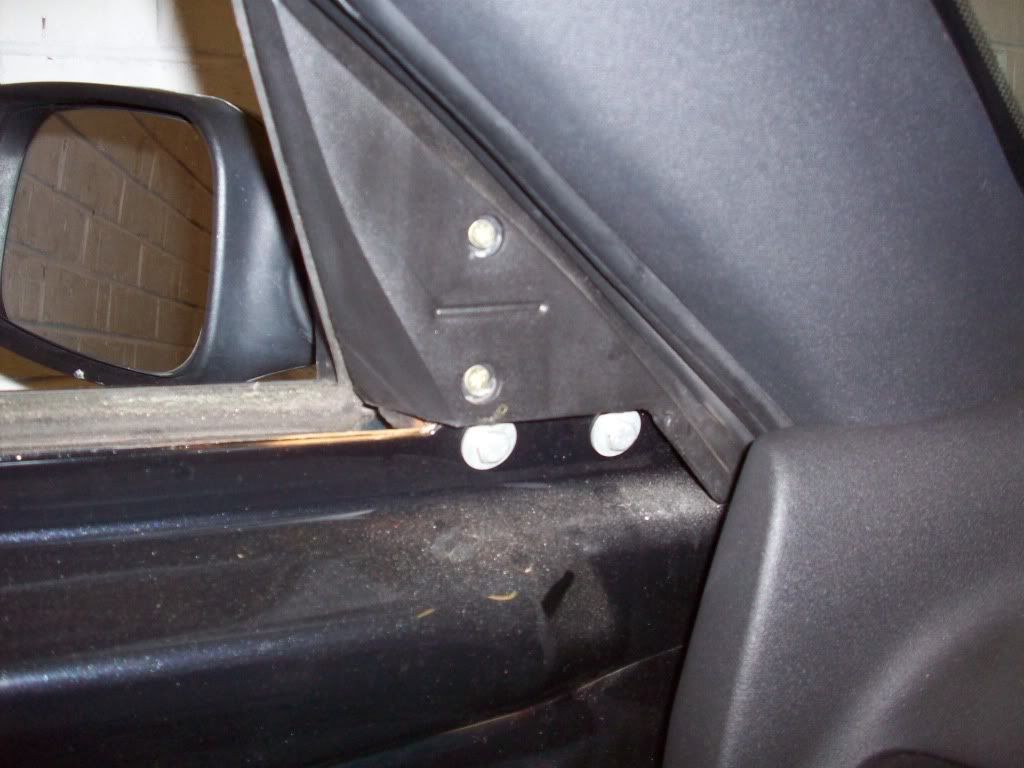
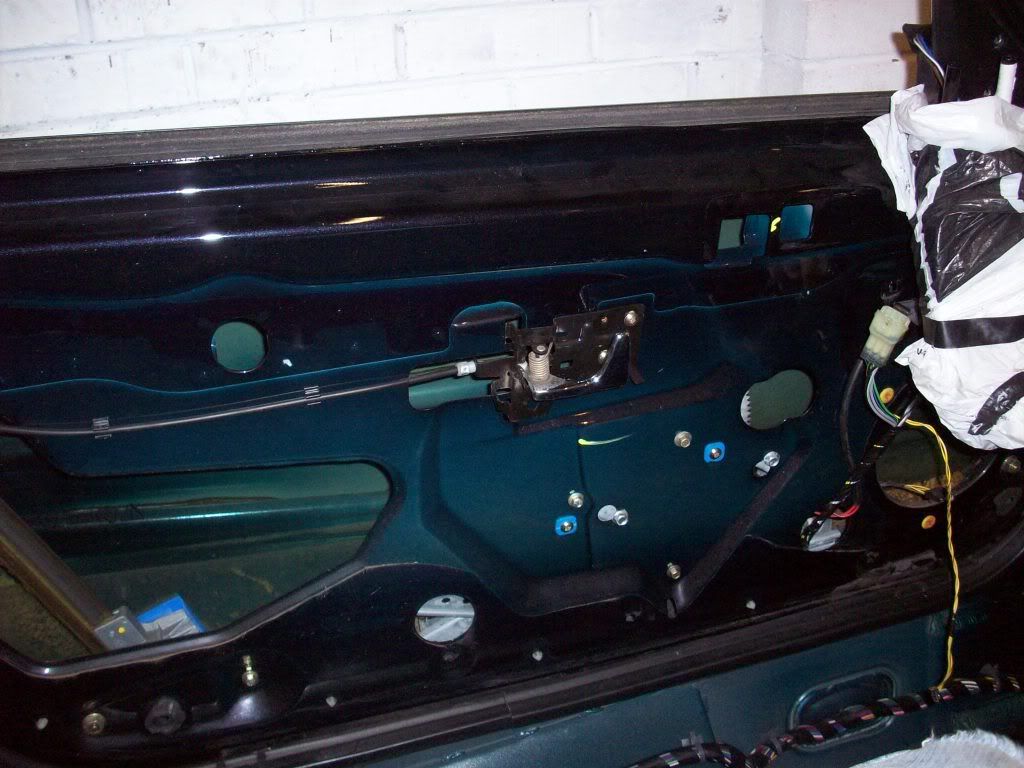
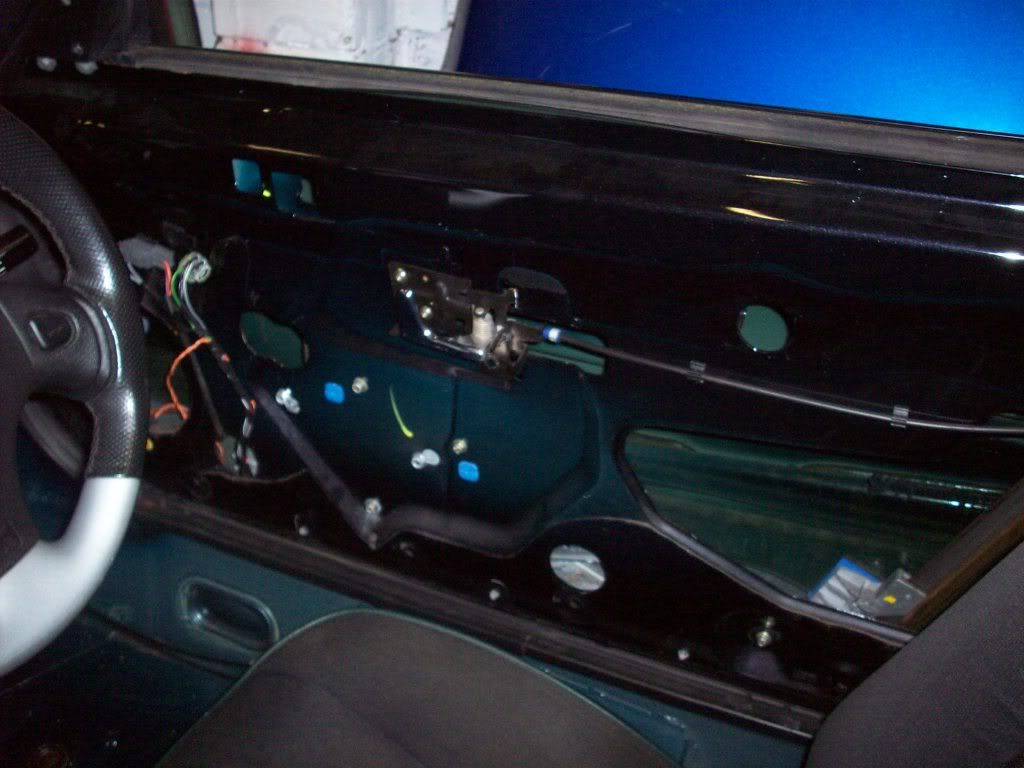
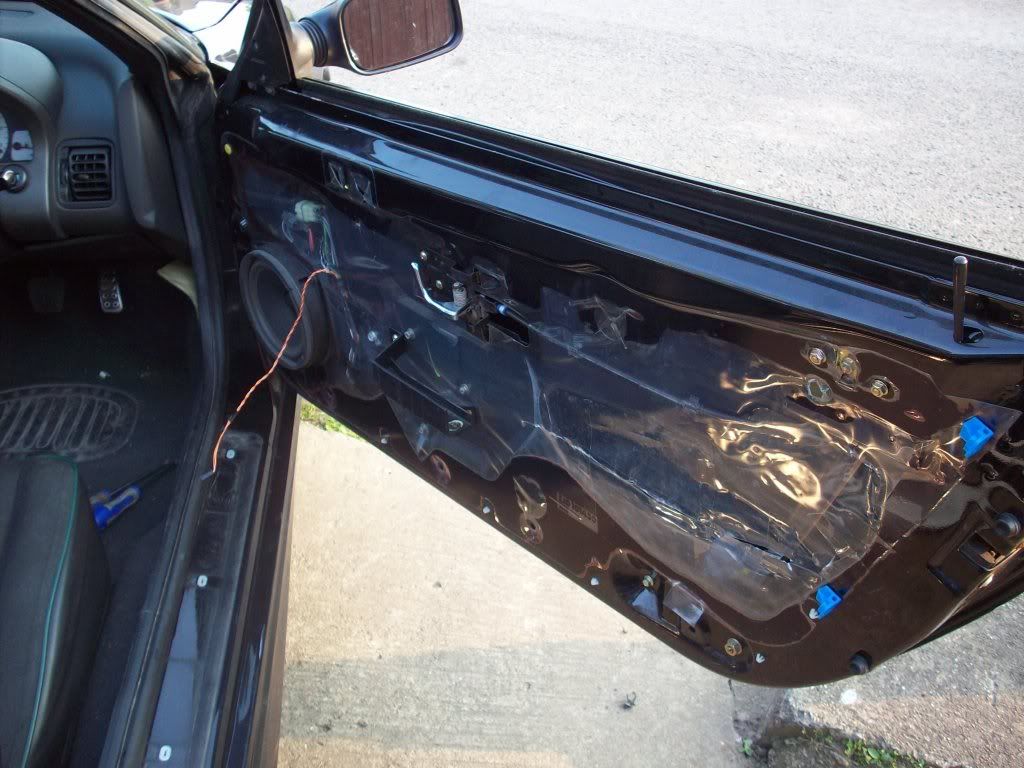
First job was to get the door cards off... before
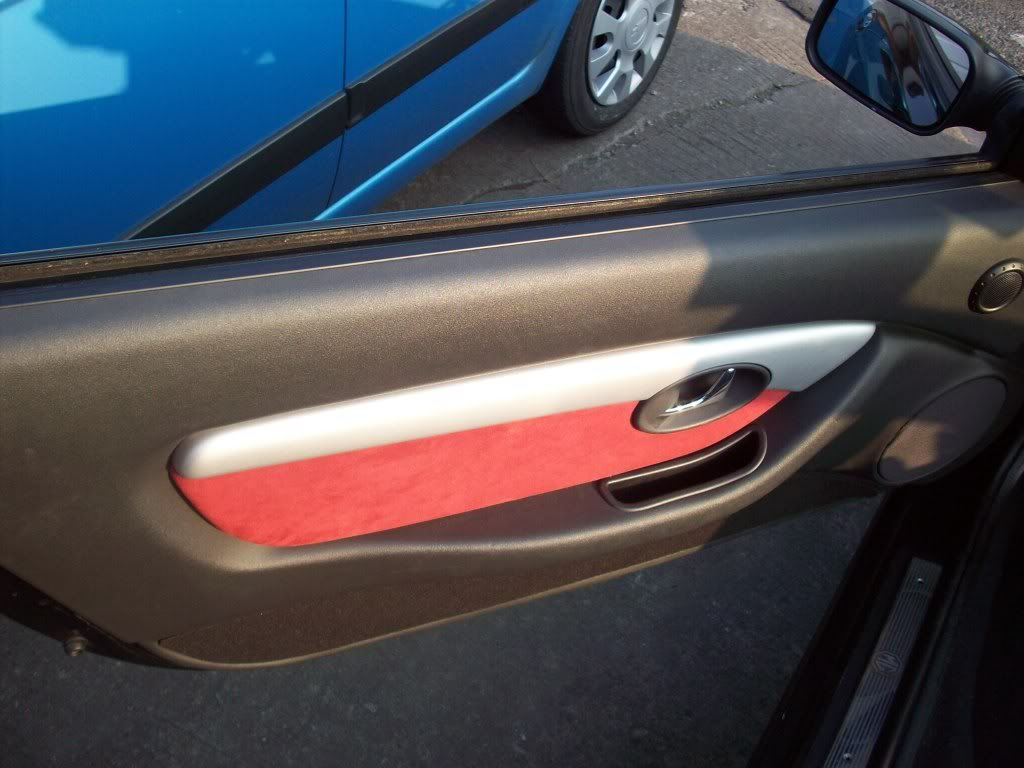
and after...
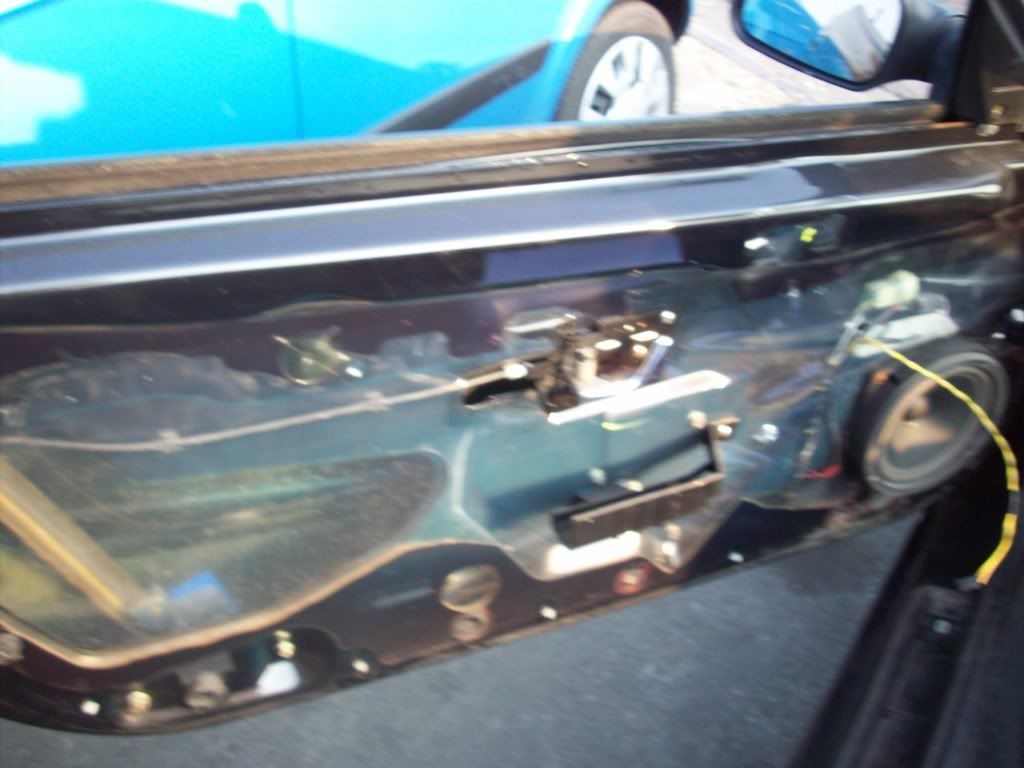
and the other side, note the door jars are off too
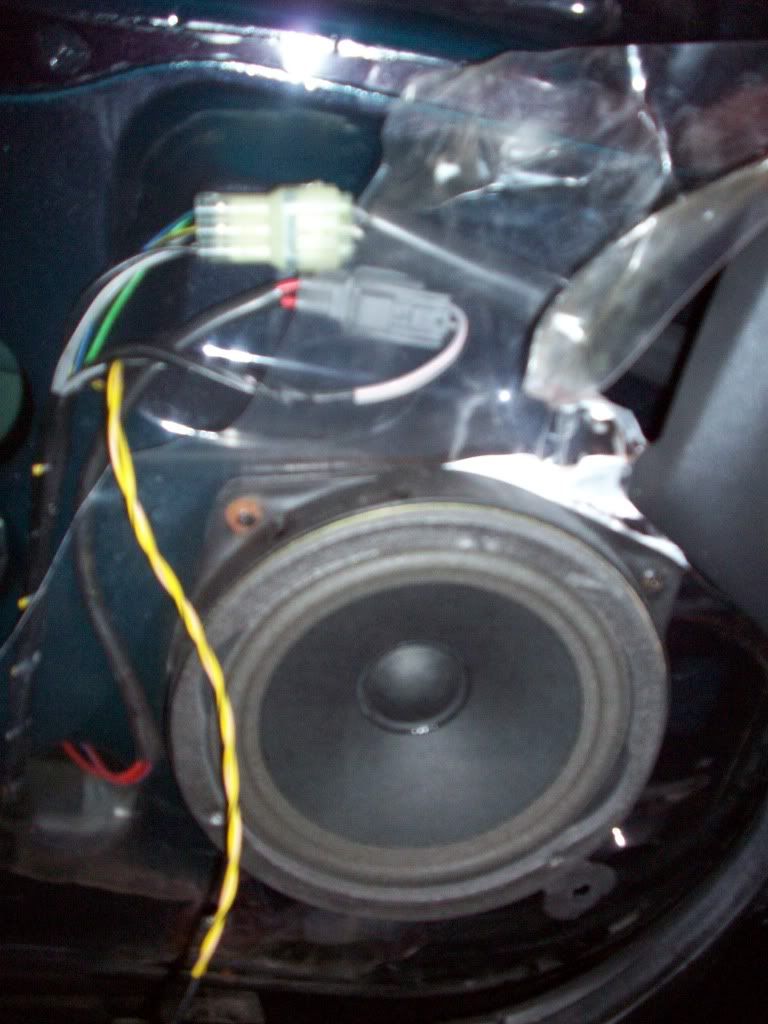
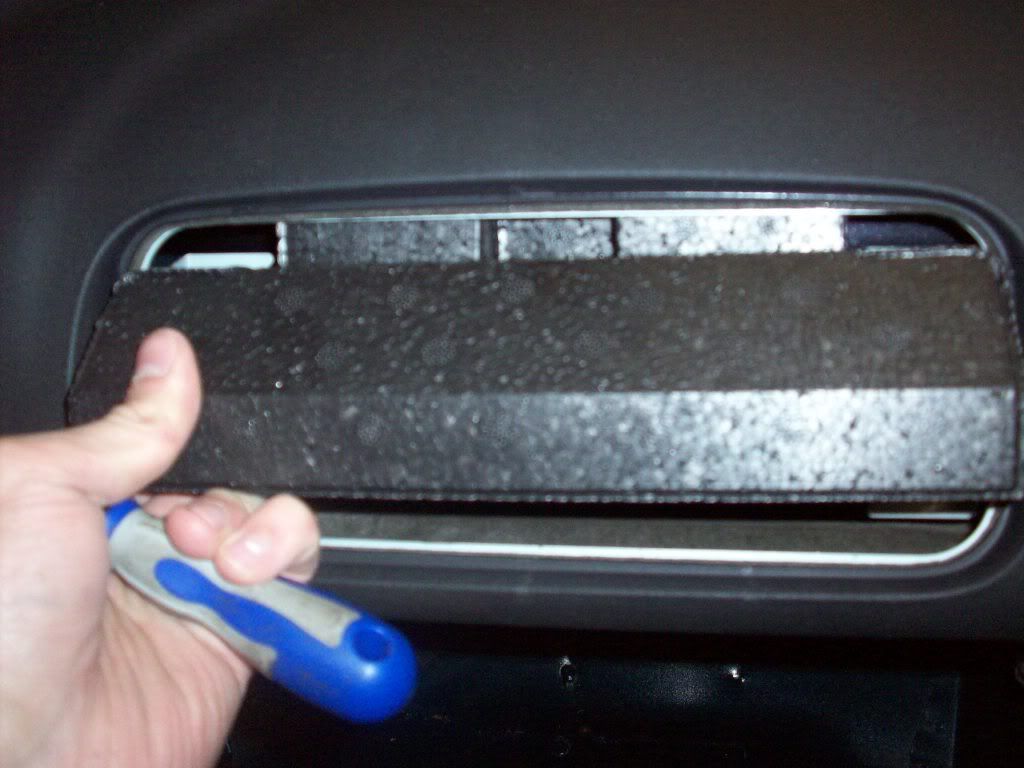
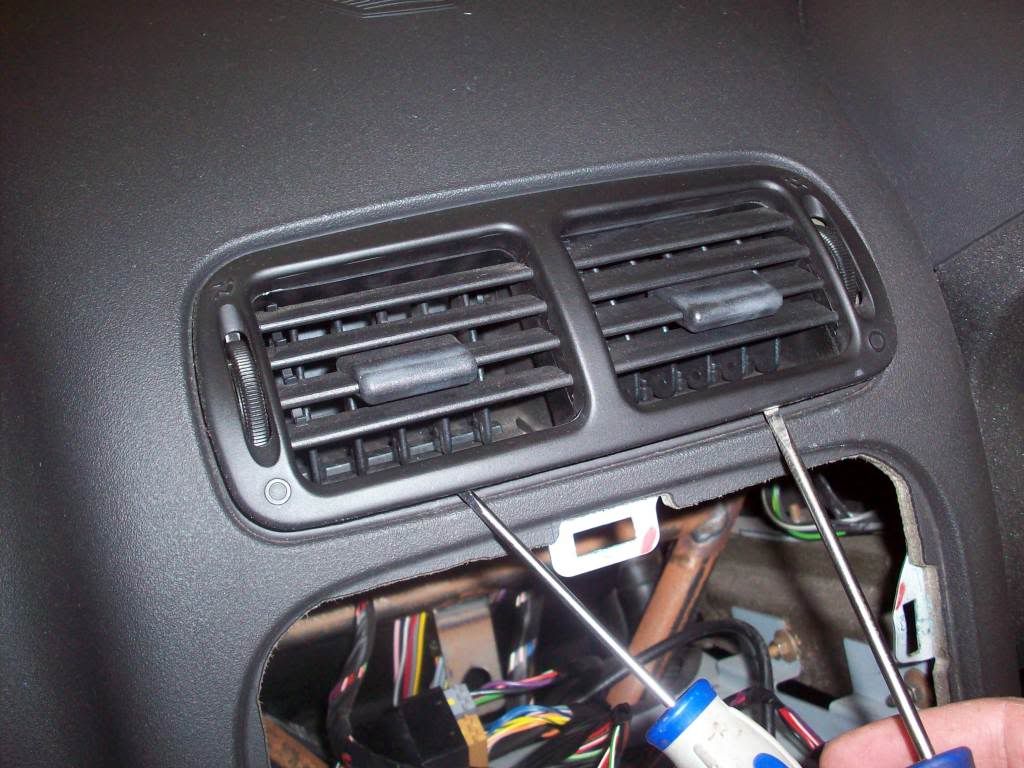
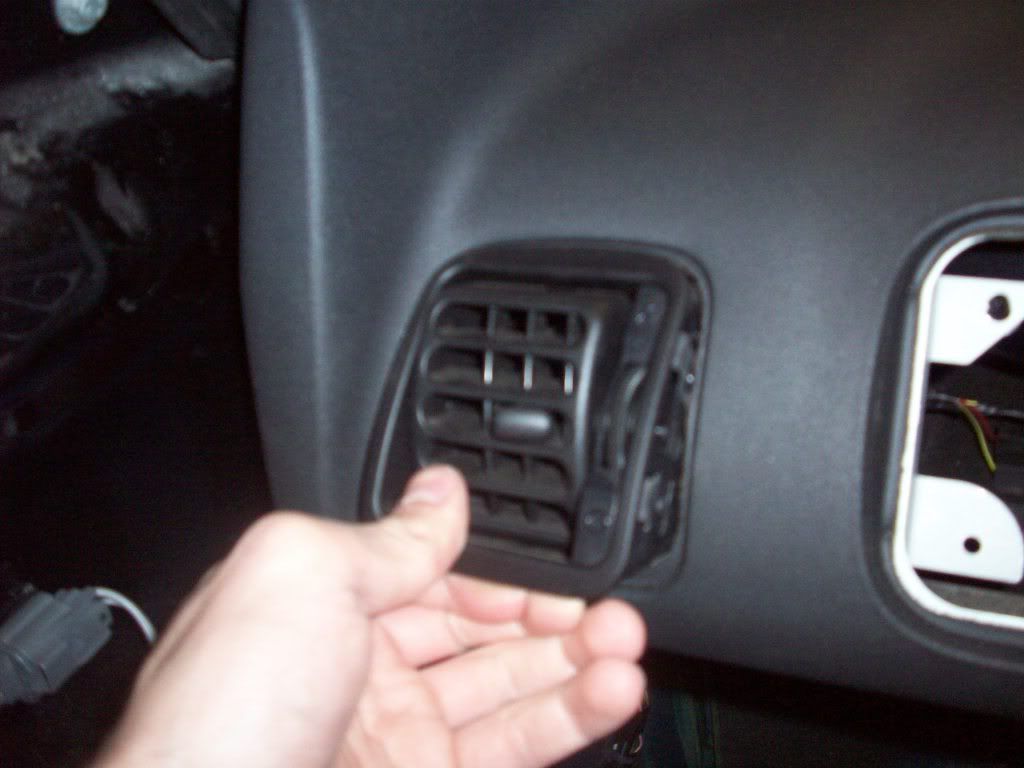
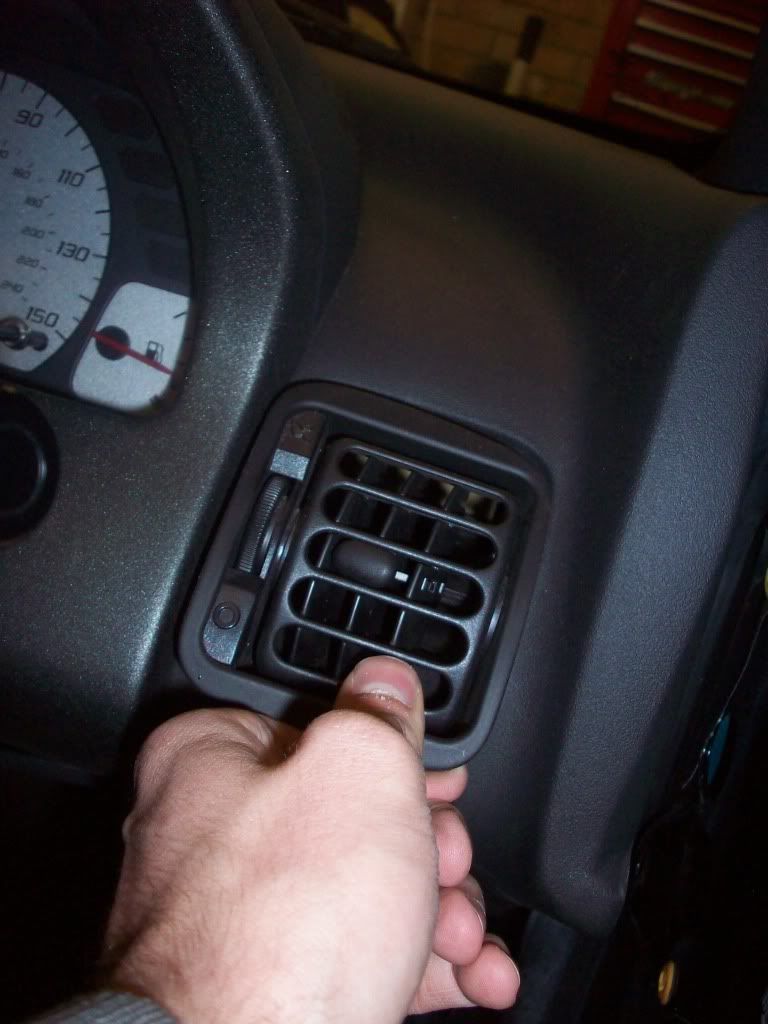
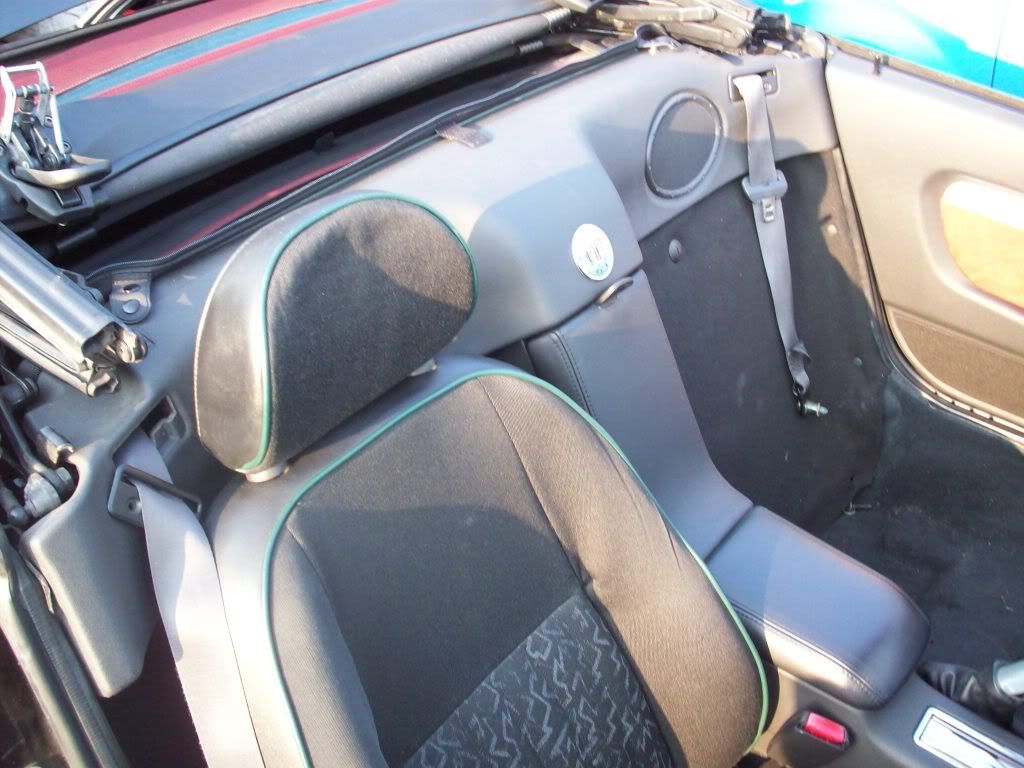
Next job was the T-Bar and the speaker pod, this picture shows the speaker pod removed and me getting ready to remove the seat belts.
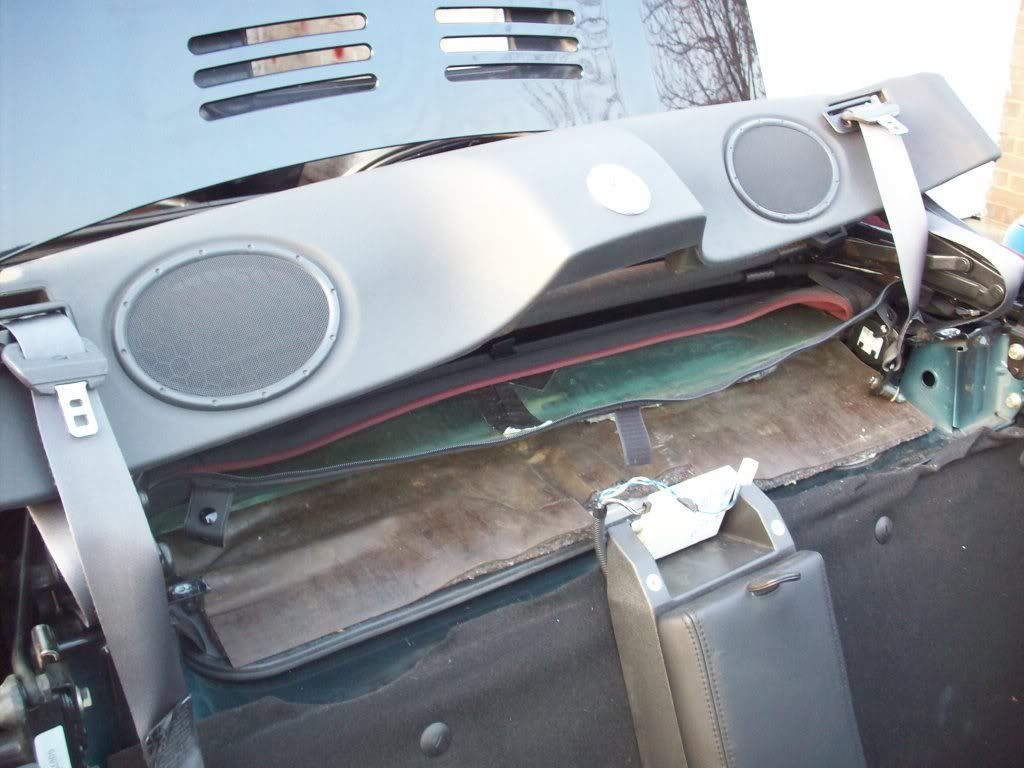
this job actually wasn't too bad, although most of the clips were snapped (this just means it's been removed before) typical MGF/TF
next job was to get the drivers seat out, the 80th anniversary seats were no good to me so the previous owner kept them to sell on so I could get the car a bit cheaper... the old MGF seat would not be staying... carbon fiber shineyness in the form of bucket seats to replace it
pointless pic? - yep but it's my thread so :nyah:
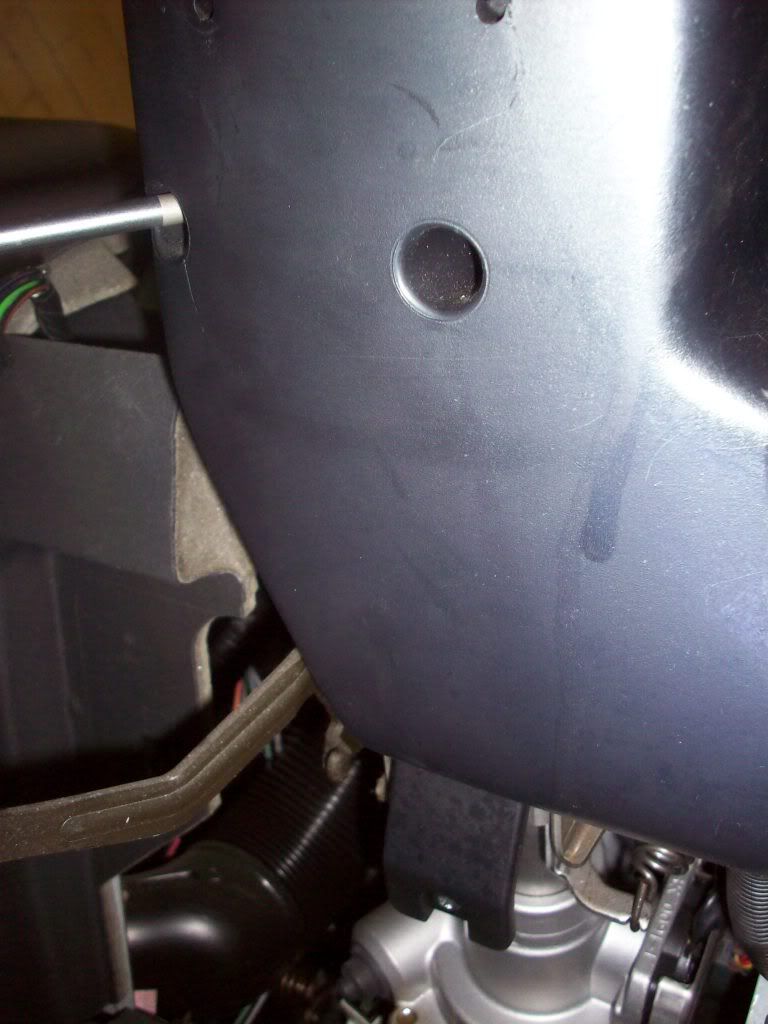
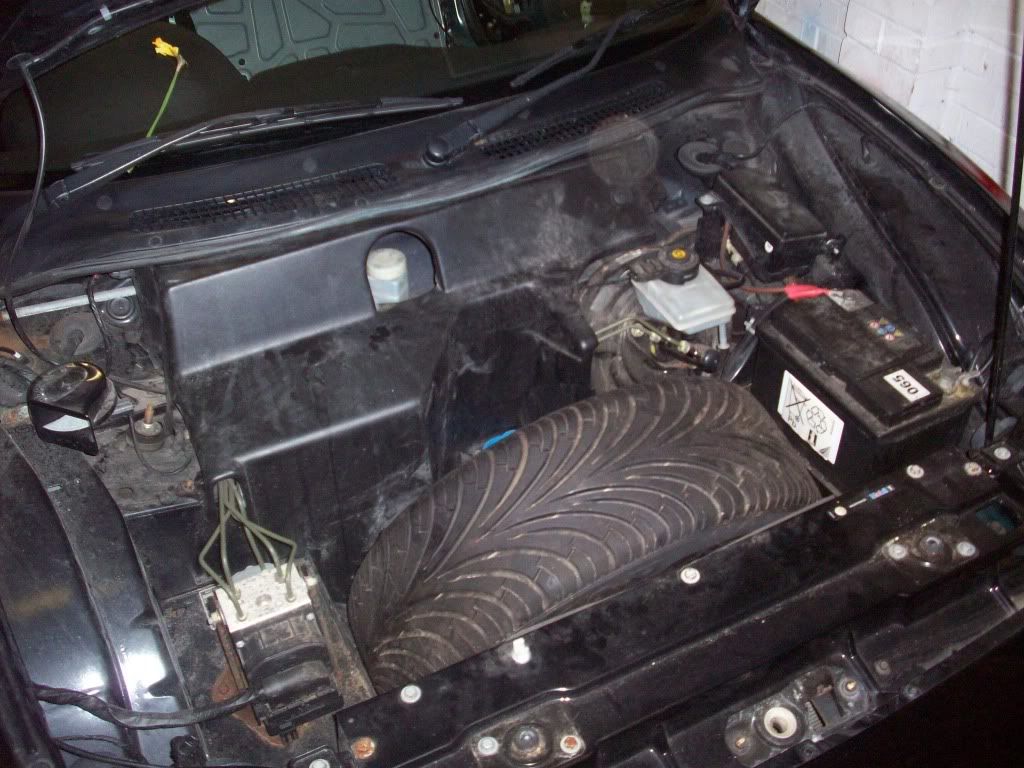
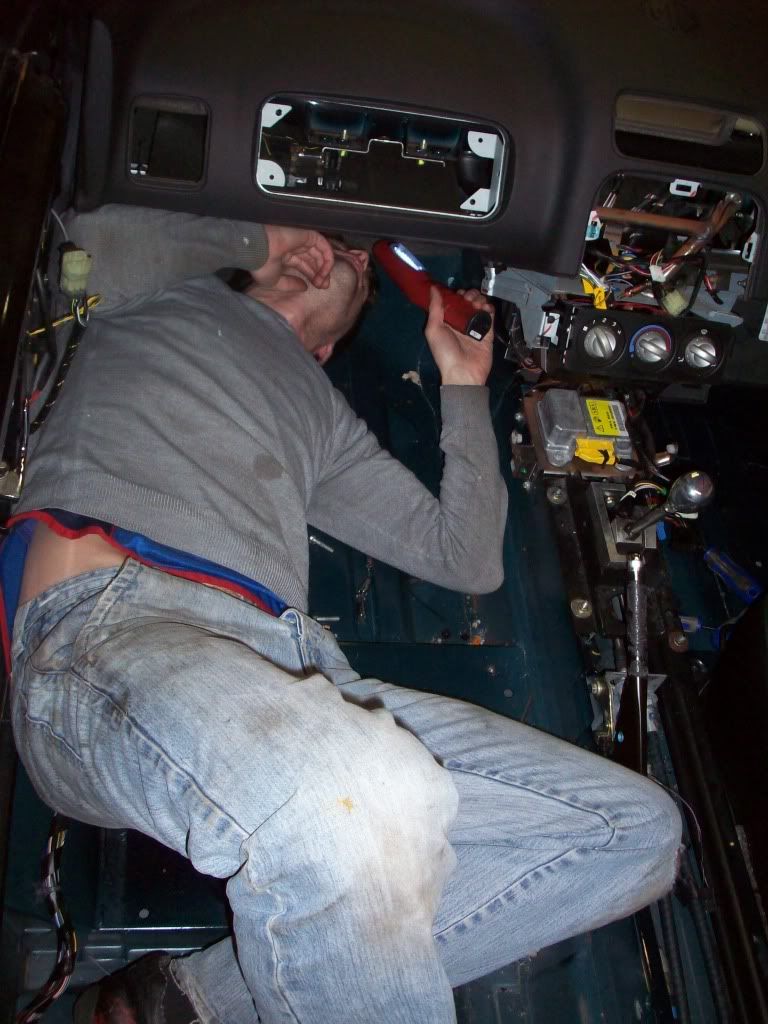
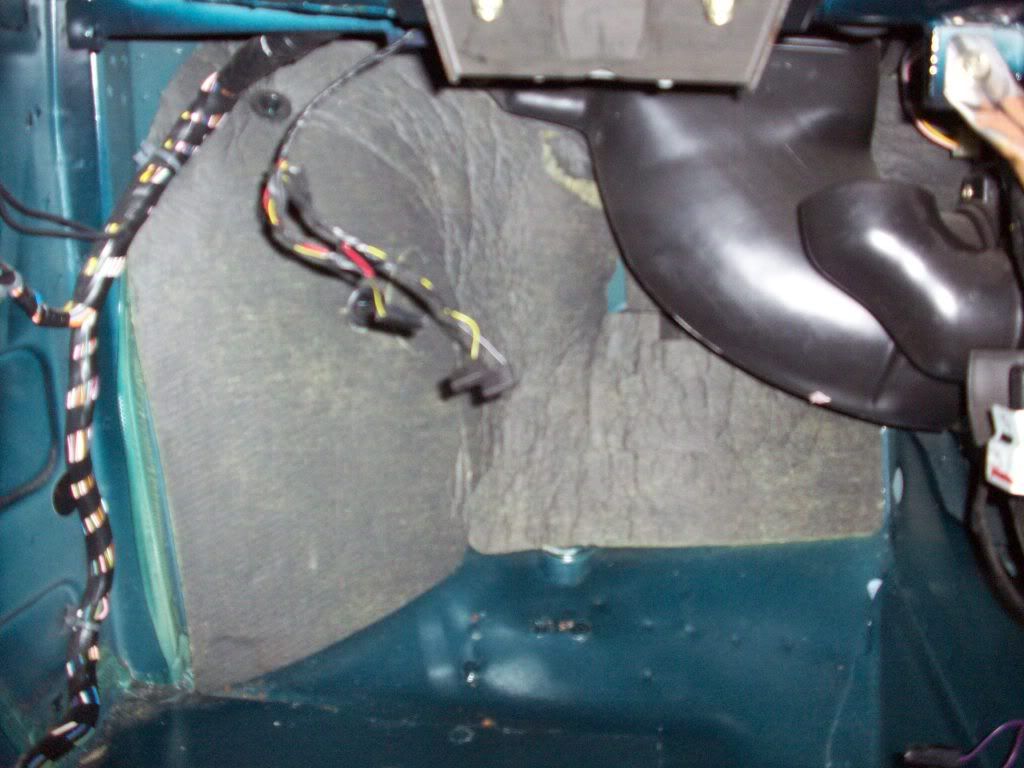
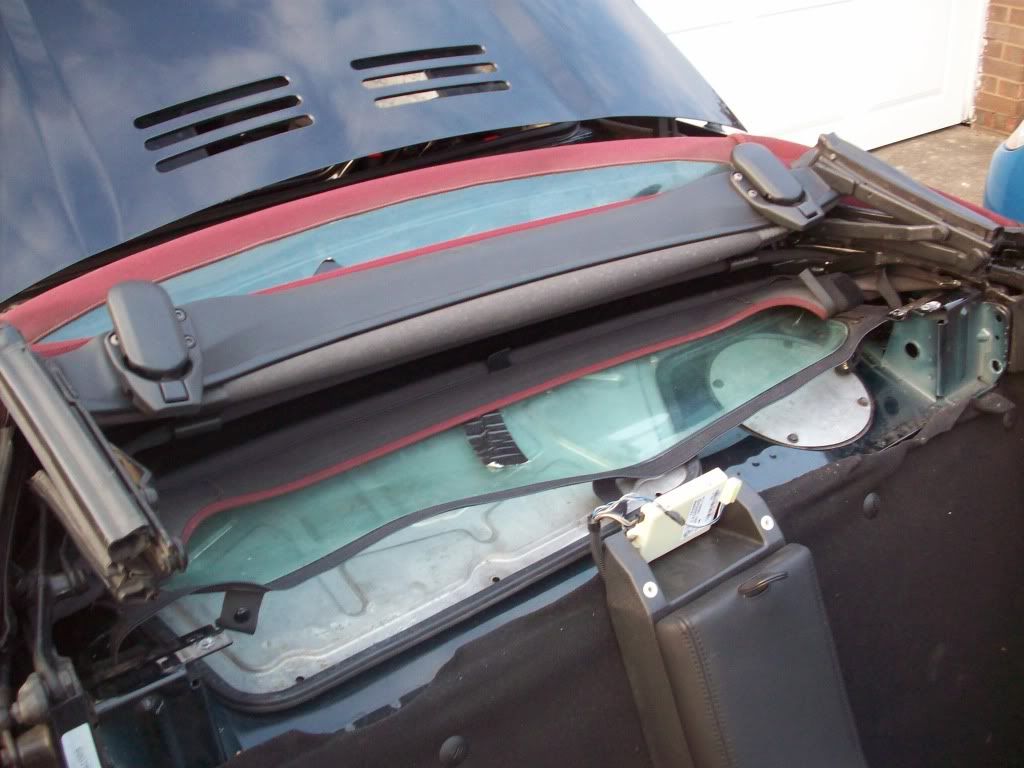
next job was to get the sound proofing off the engine bay access hatch, here is me struggling with the seat belt bolts

so the T bar could be completely removed
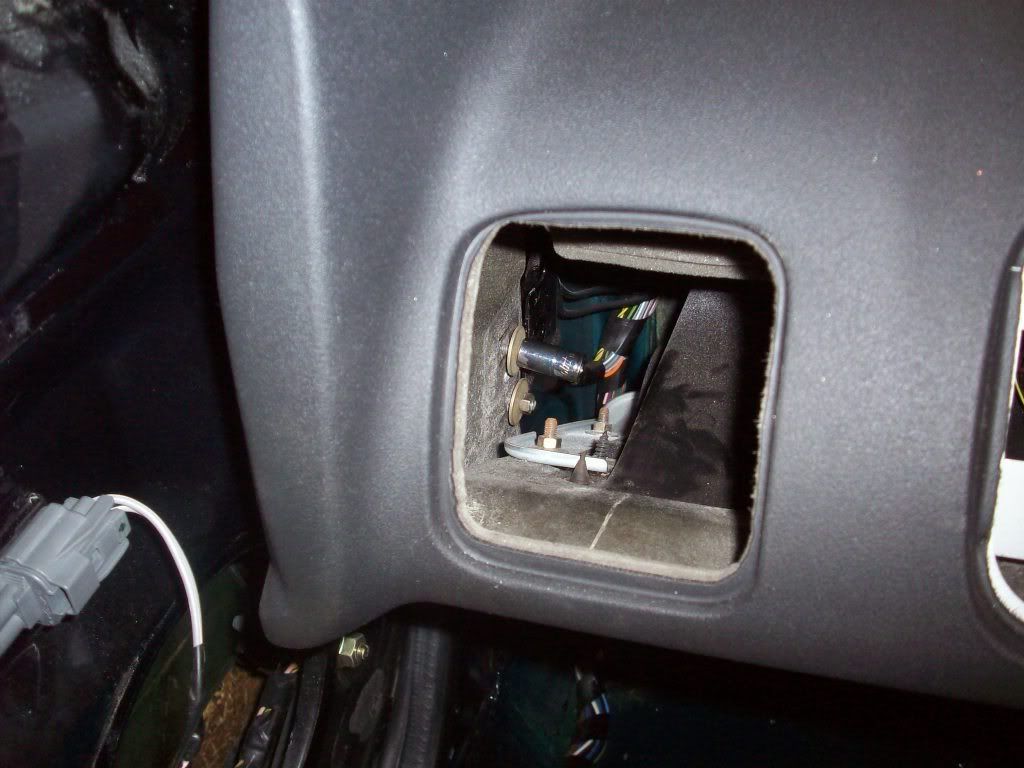
Next job was to remove the rear cubby and arm rest
next, time to remove the roof
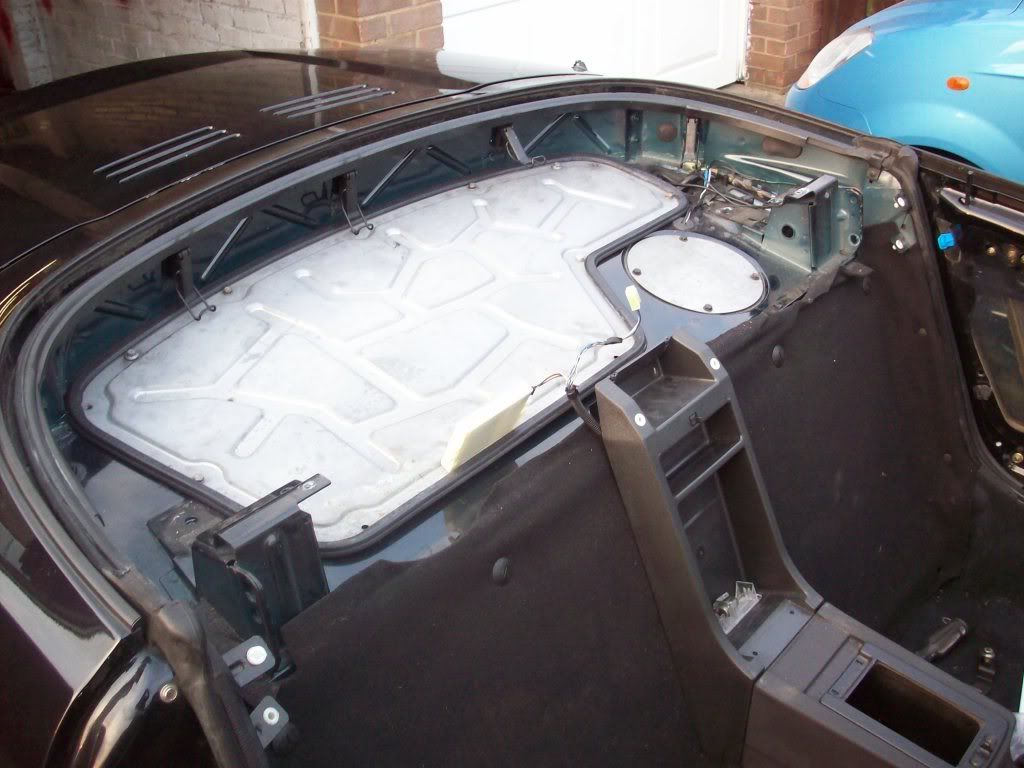
I decided to do this because the engine bay is a bit of a git to get into with the soft top on. You have to pivot the rear window part of the roof up to the front of the car... It's much easier to take the roof off altogether... However while re-building the car it will need to be outside allot (my garage isn't big enough to be a workshop).
Fortunately my best mate needs to store his hard top for the summer, and a hardtop takes 4 clips to take off instead of 4 bolts. Much easier to remove every time I work on the car
Unfortunately removing the roof means the bolts that hold the rear clip brackets on have nothing to bolt into... so I found something to bolt them into... thats a long way of introducing this picture

think this pic is even more pointless than the seat one? Well I thought it was a good idea, so go fornicate with your mother
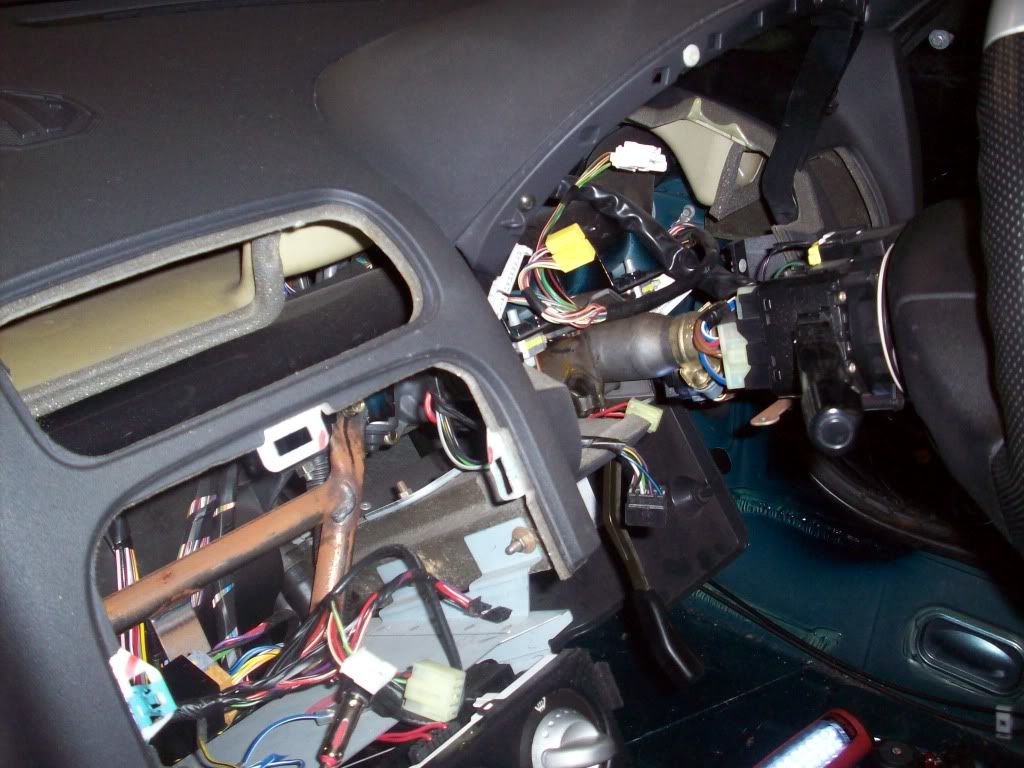
now where was I? Oh yes! taking the interior out...
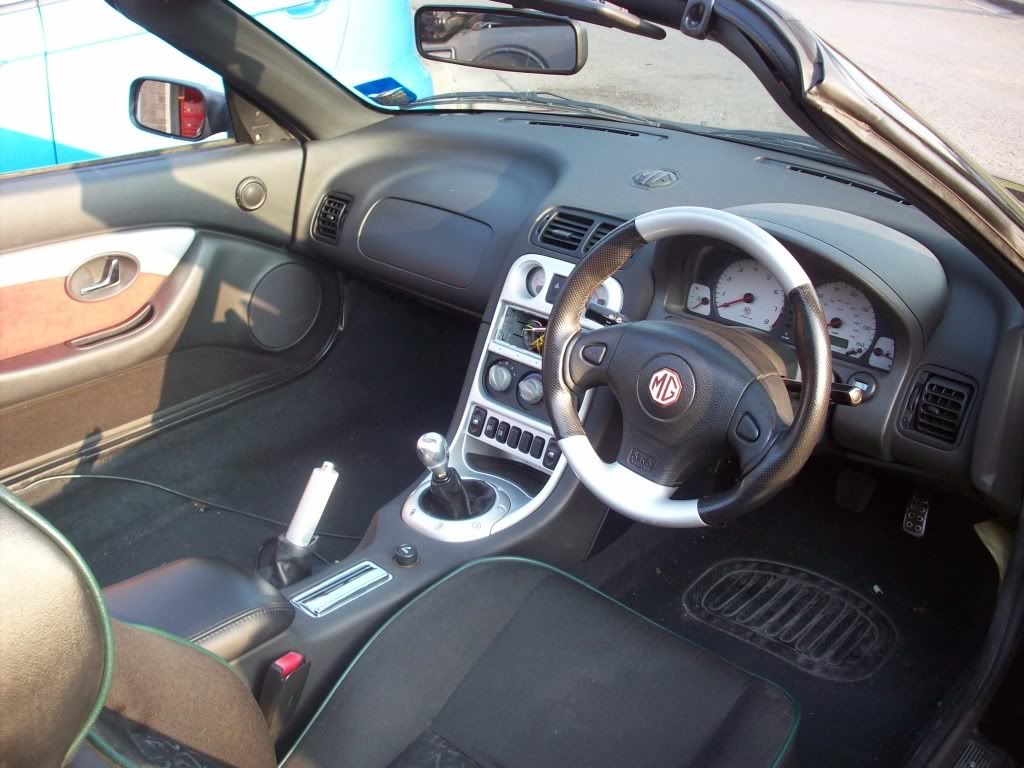
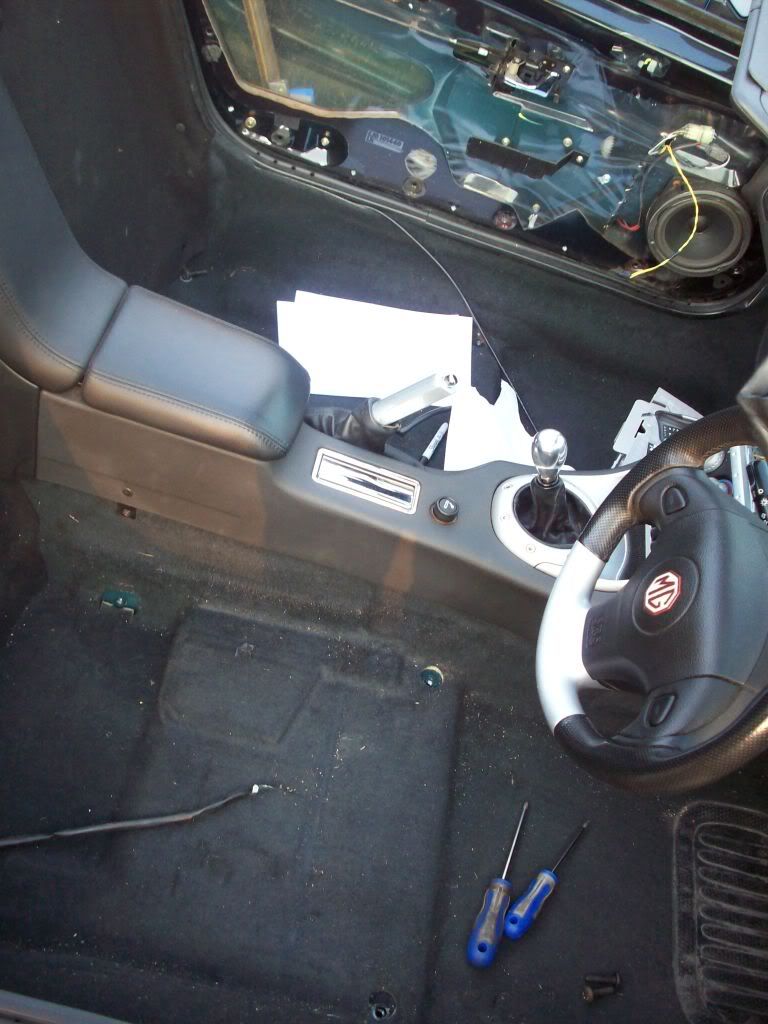
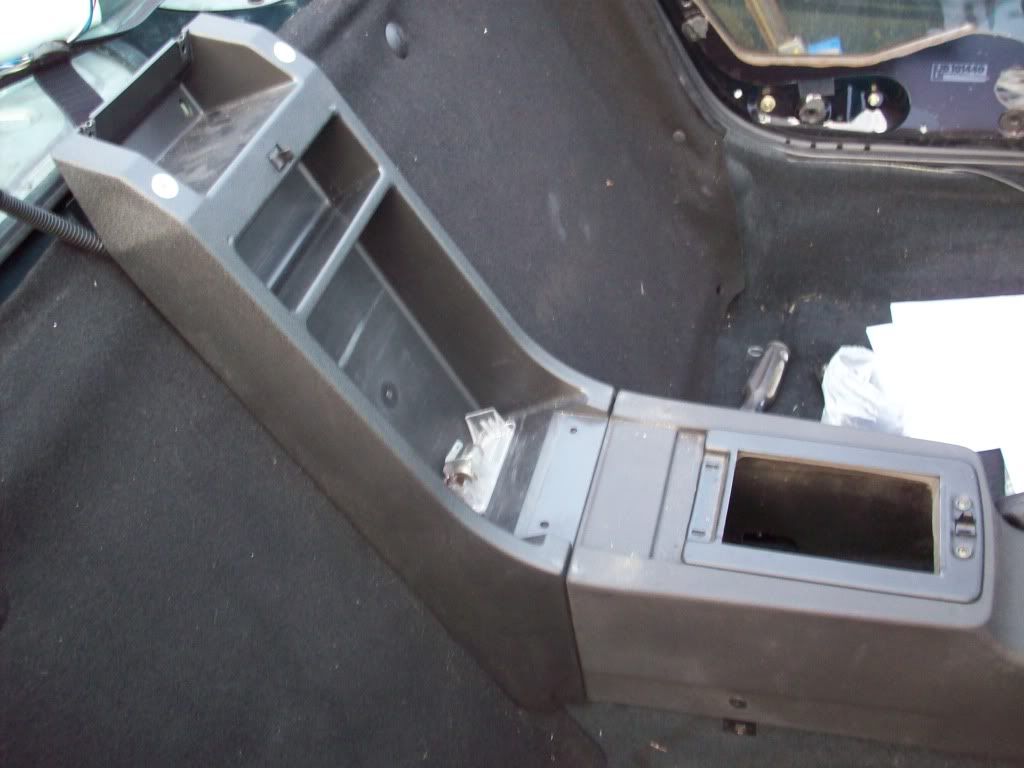
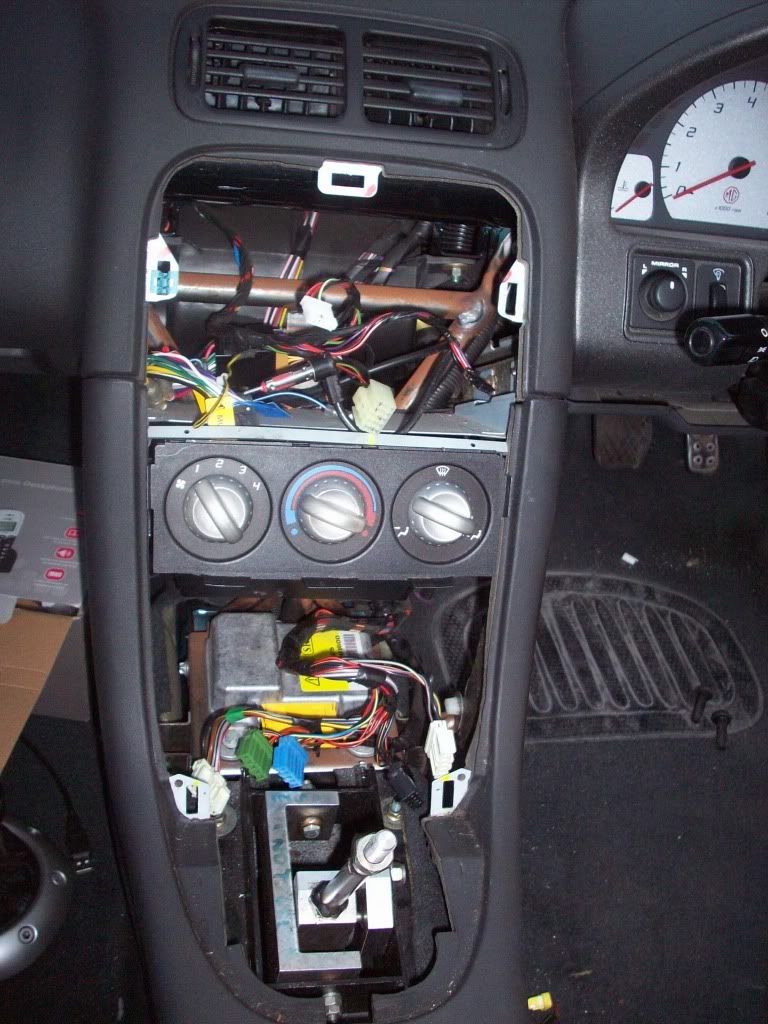
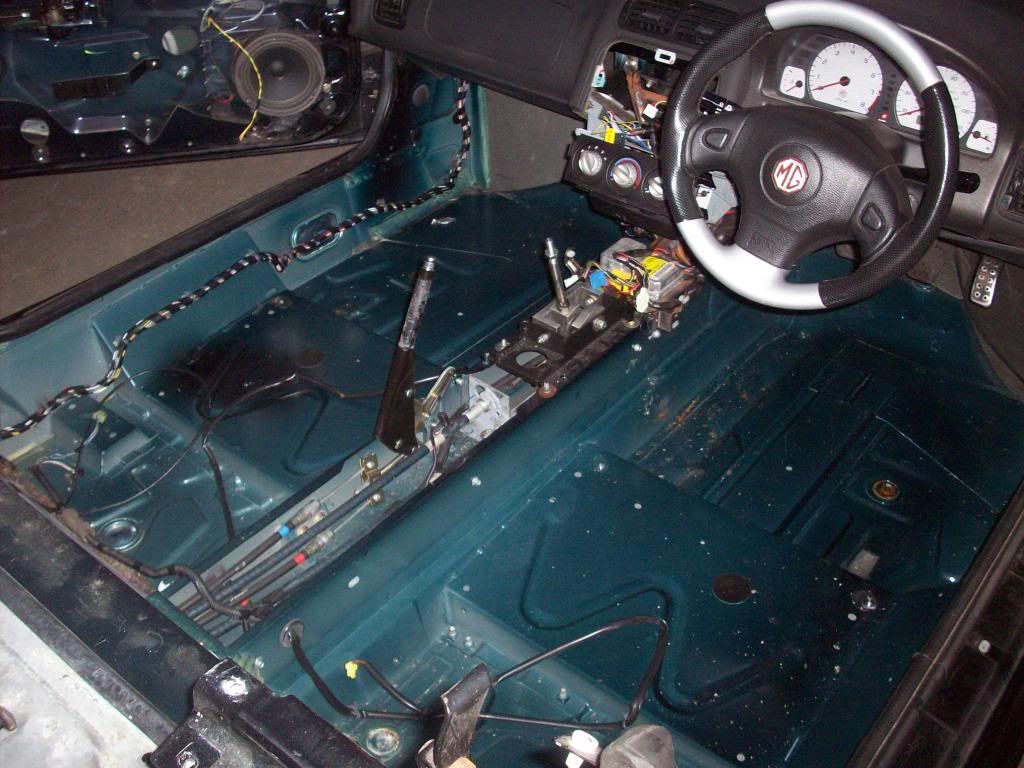
Center console was next to go, the car had a silver one which is rare so will be ebay'd rather than me risk it getting scratched in storage.
This picture also shows the Mike Satur designed 6 speed slick-shift. I plan on talking to mike and seeing if he can finish this off for me. It was designed as a prototype which may be why the horizontal gate is nice and tight but the vertical gate has throws which are far too long (especially for 2nd 4th and 6th)
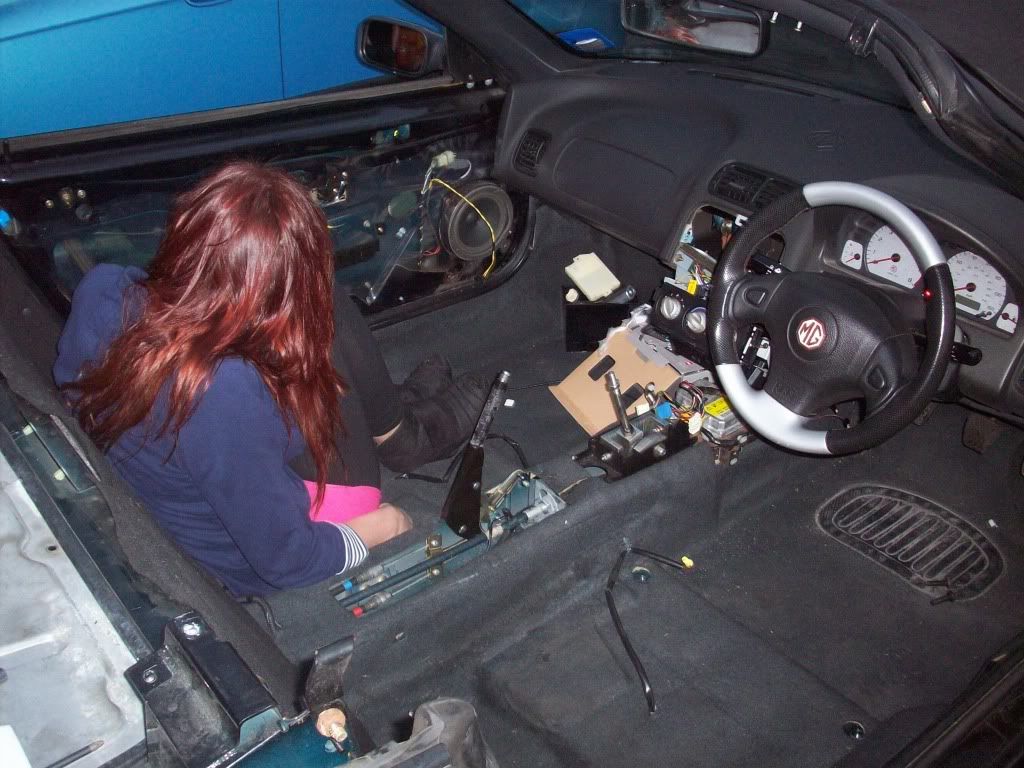
the Transmission tunnel went in short order... my GF was sat there lamenting the time when I used to drive nice cars instead of pulling them apart
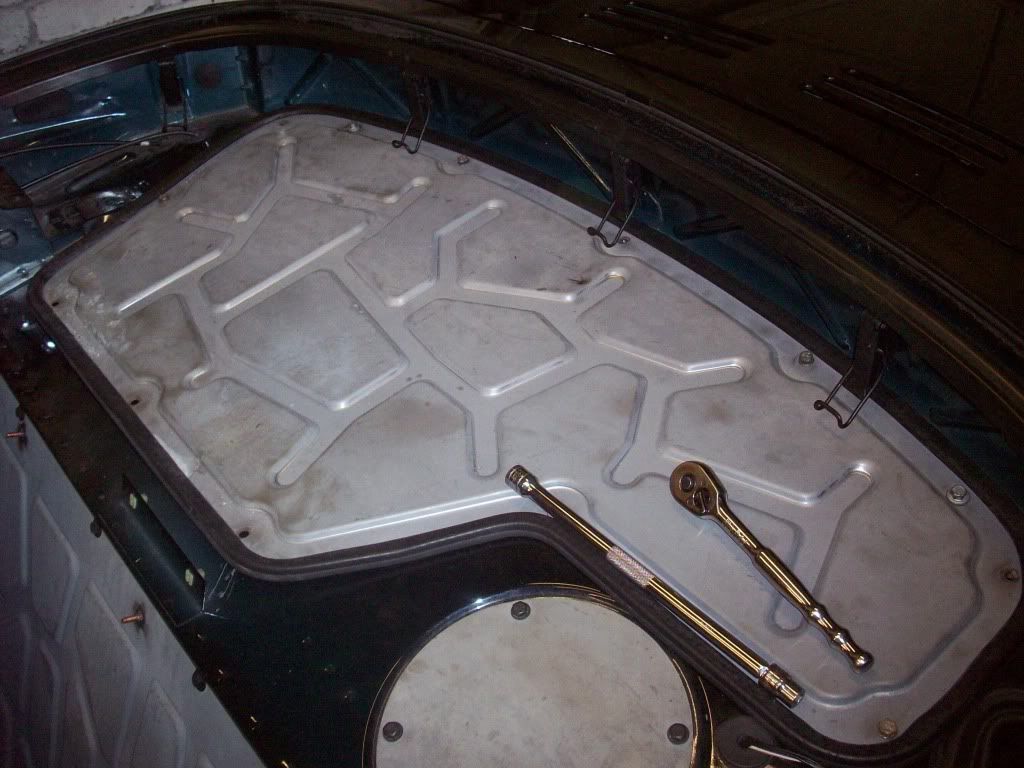
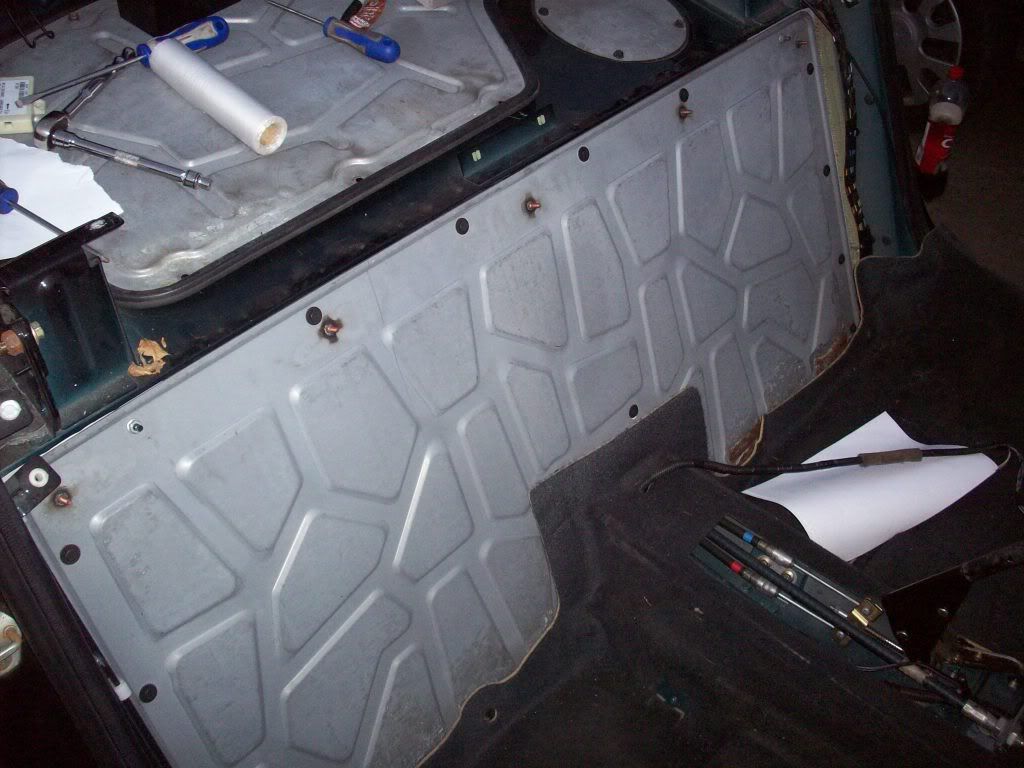
Time to pull the carpets out, the fuel tank fire wall carpet went first
then the main carpet... unfortunately as you might be able to see from the first picture I found this little lot
the good news is it looks worse than it is and seems mostly located on the fuel tank bay access hatch so can be sorted or replaced and....
there doesn't seem to be to much rust elsewhere
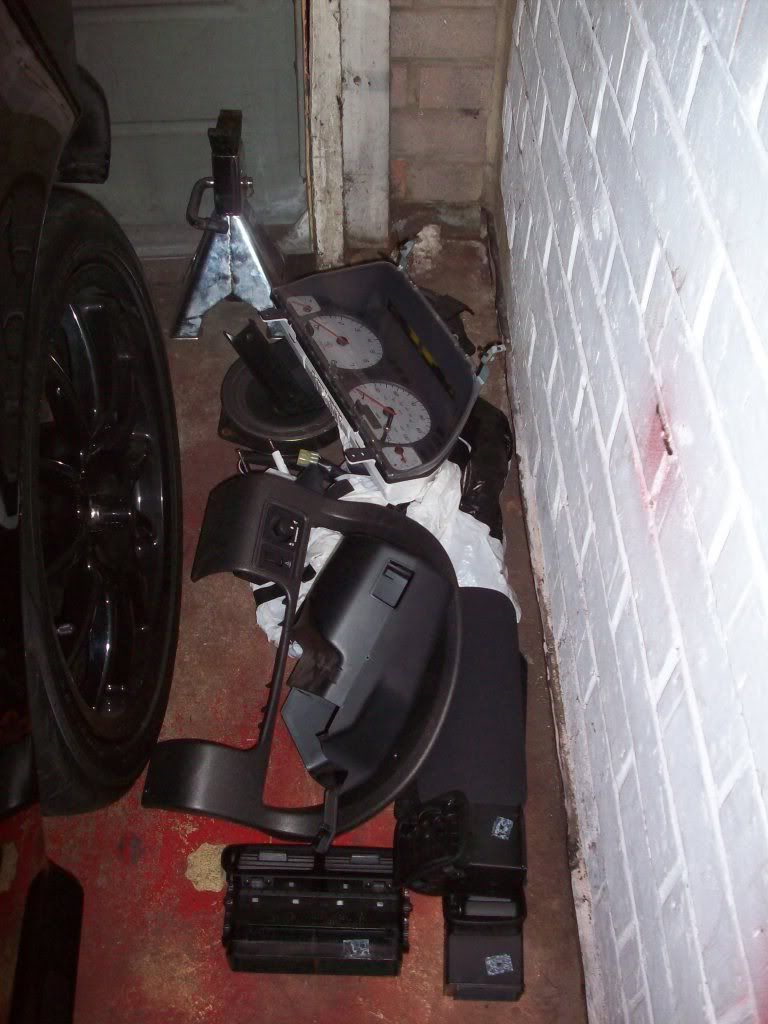
As you can see it had got pretty dam dark by that time so I needed to move all the interior upstairs to my room so I can sneak it into the loft when my mums at work
And as the rabbit says "That's all folks"
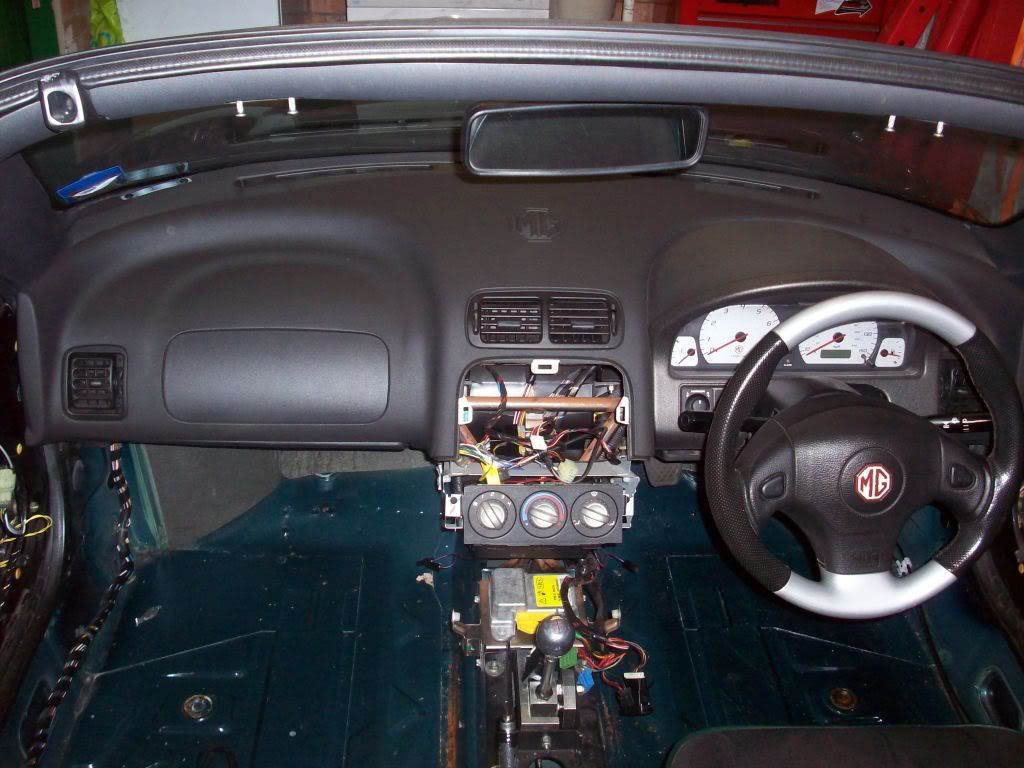
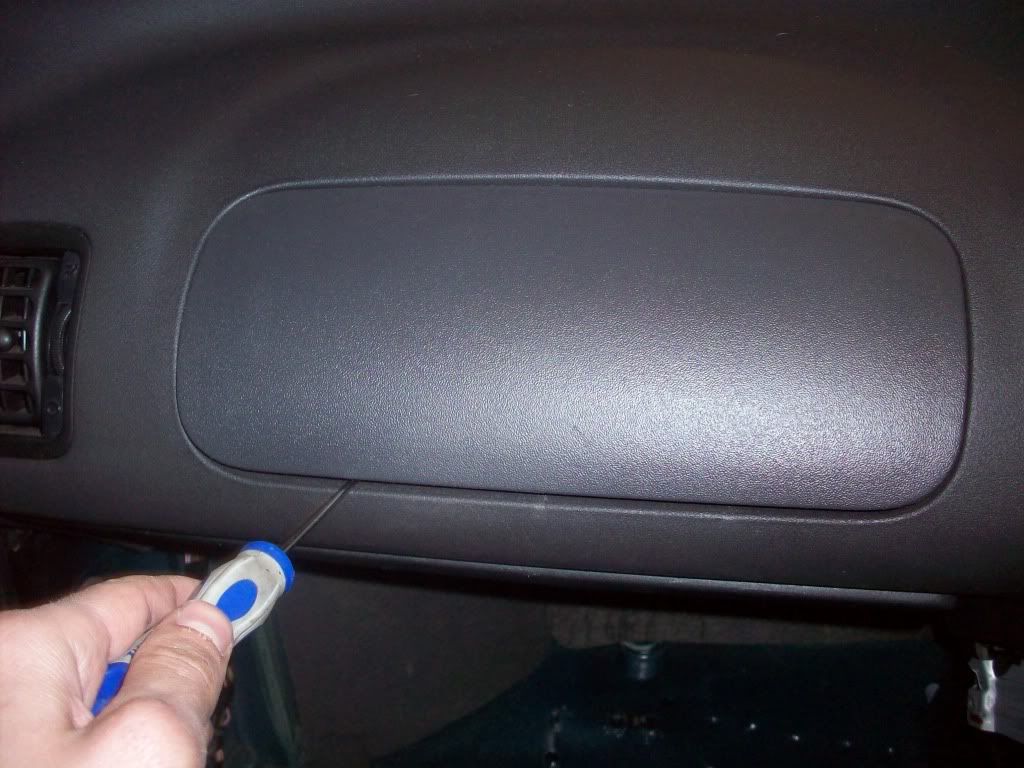
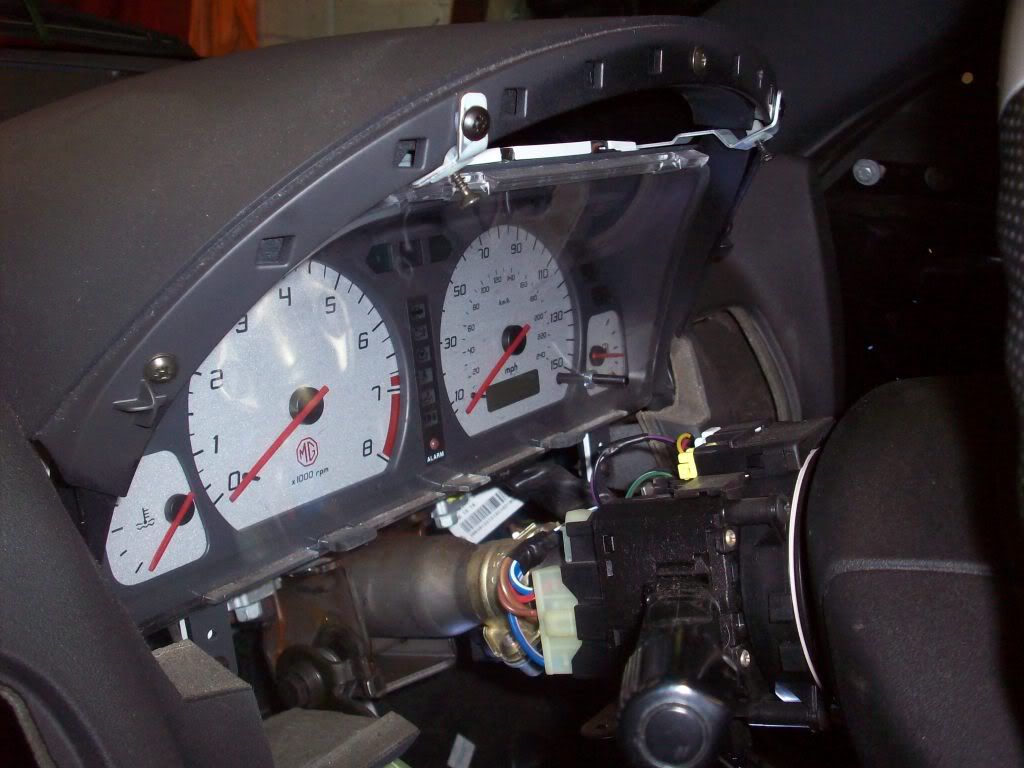
Tomorrows job is to get the dash out and then think about day 3
... Before I start I'd like to say a big thanks to the people who gave me tons of advice over a year ago when I started down this crazy road, and all the people who are bound to help me over the next year.The car is a big project and likely as not the first few updates will be heavy on the boring stuff of stripping the car and such, however please keep bugging me with questions as I'm sure you guys will think of stuff the MG lot wont think of that will help me
Lastly a quick apology, the smilies might not work, I have this up on the three MG forums I'm part of and changing smileys for 4 forums would be a nightmare I don't have time for lol so anyway...
OK guys and Girls, here we go!!!
First of all some background. I bought the car a few weeks ago, it is as far as I know the only MG-TF with a K20 engine in. I wanted to do this conversion to my old car but when my engine blew up and this car came up for sale I decided to see if it could save me some chew on.
Unfortunately it turned out to be a bit of a.... erm 'shed' I think is the polite way of putting it. The conversion may have been a little rushed and requires allot of work. I hope to do a complete and comprehensive re-build over the next 12-? months. No expense spared.
This started this afternoon/evening as the ZR Turbo (see Project thread here:http://www.rovertech.net/forum/viewtopic.php?f=10&t=122282) will be home this week and thus giving me some extra room to do the TF.
The end result should be a significantly lightened car with massively up-rated suspension, big breaks, a roll cage (safety and to stiffen the tub) etc etc. I hope to end up with a fast road legal track car to put big smiles on my face powered by the best naturally aspirated transverse 4 pot ever made.
So here we go!
First of all a few pics before I started to strip the car. This is 80th Anniversary TF No. 1033 of 1600 now named Bucephalus in honor of my old TF. The name has a meaning if anyone is interested ask me
.
First job was to get the exhaust off (to sell it) its completely the wrong bore for a K20 engine as it's designed for a Rover K series engine (pic on that to follow) so it wont be going back on the car.
To make that easier I decided to remove the rear bumper... I had to do this one way or another. So lets make the project thread to end all project threads start with.....
A picture of a light, the boot light to be precise... took it out to save running the battery down... it wont be any use to me. Removing those wires should prove fun later.
Next job was to remove the boot carpet lining.
Easy enough, unfortunately I found a worrying amount of surface rust
This would prove to be a trend for the day, classic Longbridge rust proofing. :wall:
Taking the carpet out revealed all the wiring for the K-Pro ECU
Thats going to be fun to figure out!
Getting the car up in the air was a bit of a nightmare as the suspension has basically collapsed on both sides :slap: so I had to get it up on bricks before i could evan jack it up (this was not a good start!).
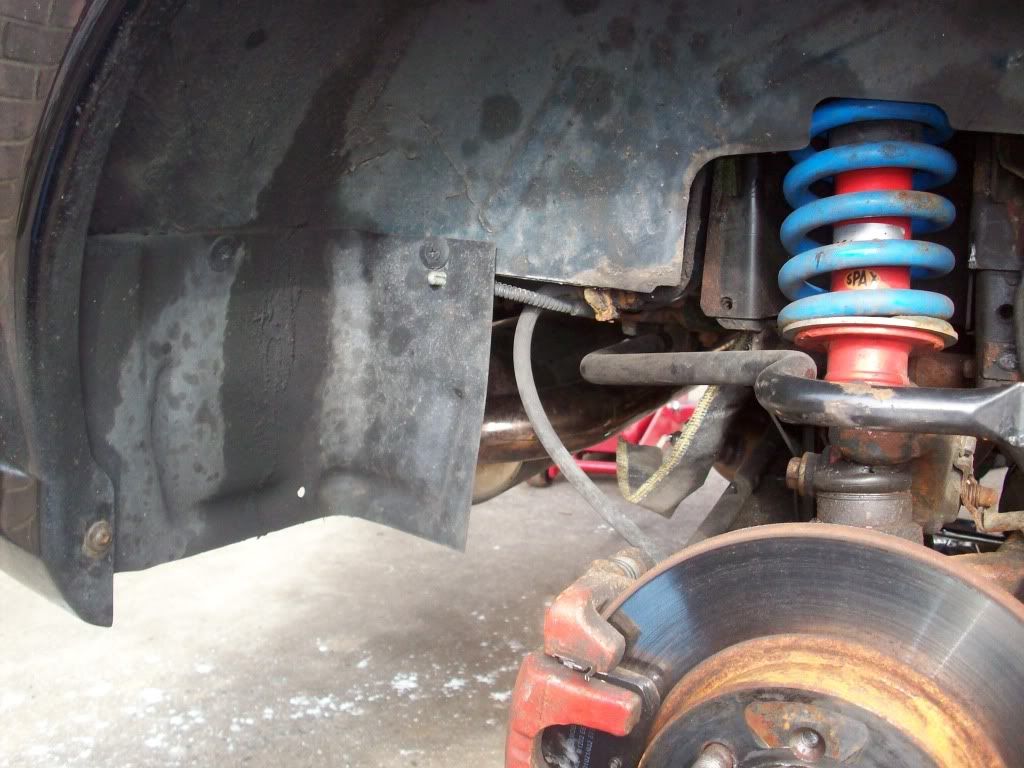
Time to get the bumper off. First job was the rear mud guards
The screws were universally rounded :thumbsdo: (This was NOT going well)
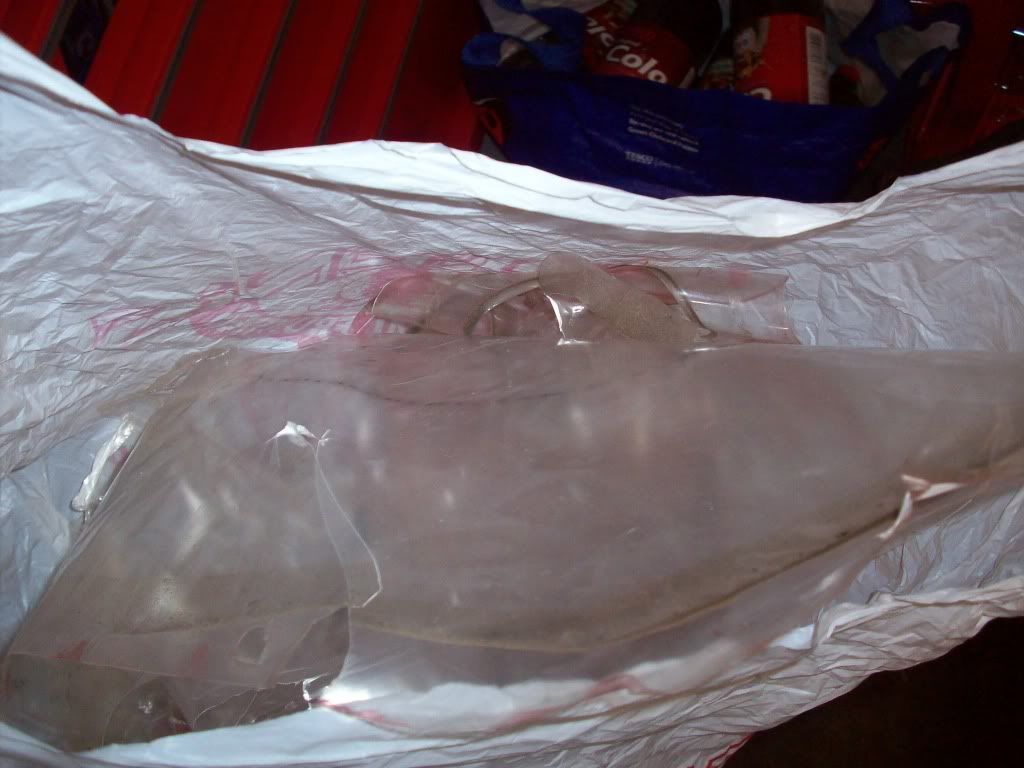
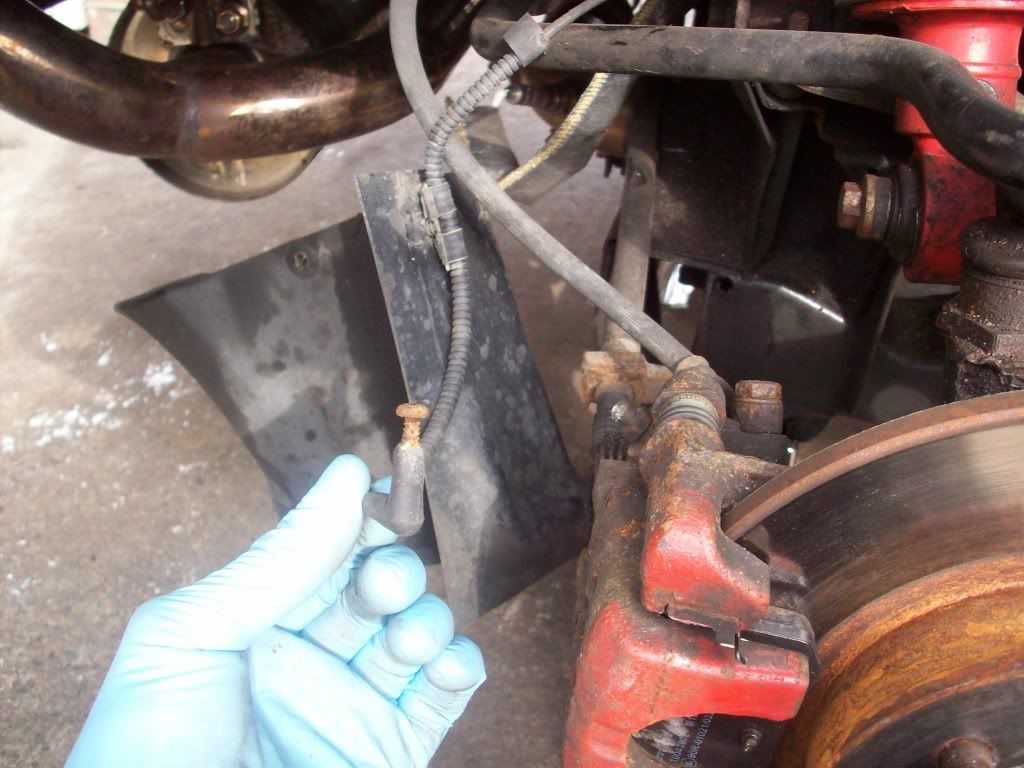
However I got them off... on the drivers side one I found this....
I think it's an ABS sensor wire, my old TF didn't have ABS so I'm not sure what it is but it wasn't attached to anything so any ideas?
Next job was to get the bumper off. This should have been a walk in the park... It turned out to be more of a hop skip and a jump through a minefield.
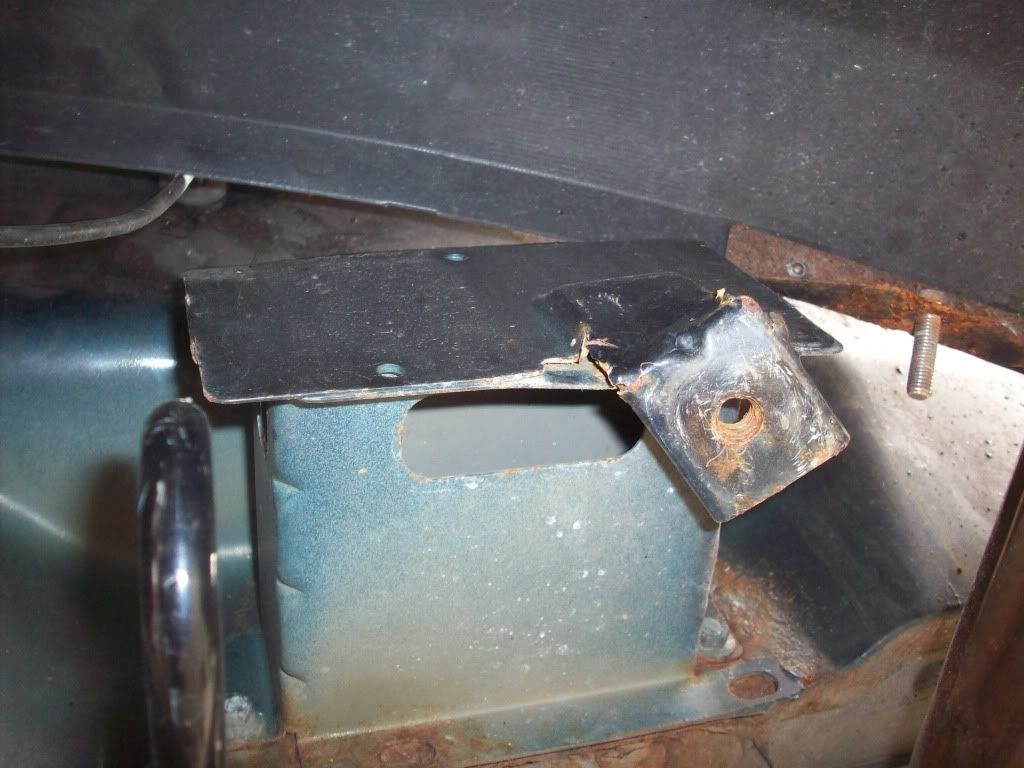
This is one of the brackets the bottom bolts screw into...
nearly snapped :hit: and this is the other bottom bracket
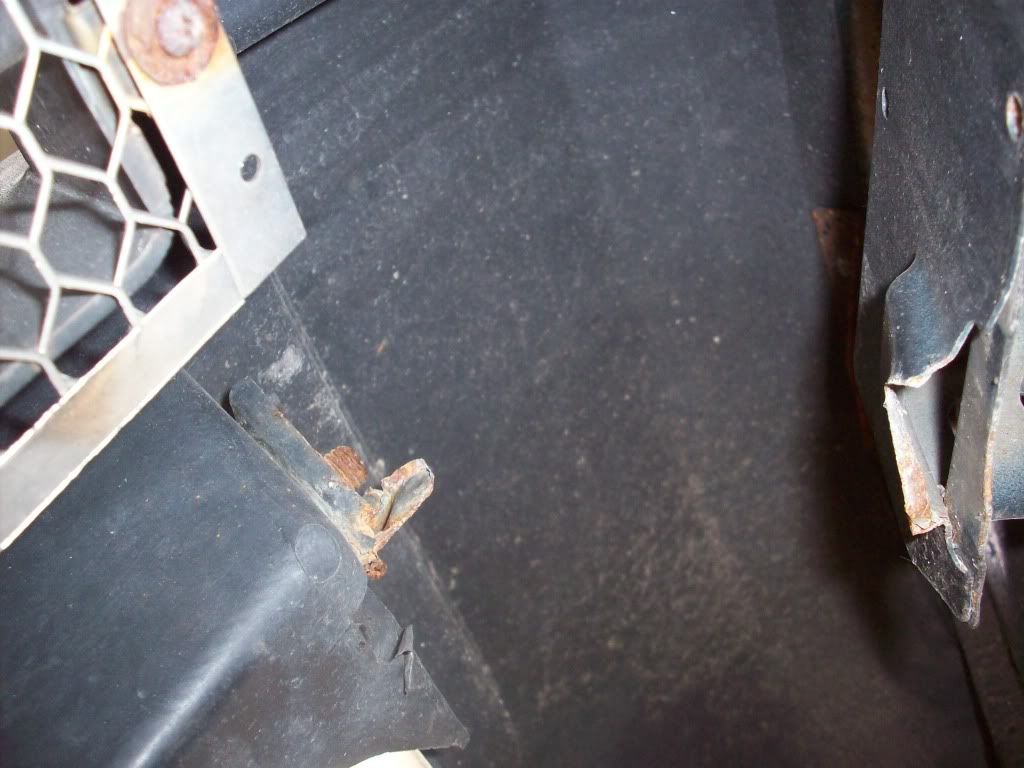
actually snapped :rr:
This was not going well
and that wasn't the worse of it. The top of the bumper has 3 bolts... Left and Right came out no problem... the middle one had all kinds of issues as can be seen here
The bolt head is welded onto the bracket attached to the bumper... however it was spinning freely when I turned the nut inside the boot.... so 40 minuets into working on my new car.... :clapping: out came the angle grinder!
I had to hold up the bumper up with my knees and slot the cutting disk in between the car and the bumper to cut the bolt... I think the health and safety directorate would have had a consumption fit if they'd seen that but nm i didn't cut any vital body parts off so its all good!Next job was the zorst
As you can see from this picture
The K20 exhaust is a vastly bigger bore than what a Rover K-series engine needs, as a result this exhaust was almost certainly strangling power. I've also read that when a smaller than recommended bore is put on a car then it can cause oil seal problems (im guessing something to do with back pressure) but I still don't know enough about tuning to be sure on this). Why anyone would go to all the time and expense of doing a conversion and having a custom manifold made and then not have a custom exhaust made to match I don't know, I'm guessing the previous owner was attached to this back box but any can type baffle would have done. I'll be having something suitably sexy sounding added toward the end of the project.
The bolts were an absolute nightmare (I'm sensing a trend with this car :svk
as you can see they were in quite a state.
anyway another session of banging my head against a brick wall over I stopped for a cuppa and noticed the flexipipe was looking a bit... limp
I poked my head under the car and noticed this.... which worried me
The flexipipe looks like its slid over the manifold and then clamped on... and not clamped on very well! I could pull it out by hand!
Anyway exhaust off and ready to be put up for sale!
Time to get on with stripping the car. I decided to start with the interior, not as sexy as dropping subframes or engines out the car but I had my reasons.
First of all it's an easy job, sure it's complicated - but easy
Second getting the interior out will allow me to get the roll cage measured up and mean that I wont get oil and gunk all over it while working on the car. If I can get it to fit round the roll cage I might re-fit it for long journeys (like the continent or to the ring and back) later but thats way in the future.
First job was to get the door cards off... before
and after...
and the other side, note the door jars are off too
Next job was the T-Bar and the speaker pod, this picture shows the speaker pod removed and me getting ready to remove the seat belts.
this job actually wasn't too bad, although most of the clips were snapped (this just means it's been removed before
) typical MGF/TFnext job was to get the drivers seat out, the 80th anniversary seats were no good to me so the previous owner kept them to sell on so I could get the car a bit cheaper... the old MGF seat would not be staying... carbon fiber shineyness in the form of bucket seats to replace it
pointless pic? - yep but it's my thread so :nyah:
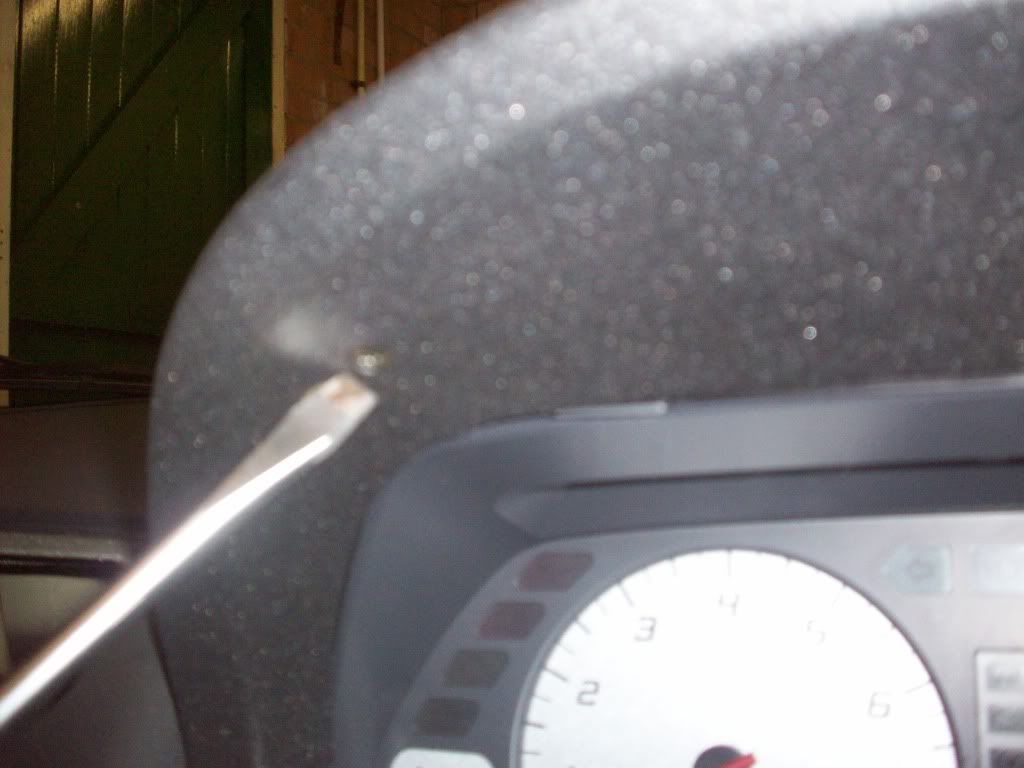
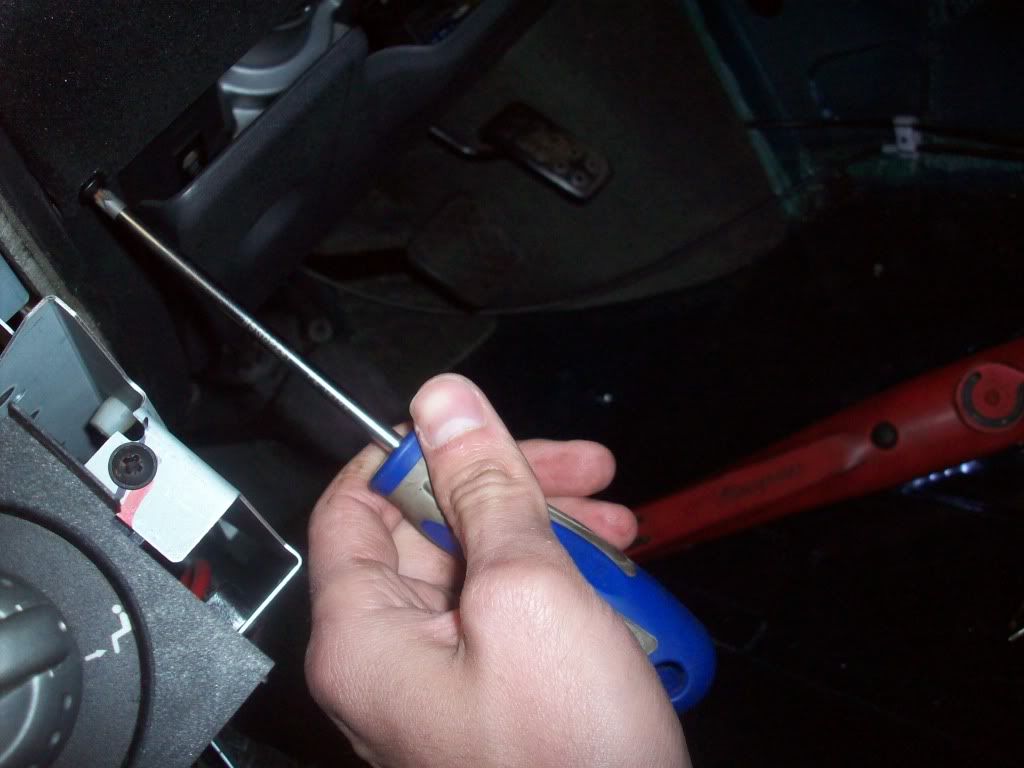
next job was to get the sound proofing off the engine bay access hatch, here is me struggling with the seat belt bolts
so the T bar could be completely removed
Next job was to remove the rear cubby and arm rest
next, time to remove the roof
I decided to do this because the engine bay is a bit of a git to get into with the soft top on. You have to pivot the rear window part of the roof up to the front of the car... It's much easier to take the roof off altogether... However while re-building the car it will need to be outside allot (my garage isn't big enough to be a workshop).
Fortunately my best mate needs to store his hard top for the summer, and a hardtop takes 4 clips to take off instead of 4 bolts. Much easier to remove every time I work on the car
Unfortunately removing the roof means the bolts that hold the rear clip brackets on have nothing to bolt into... so I found something to bolt them into... thats a long way of introducing this picture
think this pic is even more pointless than the seat one? Well I thought it was a good idea, so go fornicate with your mother
now where was I? Oh yes! taking the interior out...
Center console was next to go, the car had a silver one which is rare so will be ebay'd rather than me risk it getting scratched in storage.
This picture also shows the Mike Satur designed 6 speed slick-shift. I plan on talking to mike and seeing if he can finish this off for me. It was designed as a prototype which may be why the horizontal gate is nice and tight but the vertical gate has throws which are far too long (especially for 2nd 4th and 6th)
the Transmission tunnel went in short order... my GF was sat there lamenting the time when I used to drive nice cars instead of pulling them apart
Time to pull the carpets out, the fuel tank fire wall carpet went first
then the main carpet... unfortunately as you might be able to see from the first picture I found this little lot
the good news is it looks worse than it is and seems mostly located on the fuel tank bay access hatch so can be sorted or replaced and....
there doesn't seem to be to much rust elsewhere
As you can see it had got pretty dam dark by that time so I needed to move all the interior upstairs to my room so I can sneak it into the loft when my mums at work
And as the rabbit says "That's all folks"
Tomorrows job is to get the dash out and then think about day 3