• Registered users are encouraged to enable MFA/2FA to add an aditional layer of security to their account. More information can be found here: https://www.ncsc.gov.uk/collection/top-tips-for-staying-secure-online/activate-2-step-verification-on-your-email

The MG-TF K20a V-TEC Project Thread (very pic heavy)

UPDATE


29/09/2011


OK Guys, from now on the project thread will have updates direct from Paul and Anth at woodsport! so here is the engine being built on a subframe THE RIGHT WAY


read on and enjoy 'tec junkies!


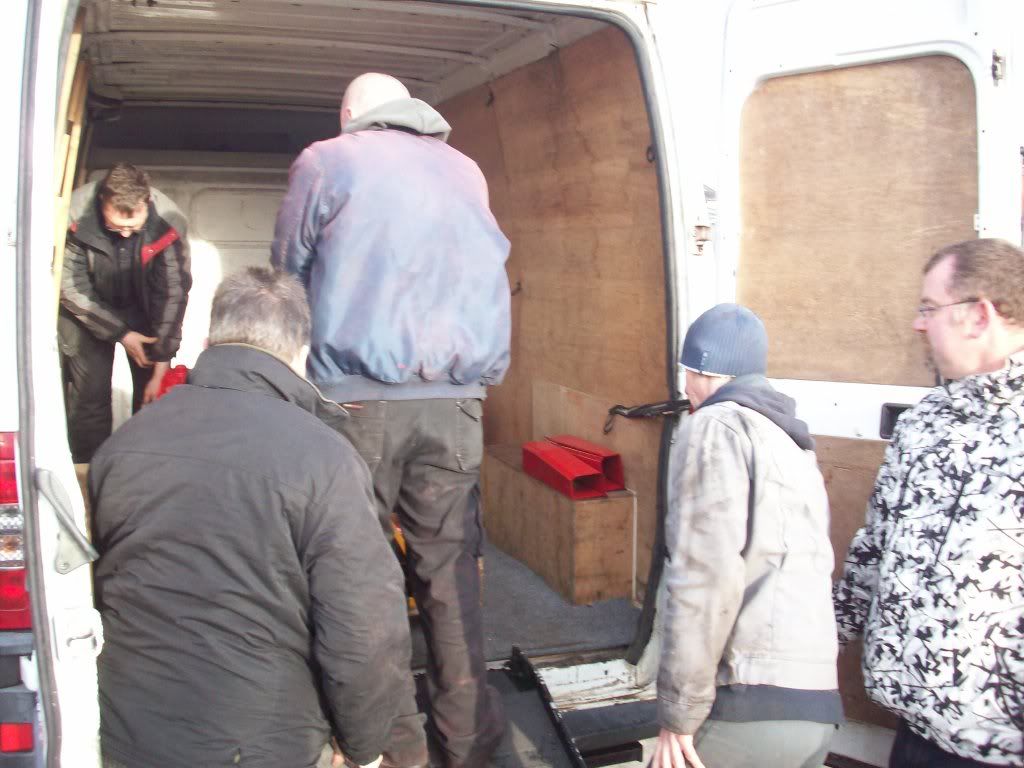
This is where we pick the project up.
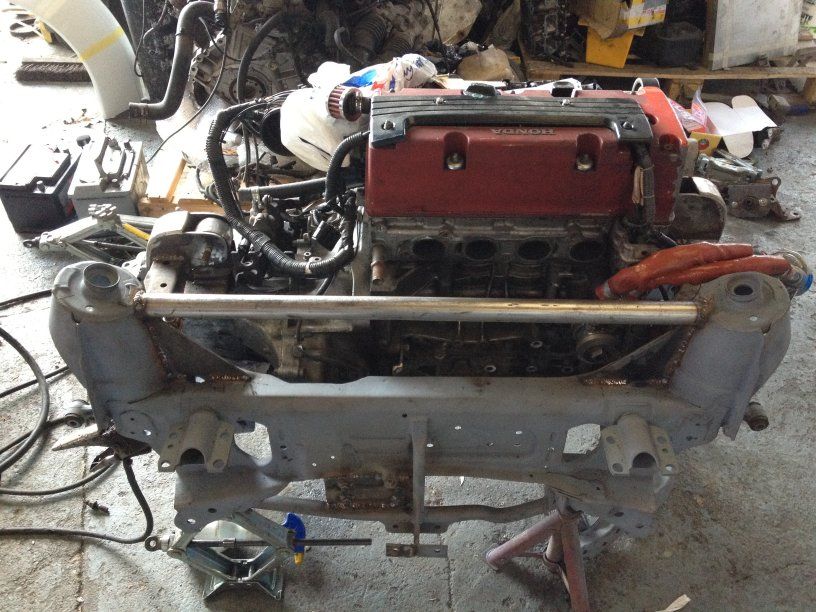
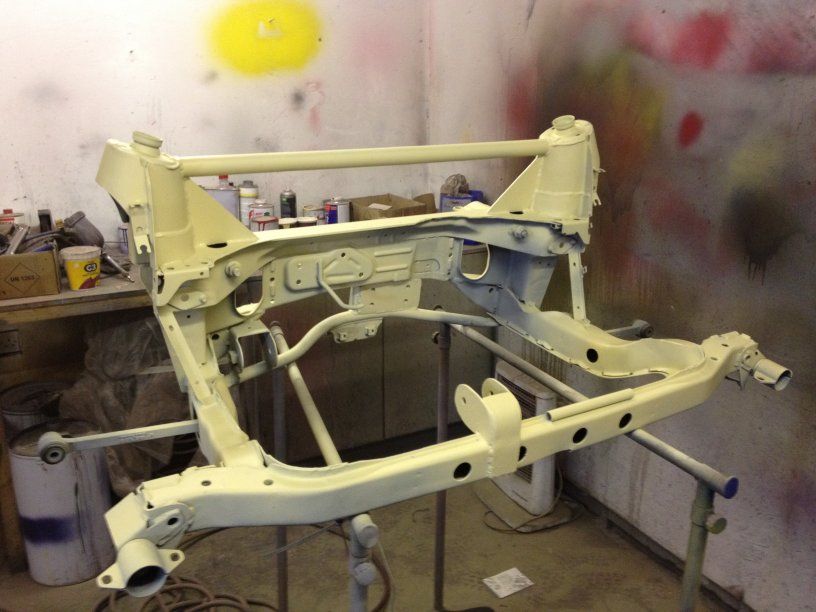
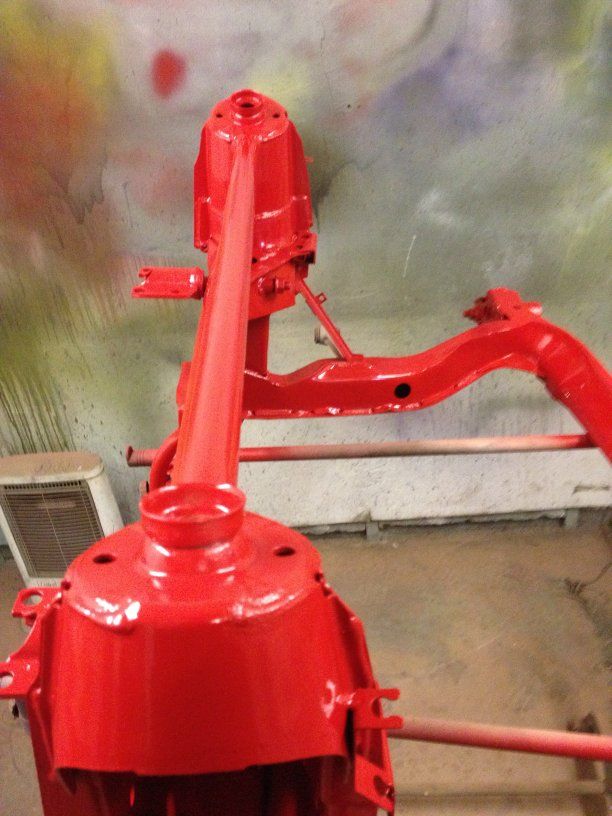
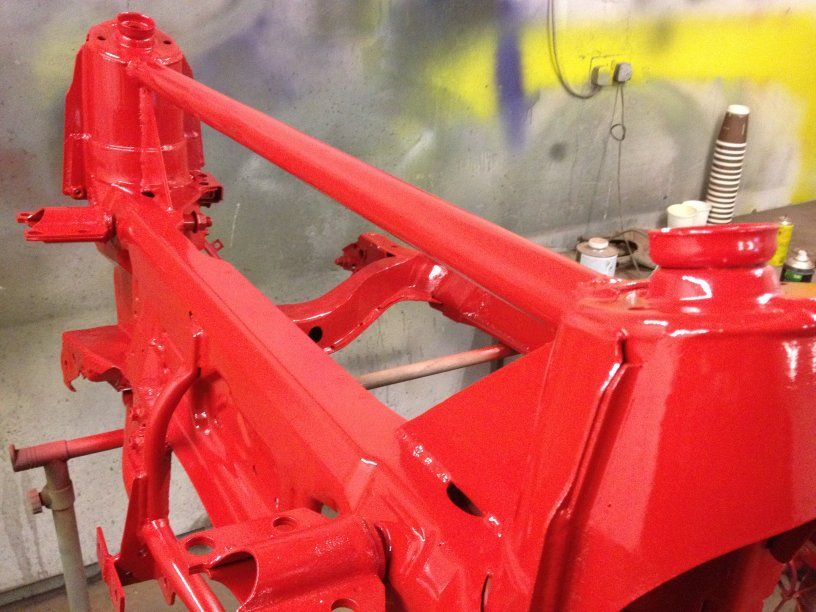
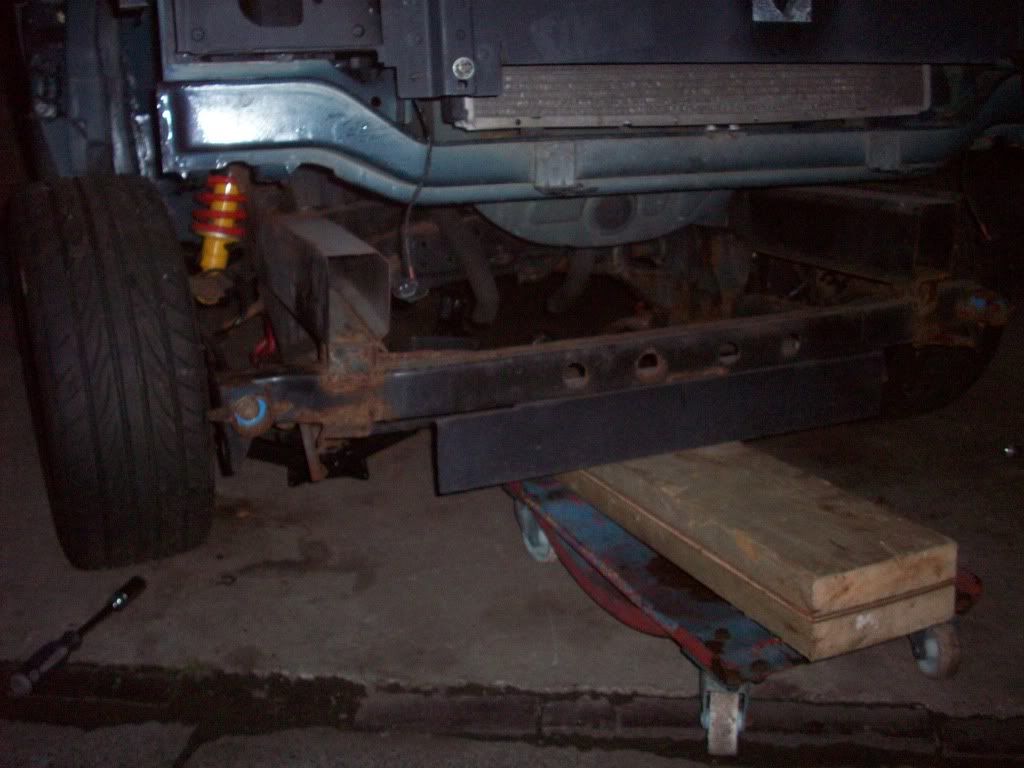
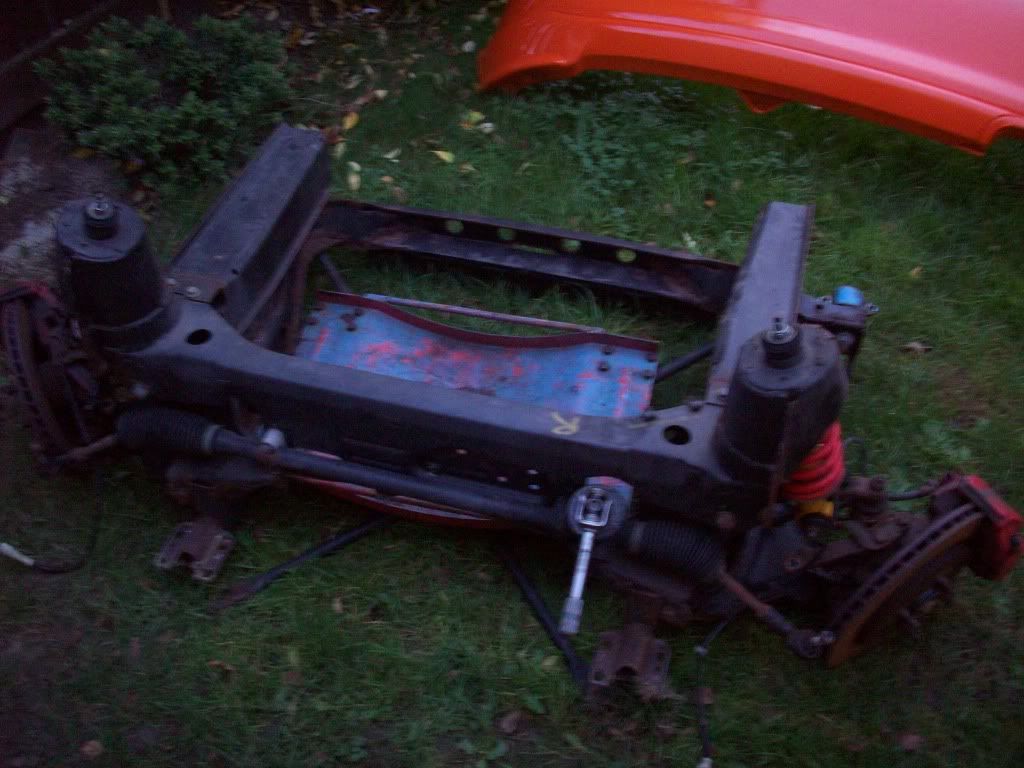
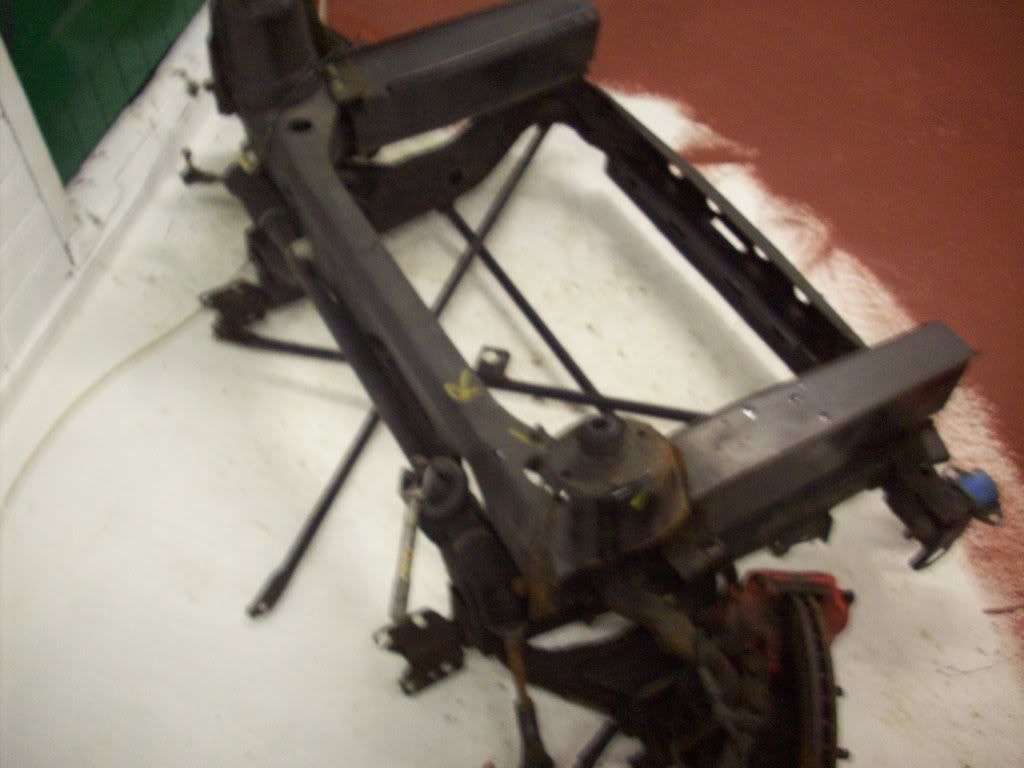
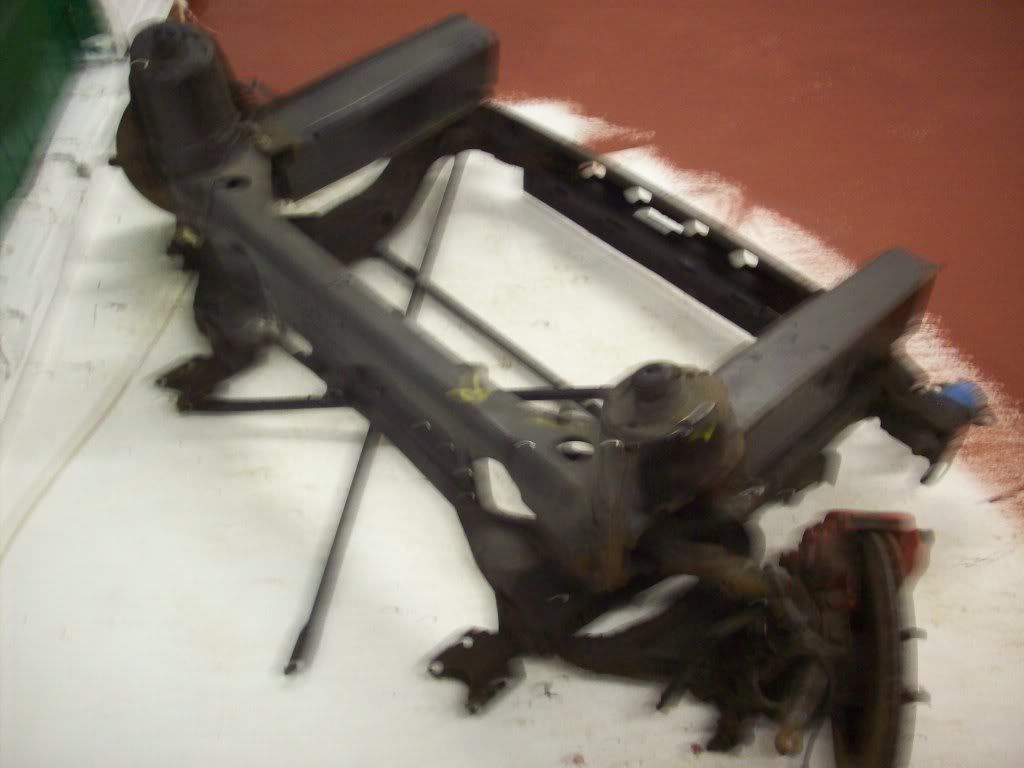
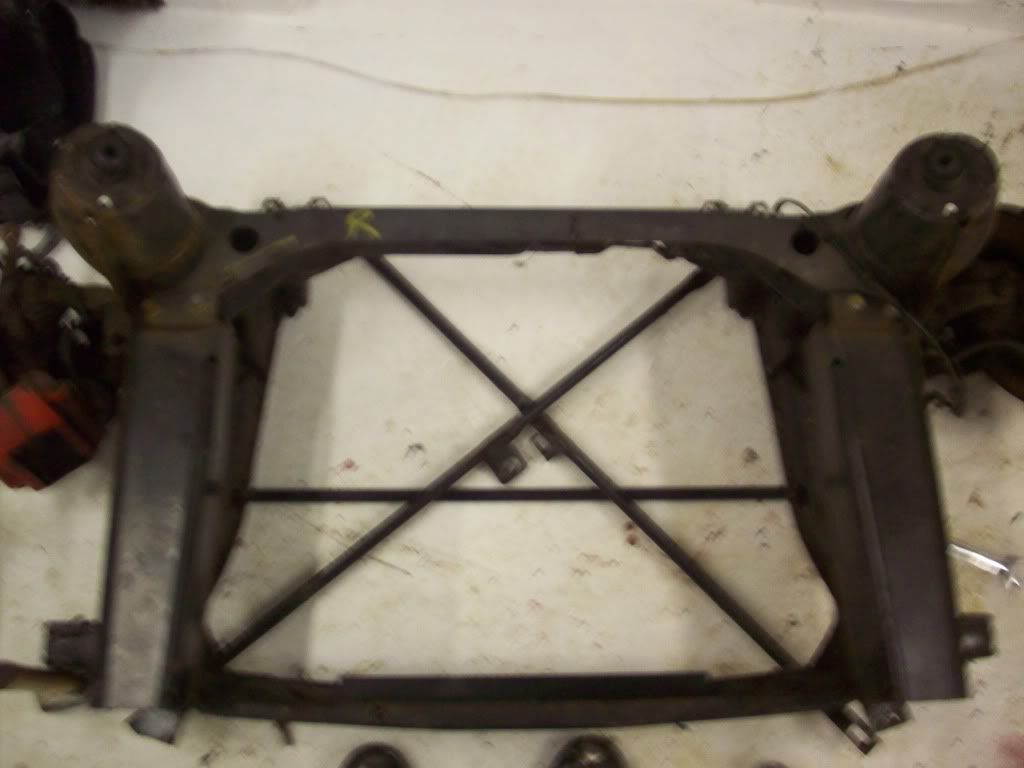
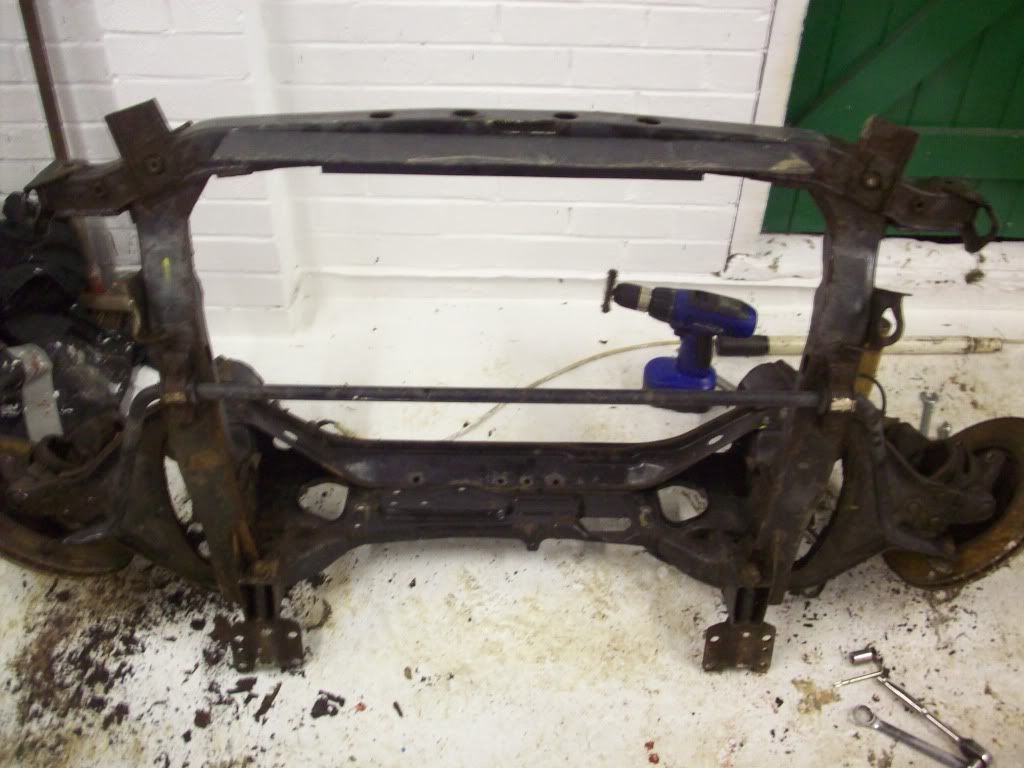
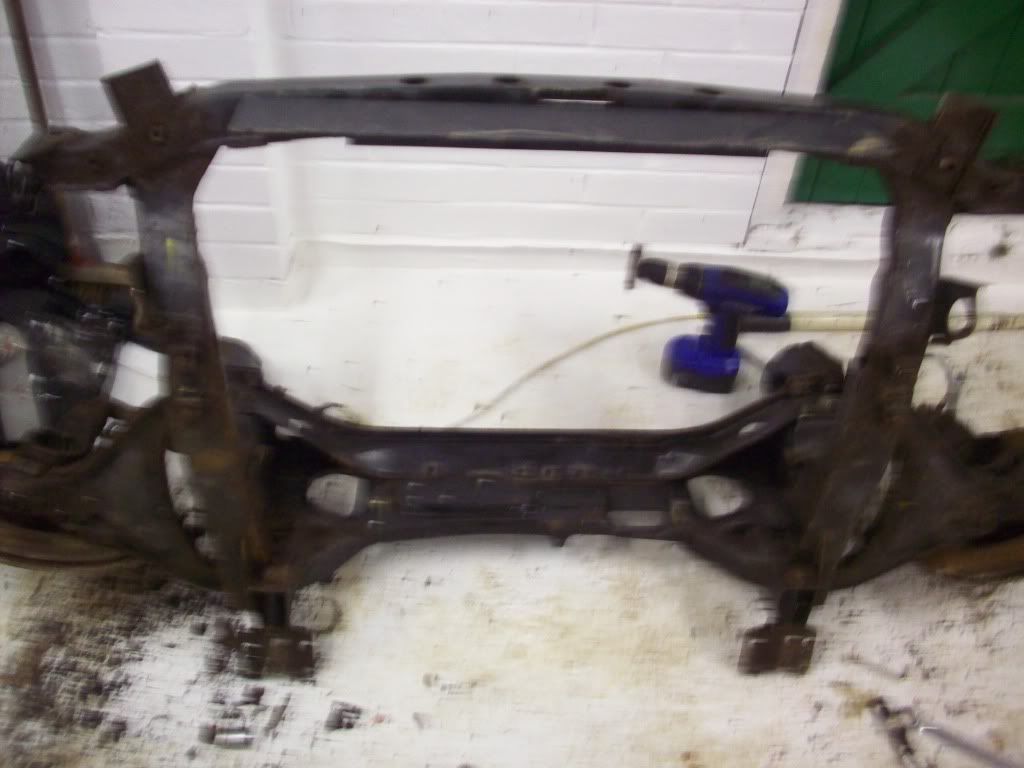
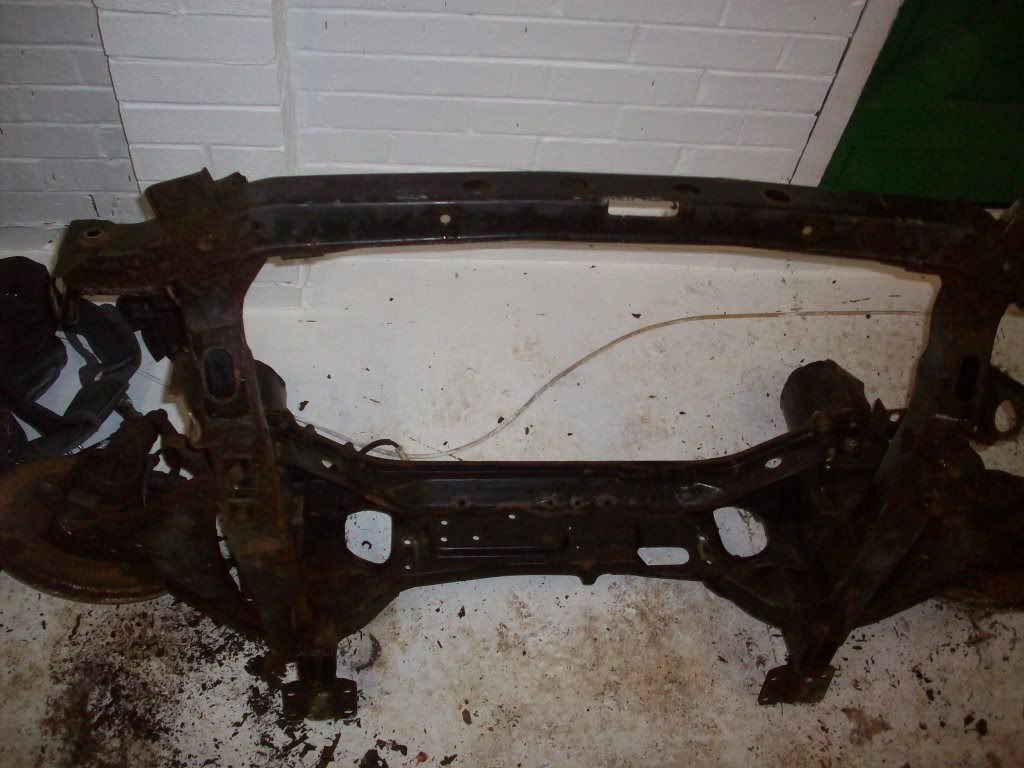
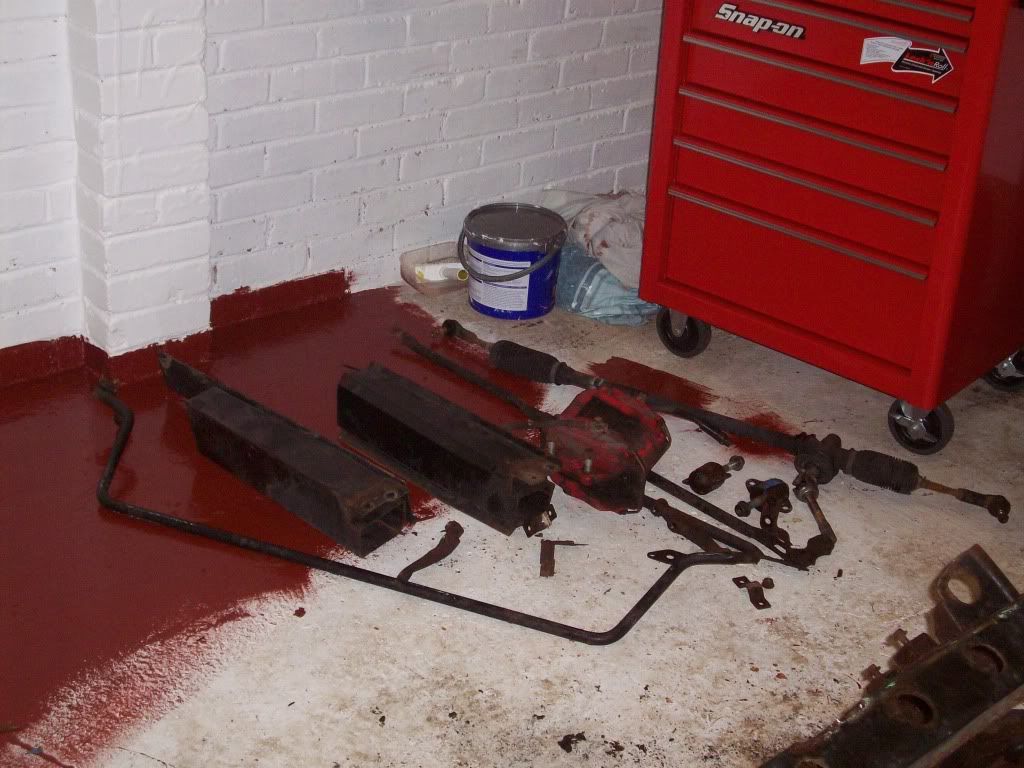
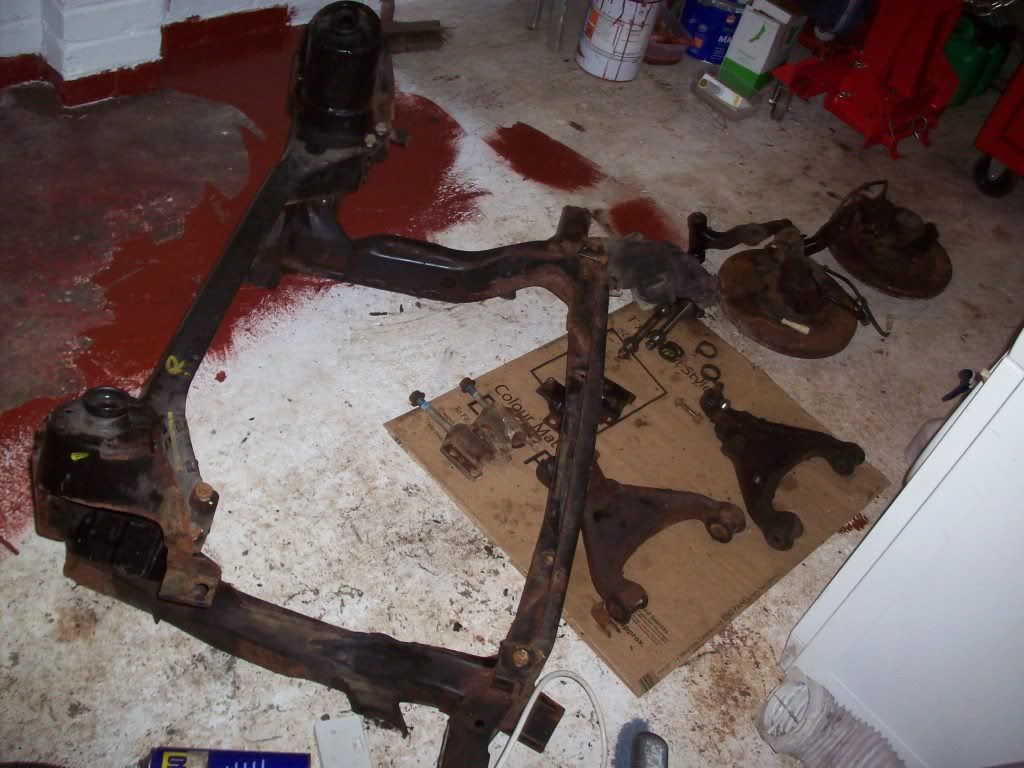
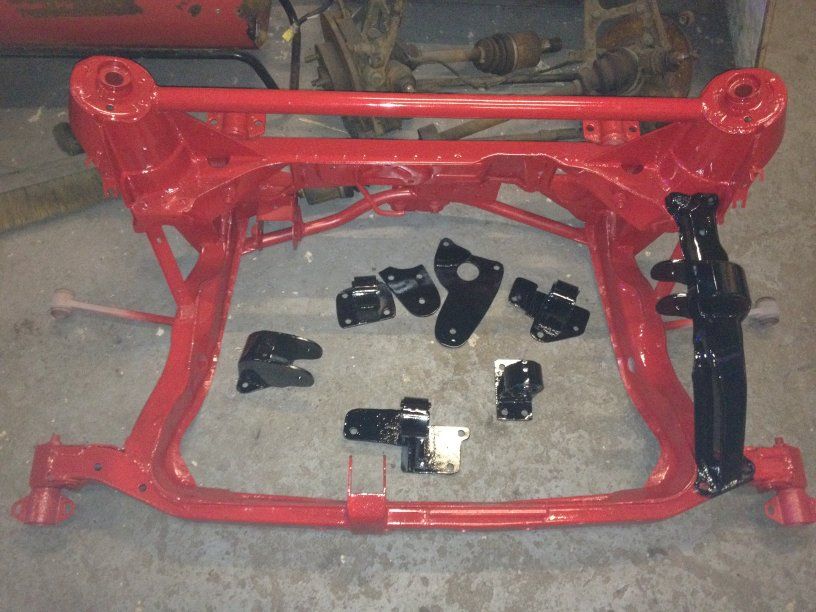
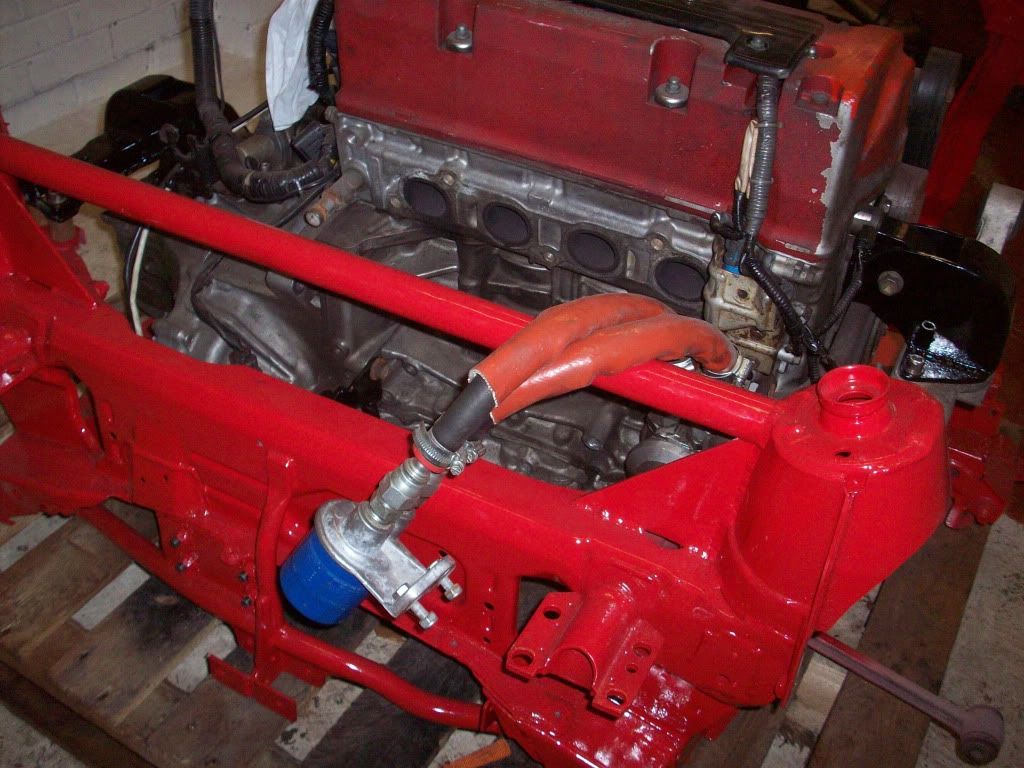
We immediately had the whole subframe stripped back to the bare bones and shotblasted right back to the bare metal, and then a temporary layer of primer sprayed on it to stop the tinworm returning while we work on it.
DSCN1699.jpg

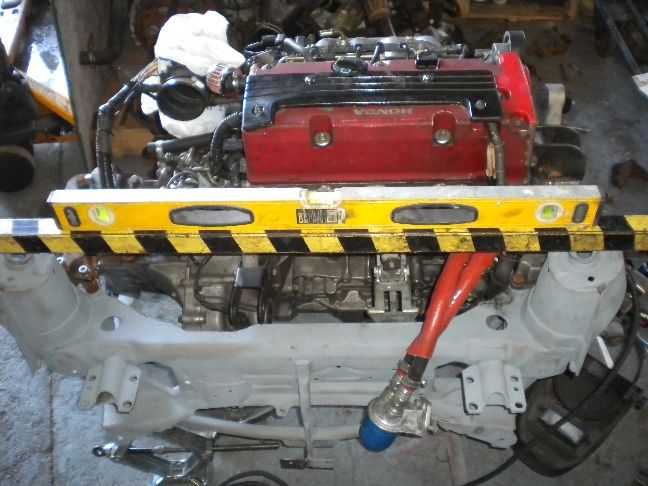
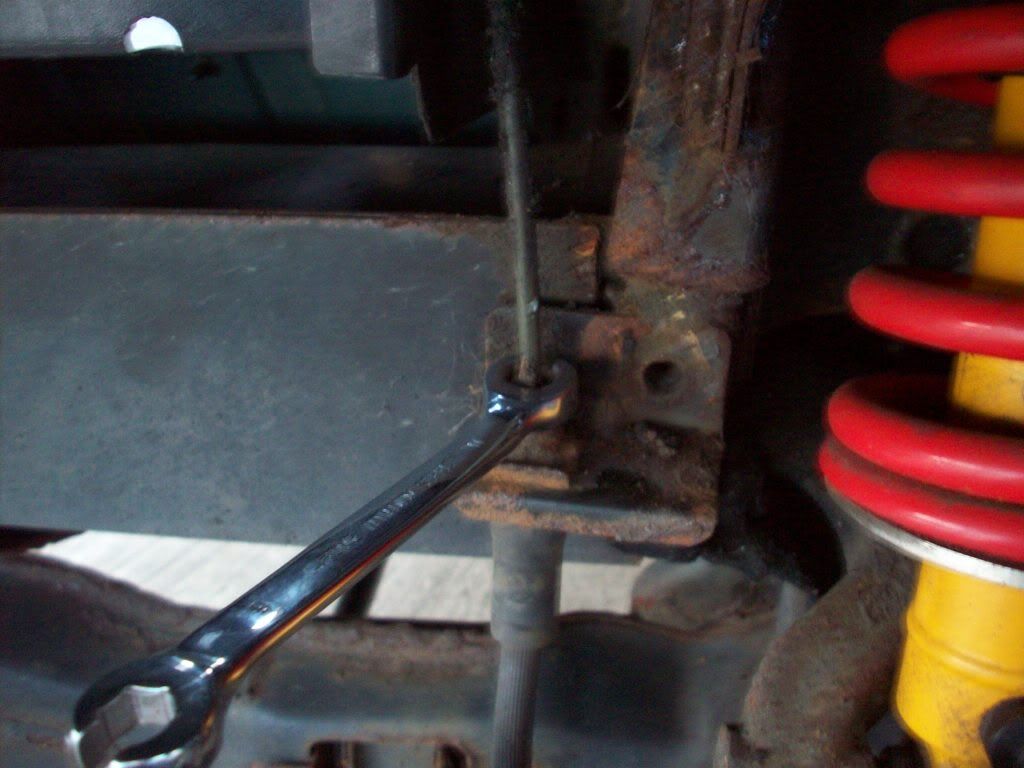
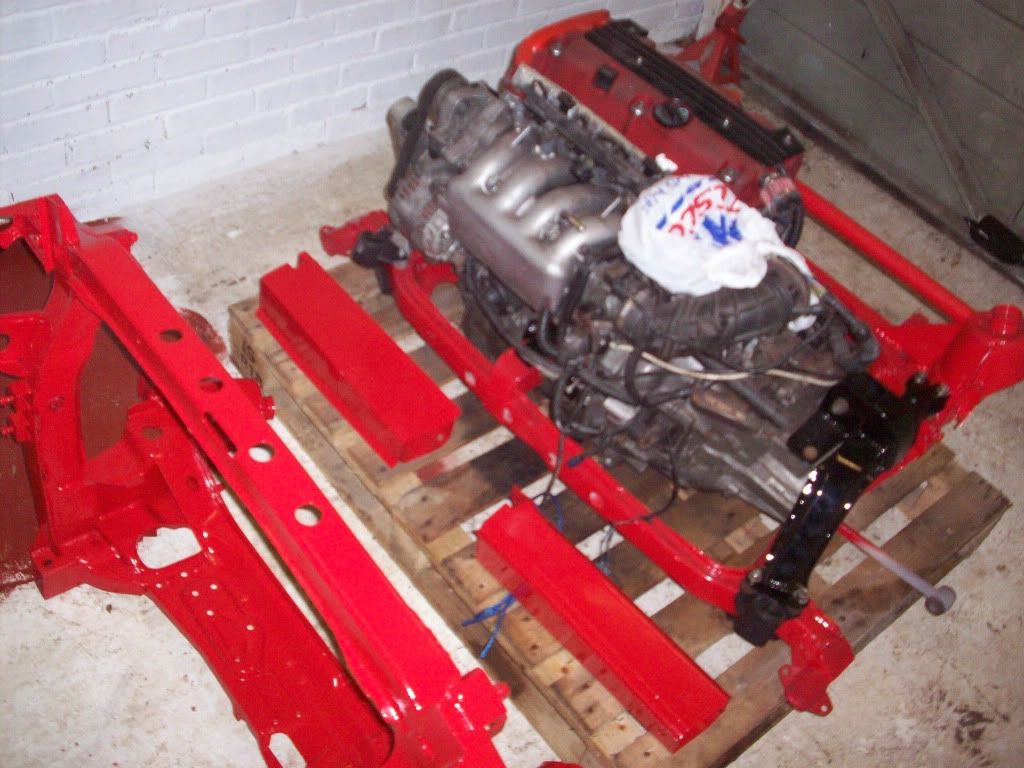
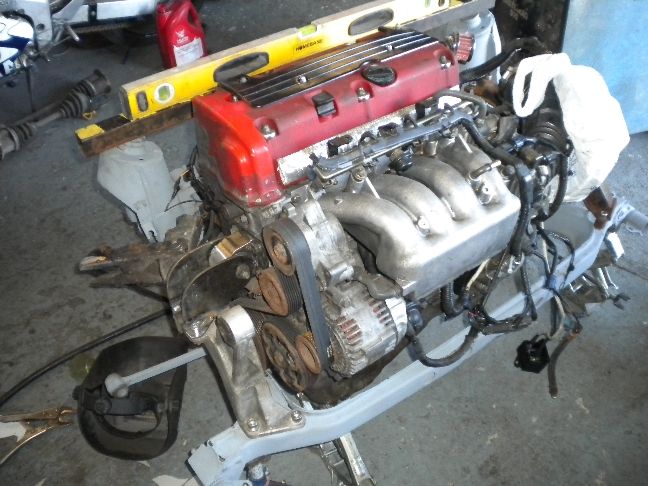
The subframe was supported on all four corners by jacks, so we could level it off exactly, and the engine hung within it.
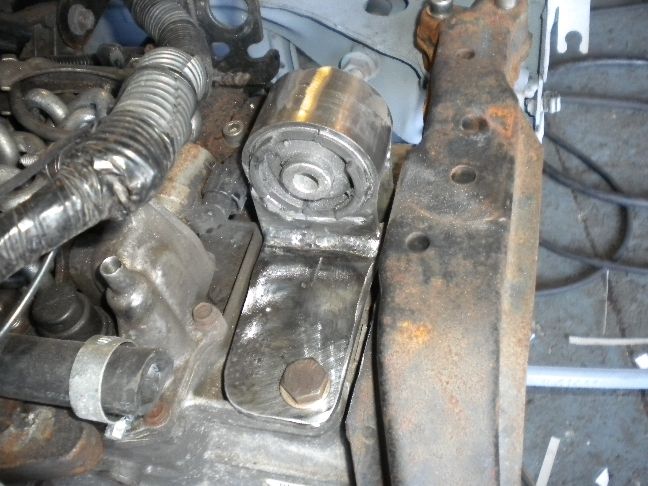
We hung the engine on its "original" gearbox mount just to steady it while i worked on the drivers side mount.
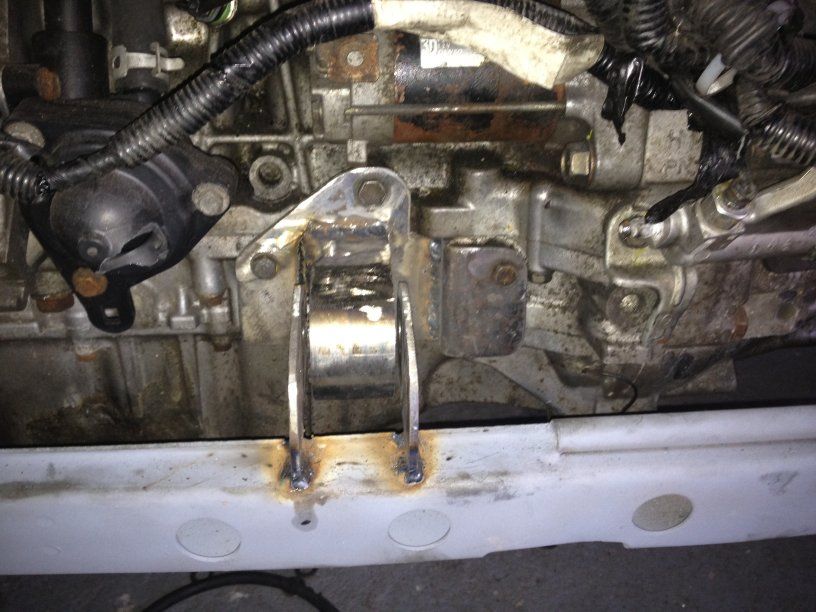
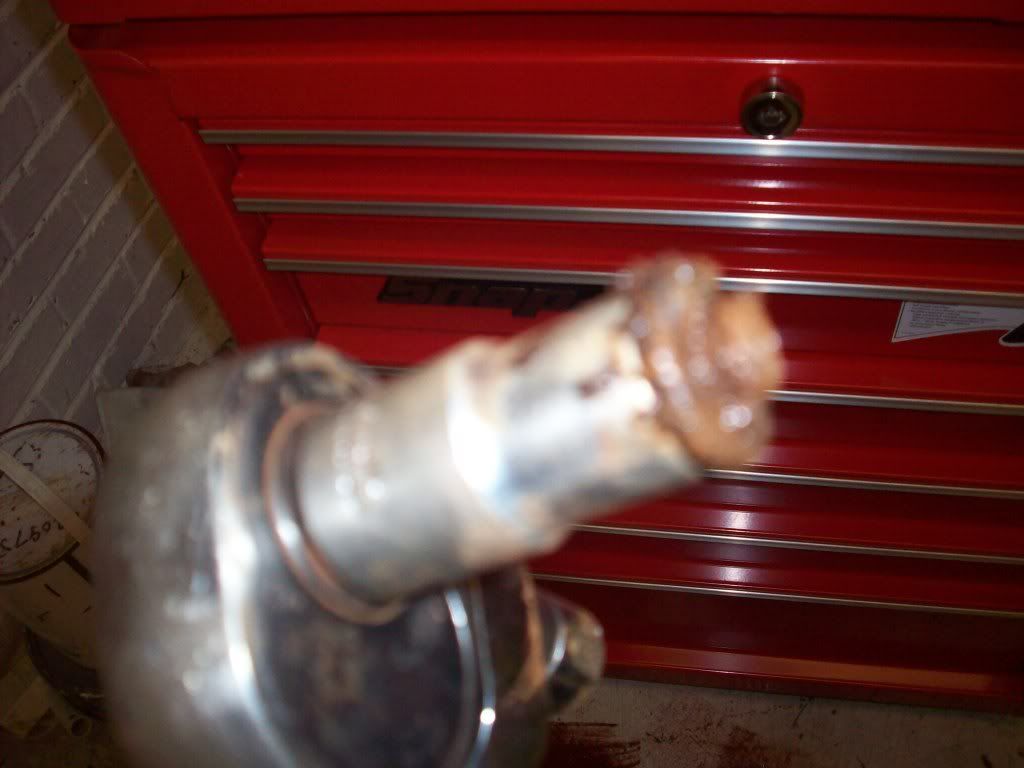
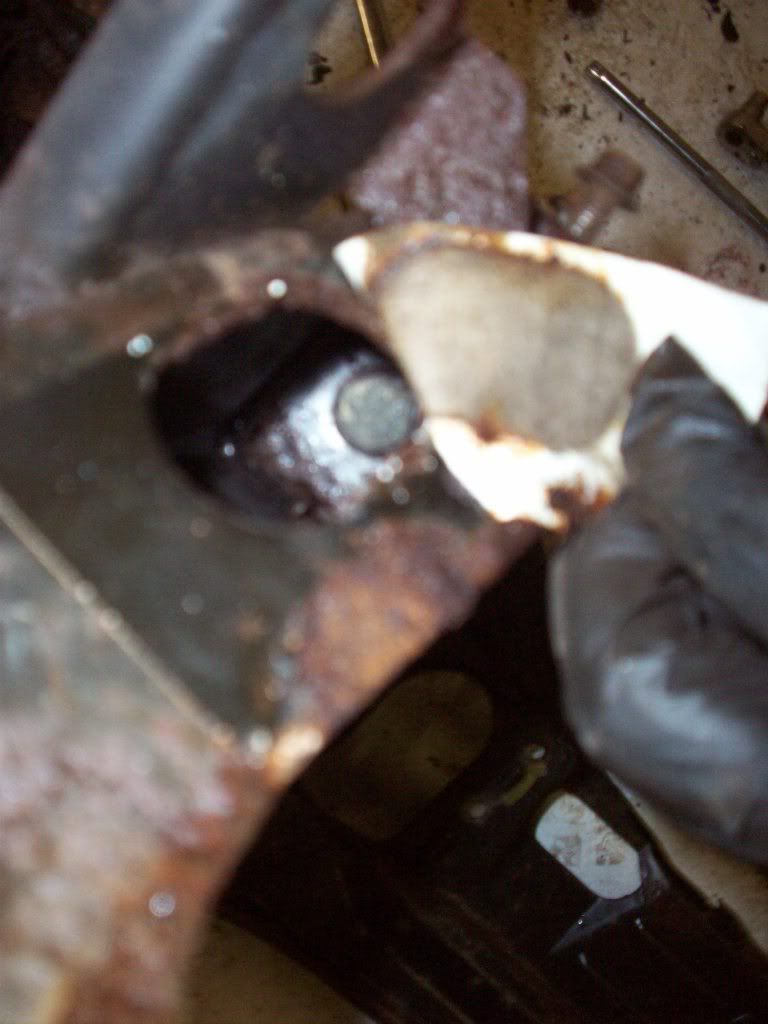
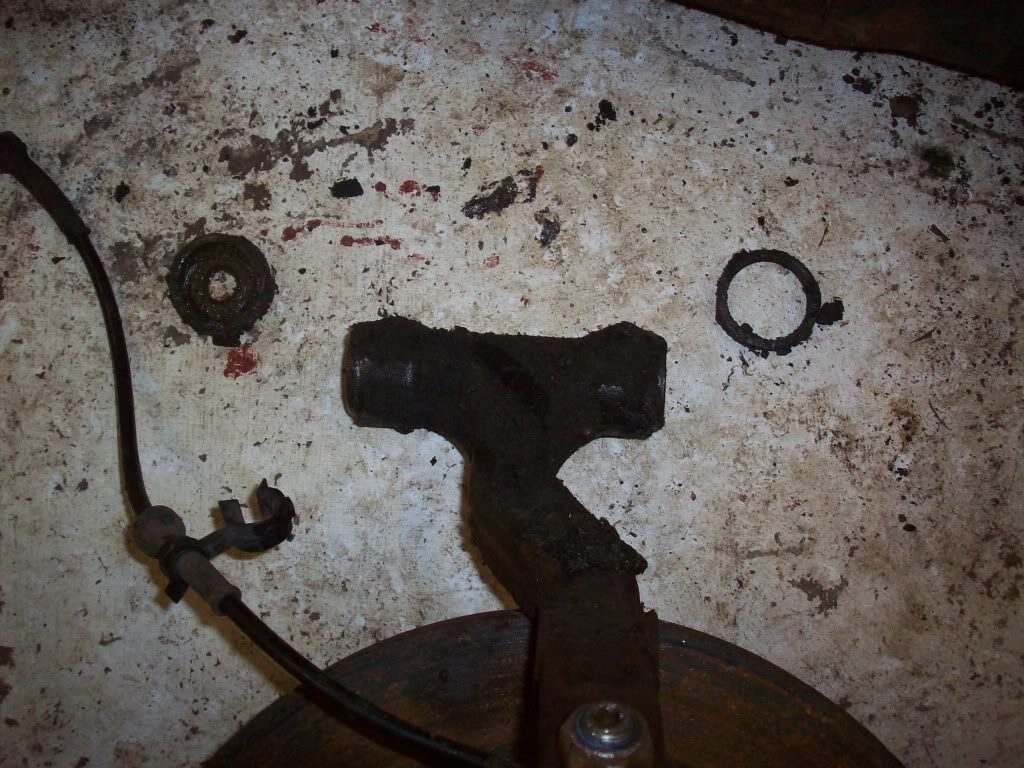
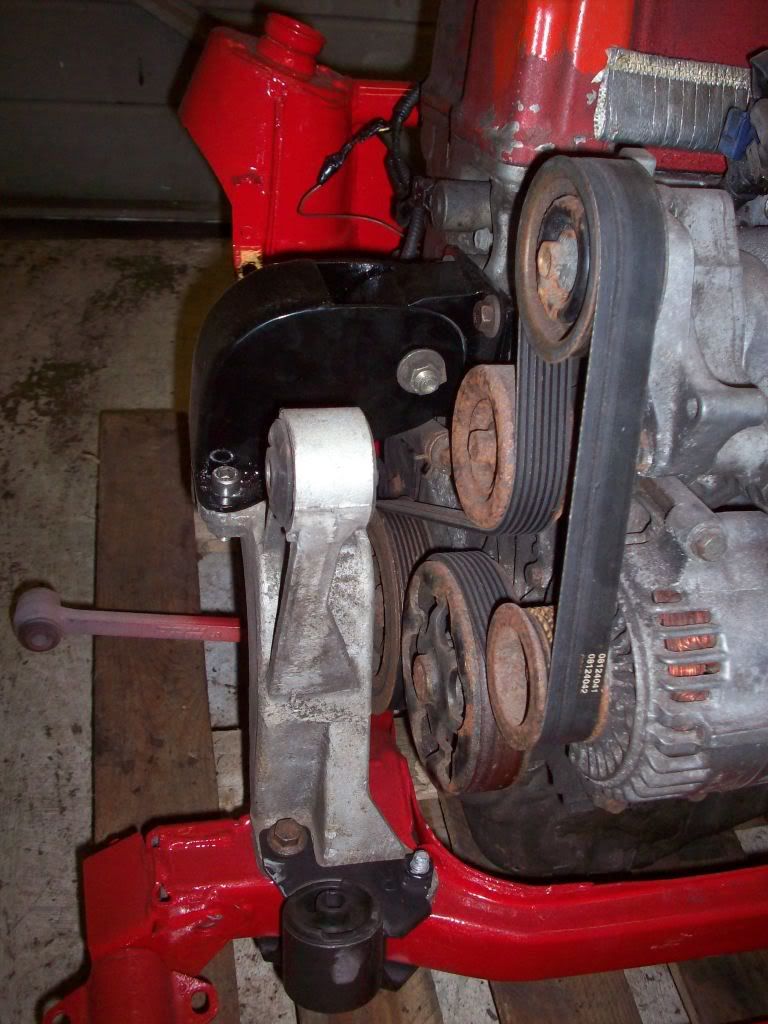
A little interlude here, how many of us drive our cars without any torque mounts on the engine? That would be madness surely ( it is madness Paul, and don't call me surely- Mr Neilsen RIP) , but that is exactly why this engine install was trying to kill Adam, the previous "engineer" decided that torque mounts were a luxury item and that one small pivoting bracket (pivoting at both ends i hasten to add) would suffice.... let's just say Chris Woods T shirt fits better, but isn't going to kill him (unless he washes it again).
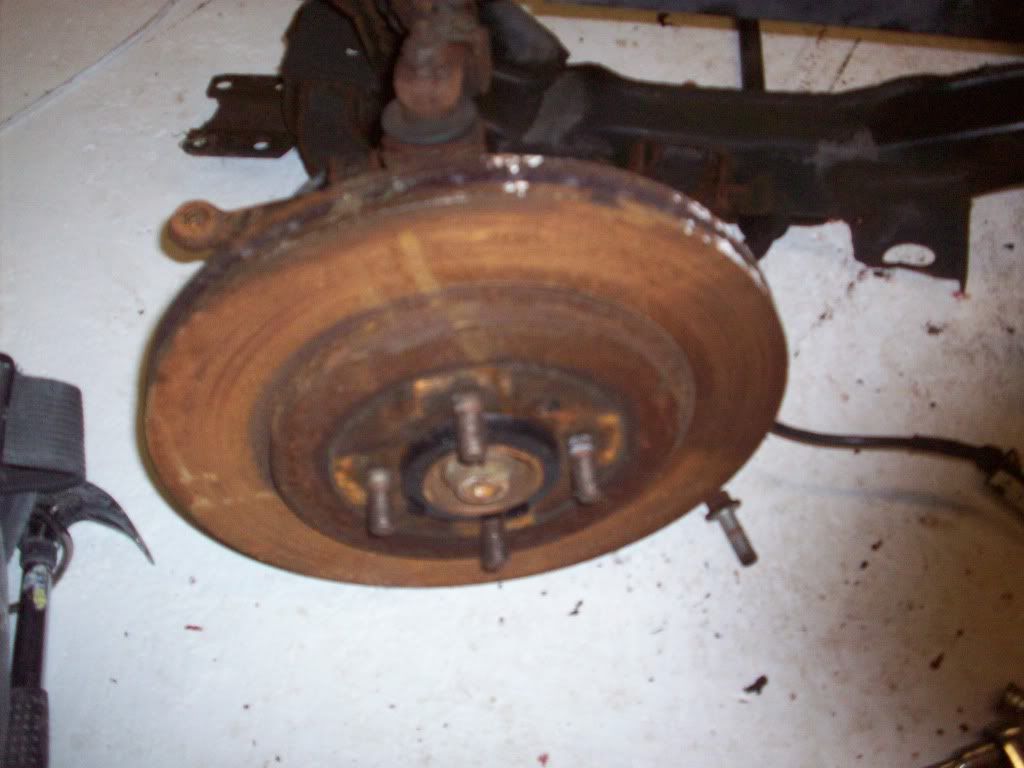
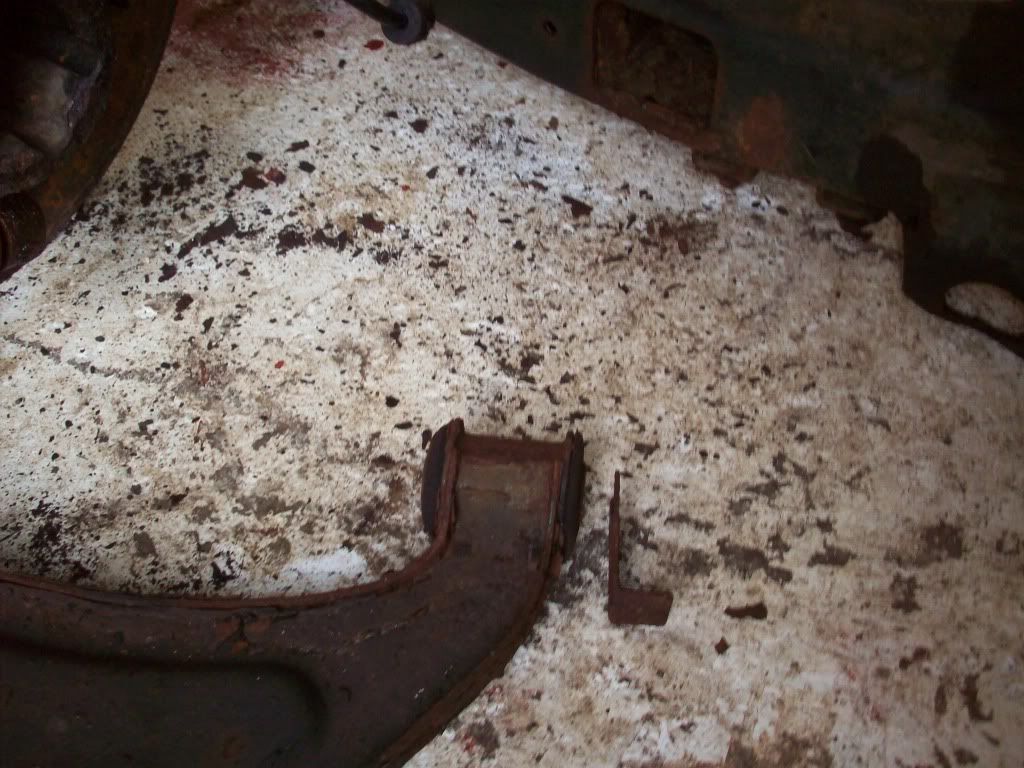
Joking aside the install was just criminal, no torque mounts, so the engine was allowed to do as it pleased on every gearchange or press of the throttle, which in turn was yanking on the driveshafts like a dimented Oxbridge rower, which in turn caused his trailing arms to break away from the subframe, leaving the wheels not attached to a lot......................... i'll leave you to think about that a bit......... perhaps he wasn't so much an engineer, maybe he just said "OI! Engine.... in 'ere!" , thankyou, i'm here all week, try the fish.
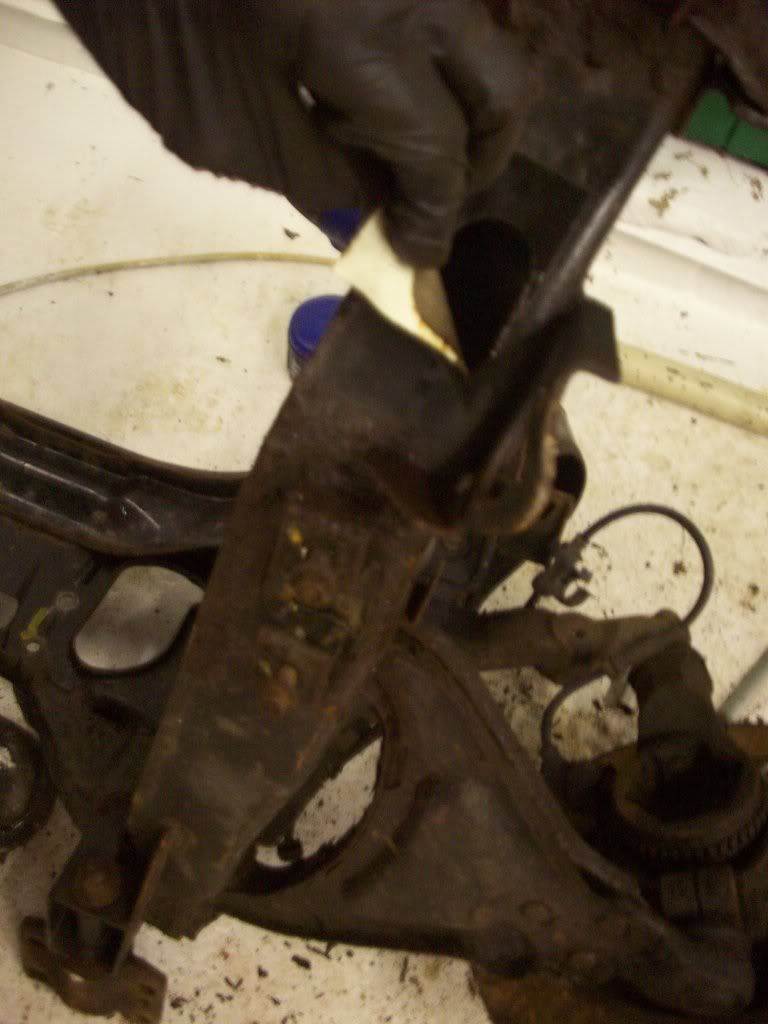
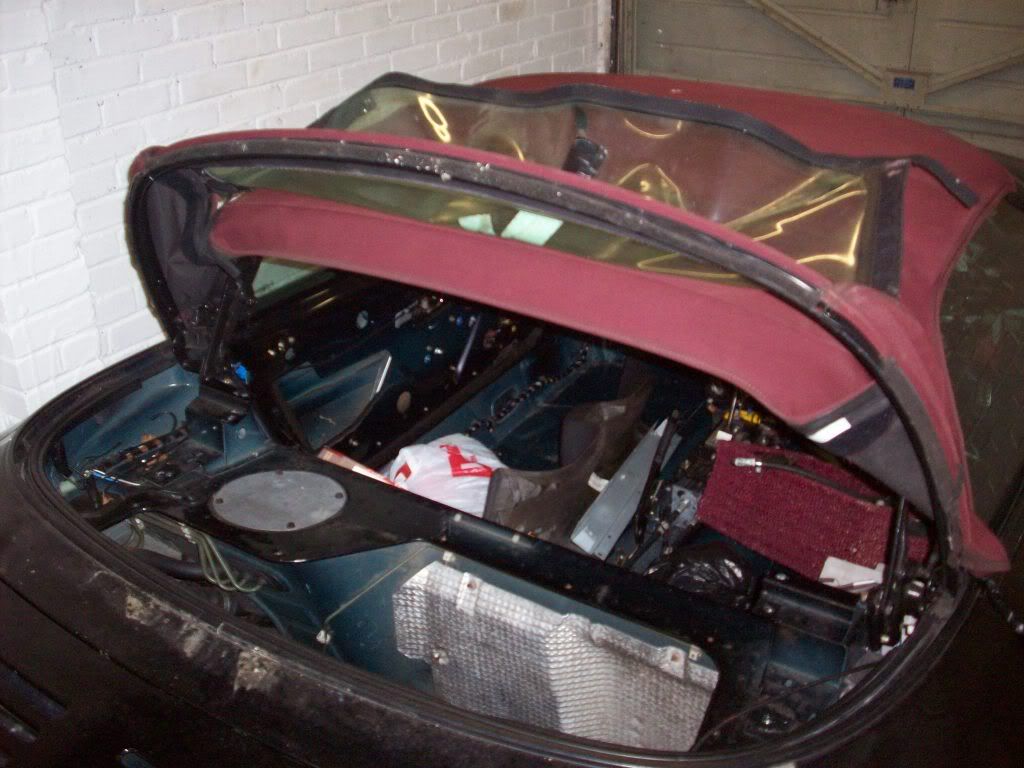
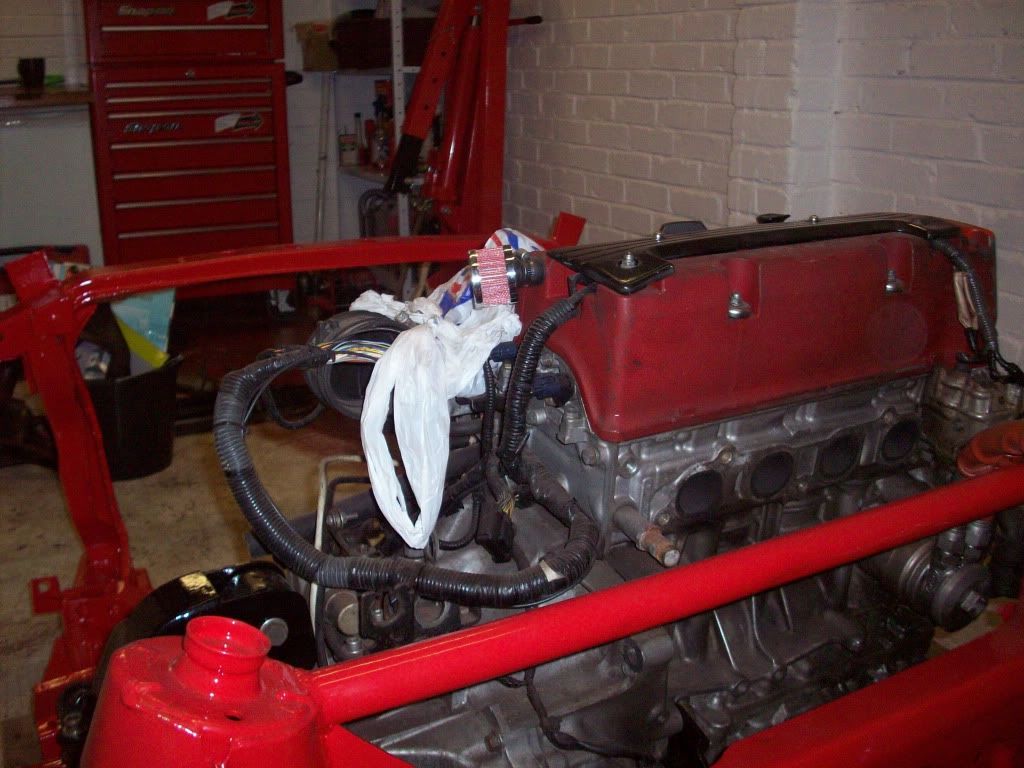
Back to the project, Adam has protected what he can of the shockingly adapted wiring harness with a Tescos bag.... well, every little helps........
DSCN1700.jpg

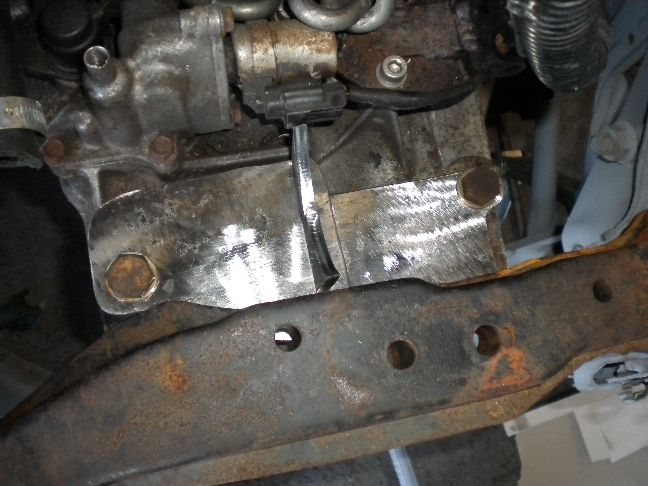
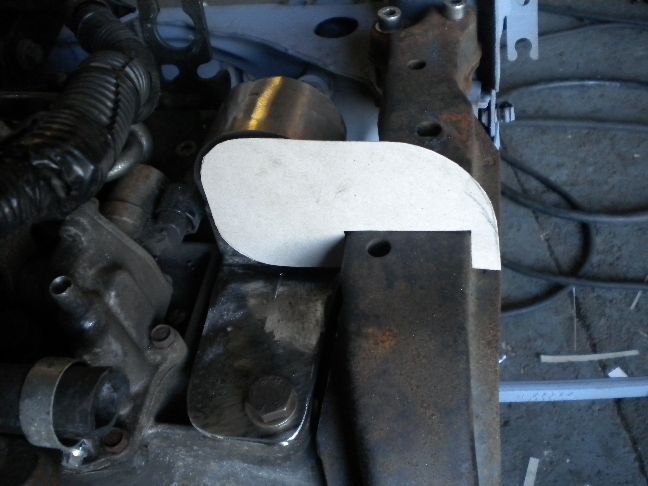
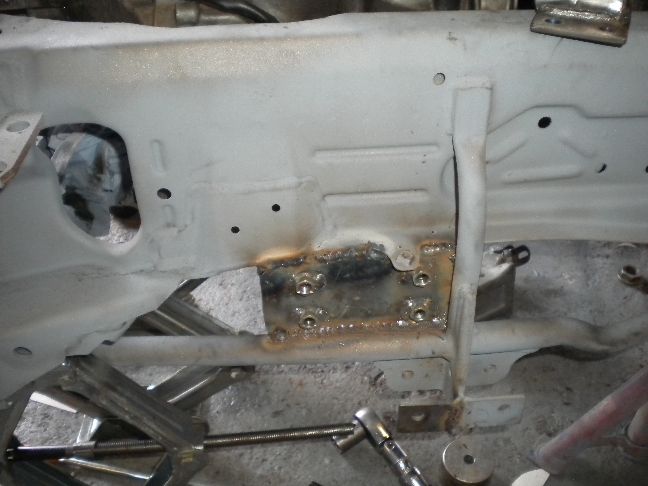
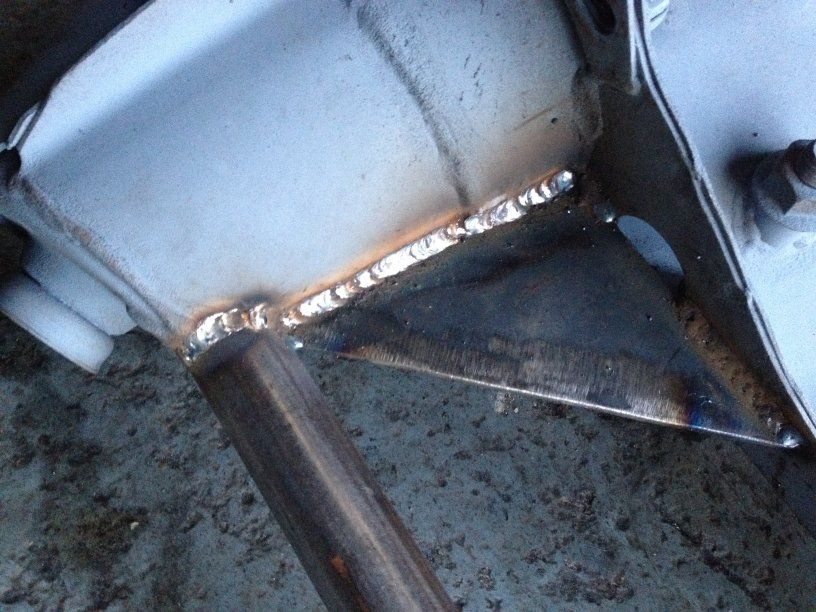
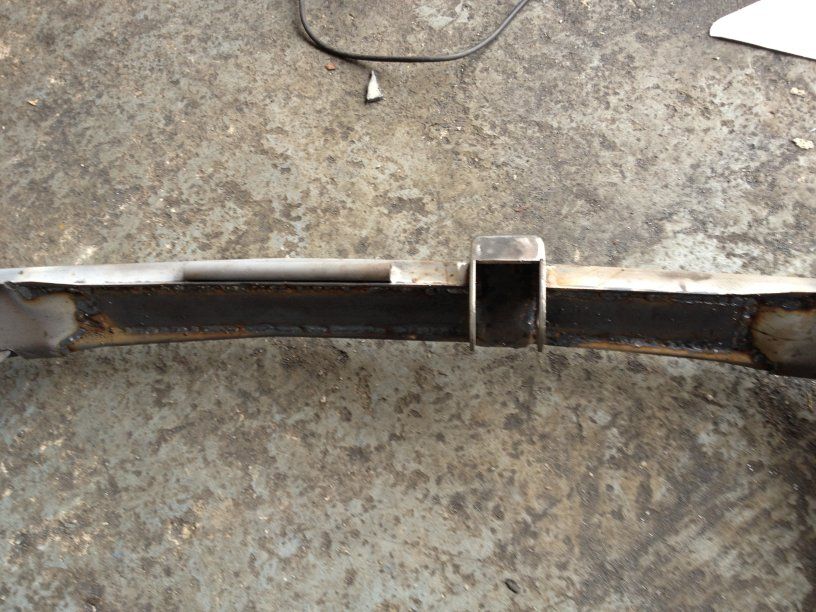
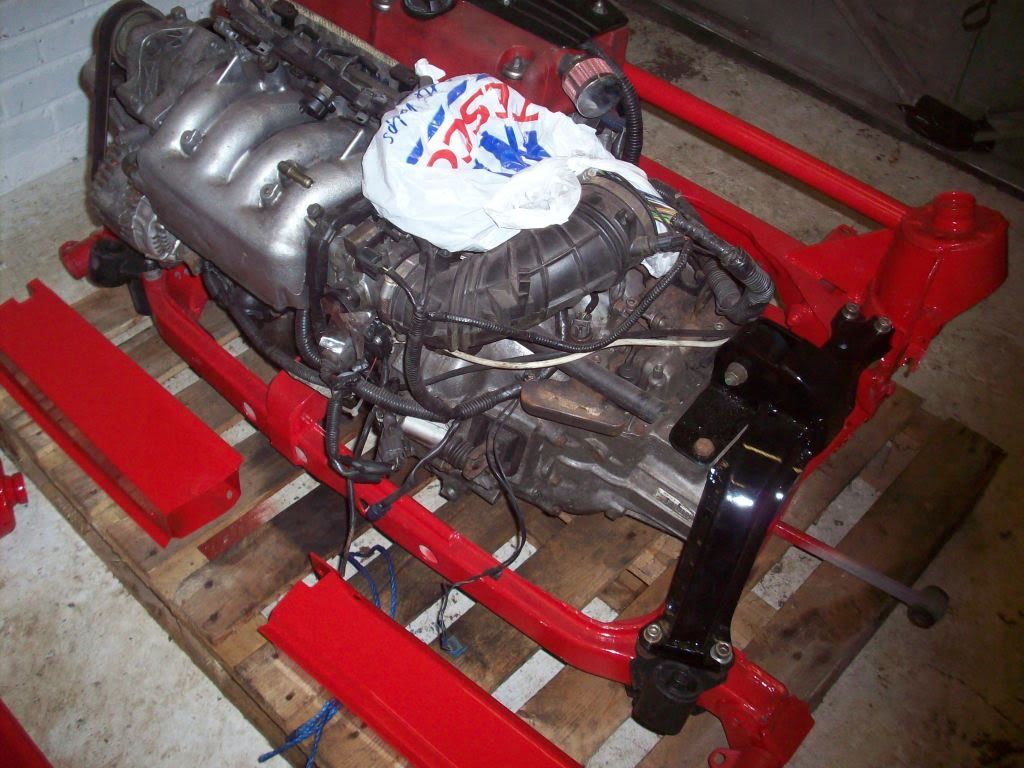
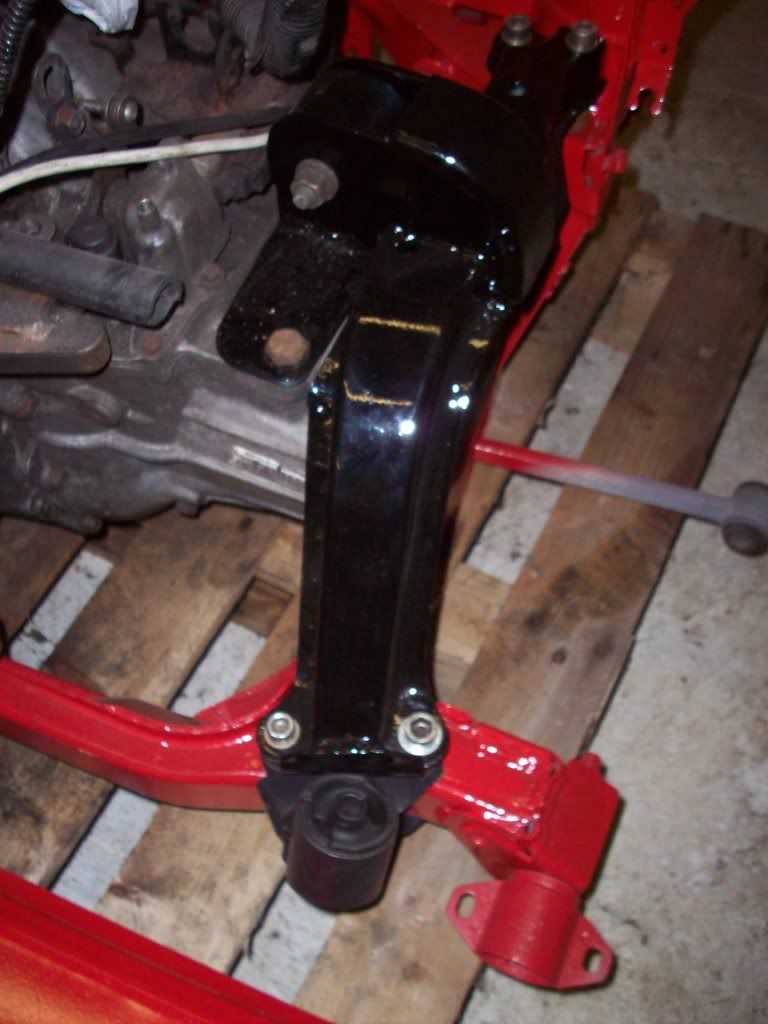
Now onto the start of our fabrication, i removed all of the deathrace2000 mods from the engine and started with a clean slate, made a new mount for the engine block and a new chassis piece, similar stuff to the Lotus Elise build actually...
DSCN1698.jpg

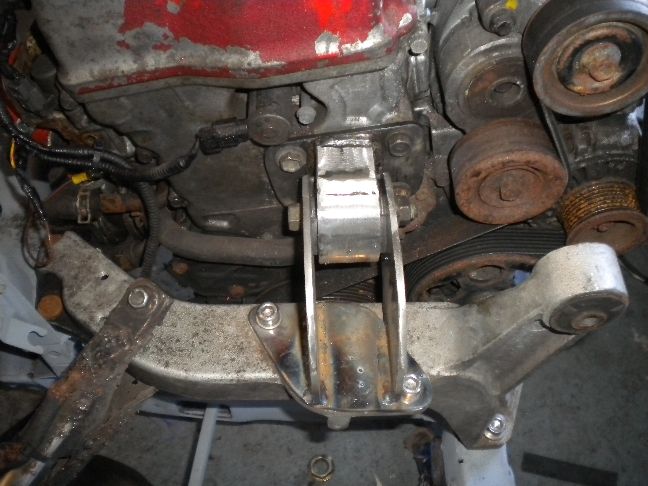
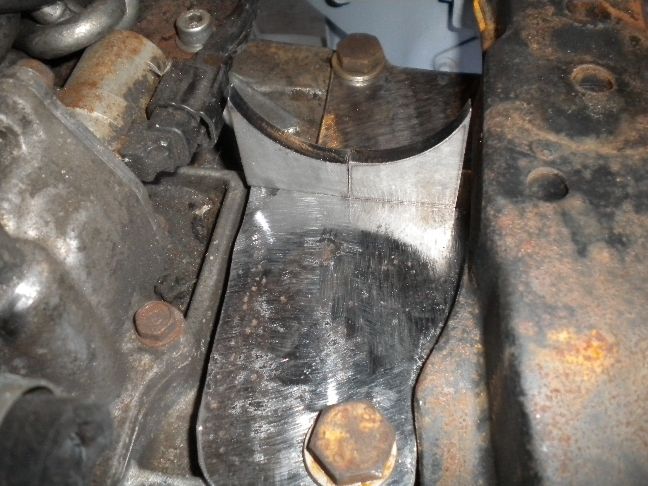
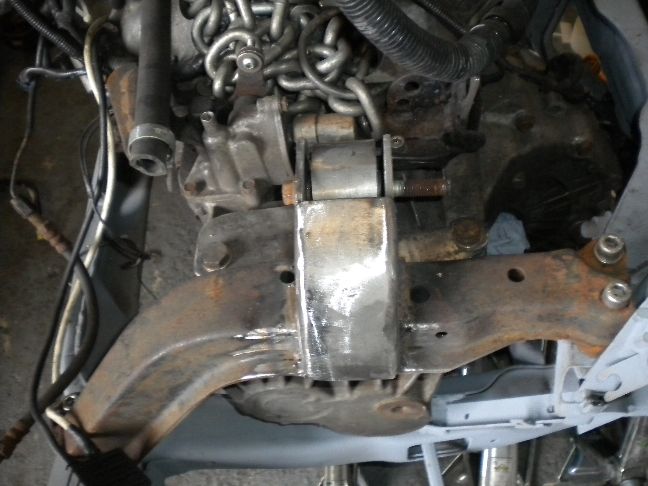
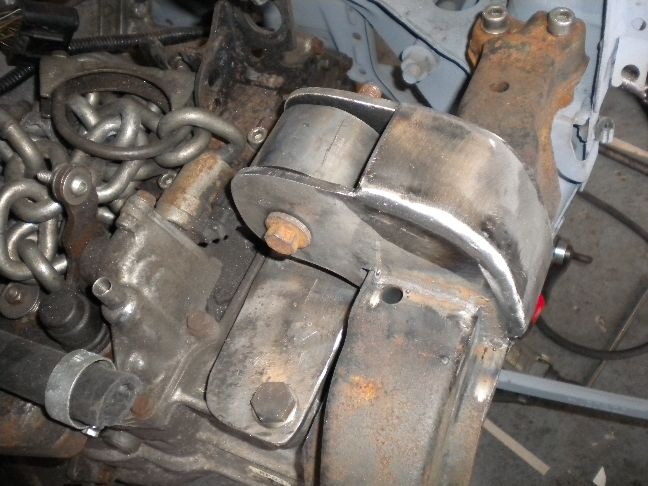
Shortly after this was boxed in....
DSCN1704.jpg


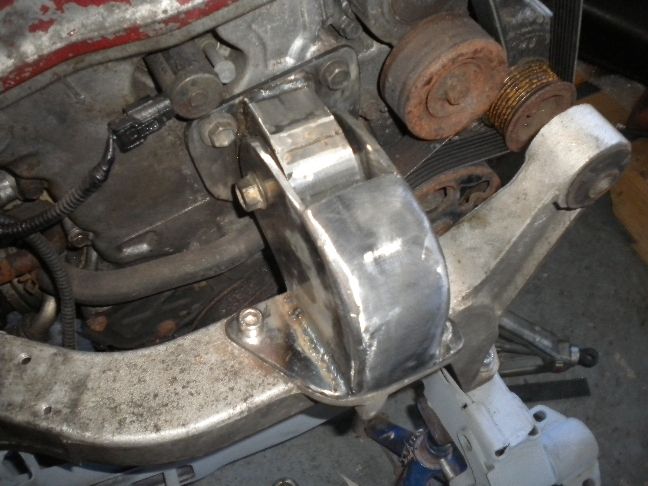
Pretty robust and over-engine-in-ere'd! (beware, i intend to use this phrase a lot from now on)
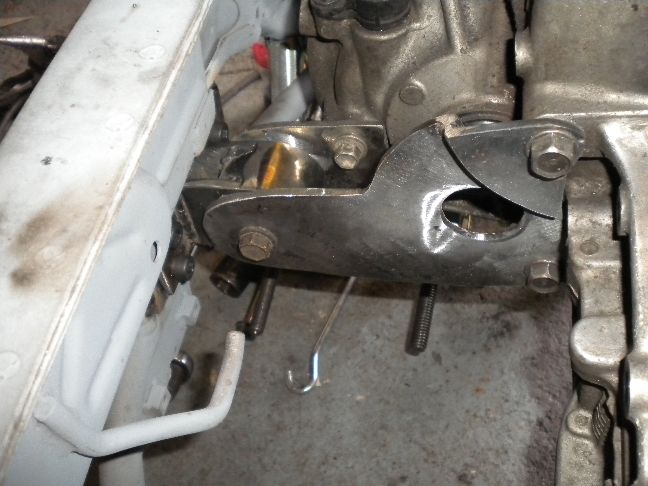
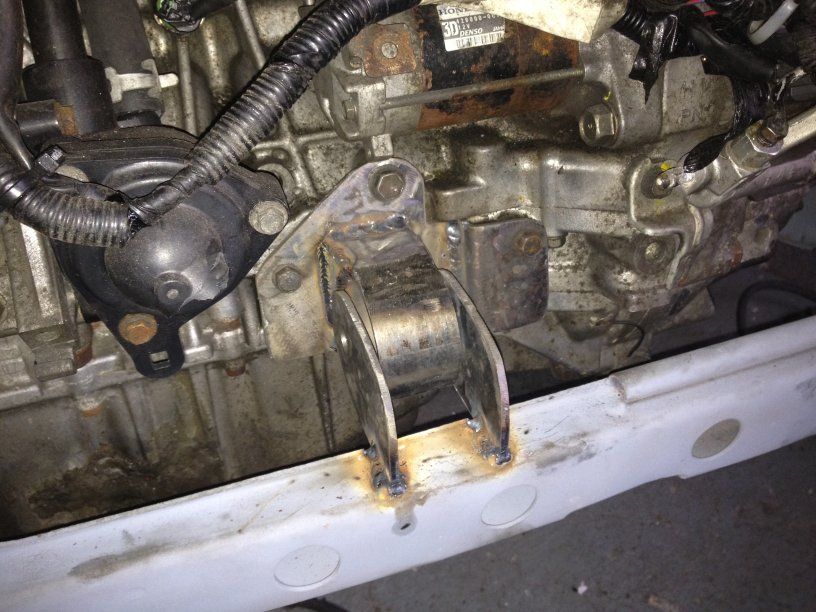
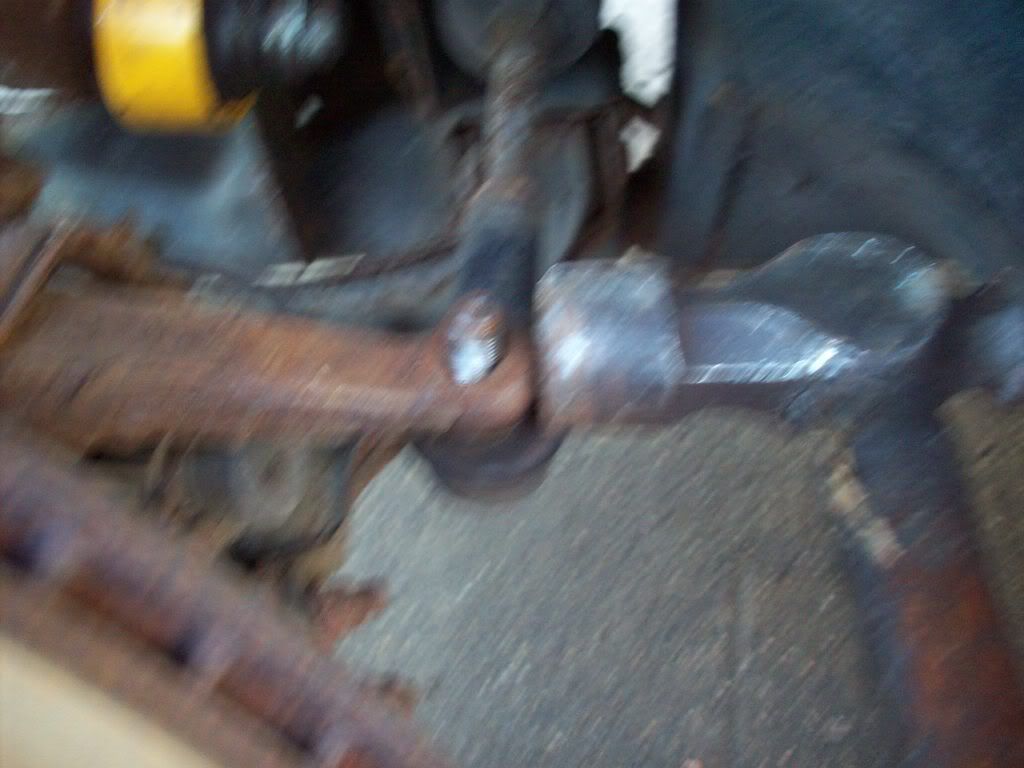
Compared to the previous attempt....
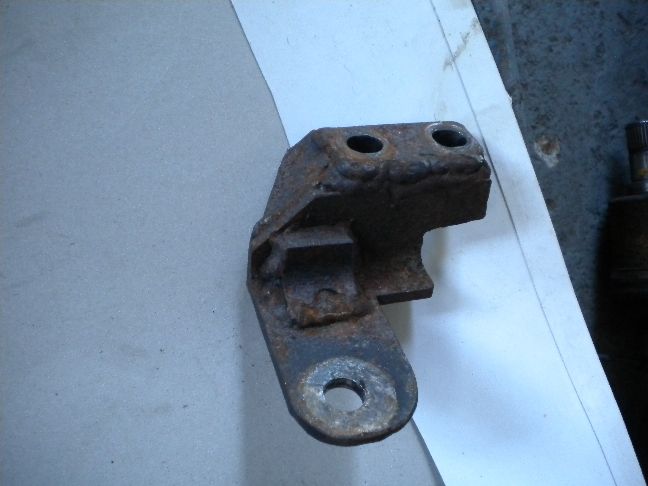
DSCN1703.jpg

Really?
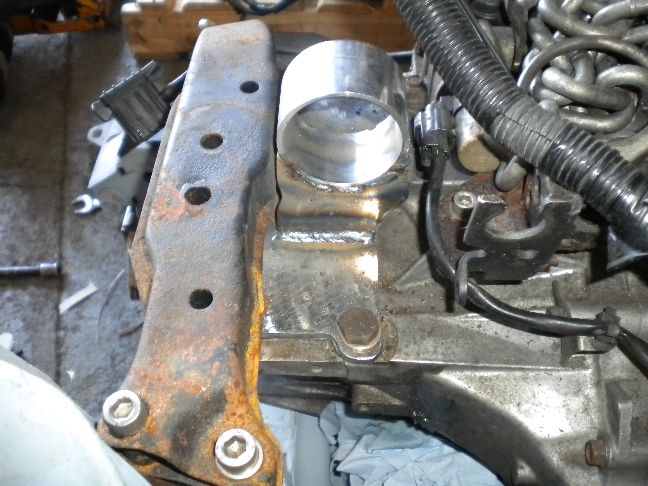
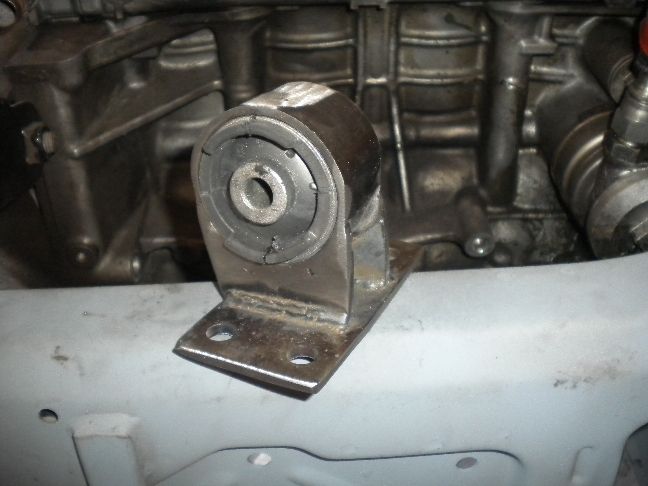
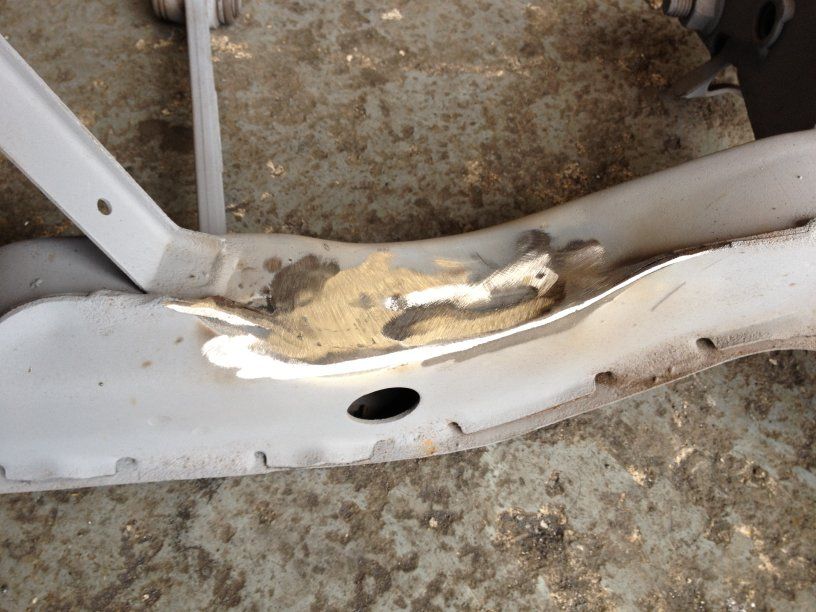
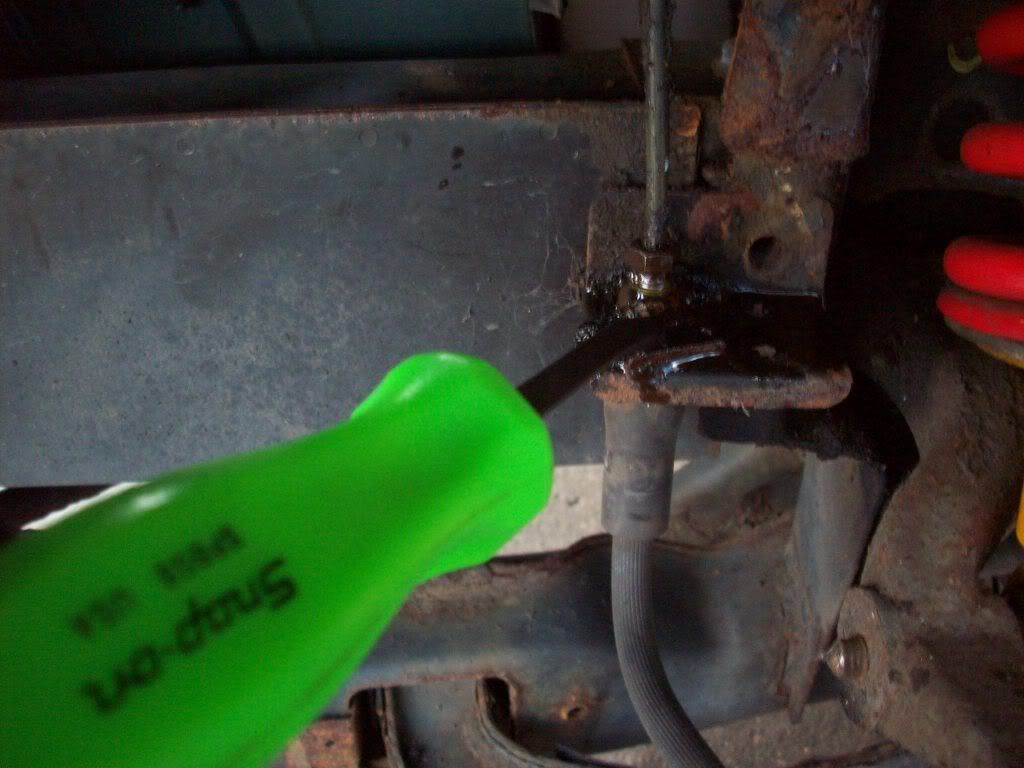
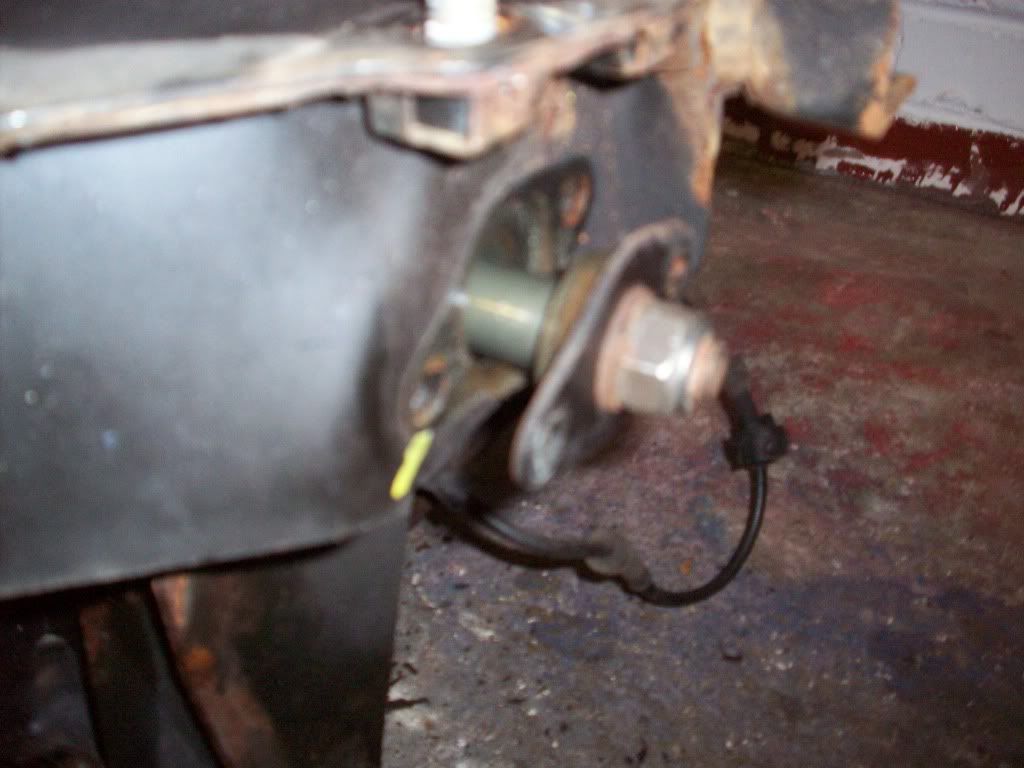
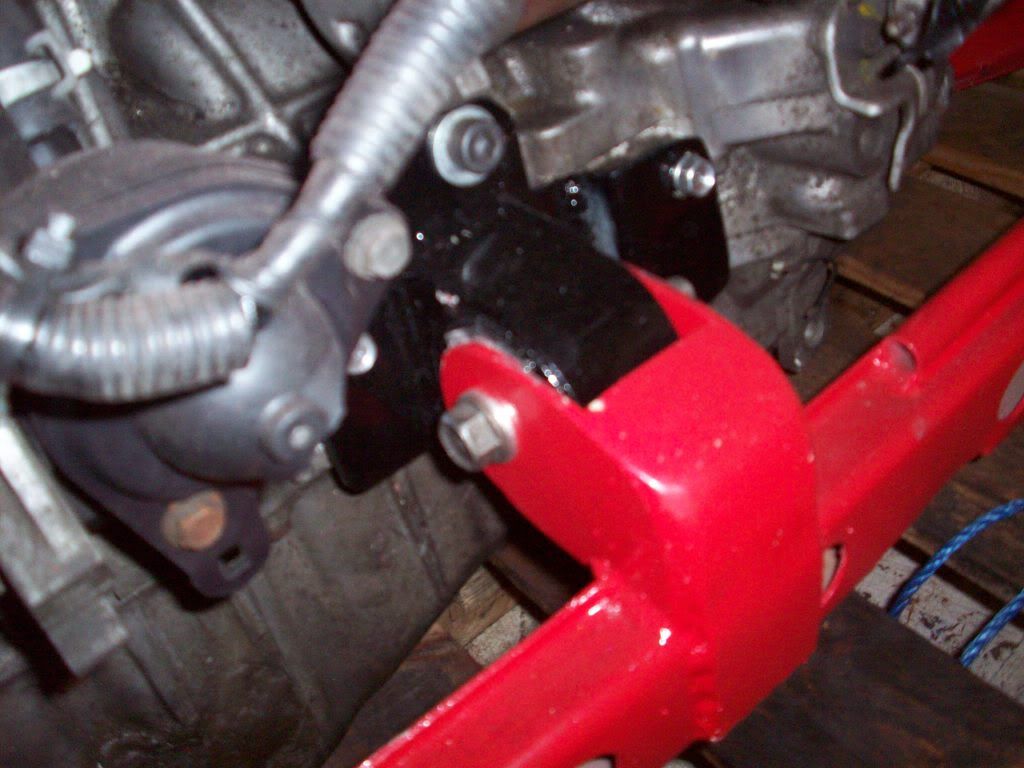
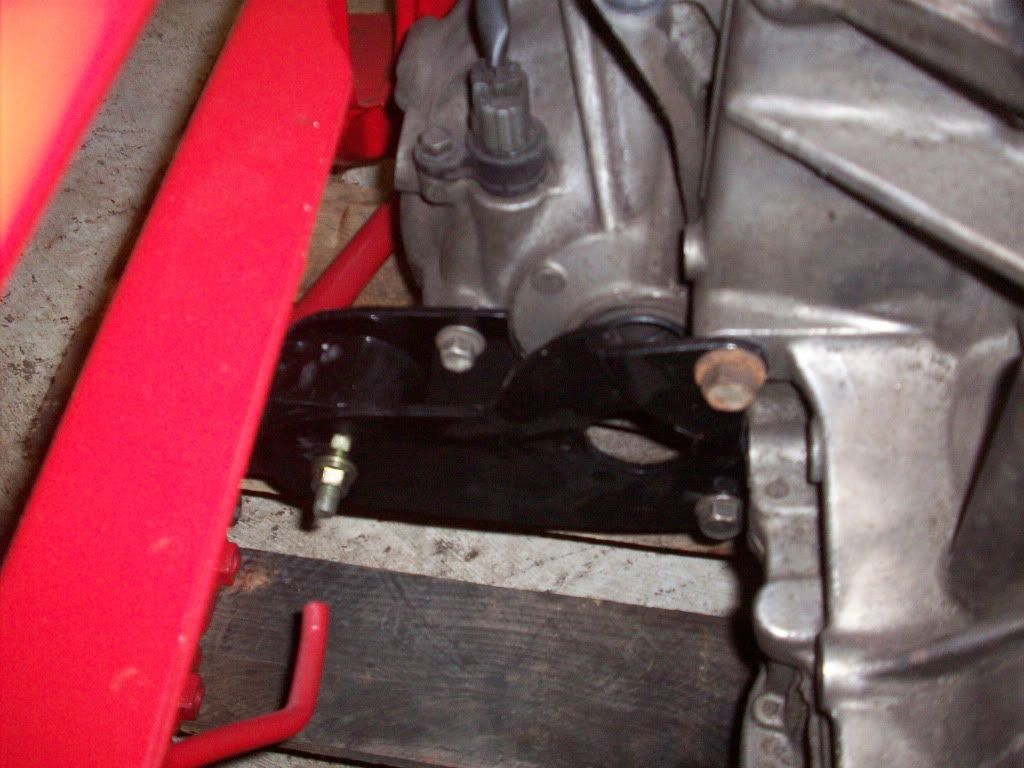
On the gearbox end i have temporarily suspended the gearbox on it's previous mount (i use the word temporary, i doubt it was ever permanent to be honest)
DSCN1702.jpg

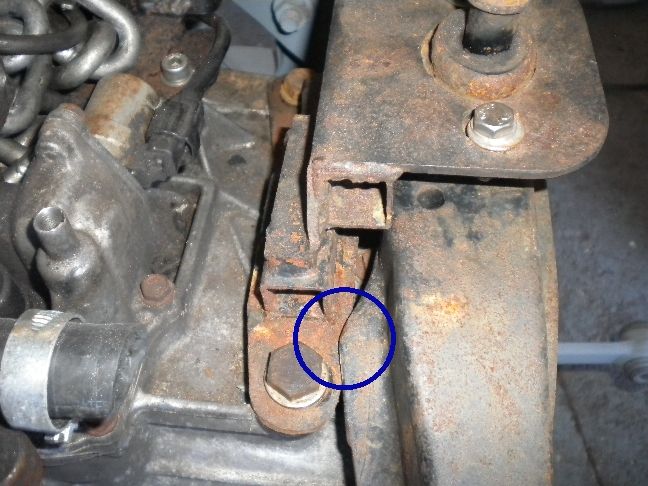
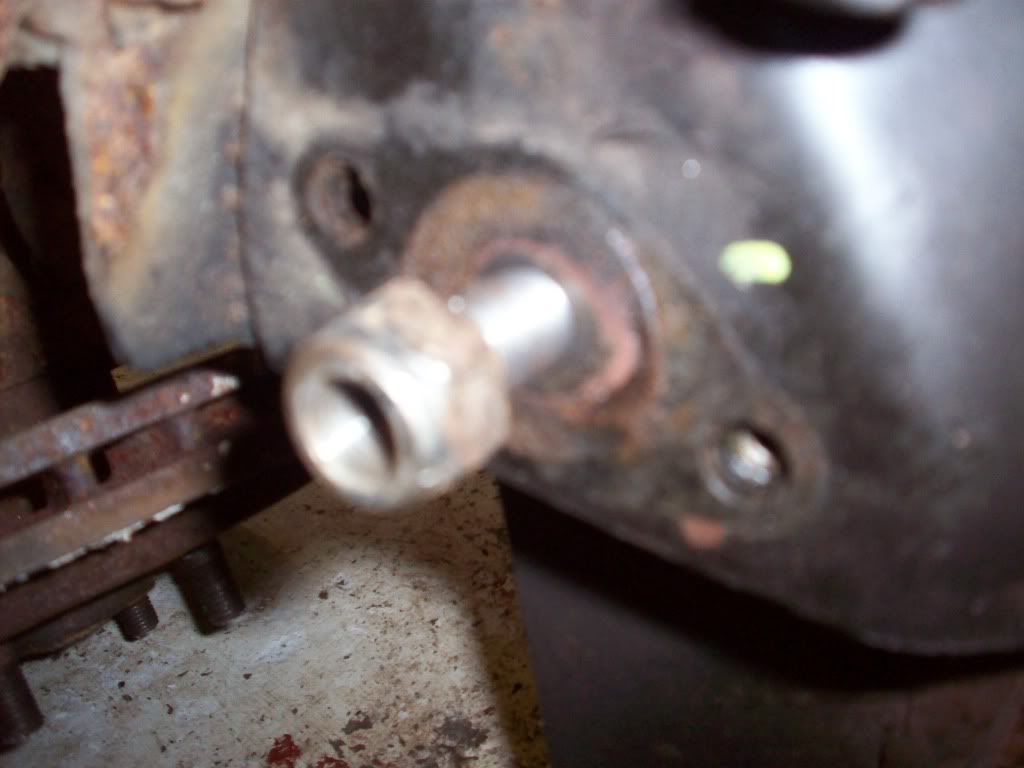
The quality of construction is amazing, bits of box section snotted onto thin plate, also an engine mounts second job is to keep the engine away from the chassis it is attached to.... FAIL!

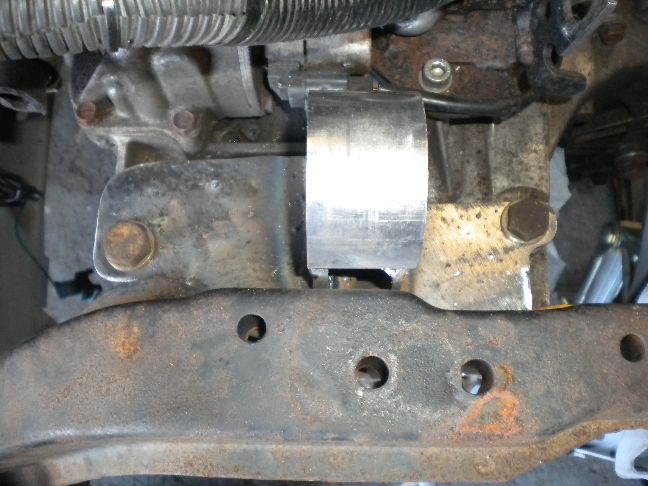
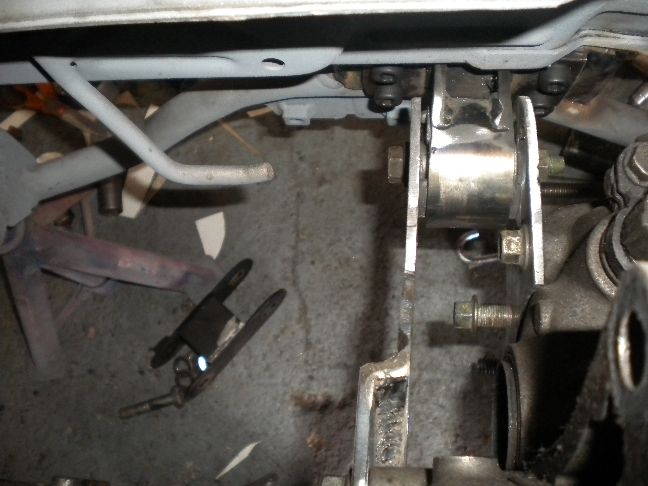
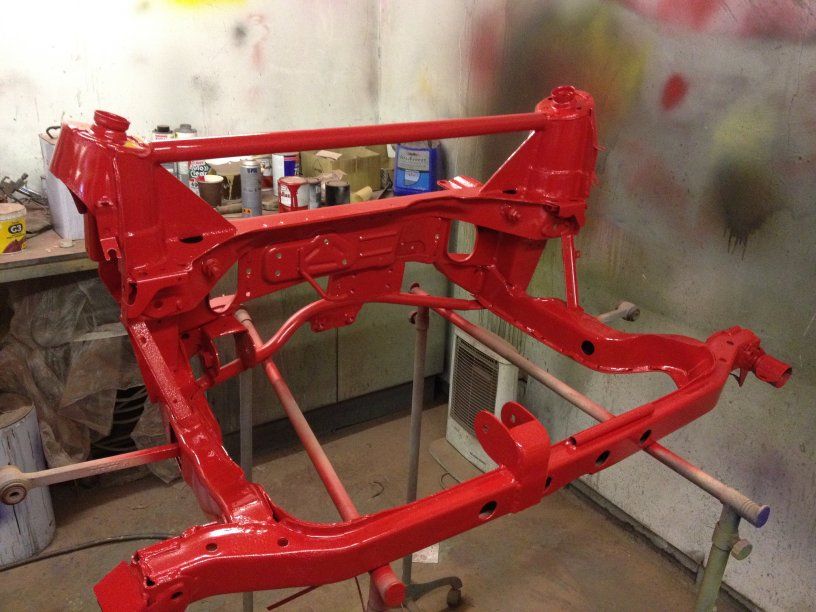
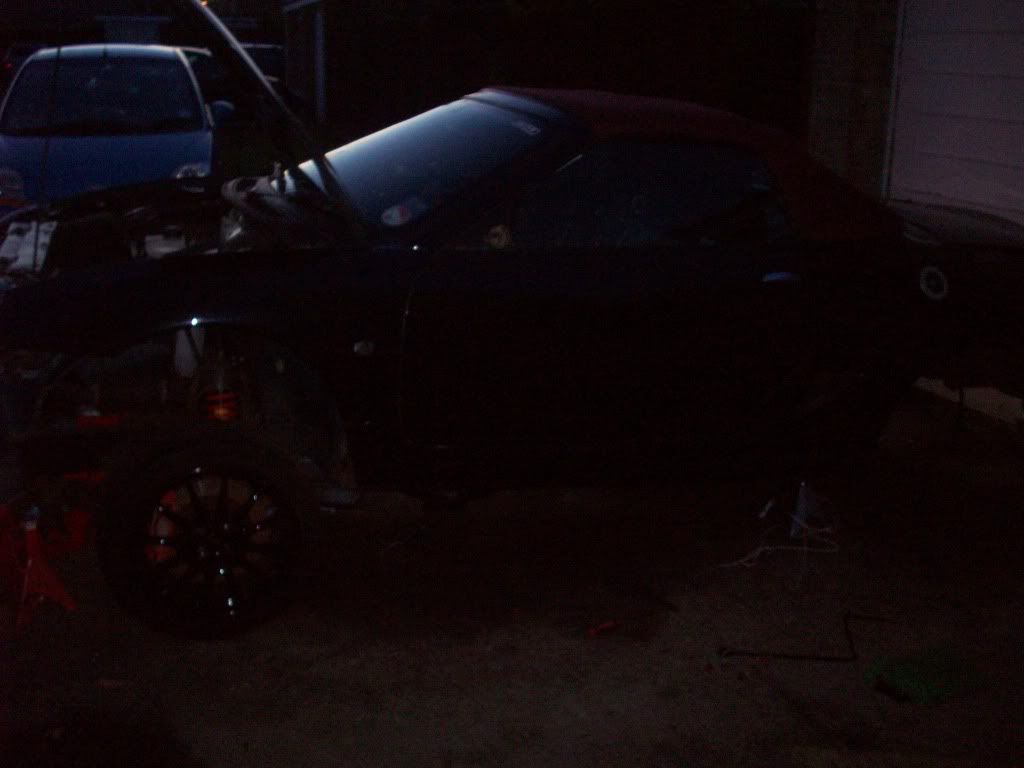
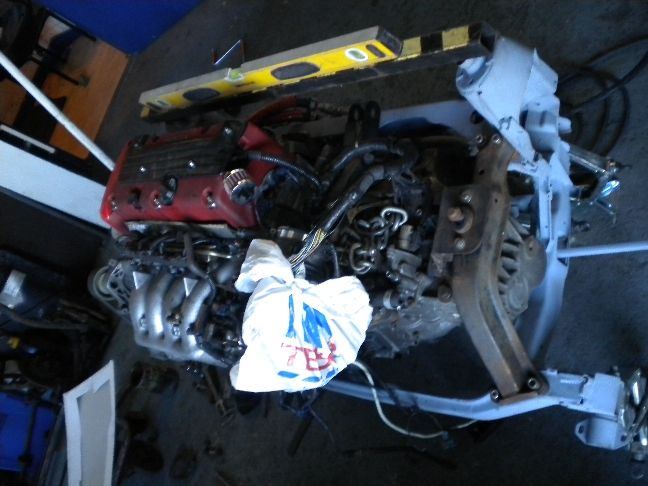
So this is where we are at right now....
DSCN1701.jpg

I may or may not add torque mounts, torque mounts are so last season :)

Lots more to come.....
 
and here we go guys have 2 updates in one day! thank you Woosport!


Work continued with this making the gearbox mount, starting with some decent plates on the box itself...

28-09-11009.jpg


The plan is then to add these plates on both parts of the bottom plates....

28-09-11010.jpg


So that i can add one of our bush rings...

28-09-11011.jpg


This will result in a standard looking mount assembly, fit for purpose and aesthetically pleasing... what's the saying? "if it looks right, it is right"

I should add there is not enough of a gap between the chassis rail and mount right now, but there will be by the time it's finished.
 
UPDATE 02 October 2011

more from paul


More Vtec mount making today, the left side mount is taking a lot longer to fabricate, i'm sure it's a lot easier to just weld some box section to some light plate.... oh wait! That's what it had!

Anyway here is the bush ring in place...

hondaleftmount001.jpg


hondaleftmount002.jpg


And with the rubber bush pressed in...

hondaleftmount003.jpg


That's as far as i got, apart from making the template that is going to join the mount to the subframe...

hondaleftmount004.jpg


hondaleftmount005.jpg


Monday will see it free hanging on both left and right mounts and work can begin on the front and rear torque mounts.

Once the four mounts (2 engine hanger mounts plus the always optional torque mounts :) ) are done there is some subframe notching to do for clearance followed by some reinforcing work, i plan on adding a lot more structural support to this subframe with some gussetts added, and a strut brace as well.
 
UPDATE 03rd October 2011


More from Paul!


Today saw the left engine mount welded in, you could hang a tank engine off these bad boys, definately well over-engineered but we like that.

DSCN1725.jpg


Then the top bridging piece added for more strength and dressed up...

DSCN1734.jpg


DSCN1736.jpg


A little reminder of the previous effort...

DSCN1702.jpg


With the engine hanging on its own now all of the jacks were removed, and the alignment was found to be spot on to within 1mm in all axis.

Work then started on the first of the two "optional" torque mounts, i'm making these with very little give in them, mainly because an MGF with a Vtec lump in it is a virtual unknown to us, so we want as little movement as possible. If the NVH (noise/vibration/harshness) is too much for Adam, then he can suck my fat one!..... lol i mean he can fine tune the torque mounts later with a softer shore of rubber than we have used or drill holes in them etc

For now keeping the engine still is more important than anything else, especially as the previous installer had things dancing around at free will, not good!

The rear torque mount design was pondered on for ages until we decided to weld in a captive plate onto the subframe with four nuts on it, this allows the whole mount assembly to be removed and the rubber bush tinkered with if need be.

DSCN1730.jpg


Two plates were then made for the engine/gearbox side, one of which was quite complex, it needed a step putting in it and also a hole providing for the supported driveshaft to pass through the mount.... ooooh!

DSCN1731.jpg


Here is the new torque mount itself...

DSCN1729.jpg


And the whole mount assembly in place, it needs final dressing before we paint it but i'm very happy with this rear torque mount as a solution to, well, not having one :)

DSCN1732.jpg


The front torque mount comes tomorrow, it's going to need as much thought as the rear one as space is very tight.

An overview of the install as it is now...

DSCN1737.jpg
 
UPDATE 25th October 2011


more from paul


With this project being a sideline job i had to get a bout of workshop duties out of the way, but i mamanged to get a few hours in on the last remaining mount. This still requires boxing in and finishing off but you get the idea...

Img_0016.jpg


Img_0015.jpg


So after a few more hours on this last mount i can remove the engine and start strengthening the subframe, prep it and paint it.
 
UPDATE 26th October 2011


even more from paul


A bit more work done on the subframe today, i added two gussets ( i know Adam likes gussets!) to the strut towers along with a strut brace bar to give this subframe more strength.

Img_0018.jpg


Not bad welds even if i say so myself.

Img_0026.jpg


The subframe now needs final finishing off and painting but it's 90% there now.
 
UPDATE 27th October 2011


anddd.... you guessed it, even more from the god himself!


Today saw the front crossmember boxed in, this was just an open U channel, which i felt wasn't structurally up to the job of supporting a torque mount.

Img_0027.jpg


The subframe has been notched and ground where there are clearance issues...

Img_0030.jpg


With the subframe now 100% finished it was time to prime it again, this time with a hi build 2k...

Img_0031.jpg


Then finished off with 2k red...

Img_0033.jpg


Img_0035.jpg


Img_0034.jpg


So that's the subframe finished.
 
Update! 01.11.2011


Well Paul has been having all the fun so far... and we can't have that can we?


so time i got sorted!


first job was to get the car out the garage... easier said than done as it has no back wheels! lol


thankfully my good friend MikeKnight was on hand to help!


here he is


100_1038.jpg


sexy bugger


now that she was out in the daylight i had another issue... my mate had took his hardtop back off me... so i need to get my roof back on the car...


sadly it was at the back of the loft! lol... like a little Alladins cave of TF parts up there!


100_1040.jpg


Sadly the rear window has had it on the roof :( it had a slit in it anyway but being folded up in the loft for half a year hasnt helped much!


so i've ordered one ;)


anywhoo


after a good tidy up (i'd stored all sorts of random crap i forgot i had in the TF over the past few months!) mike went home and i got to work


"Que the music"


100_1049.jpg


hammer time


100_1056.jpg


brake line.... interesting things to happen to these (well interesting to the sort of people who find brake lines interesting :err:)


100_1057.jpg


Snap-on - he who has the most tools wins!


100_1065.jpg


front of the coolant pipes...


what the heck am i doing you ask? (well you dont ask, but because this is my thread i'm going to assume your actually reading this and not just skimming through the pictures....)


100_1070.jpg


removing the front subframe! obviously!


100_1069.jpg


off road TF! :D


100_1072.jpg


job done....


more to come tomorrow ;)


peace peoples
 
UPDATE! 6th November 2011


Well as some of you on the MG forums already know I'm having one of thoes weekends! lol well one of thoes weeks really :( but!... never fear because here is a little update of me taking more of my car apart!


I decided i wanted to not only polybush the suspention but also reaplce all the "consumable" parts... that ment track rod ends and ball joins and wheel bearings... compared to what i've spent on the polybushes and shocks it's a cheap way to simply put a big tick next to suspension+steering* and declare it "done"


And after seeing A: how good the paint finish was on my rear subframe (thanks Anth!) and B: how rusty my front subframe was, i decided it's only right that the front get the same iorn oxide purge!


So here it is out the car (note parts of my Rally car :D)


Picture006.jpg


First job was the shocks


Picture007.jpg


And steering Rack


Picture008.jpg


oo blurry... i was probably shivvering! thanks to my garage being in mid-decoration i had no heater plugged in :(


next i removed the front mounting brackets (that the bolts go through onto the cars body)


as with the bolts on the car... this happened


Picture012.jpg


but i got them off


Picture010.jpg


i then took both the X bars off (you can see them in the above picture) and turned my attention to the hubs and suspension


off came the brake calipers


Picture013.jpg


and next would have been the disks....


Picture014.jpg


if the screws weren't as round as a round thing! grrrrr.....


nil desperadum, apart from a snapping bolt and these being round things were going ok (so far)


so i took off the Track Rod End (TRE) mounting arm and ABS sensor wire retaining bracket


Picture015.jpg


thats them there ^


then i undid the ARB (Anti Roll Bar) drop links...


well sort of... hows this for fantastic forsight from rover employees? you can't take the bolt out because of the bottom ball joint!


Picture016.jpg


oway ya blooming brummy fools... all you had to do was put the bolt in the other way round... but nooooooo


anyway


i was only mildy vexed (and lets face it used to the midlanders 'engineering' by now lol


at this point things went wrong....


not only did removing this bolt (random pointless picture time! oh yes how you've missed them - spoilt as you have been with Paul Woods and his strange insistence on taking 'relevant' pictures)


Picture017.jpg


there that bolt... in spite of taking it out the bottom ball joint wouldn't drop


and to make things worse the top ball joints spindle (where you stop it spinning) was rounded... so i can't get either ball joint off - by this point i was swearing quite allot!


anyway i got this far with the suspension and got the top cans off


Picture019.jpg


and promptly got stuck


i couldn't get the bolt out that secures the 'top ball joint - to - strut tower' brace bar errrr thing... and i can't get the Y shaped bottom ball joint bar off either :( the bolt on the top bar wont come out and i couldn't figure out how to get one of the bolts out the bottom one!


confused? good...


never mind i did do this


ARB


Picture021.jpg


No ARB


Picture022.jpg


getting cold again!


fortunately by standing the subframe up like this i did find the bolts that i couldn't get access to (for the bottom ball joint mounting bar)


they were hidden by top quality and impenetrable MG-Rover...


Picture023.jpg


Picture024.jpg


Gaffa Tape!!!!!! :rofl:


however for reasons i do not understand i can't seem to get these bolts all the way out... they get so far and stop coming out anymore :s and bolt sides come out different amounts.... very odd!


so im stuck on about 5 things... oh and i can't get the rear mount plates off as they are just stuck solid and every time i go to undo the bolts the subframe moves (even with me sitting on it!)


so this is where i stand so far with the front subframe saga!


Picture025.jpg


half disassembled subframe


and


Picture026.jpg


all the suspension/steering/brake parts i can get off... oh and my tool box... i love my tool box... its the only thing i own thats not broke at the minuet! lol


*Id like a quick steering rack for time attack use but i don't think i'll do this any time soon - the TFs steering is so responsive as stock that if i mess on with it i'm worried it will be too twitchy... time will tell
 
UPDATE - 14th November 2011


Finally got past my issues i was having with the front subframe, well almost all of them and what i have left to do is no big deal.


The issues I were stuck with were a classic case of not seeing the trees for the woods and a quick visit from my Jedi Master/Tutor on all things mechanical - Bob Swan* sorted me out and got me on the right track - better yet he just told me what to do and i got on with it! This method of teaching does instill blind panic at first... before the sumg satisfaction of getting the job done and learning loads along the way! :D So this whole update is a way of thanking him for his help, not just today but throughout the build!


Not many pictures but here is how i got the pesky bottom ball joint off:


I'd already removed the nut and bolt but she wasn't shifting...


"You don't need this rubbish get it out the way" says bob (one of his sayings)


"pop a chisel in there and give it a thunk and a pull" says bob (he was still talking about the ball joint dont worry)


"and it should just drop out" (i hope he's sill talking about the ball joint!) :lol:


so i did just that...


first a chisel


100_1094.jpg


incase your confused thats upside down lol


then i used a wider punch to open the clamp


a
100_1095.jpg


and wiggled my ball joint seperator


100_1096.jpg


clap like a mentally deficient smily :clap: <-- like that one


one and a half hours around midnight = fail.... 20 mins with bob and a cuppah and win!


now i'm on a role... time to tackle thoes odd bolts i found behind the impenetrable MG/Rover gaffa tape!


these had me seriously puzzled... the left one.... well that came out an inch then would come out no more... the right one 3 inches and no more... neither would actually come out there holes


the captive nuts werent dead because i could screw them back in :dunno:


"pop some duc oyl on em' and ere use the gun to work em in and out and you'll get there son, you've got to work stuck bolts" (more bob truisms! this time without the dodgy double-entendre - or was that just my sick mind? :shake:)


anyway useing bobs rather spiffy Snap-On windy gun (aka impact gun) and some duc oyl they soon whipped out! and i had a bottom ball joint mounting arm


100_1098.jpg


isnt that nice?


now it was time to remove the top arm


the problem i was having is that i removed this nut


100_1100.jpg


and not the one on the other side


as a result everything was just spinning and really confusing me!


after lots of thinking, questions on mg-rover.org (and most importantly cups of tea) i figured out what i had done wrong... i popped the nut back on and undid the one on the other side and just hit it with a hammer!


100_1101.jpg


after all the chew on that was a welcome site!


out came the arm


100_1104.jpg


and the hub with it


and there we go!


100_1108.jpg


as you can see the disks and the top ball joint (and the arm with it) are still attached


so tomorrow im off out to buy an impact driver and a few cutting disks... should sort my issues!


then i can get all this gear off to the masters at Woodsport for some more work! :D ;)


updates to follow very soon!!!!


* Bob and Paul swan are neighbors of mine, both absolutely cracking people to know, as you've all seen they have helped me numerous times in my build and never asked for a thing in return (i feel guilty asking for help at this point!)


so the least i can do is promote their business a bit...


http://swanavo.com/page4.html


they have their own Farther/Son rally team and do rally prep as well as service and repair to all vehicles. Bob is old school and its either perfect or its wrong and Paul (AKA "mucels" as Bob calls him) has probably forgot more about mechanicing and engineering than I'll ever know!


If you want service/repair or race prep work in the North East then these are your guys and not only will your pride and joy be safe in their hands but so will your bank balance!


Various Forum Mods: Please note I'm not affiliated with Swan AVO etc etc etc.. But if recommending them breaks forum rules please let me know and i shall edit.
 
Thats it!!!! your all up to-date fellow Type R drivers :D

I have pics on my Camera for the next 3 updates but you shall have to wait I'm afraid! :) I hope your all busy reading cause as much effort as it was writing all that... copying it all in the right order from another forum was just as bad lmao.... enjoy!

comments and criticism welcome as always!
 
thanks mate :) it's be a serious build (as you'd expect for the first of her kind)

but she should be fired up around chirstmas and hit the roads in the new year (weather permitting)

The F/TF MG club have a charity run around the M25 in fabuary (roof down come rain, sleet or snow) and offer all proceedes to help for heros... £10 per car £5 per passenger and some people gain sponsors form work

we do it about 12 midnight to 4am so its dam cold! but great fun

last year there were 200+ MGFs MGTFs MGBs, As and others all soft tops all roofs down and all doing a lap of the M25 :)

i missed it but its my - must finish date :) so i have about 14 weeks now


keep reading people :) hopefully i can come to some Type R meets next year and see some K20s in the front of cars lol
 
Quick update, rear subframe now 100% completed and all engine mountings and brackets have been prepped and painted.

Img_0125.jpg
 
UPDATE! 01st December 2011


And this one is a BIG milestone


For the first time today I got to type a title on photbucket and instead of using adjectives like "Removing" or "Dissasembleing" or what have you I got to use a new one


"Fitting"


yep!!! My advent calender brought me a fantastic treat today... I have (nearly) finished takeing things apart and today marked the first day of actually building the car!!!!


it's all down hill from here as they say


ironically this is a difficult job needing patience and not fists of ham (so thats me out)... so i entrusted it to nobody but Mikeknight... total legend, and great friend who i couldnt do without


he slaved away in a warm-ish garage for hours on his own (with just the odd bit of help from me - its a 1 man job really) and did a great job


have some pics...


all you need to fit a great glass rear screen form MGF Mania... DVD with fitting guide on laptop, lots of batteries for drills and a rivet gun


102_0003.jpg


here you can see the old window... not even flat and covered in tape thanks to the previous (un)careful owner


102_0001.jpg


mike drilling out the old rivets


102_0002.jpg


the obligatory "look at me, I'm an engine" shot


102_0004.jpg


new window (excited now!)


102_0005.jpg


last and hardest part... mike pulled it off with a midiocer bout of profanity and general rage


102_0006.jpg


after a long day he was so fed up i hadn't helped that he locked me in my engine bay


102_0007.jpg


(yes i've had a shave since then)


Tomorrows update will be of epic proportions, night tuners... sweet dreams
 
:greatpost: Great read... Can't wait to see the finish product

"finished" is a long way off.. the project will have 3 phazes... P1 - running, P2 - forced induction, P3 - Make look nice :)

but in each stage it will still be crackalacking i hope!

UPDATE! 02.12.11


Well the day I've waited so long for is here!... all the parts are back from woodsport and it's all down to me from now on, so


my first reaction is something along these lines...


3266487998_b953818d85.jpg


but after a cup of tea or two just sat looking at my fantastic subframes, while milking in the sheer quality of Woodsports fabrication. Not to mention the brilliant finish the paint has gained. Has me fortified! and I cant wait to start beginning to build the worlds first (working) K20a V-TEC MG TF!!!!


Before I show you the days festivities it's time for a random picture! (it's been a while hasn't it! I feel a little nostalgic)


IMG_0349.jpg


this is the bush (and mount) that the bolt for the trailing arms goes through... the buses were nakered on my old subframe* and although i've seen worse bushes/ball joints etc. I decided after realizing how much I had spent on polybushes that it was daft not to replace everything else while i was at it


Mr.Woods was going to hang my engine from the subframe for me (to save the paint work as much as possible) and needed this to fit things together in the right order


so thats a nice pic of the fabricated mounts and subframe done


here is how we got it home after it was all put together!!!


First of all the van was loaded up... a subframe, K20 and a pallet is bleeding heavy! Thankfully I had MikeKnight and CJJ** on hand to help Anth and Paul from Woodsport, Andy and his mate (form the unit next to woodsport) and myself get it all in the van


102_0008.jpg


after that a 15 miles drive saw the engine in my garage where i could set to work organizing and generally getting ready for the build


for some reason though i didn't take many pictures... i think we were generally just a bit too busy acting like big kids


102_0009.jpg


Never fear though... the engine and subframe are in the garage and parts are ready for sorting


I will simply let the pictures of the amazing work Paul and Anth have carried out speak for themselves


102_0010.jpg


102_0011.jpg


102_0012.jpg


cambelt mount


102_0016.jpg


gearbox mount


102_0015.jpg


front torque tamer


102_0018.jpg


rear torque tamer


102_0017.jpg


strutbracer and some of the gussets


102_0013.jpg


just a work of art


needless to say the engine has to be cleaned up to do it all justice... but i wont reveal any of my plans more than that


I hope you are all as impressed as I am


I would just like to say......


**huge thanks goes to mikeknight and CJJ both from MG-Rover.org.... mike got up bright and early to get my shell out my garage and get things ready for the drive up to woodsport at 10.30 where Clive (CJJ) met us to help out... clive drove all the way from ashington (in a focus ST the flash git) and we all had a good old chinwag over coffee and bacon sarnies once the work was done! all round good fun!!!


*(you may remember the lack of engine mounts snapped a bolt in the bush - making half my suspension useless in the process)


More to follow soon!
 
Back
Top