Ok, so I got home tonight and set about fitting the new gearshifter assembly in the dark with the help of the interior light and a headtorch. I will start by saying do not start this job on a week night. It will seriously test your patience, you will scrape and slice your hands on the metal dash brackets/various other sharps under there. You will swear a lot and wonder how in gods name anyone can undo the cables from the plastic gear mech! :bad-words: However, I got it done in about an hour. Most of it's easy, it is just getting the cables out from the gear mech that proved to be a major ball buster.
I found a good guide online here, without which I would not have had a clue how some of the bits came out - props to whoever did this. It's for a buddyclub shifter, but the same fitting process applies to this:
http://www.ephatch.com/forum/showthread.php?63927-How-To-Install-Buddy-Club-Short-Shifter-(BCSS)
You will need:
(a) Big long f-off flathead screwdriver
(b) 13mm socket and ext bar
(c) Small 8mm ratcheting (or normal) spanner. I have a little snap on one that's proved it's worth loads already. Buy one.
(d) Small philips head screwdriver to undo the dash brackets
All the details of removal are explained in the link above, but I will reiterate that the cables come out of the base of the gear shifter by twisting the plastic retaining clips anti clockwise. It's very difficult to do this even with a screwdriver as they tend to spring back as they're under permanent tension. Lets just say I dropped a few 'C bombs' whilst doing it

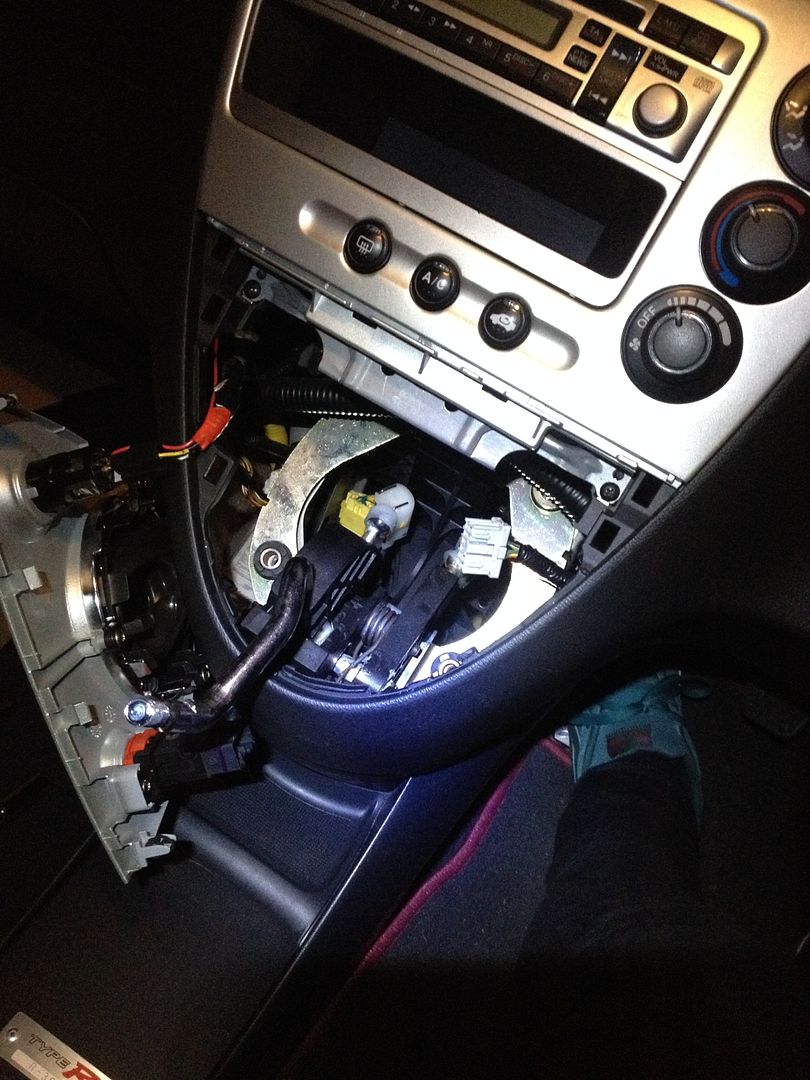
You need to take these out, undo the four retaining bolts, undo a few little retaining metal brackets, lift out the whole bit where the radio sits, then lift out the gear assembly. I had no-one to hold the radio/aircon part of the dash so had to scrabble about with the other hand for a piece of card/plastic packaging from the new one to rest the whole lot on so as not to damage the dash, then take out the old shifter assembly and slot in the new one and shuffle the cables about all with one hand, then re-fit the fascia with the radio and aircon set up. It is a bit of a f-on, but not too bad if you think logically and go carefully. All the wires are still connected you see. It's not as bad as it sounds, i would just recommend you have a few micro fibers to hand to protect various bits of the dash while you remove the fascias. Also a rag to wipe the grease off your hands as the cables are greasy and slippy. Makes it even more annoying when you have shredded paws, which are then slipping off everything you are trying to hold!
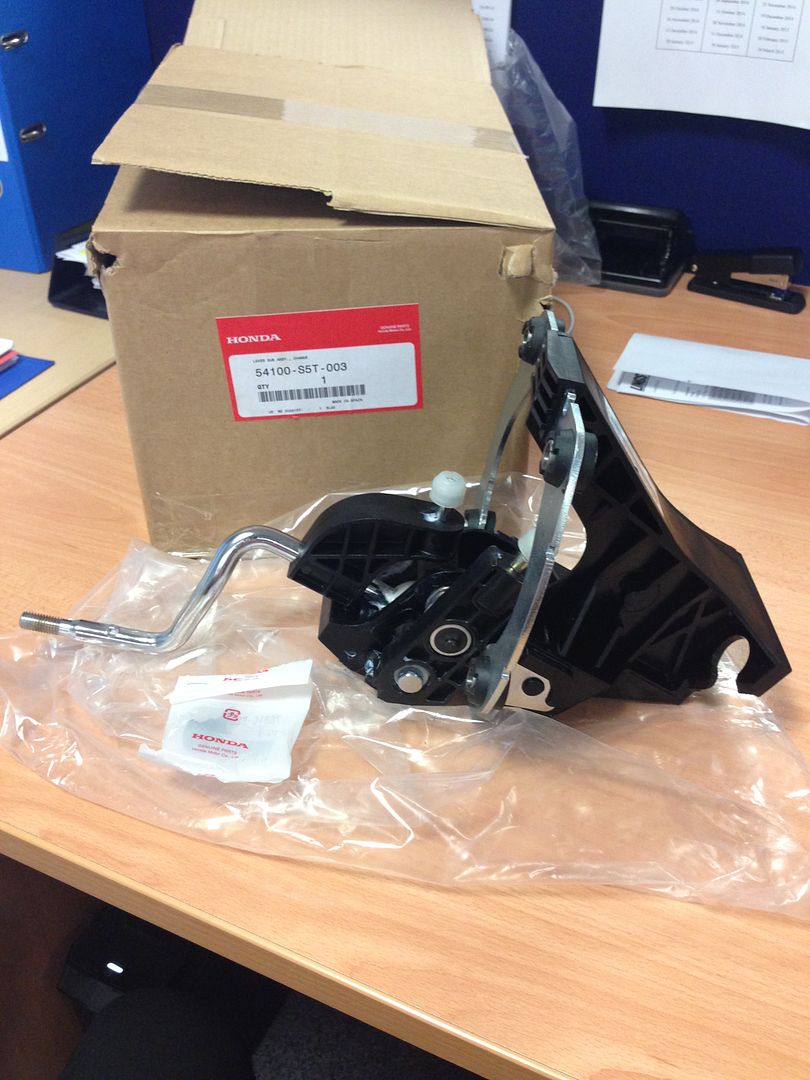
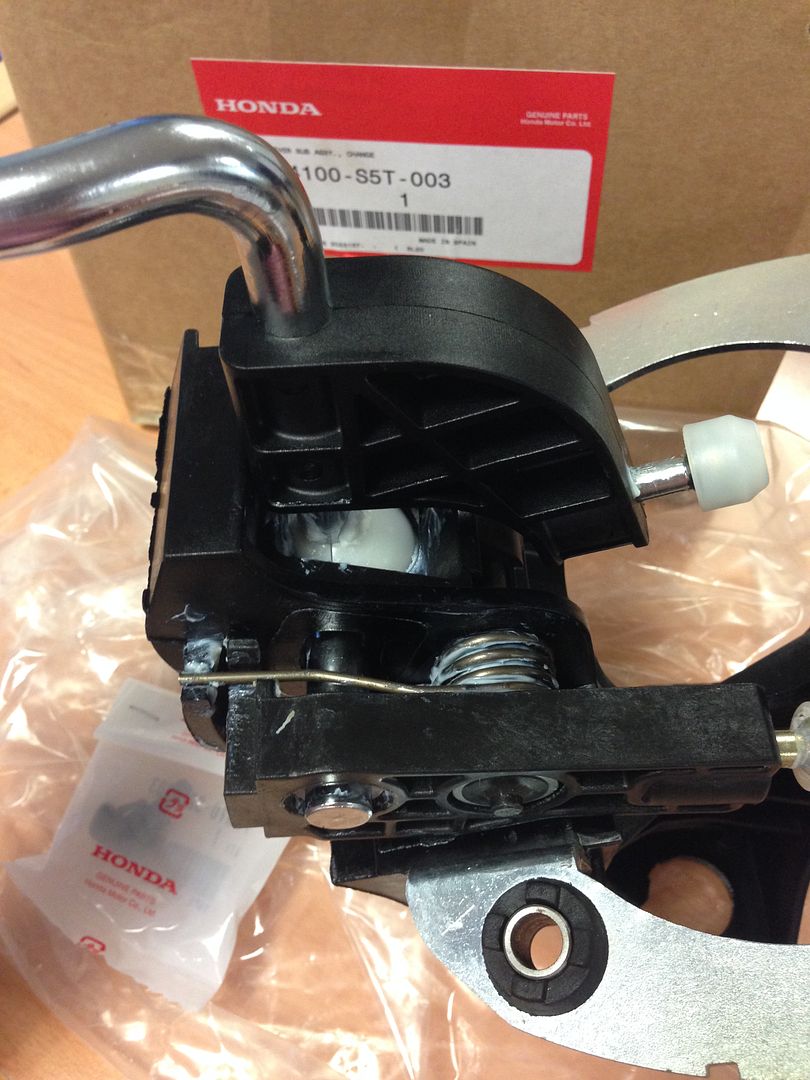
Here are a few (not great) photo's. As you can see I left the gator and gear surround plugged in and hanging down resting on an airbag from the packaging of the new GS (gearshifter). I have a shift light which is wired in there so it's an arse to unplug the connector. Most of you will be able to simply unplug the cigarette socket and remove this part entirely:
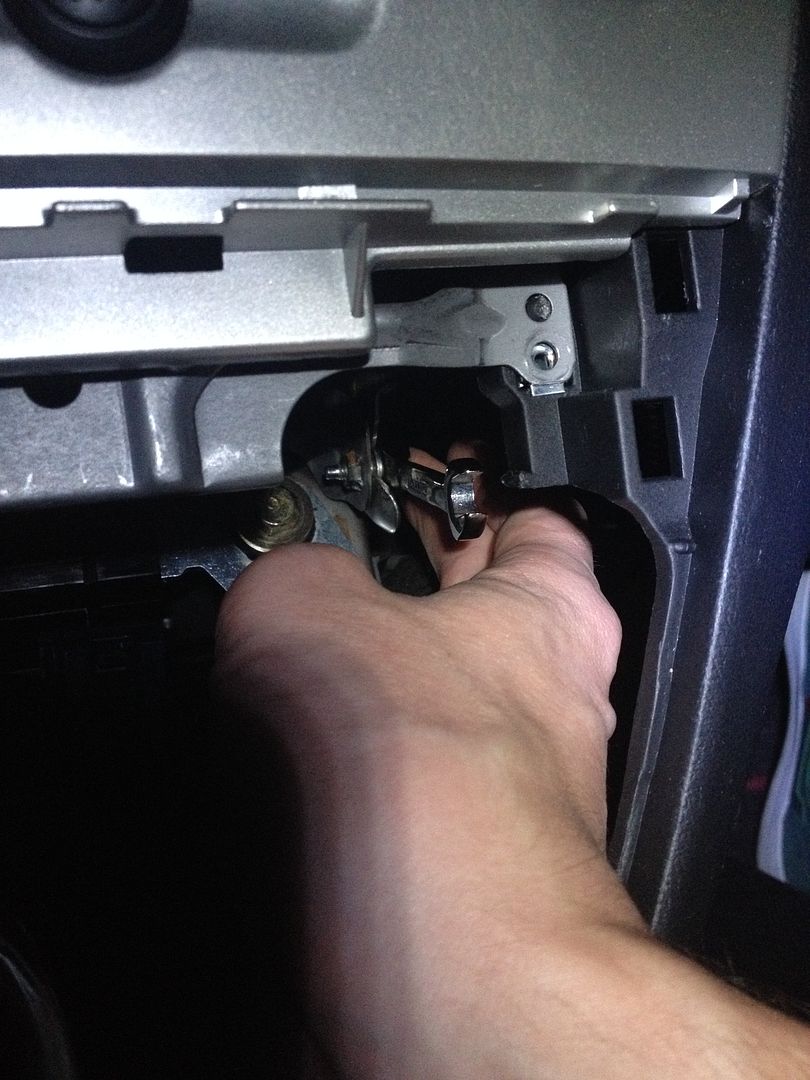
Then undo this part of the retaining bracket (there is one 8mm bolt on each side) - see small spanner in action!
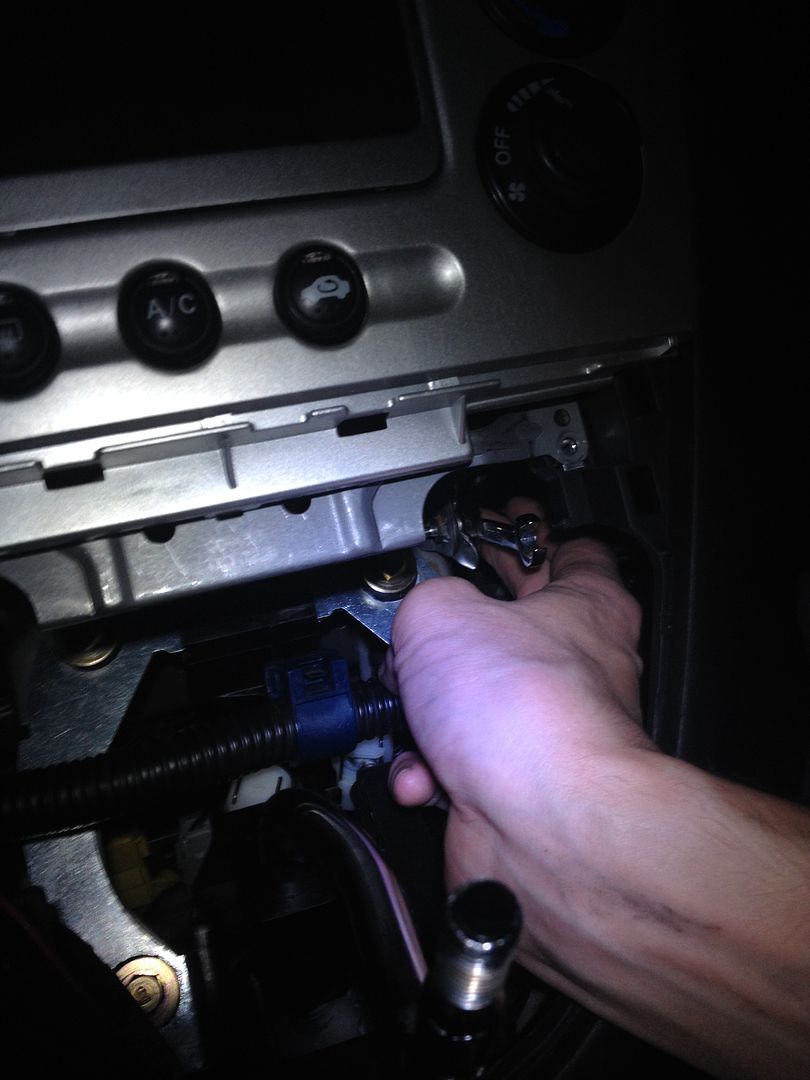
You also remove the two small screws from the longer metal bracket seen in the photo below - you can see the hole above my hand where i'd already removed one. The part of the dash above simply pulls forward and outward to allow you to remove this metal bracket. It's also kind of pushed into the plastic with a retaining clip which you squeeze together to pull it out. Just be careful not to snap anything.
I would say the worst part is removing the cables but i've already mentioned that above. The rest is straightforward it just requires patience.
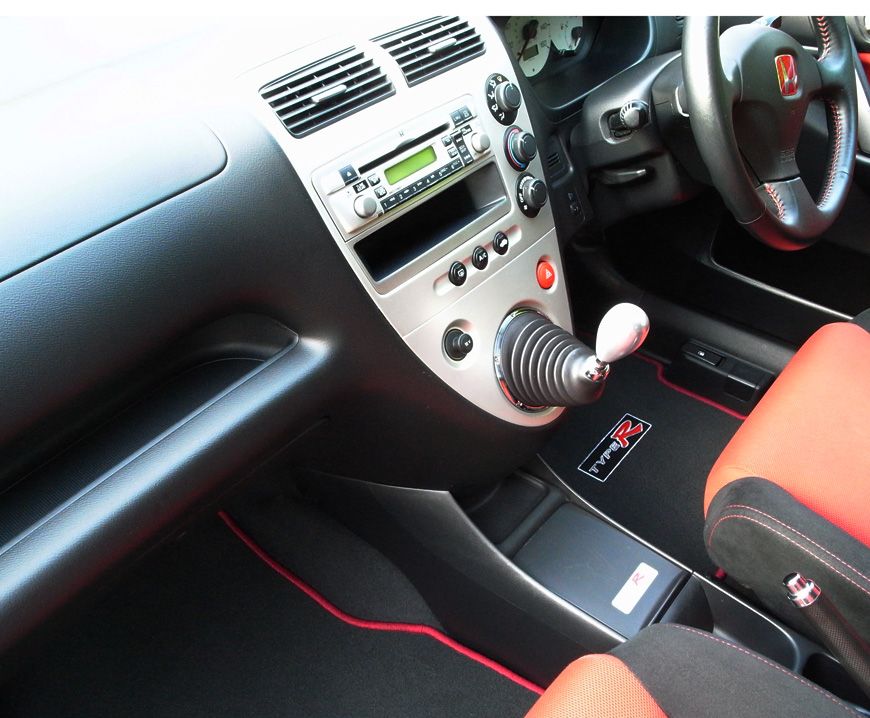
Now onto the results. Is it worth doing - in short yes. The gearchange is way better and actually shorter too for some reason! I will say though that Honda dropped a bollock using plastic in a moving part that sees so much action. If someone were to design a slick rose jointed set up like you can get for the VW's it would be amazing. This design is pretty poo. It works ok, but is noway near as tight as the rose jointed set up on my Rallye. There is too much tolerance and sloppiness in the plastic parts. That's not to say I am not pleased with the results - I am. Just saying that there is a market here to design something really good. Dunno what the BC on is like, but it looks to be made of plastic too so I figured i'd save thirty pounds or so and just replace it with the OEM set up, which was 'only' 150 opposed to 180/190 for the BC contraption.
Overall I am pleased and the gearchange is a lot slicker than it was. It has also got rid of the sloppy side motion that I had previously on the old linkages. A lot of ball ache but I will enjoy driving her more now.
PS: I don't have a chopped off thumb, it just looks odd in that photo above due to the angle!